Settings - Global
 Updated
by
Leigh Hutchens
Updated
by
Leigh Hutchens
This article relates to Classic. For more information about Neo SSO, click here.
General
Under General, you have the option of setting a sender address with the option outgoing email sender.
Under the Overview heading, you can check Show leave applications for all managers in the Admin Portal. Who should be able to see the pending leave application on the manager portal/dashboard and react on it depends on the global setting "Show leave applications for all in admin portal".
If this setting is disabled, only managers that receive QMail or push notification about leave application should be able to see that pending leave application and react on it.
If this setting is enabled, managers that receive QMail or push notification about leave application, should be able to see that pending leave application and react on it. Also, all managers on the leave applicant's unit, who have a higher system role than the applicant.
If Background maintenance is checked, staff may be deleted automatically from Quinyx after a specific number of days after the person's end date on the employee card. This function is particularly useful to ensure that staff data that is no longer needed by the company is screened in accordance with GDPR (General Data Protection Regulation) guidelines.
The setting is disabled by default. To enable the function, the box is checked and the number of days is selected. If the function is enabled and 7 days is selected, the employee will be deleted permanently from Quinyx 7 days after the end date in the employee card.
Functionality
It is possible under the Functionality tab to enable web calendar functionality that allows staff to subscribe to your schedule to an external calendar in iCal format in the Employee Portal.
SSO configuration
You can define SAML2.0 Single Sign-On settings for Authentication for web login on the SSO configuration tab.
What to know before getting started
In order to set up SSO, you need to have the following information available:
- MetadataFederation.xml-link or XML-file from the Identity Provider (IDP).
- Which unique identifier, that uniquely identifies the user, to use from Quinyx. There are four different ones to choose from:
- Badge number
- Card number
- Employee id
- LoginId (is only available to define through API)
- Claim name that uniquely identifies the employee in the response from the IDP
- Examples from Azure AD:
- http://schemas.xmlsoap.org/ws/2005/05/identity/claims/name
- http://schemas.xmlsoap.org/ws/2005/05/identity/claims/emailaddress
- http://schemas.xmlsoap.org/ws/2005/05/identity/claims/upn
- Examples from Azure AD:
How to set up SSO
- Log in to Quinyx as a Superuser, and then go to Settings → Global.
- Click on the “SSO-configuration” tab.
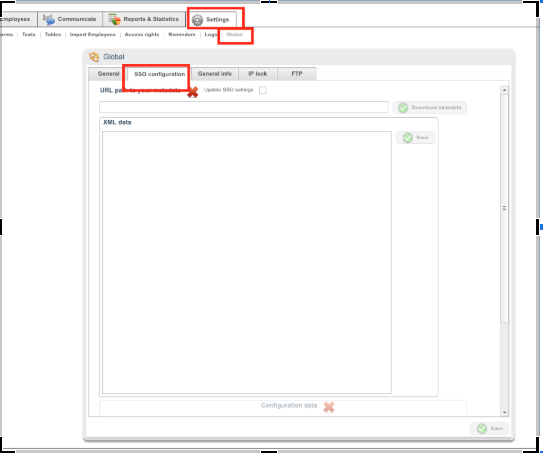
You can upload your metadata one of two ways, so choose the one easiest for you.
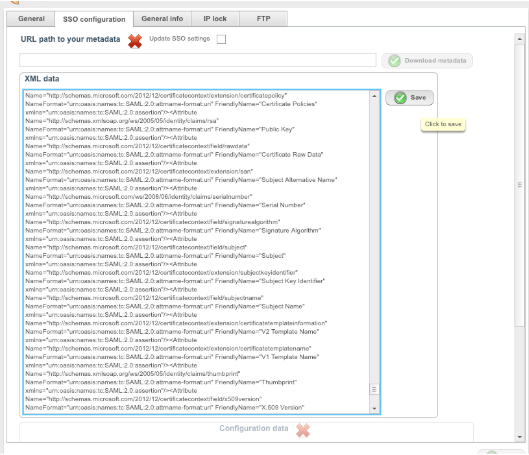
- Add the metadata as an XML document in the field for XML data and click Save.
- Enter the URL to your metadata in the URL path and click Download metadata.
How to configure SSO
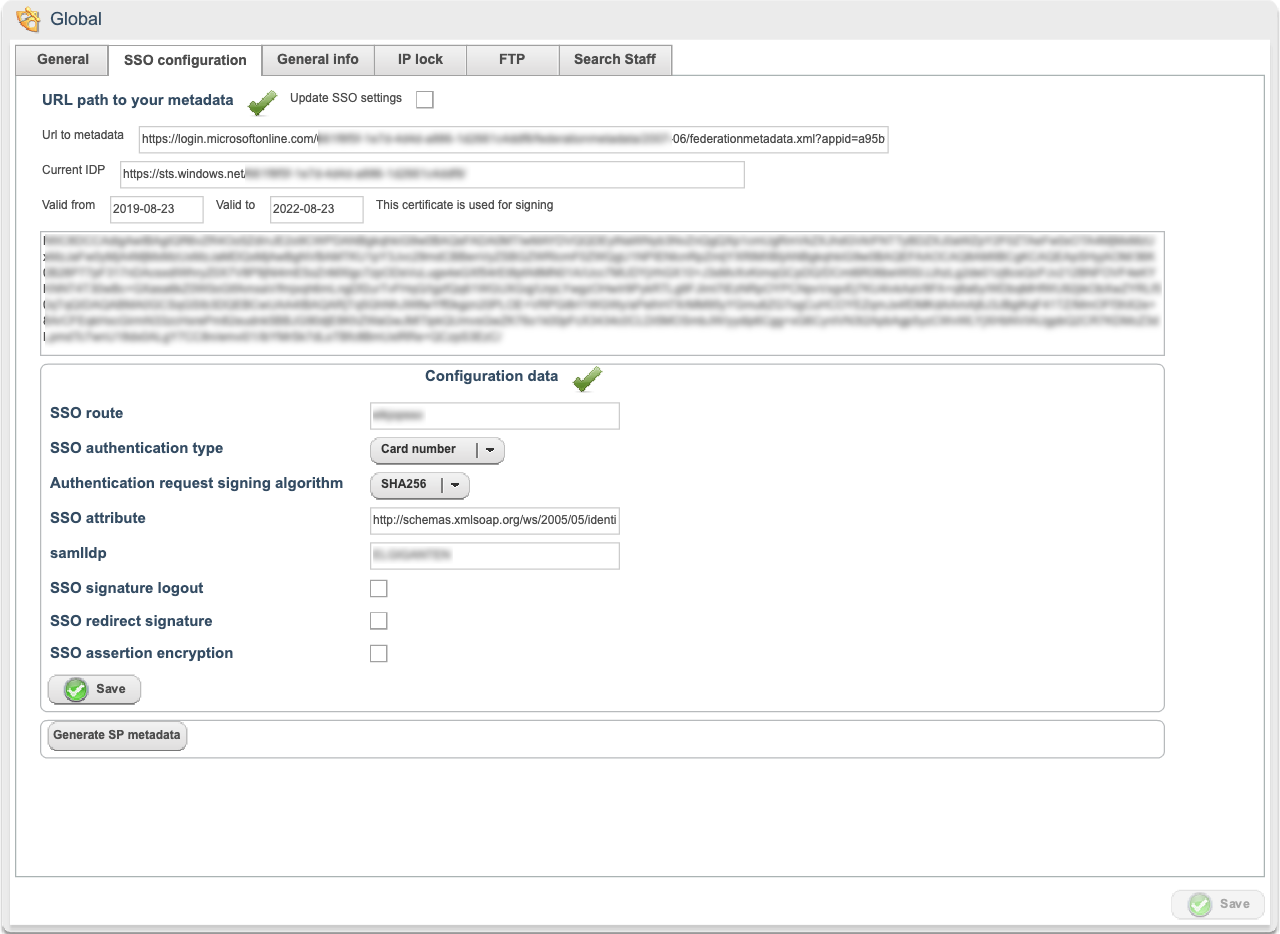
Once you have added the metadata, you need to configure the connection. Enter the following information:
- SSO route - enter a name for the SSO route, for example, quinyxsesso (clientname, country, SSO).
- SSO authentication type - choose a unique identifier, like email, badge number, and so forth.
- Authentication request signing algorithm - should be SHA-256 for any new connection, SHA-1 is available for older connections only
- SSO attribute: paste in the claim name that uniquely identifies the employee.
- samlIdp: auto-generated for customers, Quinyx Super users can edit this field to share config over multiple Quinyx tenants
- SSO signature logout - check if logout messages should be signed.
- SSO redirect signature - check if redirect messages from IDP are signed.
- SSO assertion encryption - check if assertions from IDP are encrypted.
- Then click Save.
You can now download the SP Metadata XML file and share that with the IDP administrator.
Once that is configured, the SSO login can be tested via:
https://web.quinyx.com/sso?seo=<ssoroute> (Neo login)
https://app.quinyx.com/<ssoroute> (Classic login).