Schedule view
 Updated
by
Leigh Hutchens
Updated
by
Leigh Hutchens
- Mastering the Schedule view
- Bank holidays and special days
- Employees
- Display options
- Employee basic information in schedule view
- Employee sorting
- Custom employee sorting
- Sorting schedule and base schedule on employee seniority
- Additional details regarding employee sorting using Additional fields
- Shift sorting
- Schedule item sorting
- Employee metric calculation period
- Metric display mode in Schedule
- Metric
- Display options
- Hour count on schedule items
- Absence requests
- Availability in the smart list
- Loading indicator
- Week number
- Unassigned shifts
- Lock schedule period
- Visualization of published periods
- Daybreak
- Schedule validations
Mastering the Schedule view
Managing a workforce requires more than just assigning shifts; it requires a clear, customizable view of your operations. This comprehensive guide details every tool available to tailor the Schedule interface to your needs. From basic date selection and filtering to advanced employee sorting and metric calculations, this article explains how to configure your view to focus on what matters most—whether that is tracking absences, monitoring bank holidays, or balancing employee hours against agreements.
Using the date picker and filters, you can specify what you want to display. You can easily change the day, week, and month and set custom views easily by clicking the icons on the upper left side of the schedule.

You can also see the number of employees displayed in the schedule.
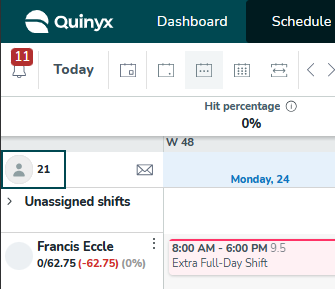
This count is useful whenever you want to quickly get an idea of the number of employees you’re currently looking at in your schedule or base schedule.
Tooltips will display when hovering over any of the employee names in the schedule. The tooltip will contain the first and last name of the employee.This allows long employee names to be fully visible.
Example 1
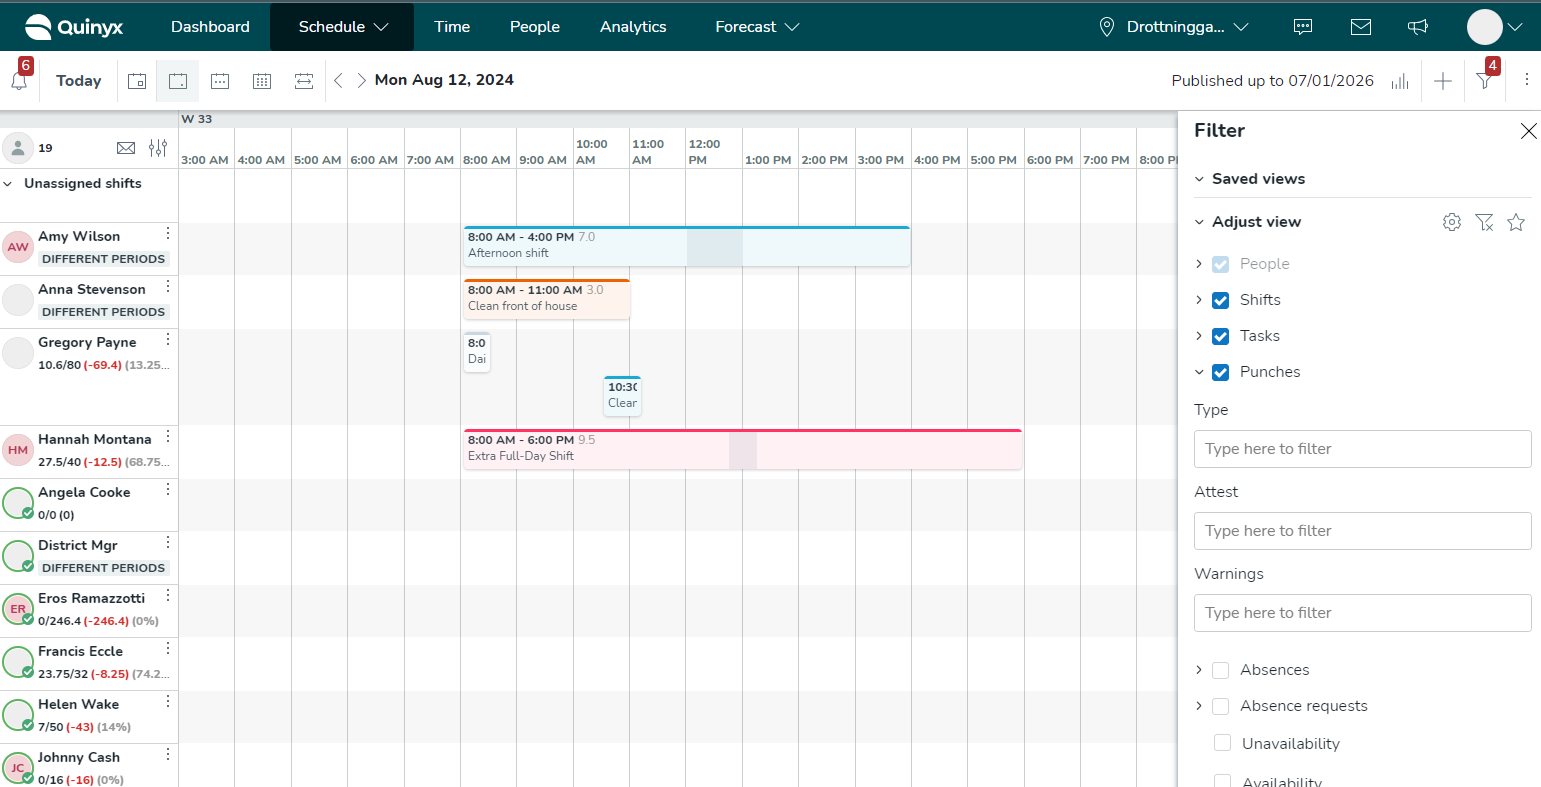
You just want to see how many people in total are working at your location today, so you navigate to the day view and make sure that the only filter groupings ticked are shifts, tasks, and punches and that Items in current view is selected in the Employee has field.bul
Example 2
You want to see how many people are currently absent from your location in the currently viewed period, so you select Items in the current view and untick all filter groupings except for absences.
The number of employees displays regardless of view mode - day, week, month, or custom - and considers any filters applied. It is always visible but will not display if you’re using a very small screen, such as that of a mobile device.
Bank holidays and special days
Bank holidays
Bank holidays set up globally or on unit groups are visualized as follows:
- In the day view: As a red "badge" next to the date.
- In the weekly and monthly view: The weekday and date are colored red; the red "badge" appears on hover.
If you want to know more about the configuration of bank holidays, read more here.
Special days
Special days are visualized as follows:
- In the day view: As a red "badge" next to the date.
- In the weekly and monthly view: A red line runs below the weekday and date and you can see more information when you hover over it.
Examples of bank holidays and special days
Day view

Weekly view
Monthly view

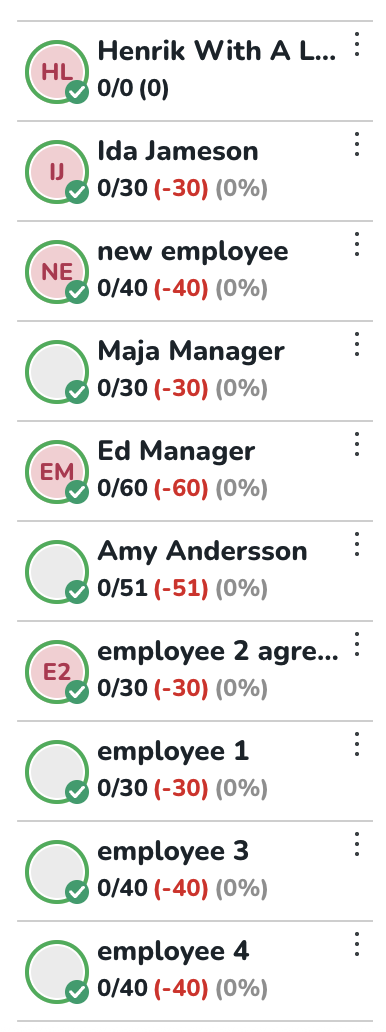
Employees
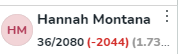
Scheduled employees are displayed on the left-hand side in the Schedule view. You’ll find the name and picture (or initials) of the employee.
Scenario
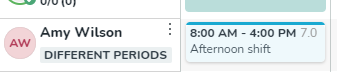
Charlotte is scheduled 48.5 hours in the schedule period but should be scheduled 40 according to her agreement. Her scheduled hours exceed her nominal hours by 8.5 hours.

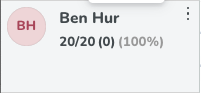
Ben is scheduled 20 hours, which is in accordance with his agreement. He is scheduled zero hours less than he should be.
You can use the default schedule view, as described above, or you can use Employee list display options, described below, to configure exactly how you'd like your employees and metrics to appear in the Schedule view.
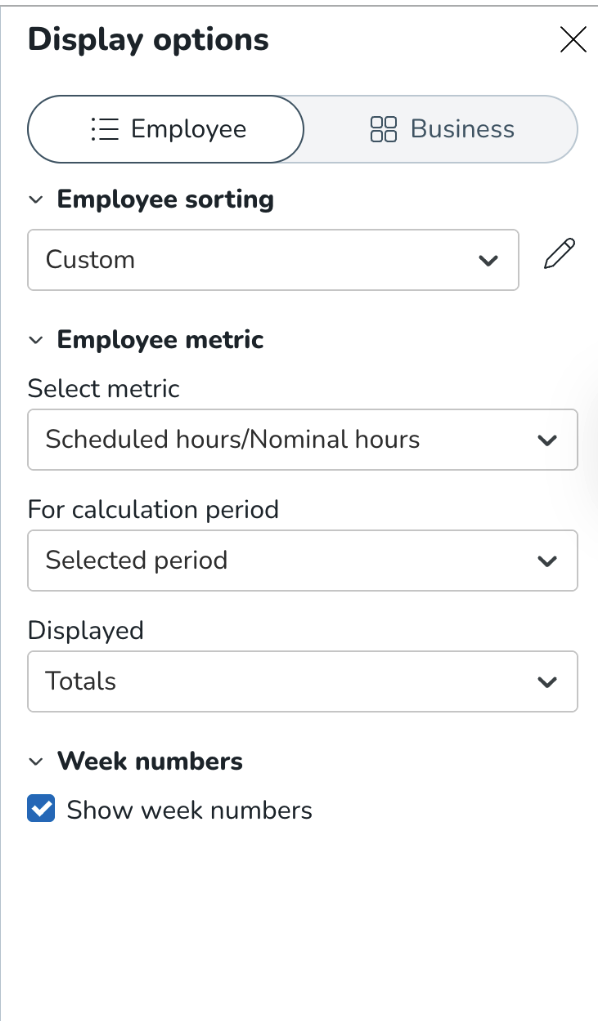
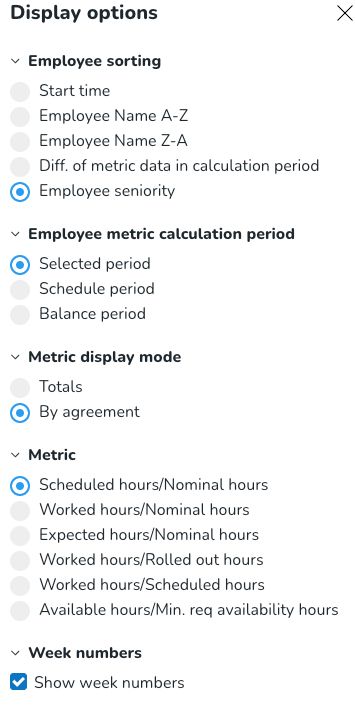
Display options
You can use employee list display options to configure exactly how you'd like your employees to appear in the schedule.
Employee basic information in schedule view
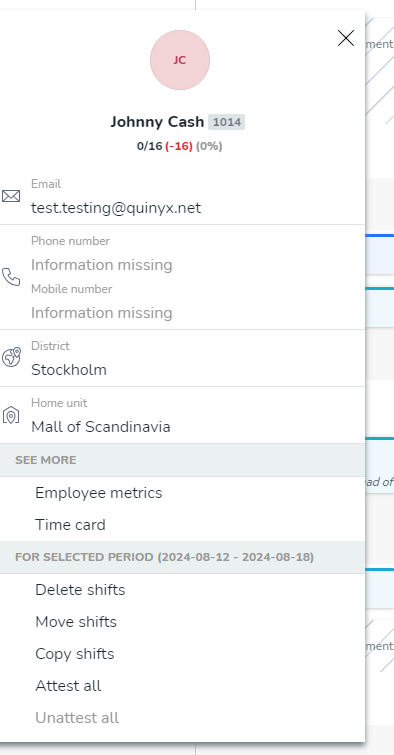
You can view basic information about an employee in the schedule. Click on the employee's profile picture in the schedule view and you'll be able to see the following information:
- First and last name
- Badge number
- Employee metrics
- Email address
- Phone number
- Mobile number
- District
- Home unit
You can also view additional information and delete, move, and copy shifts and attest or unattest all shifts.
If the permission People details are turned off, under Account > Role management > Edit role > People > People details, then email, phone number, and mobile phone number will not be visible in the schedule.
Employee sorting
You can easily change the employee sort order by clicking on the display options button. 
You can choose the below ways that you'd like your employees to be displayed in the schedule:
- Start time
- In multi-day views, such as the weekly, monthly, and custom views, the “start time” employee sorting option will sort employees based on the start time of any schedule item in the left-most day column of the view. For employees with no schedule items on the first day of the view, Quinyx will sort them based on their schedule items in the second day column of the view, and so on.
- Employee name A-Z
- Employee name Z-A
- Diff. of metric data in calculation period
- This option will place the employees who need more hours to reach their nominal hours at the top of the schedule.
- Sorting by seniority (if configured)
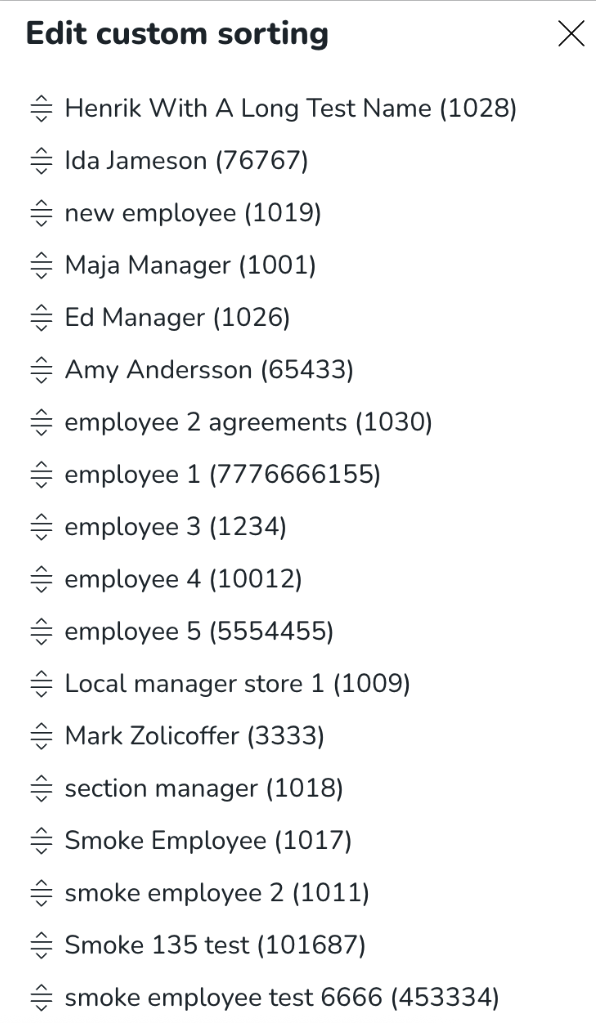
Custom employee sorting
Managers can manually reorder employees in the scheduling view using simple drag-and-drop controls inside the Custom sorting panel. This allows you to arrange employees by role, experience, or priority.
You can:
- Arrange employees by role, experience, performance, or priority - whatever fits your workflow.
- Quickly access key team members and streamline shift creation.
- Keep a stable, familiar layout every time you log in.
How to use custom sorting
- Inside the sorting options, select Custom.
- Click the pen icon to open the panel to reorder your employees list.
- Use drag-and-drop to sort the list (up to 200 employees per view).
- Click Save.
 |  |  |
Sorting schedule and base schedule on employee seniority
In some of our target markets, notably as per various trade union agreements in the USA, schedulers are to consider the seniority of their employees when making scheduling decisions. As a first step in providing schedulers with these insights, we enabled the sorting of employees in the schedule and base schedule view based on employee seniority.
The sorting in question requires configuration in Account settings > Additional fields.
Example:
- Set up an additional field to capture the date of employee seniority, and select Use for sorting in Schedule/Base schedule.
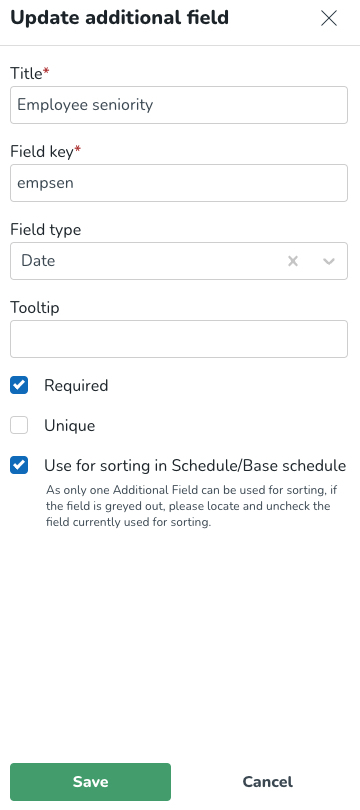
- Input your employees' additional field value manually in the People tab or using the UpdateEmployees SOAP API.
- In Schedule or Base schedule, select the Employee sorting radio button corresponding to the additional field you configured for this purpose.
- If your employee’s seniority date is as follows:
- Tina Turner: 2024-02-01
- Lynnsay Anastasia: 2024-03-01
- Helen Wake: 2024-04-01
- Hannah Montana: 2024-04-01
- Gregory Payne: 2024-05-01
- Francis Eccle: 2024-06-01
- Eros Ramazotti: 2024-07-01
- District Mgr: 2024-08-01
- Anna Stevenson: 2024-09-01
- Angela Cooke: 2024-10-01
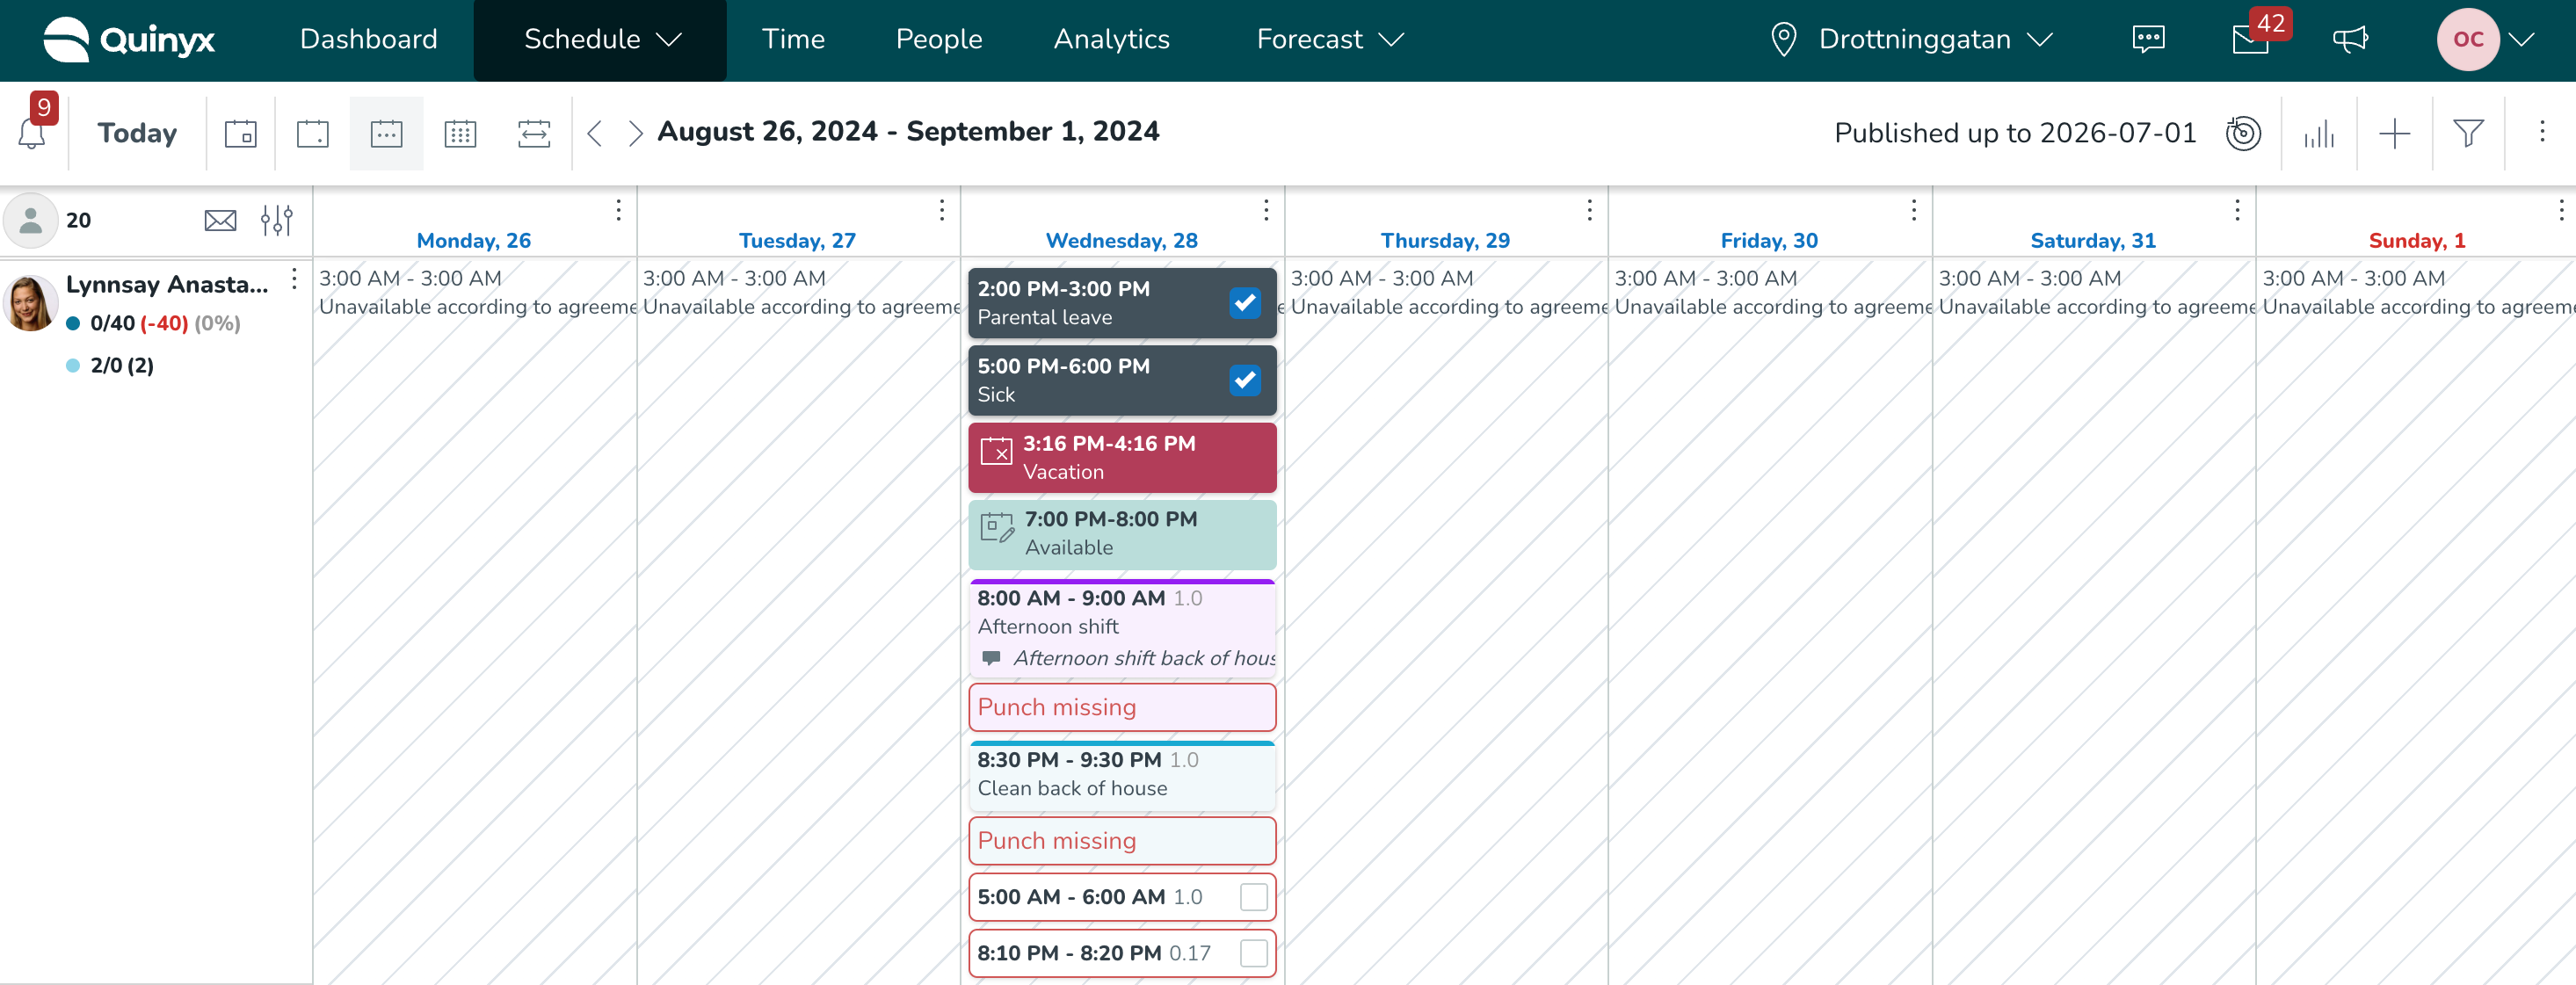
Then, the employee sorting will be displayed as in the image below.

The sorting is ascendant, and employees with identical seniority dates are sorted alphanumerically by first name. Hannah Montana and Helen Wake are examples of the latter.
Additional details regarding employee sorting using Additional fields
The sorting logic below applies for each respective field type available in Additional fields:
- Date: Employees with the most seniority are displayed on top; in case of identical values, employees are sorted by first name.
- Text: Alphanumerically; in case of identical values, employees are sorted by first name.
- Checkbox: Employees with the value “True” display on top, followed by employees with the value “False”; in case of identical values, said employees are sorted by first name. This option currently some inconsistencies, which are being addressed.
- Menu: Alphanumerically; in case of identical values, employees are sorted by first name.
Shift sorting
The default sort order of the shifts in the schedule, except for unassigned shifts, is the shift's start time. The shift that starts earliest is on top of the schedule. If you enter the daily view in the schedule, you will see the shifts sorted by start time.
Schedule item sorting
Schedule items are sorted chronologically, regardless of their type of item and if the schedule items were scheduled in the same unit/ section or not. The schedule items include:
- Absences
- Absence requests
- Availability
- Shifts (including their punches)
- Punches that don’t belong to any shifts
Employee metric calculation period
You can choose how the metrics are displayed for employees on the left-hand side of the schedule.
The selectable periods are:
- Selected period: This is the period you’re currently viewing in the schedule.
- Schedule period: You can configure this in Account settings > Agreements > Agreement template.
- Balance period: You can configure this in Settings > Agreements > Agreement template.
The numbers displayed under an employee's name will change depending on your selection. For instance, in the images below, Hannah's numbers change depending on:
Selected period
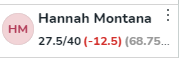
Schedule period
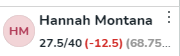
Balance period
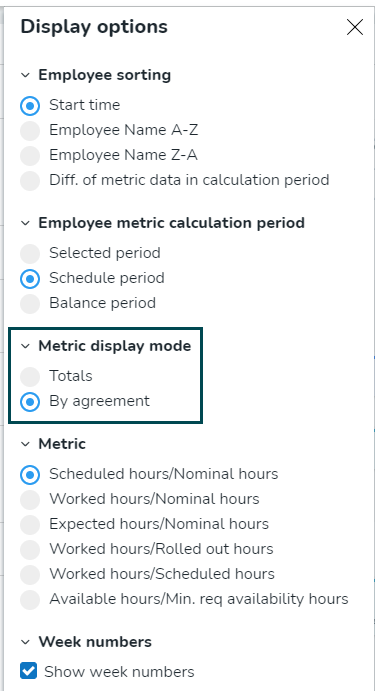
Metric display mode in Schedule
In the employee list display options, you can configure how to display agreement metrics under the Metric display mode heading:
- Totals
- This displays the totals for scheduled hours and nominal hours across agreements.
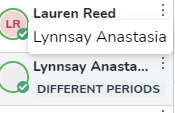
- Note that if parallel agreements have different schedule or balance periods and the schedule period or balance period respectively is selected as metric calculation period, a badge Different periods will appear here since summing them would be misleading.
- By agreement
- This displays the scheduled hours and nominal hours as one row per agreement. Just as in People and the metrics panel, main agreements are color-coded dark blue, and non-main agreements are color-coded turquoise.
- When the Diff. of scheduled/nominal hours in calculation period sorting option is selected, the actual sorting of employees in the left-hand margin is still done according to hours across agreements.
In both of the above cases, the metrics beside the employee avatar also display a percentage sign indicating the percent of nominal hours that are currently scheduled. Occasionally, the percentage doesn't fully appear.
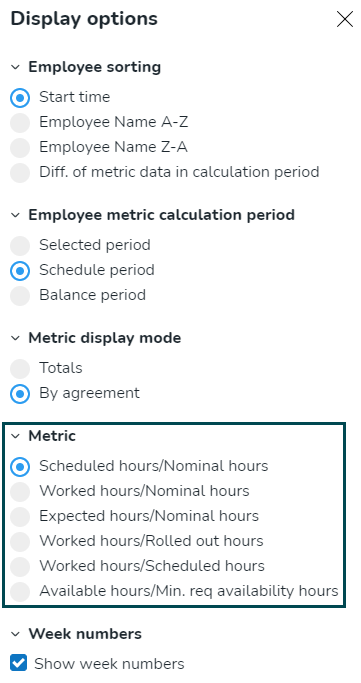
Metric
You can select which metric to display data for by your employees’ pictures in the schedule. Options include:
- Scheduled hours/Nominal hours
- Worked hours/Nominal hours
- Expected hours/Nominal hours
- Worked hours/Rolled out hours
- Worked hours/Scheduled hours
- Available hours/Min. required availability hours
Hour count on schedule items
You can view the hour count on shifts (including away shifts), tasks, and punches in the schedule view. You'll be able to see how many hours a shift, task, or punch is on the actual item.
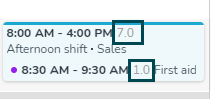

The agreement setting Calculate breaks as working time and advanced settings on the shift Count as scheduled hours and about is considered in the calculation.
Absence requests
You can easily view absence requests in the Schedule view.


Availability in the smart list
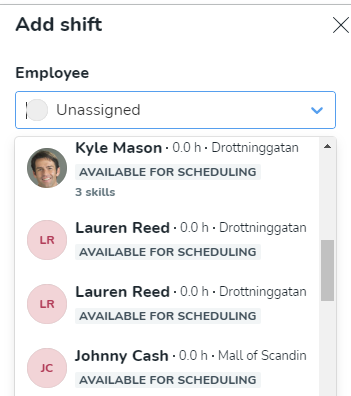
Employees that have added Availability through the mobile app and provided desired working hours will appear in the list with a “Availability” badge. These employees will appear at the top of the list. If several employees have added Availability for the same hours, sorting between them will be based on the matching/missing skills that employees have for that specific shift.
The badge is displayed as “Available for scheduling” and represents all employees that can be scheduled on that shift but that don't have availability.
Loading indicator
The top bar in the schedule features a loading indicator. It appears as a blue spinning circle in the top bar.

The loading indicator will appear as long as Quinyx is working on fetching and displaying new schedule items and/or employees. It won't, however, appear when you remove or rearrange data, such as when you filter out data already present in your schedule or when you edit the sorting mode in the schedule.
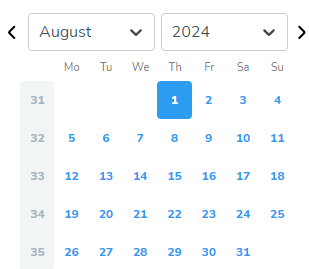
Week number
You can view the week number above the schedule.
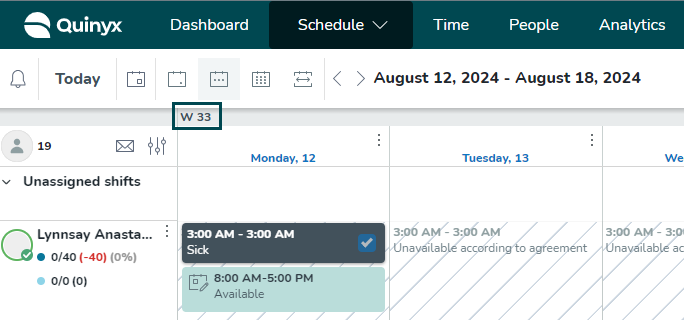
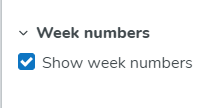
You can remove week numbers in the schedule view in display options.
Quinyx displays week numbers in all date pickers throughout the application.
Good to know
There are two settings that impact week numbers:
- Unit setting: The first day of the week.
- Language setting: Week numbers can be counted differently, depending on your country.
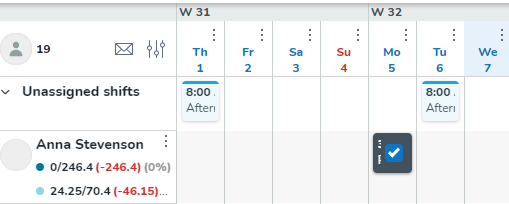
Unassigned shifts
Unassigned shifts have no predefined color and are shown at the top of the schedule view. If an unassigned shift is of a shift type that has a color, the unassigned shift will be of that color.

You can collapse the unassigned shifts row in the schedule view by clicking on the arrow next to the unassigned shift text in the Schedule view.
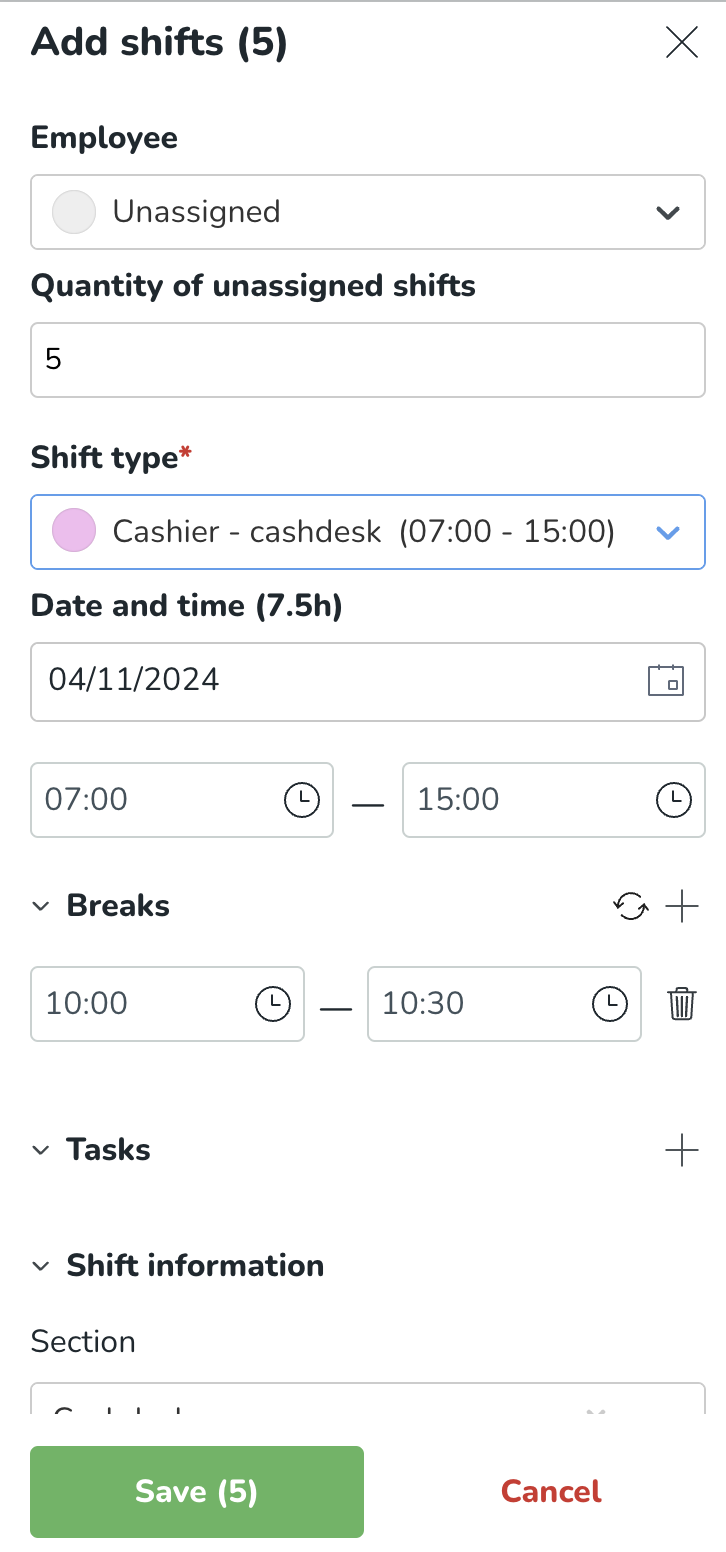
Bulk creating unassigned shifts
You can add multiple unassigned shifts in a single action. Similar to the Base schedule view, you can specify the number of unassigned shifts you'd like to add directly within the existing Add Shift panel.
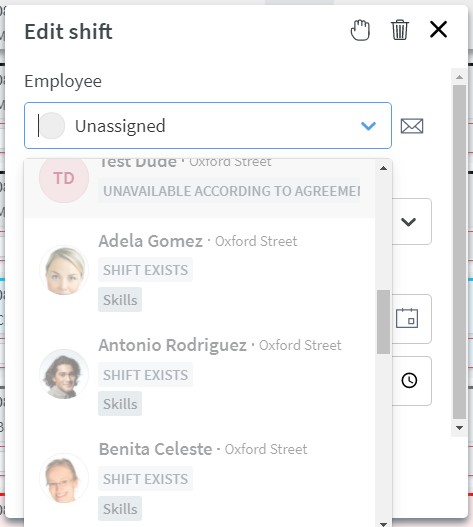
How do I assign an unassigned shift to an employee?
- Select the unassigned shift to open the edit shift side panel.
- Assign the available employee and add any other necessary information.
- Click Save.
Employees are sorted by availability first. If an employee is unavailable, the row is slightly greyed out. See below:
Lock schedule period
It's possible to lock a period in the schedule view.
On the top right-hand side of the schedule, click on the three dots and then Lock schedule.
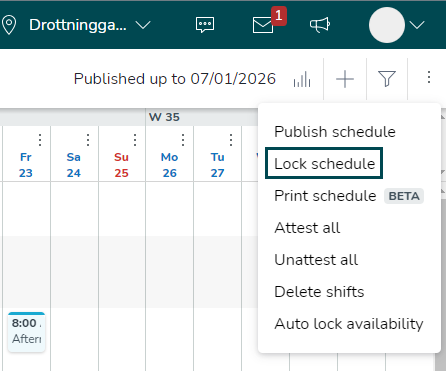
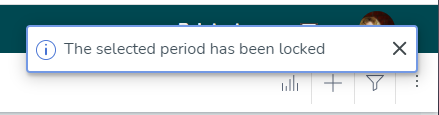
Select a to-date where all schedule information (shifts, punches, absences) will be locked backward in time. You can't make any changes in a locked period, but you can attest and unattest punches and absences.
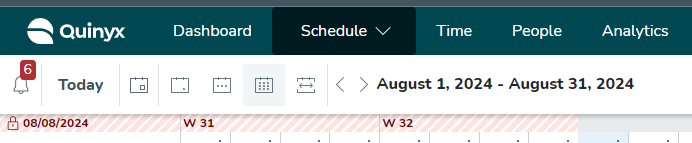
A locked schedule is visualized with a white/pink border between the schedule and the toolbar. You can see the date to which the schedule is locked on the left-hand side.
You can't add, edit, or delete a manual salary type in a locked schedule period.
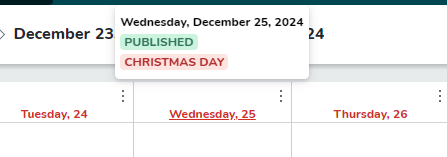
Visualization of published periods
If you're a manager working the Schedule view, you can see if a period has been scheduled in the top-right corner.

When hovering over a specific date in the weekly/monthly/custom view, there are labels that clarify whether that day is published.

Daybreak
Daybreak means the time of the day that the system considers the end of one day and the start of the next day.
Schedule validations
When creating shifts in the schedule, Quinyx will validate the shift details against agreement settings and unit settings. These validations take place any time an existing one is edited or a new one is added, be it in the Notifications panel or directly in the schedule. These validations also take place for absence shifts, including when creating leaves and when approving leave applications. If the user continues creating or editing a shift despite receiving a warning message, Quinyx will log this circumvention.