Absence settings
 Updated
by
Victor Jespersen
Updated
by
Victor Jespersen
- What's the difference between absence reason types and absence types?
- Manage absence reason types
- Manage absence types
Absence settings allow you to create, configure, and manage absence reason types and absence types.
What's the difference between absence reason types and absence types?
Absence reason types are created to group absence types in some reports, and in certain payroll systems, absence reason types determine where a transaction will end up in the payroll file.
Absence types allow you to specify whether an absence will generate a salary (but not which pay type) for an employee and whether it will be considered as time worked. You can configure whether the absence type will be considered as sickness, leave, holiday, or another type of absence.
Manage absence reason types
Add absence reason types
Before you create absence reasons, you need to create absence reason types. Navigate to Account settings > Absence management > Absence settings > Manage reason types.
- Give your absence reason type a name.
- Select whether the absence should be considered as sickness, permission, or vacation (not mandatory).
- Select whether it should be salary-based (not mandatory).
- Select whether it should be counted as worked hours (not mandatory).
- See whether it should be counted as rest time towards the rest validations in schedule compliance (not mandatory).
- Click Save when you're finished, and your new absence reason type will display in the list.
Edit absence reason types
To edit an existing absence reason type, click on the pen icon next to the existing absence reason type you want to edit. A new dialogue box will appear. Edit the information you want to change, and click Save when you're finished.
Delete absence reason type
Click on the trash can icon next to the absence reason type you want to delete. A confirmation message will appear.
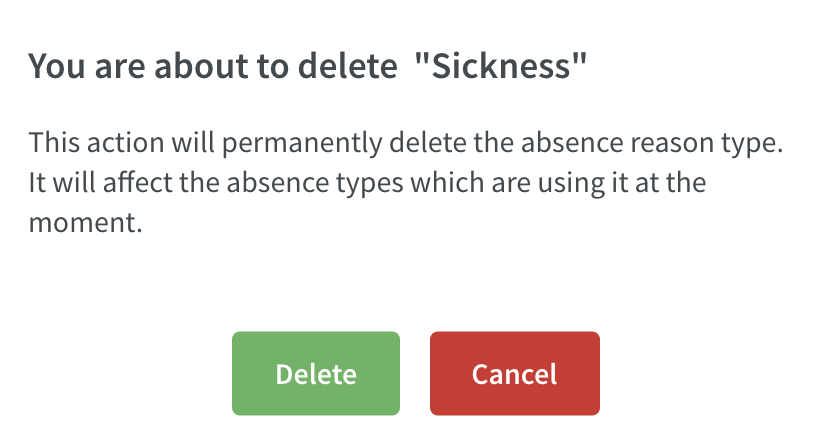
Click Delete if you want to proceed with deleting the absence reason type.
Manage absence types
Add absence type
Once you've created an absence reason type, you can create a new absence type. Navigate to Account settings > Absence management > Absence settings > Add absence type.
- Give your absence type a name.
- Enter the abbreviation for the absence type.
- Enter the absence code.
- From the Absence reason type drop-down, select the absence reason type.
Configure absence types
Configure calculation rules
- Buffer for days: Specify the number of days to occur before day numbering restarts. Use in order to prevent Quinyx from generating a new qualifying day, i.e., if an employee falls ill again within 5 days of coming back to work.
Absence reason affects buffer for days: When absence reason is in between absence reasons with buffer for days set.
Only count scheduled day: During absence period only scheduled days will be counted. Otherwise, the entire period will be considered as absence, even when employee is not scheduled.
Not preceded by: Specify an absence reason that cannot precede this absence reason unless punching in/out has been registered. Either within the specified ‘buffer for days’ period, or on the leave numbering group
Exclude days between absences: Days between two unconnected periods of absence, for the same absence reason, will not be included when counting absence days.
Split shift at midnight: By default, if unchecked, absence days are determined by daybreak.
Absence type affects schedule
- Deleting shifts: Handle already assigned shifts by deleting shifts.
- Unassigning shifts: Handle already assigned shifts by unassigning shifts.
- Absence schedule: Select employment rate or nominal hours.
Salary type settings
- Activate selected salary types on agreement templates.
- Generate overtime on absence day. Read more about generating overtime on absence day setting here.
- Count on call and standby hours towards max hours calculation.
Advanced settings
- Available in Webpunch: If checked, it is possible for employees to choose this absence reason in Webpunch.
- Special Norwegian self-certified sick leave: If checked, enter the max absence days in the employment period.
Save once you're finished, and your absence type will be visible in the list of absence types. If you want to edit an absence type, then click on the name of the absence type you'd like to change. To delete an absence type, click on the trash can icon beside it.
Edit absence type
To edit an existing absence type, click on the name of the absence type you want to edit.
Delete absence type
Click on the trash can icon next to the absence reason type you want to delete. A confirmation message will appear.
Connecting salary types
For each absence type, you can create a new connection to an existing Salary type. In the list view, you can see whether a salary type is linked to a specific absence type. To configure this, click on the paper clip icon next to the absence type you want to manage.

From the Connected salary types panel, you'll see an overview of the different salary types associated with the specific absence type. Here you can:
- Add a new salary type connection by clicking the + icon.
- Edit an existing salary type connection by clicking the pencil icon.
- Delete an existing salary type connection by clicking on the trash can icon.
When you add, edit or delete a salary type, you can also define advanced configurations unique to that absence type - salary type combination.
- Define a max number of hours: Define the max number of hours that this salary type should generate during the given period or if it should be counted as percent of nominal hours per day.
- Generate additional salary types: If checked, it generates additional unsocial time salary types that are based on the absence reason type associated with the absence reason.
- Dependant on day number: If checked, you can define day numbering that limits the salary type by employment and/or leave day intervals. To generate salary types, this setting needs to be checked. However, as long as the absence day or employment day fields are set as 0, then they are not in use.
- Define a succeeding salary type: Allows you to define which salary type should be generated after selected day interval (to day).
Example: You have applied for sick leave for a week. The first day of the sick leave should generate a certain salary type like "Karens" where you're not getting paid, but from day 2 and onward a different salary type should generate where you earn a percentage of your salary.- To be able to select a succeeding salary type you will need to give a custom name to the attached salary type.
- To be able to select a succeeding salary type you will need to give a custom name to the attached salary type.