Add an employee
Under People you can see a list of employees that belong to the group that you've selected in the group selector. In the list of people, you can see some basic information right away, including name, badge number, phone, email, agreement, skills, unit, section, role, and status.

Add a new employee
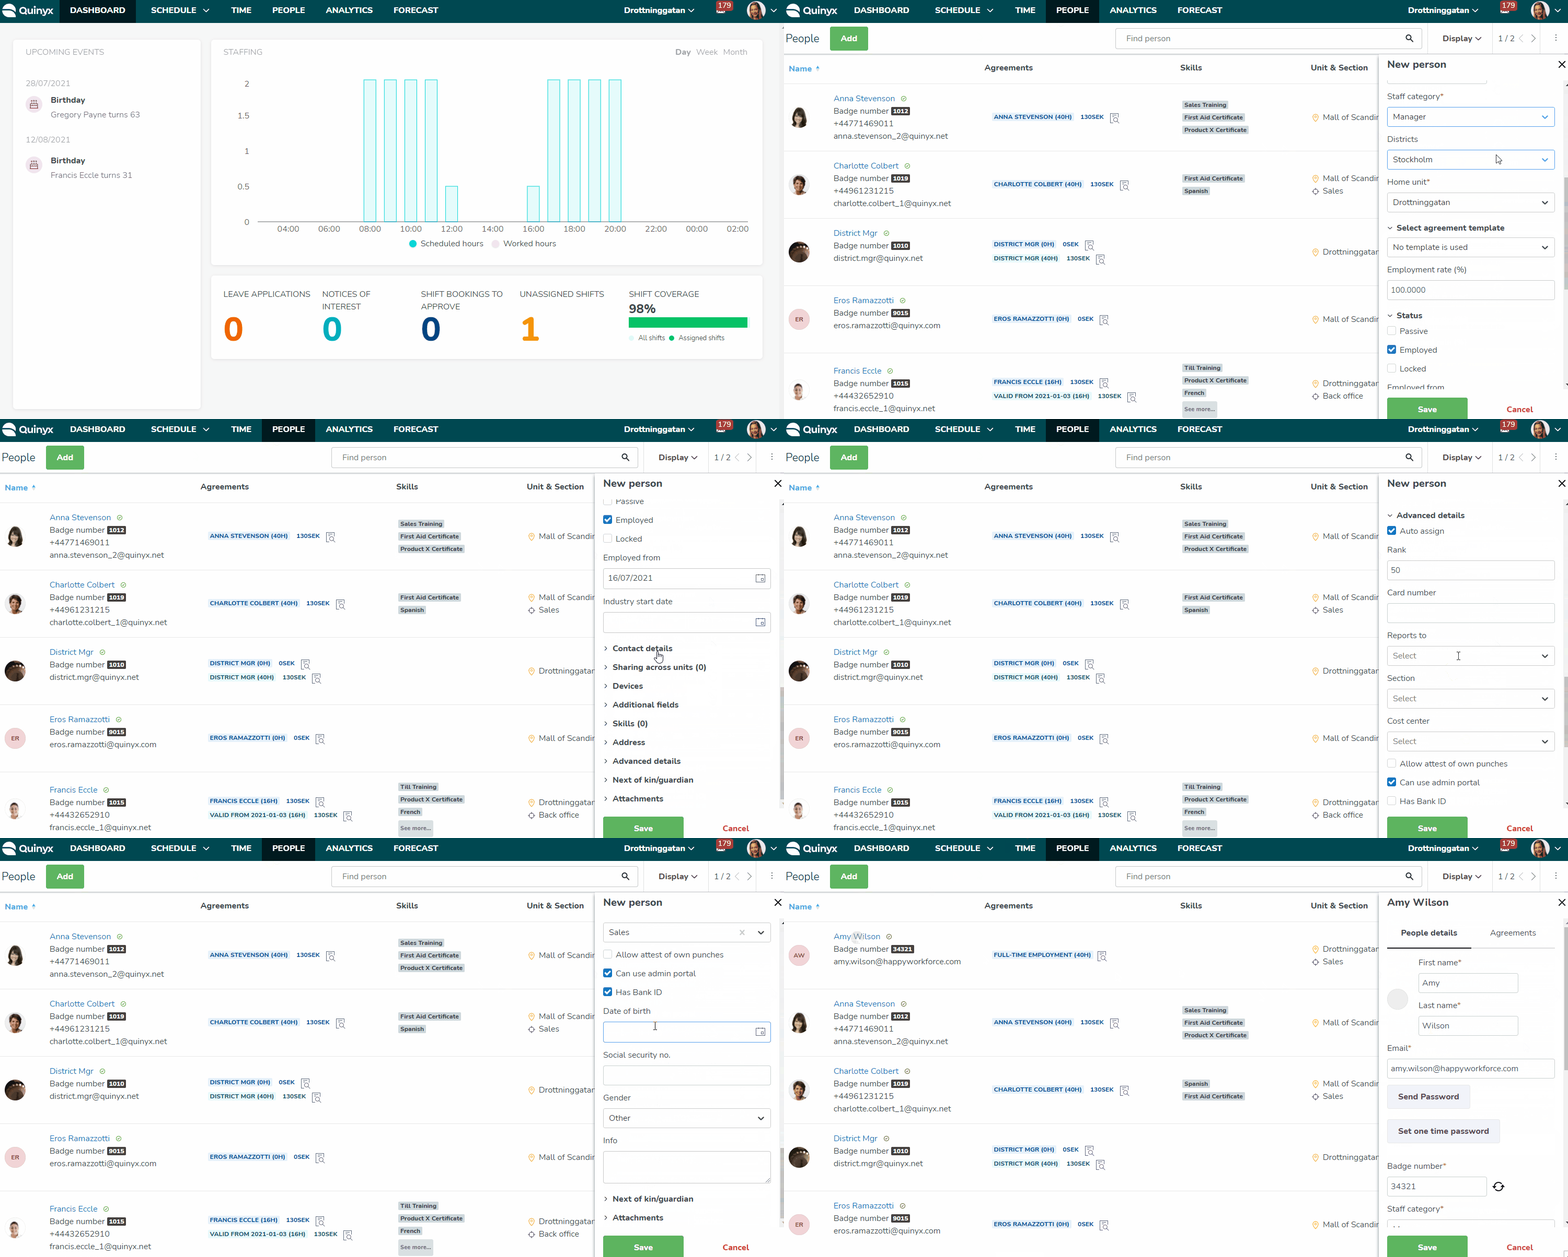
You can add new people by clicking the "Add" button. This will open a blank side panel where you enter detailed information about the person. On the top of this "New person" side panel, the most frequently used information fields are shown by default and some of these fields are required, as denoted by a red asterisk.

- First & last name: Enter the person's name.
- Email: Enter the person's email address. Note that newly added people will receive a welcome email to set their password.
- There is a maximum of 255 characters for email addresses.
- Send welcome email: Check if you want an automatic welcome email to be sent to the employees registered email when you save the employee. This action can only be triggered when adding a new employee manually.
- Badge no: Enter the person's badge number. Click the two-arrow circle to the right of this field to generate a new badge number.
- There is a maximum of 20 characters.
- The number must be unique.
- There are no validations around use of numbers vs letters vs special characters, i.e., "")=€("%=#(%
- Staff category: Use the drop-down list to select the category the person in question will be linked to. The option you choose will determine the person's system permissions.
- District: Select the appropriate district.
- Home unit: If your company's Quinyx setup consists of multiple units, set the person's home unit.
- Select agreement template: Select any pre-configured agreement template. Read more about using agreements with employees here.
- Employment rate: Enter the percentage of time the employment works.
- Status: Select whether the employee is passive or employed and if the status is locked. Passive employees can't log into Quinyx. Also note that when you mark an employee as passive, they no longer count as an active license.
- Contact details: Fill in employee contact details and whether the employee should be contacted via Qmail, email, or SMS.
- Sharing across units: Here, you can choose to share your employee across multiple units. You can also allow the employee to have base schedules on other units.
- Devices: You can link devices here if configured.
- Skills: Add any relevant skills that you've pre-configured in Account settings > Skills.
The default number of employees you can view on one page is 10. When there are more than 10 employees, use the < > keys to navigate between the pages.

Agreement template & employment rate
You also have the possibility to select an agreement template and employment rate that will be set in the default agreement created when the person is saved. This way you don't have to navigate to the agreement settings if the agreement template and employment rate contains the needed settings.
Status
In the "Status" section you have the possibility to choose from when the person starts and until when the person is employed. The status set here is reflected by the symbol shown in the employee list.
- Passive: Tick this box if this person should be kept in the system, but inactive in scheduling and removed from all lists. The employee does not personally have access to Quinyx while he/she is flagged as Passive. This may be relevant when people are on parental leave or for summer temps, for example. If you tick "Passive", a red exclamation mark will be shown next to the green tick symbol by the employee name.

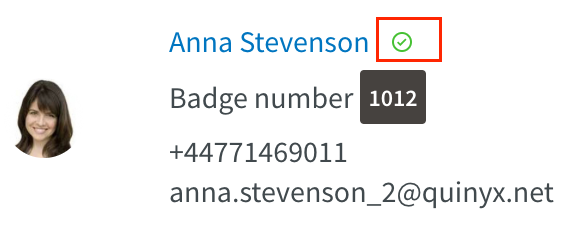
- Employed: Tick this box if this is a current employee that should be available in scheduling and lists and have personal access to Quinyx. If you tick "Employed", solely the green tick symbol will be shown next to the employee name:

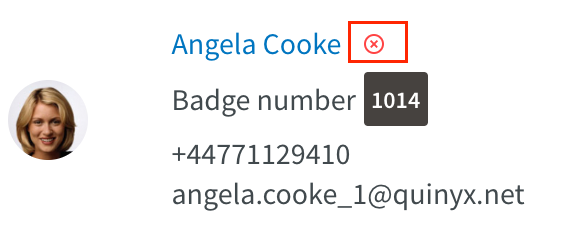
- Note that if you don't tick any of the above boxes and the "To date" is set in the past, or if the "Passive" box is checked but the "To date" is set to a past date, this will be interpreted by Quinyx as the employee being permanently passive. As a result, a red cross in a circle will appear next to the employee's name in the list:

Save
When you have filled in the necessary information about the person, click the "Save" button.
You can go back at any time and make changes to the person:


