Group management
 Updated
by
Leigh Hutchens
Updated
by
Leigh Hutchens
You can use Group management to add/edit/delete districts, sections, and units.
Districts
Add districts
Navigate to Account settings > Group management and click on the domain. A side panel will open where you can click on add districts:
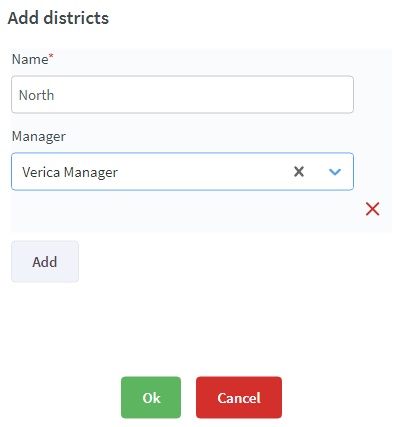
- Set a name for the district (mandatory).
- Select a manager for the district (not mandatory).
- However, while not mandatory, it is necessary to set a manager for Webpunch to function properly.
- If you want to add multiple districts at the same time click on add and repeat the steps above.
- When you are done click OK and the districts will be created.
Edit districts
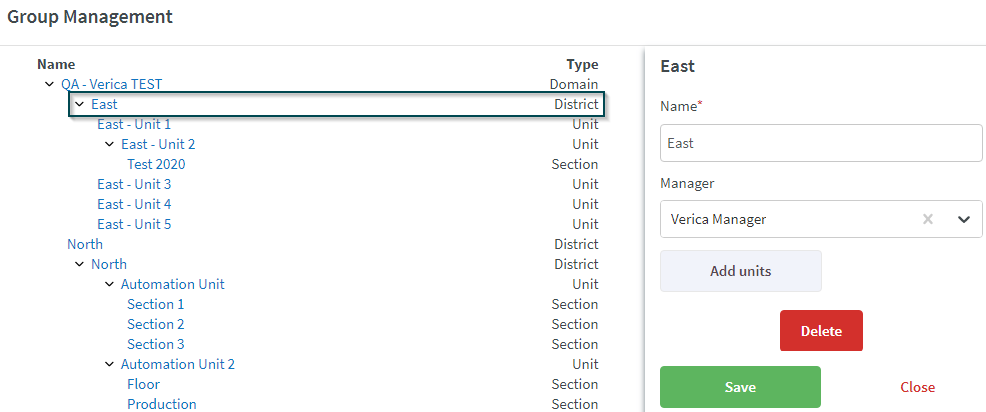
Navigate to Account settings > Group management and click on a district. A side panel will open where you can edit the name and manager for the district. Click Save when you are done with your changes:
Delete districts
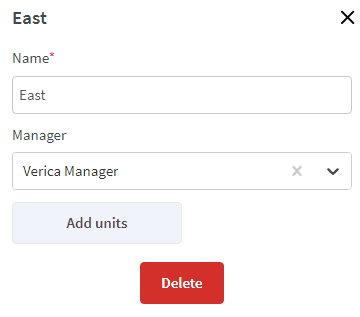
Navigate to Account settings > Group management and click on a district. A side panel opens, and at the bottom of the panel you will see a delete button:
After clicking delete, you will see a confirmation dialogue. Click OK if you want to proceed with the deletion.
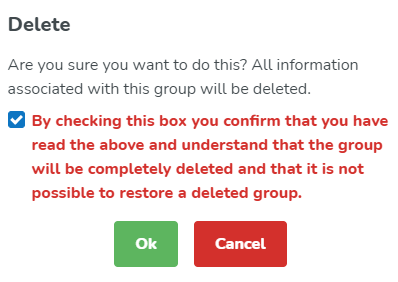
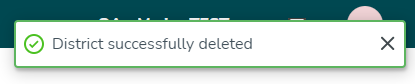
A message displays in the top-right corner indicating whether the deletion was successful.
Sections
Add sections
Navigate to Account settings > Group management and click on the unit where you want to create sections. A side panel will open where you can add sections:
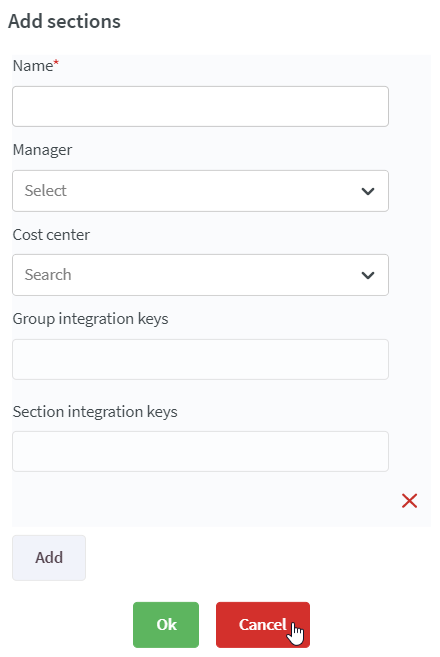
- Set a name for the section (mandatory).
- Select a manager for the district (not mandatory).
- Select a cost center for the sections (not mandatory).
- Add Group integration keys.
- Add Section integration keys. If you want to add more than one integration key for a section, just click the plus sign, and a new field will appear where you can enter additional integration keys (not mandatory).
- If you want to add multiple sections at the same time, click add and repeat the steps above (not mandatory).
- When you are finished, click OK and the sections will be created.
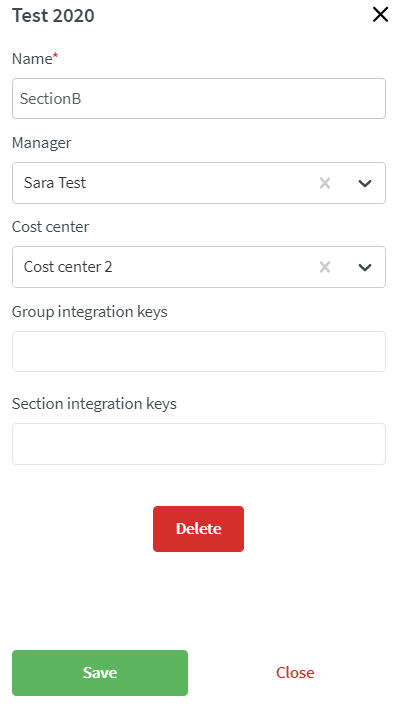
Edit sections
Navigate to Account settings > Group management and click on a district. A side panel will open where you can edit the name, manager, cost center, and group and section integration keys for the section.
If you want to edit an existing integration key, just change the key before saving the section. If you want to remove an existing integration key, just delete the entered key from the field before saving the section.
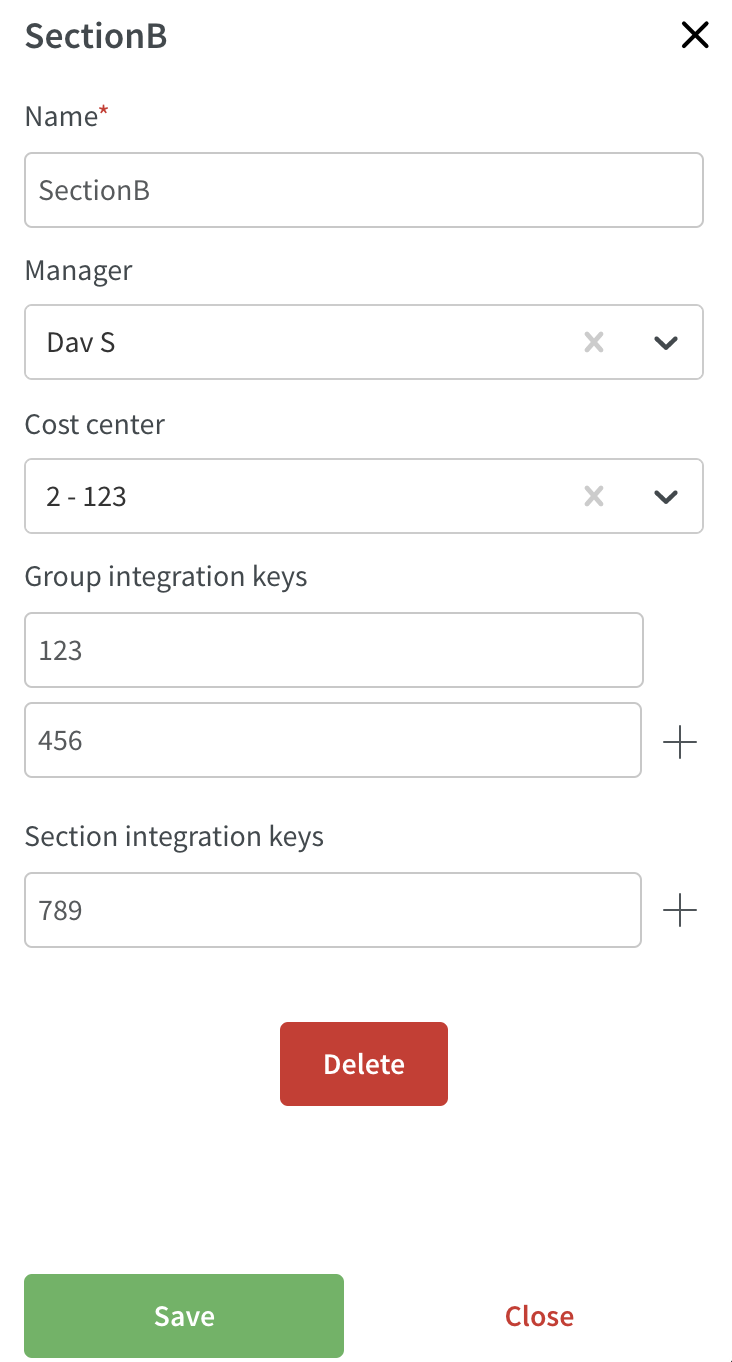
Save when you are done with your changes.
Delete sections
Navigate to Account settings > Group management, and click on a section. A side panel opens, and at the bottom of the panel you will see a delete button.
After clicking delete, you will see a confirmation dialogue. Click OK if you want to proceed with the deletion. A message displays in the top-right corner indicating whether the deletion was successful.
Units
Add units
Navigate to Account settings > Group management and click on a district. A side panel opens, allowing you to add units:
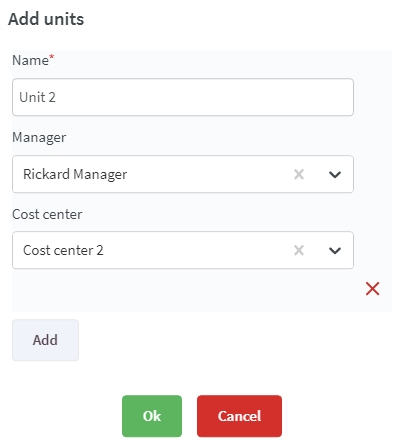
- Set a name for the unit (mandatory).
- Select a manager for the unit (not mandatory).
- Select a cost center for the unit (not mandatory).
- If you want to add multiple units at the same time, click add and repeat the steps above.
- When you are finished, click OK to create the units.
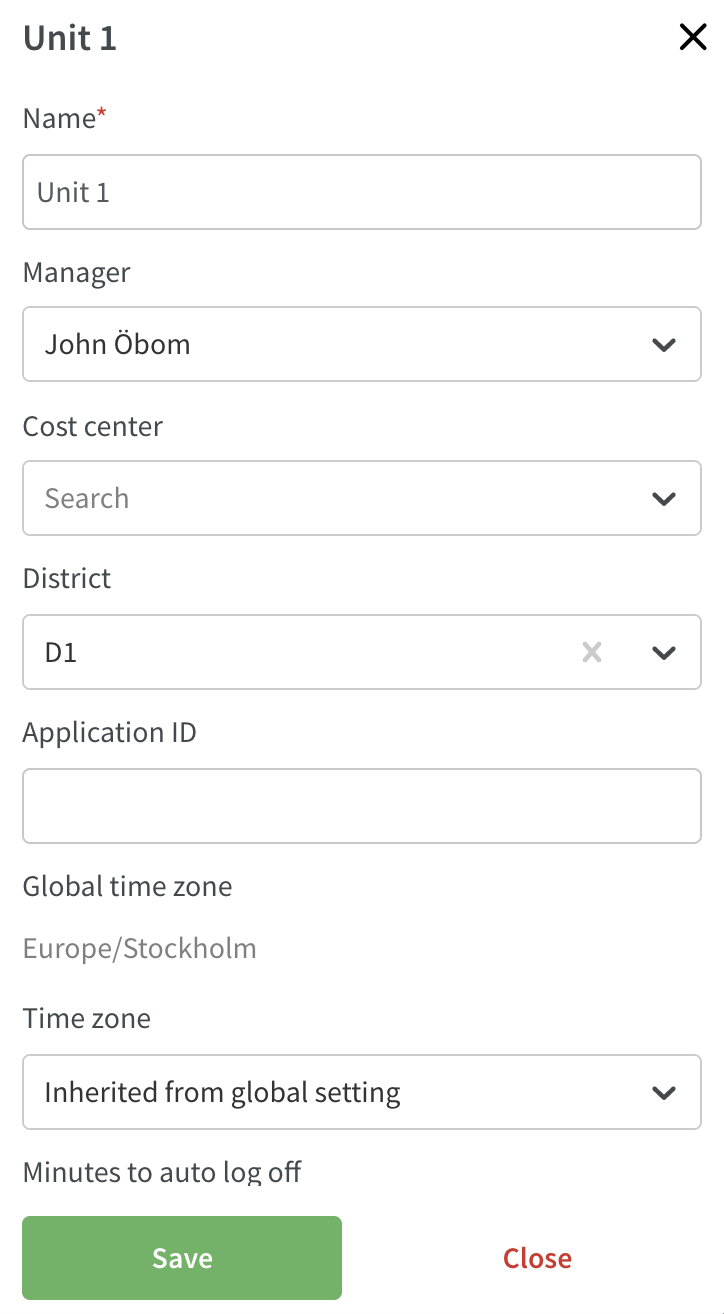
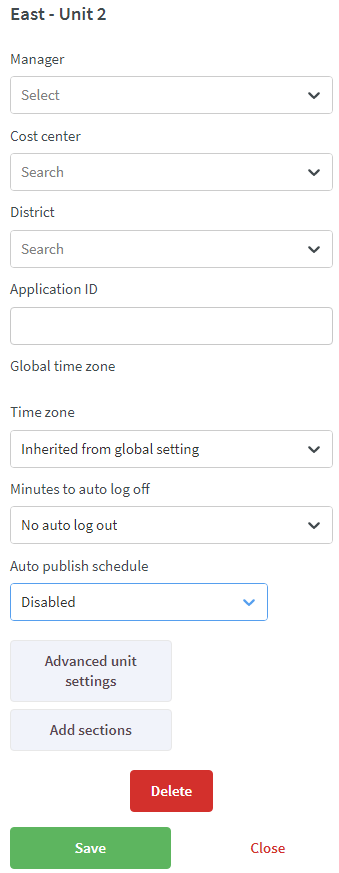
Edit units
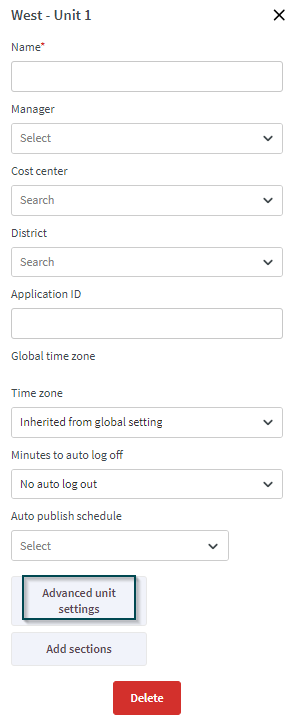
Navigate to Account settings > Group management and click on a unit. A side panel will open where you can edit the most common settings for the unit. Save when you are done changing one of the settings in the side panel:
In addition, and to make it easier to find a main unit, you will also find an Edit main unit button to the Group management overview in Account settings.
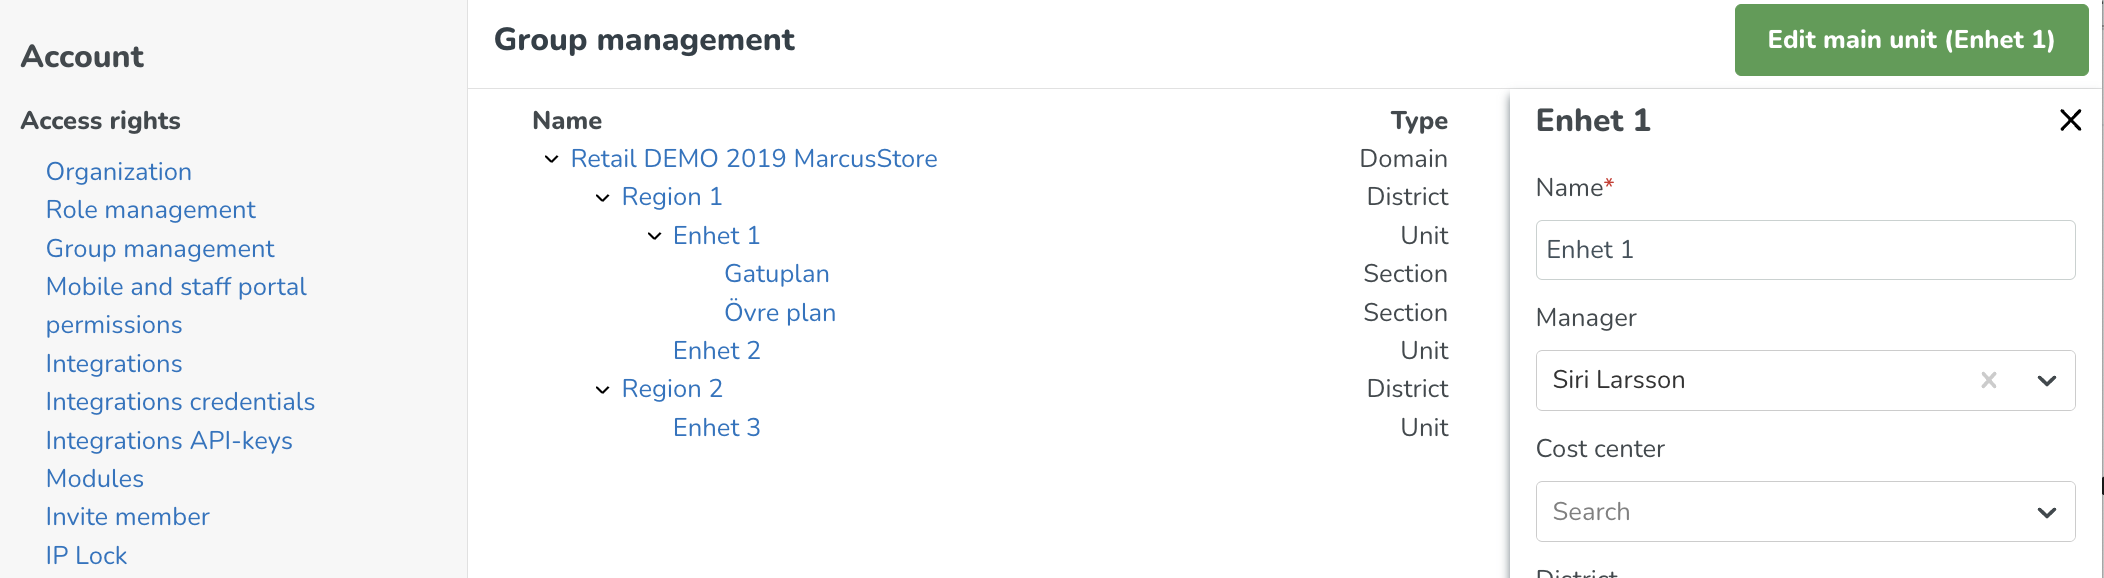
The name of the main unit is displayed on the button, and if you click the button, the main unit detail panel will open for viewing or editing.
Advanced settings
If you want to edit additional settings for the unit, click on Advanced unit settings at the bottom of the side panel:
A full-page form with all the settings available for the unit will open.
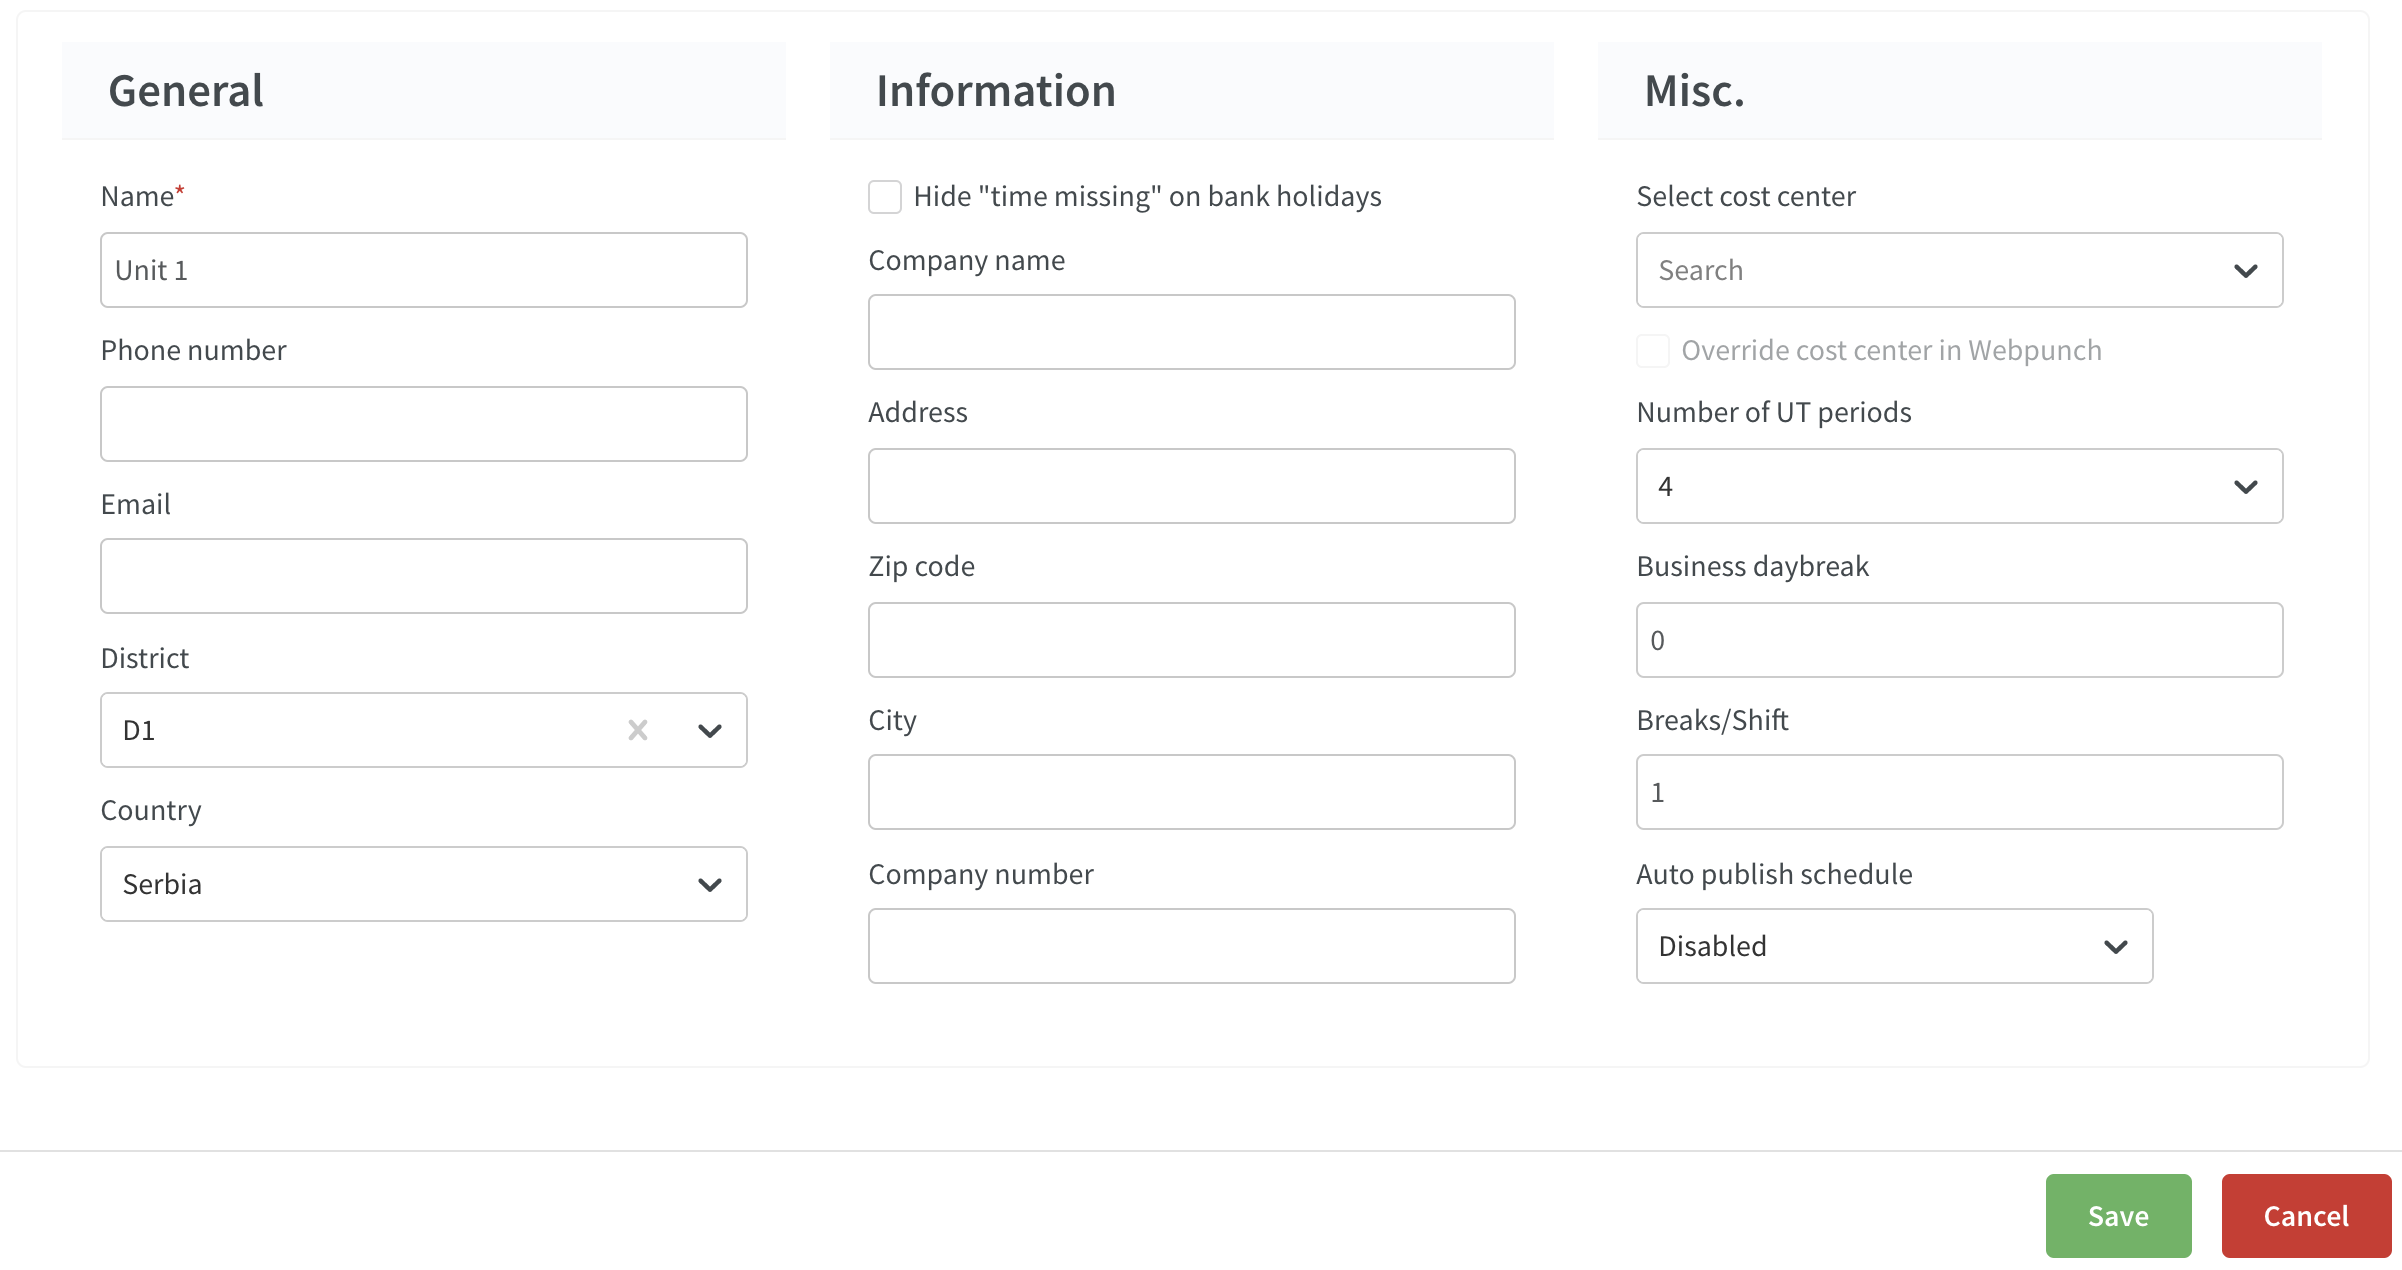
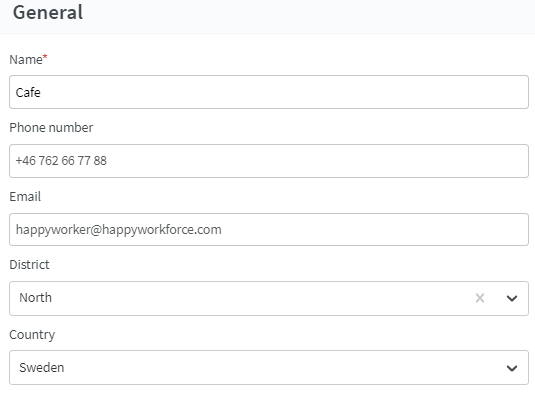
General
Give the unit a name, the first unit should be a main unit. The settings in the main unit will then be the same for other subsequent units created.
For restaurants in Sweden, the company number (org.nr) must be added for the Presence report to be valid. Read more about generating reports here.
Information
If the unit is not a main unit, enter company information including company registration number. This is important in order to produce reports (for example, as personnel registers for the restaurant industry).
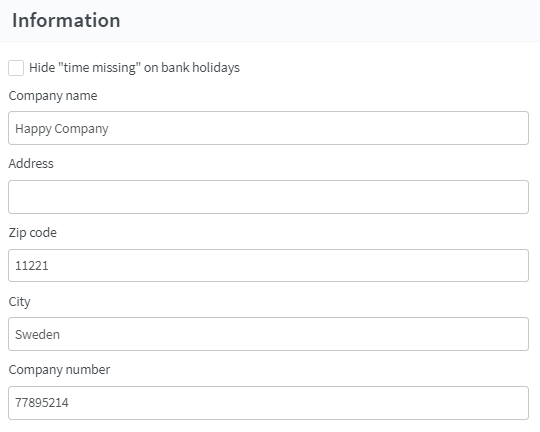
This information must be added if you want to use the e-signing PDF functionality Scrive, since some of the information for the PDF is mapped from the unit card.
Misc.
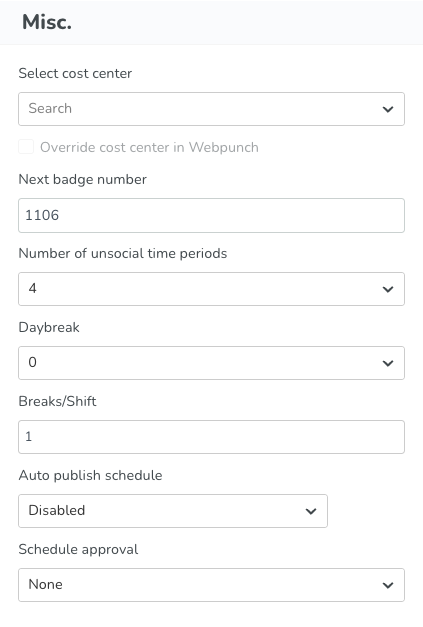
- Select cost center: Select a default cost center.
- Override cost center in Webpunch: Tick to override cost center when punching in Webpunch.
- Next badge number: Select the badge number you want to start with when creating a new employee
- Number of UT periods: Select how many unsocial hours periods are to be used. It's possible to select up to 8 unsocial hours periods.
- Business daybreak: Select the hour from which the display is to begin in the Schedule view.
- Breaks/Shifts: Select the maximum number of breaks per shift. Max 4.
- Autopublish schedule: Select whether the schedule is to be published automatically and at which frequency; options are Disabled, Days, Weeks, Months.
- Schedule approval: Select to set up the approval of schedules by non-scheduling personas for reviewal. By default, this is set to "None", which means that it's not activated. By selecting "One step approval" you will activate it and can assign the role responsible for the approval.
Settings
Under Settings, you can select the first day of the week, time zone, currency, minutes to auto log out, and allow SSO login.
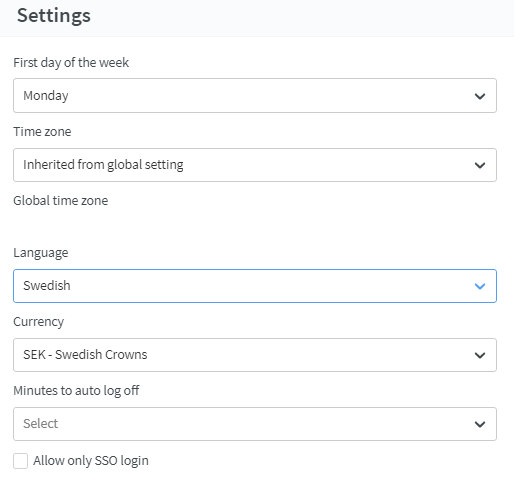
First day of the week: Which day should be displayed as first day when looking at the weekly view in Schedule
Time zone: Same functionality as on the first page of the unit card
Language: Which language you choose can affect some settings.
Daybreak: Which daybreak do your business have and display when the day start in the Schedule view.
Currency: For Salary and cost calculations. Which currency to display in
Minutes to auto log off: Same functionality as on the first page of the unit card
Allow only SSO login: If logging in to Quinyx should only be available on SSO. SSO then needs to be configured in Quinyx for your account.
Messages
Configure under which circumstances you want employees to receive messages.
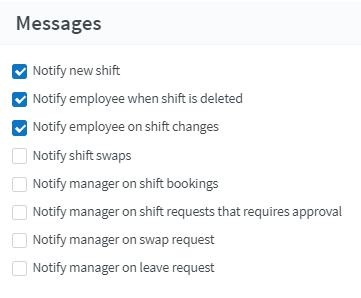
If Notify new shift, Notify shift deleted, and Notify shift changes are enabled, and the employee has the agreement setting "Allow punching on tasks", then the employee will be notified when a task is changed on their shift in a published period.
The employee will receive a notification in the following cases (only valid in published periods):
- When a task is assigned to employee.
- When time or date is changed.
- When a task is deleted.
Functionality
You can configure mobile app settings under Functionality:
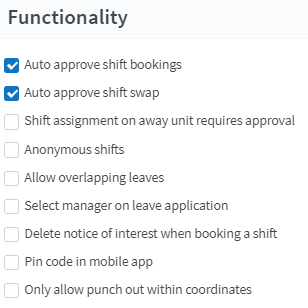
- Auto approve shift bookings: Tick if you want to permit shift bookings for staff, provided that all requirements for booking the shift are met.
- Auto approve shift swap: Tick if you want to allow staff to change shifts when all requirements are met.
- Shift assignment on away unit requires approval:
- Anonymous shifts: Select whether the shifts displayed under "My schedule" are to be anonymous, or whether the names of staff are displayed.
- Allow overlapping leaves: Select whether it's possible to have overlapping leave.
- Select manager on leave application: Select whether the employee's manager is selected automatically, or whether the employee is allowed to select a manager from a list.
- Delete notice of interest when booking a shift: Select whether expressions of interest are to be deleted when booking shifts.
- Pin code in mobile app: Require the user to enter a PIN code every time they open the app. The user will be asked to create a PIN code when logging in for the first time.
- Only allow punch out within coordinates: Only permit punching out if the employee is within the coordinate radius defined for the unit. If they leave the coordinate radius without clocking off, they will be clocked off automatically in accordance with the auto clock out settings for the agreement or agreement template.
Rules for hours
You can set up rules for working time that are to apply to employees. The rules you set then help during scheduling. Quinyx generates warnings when the rules are breached. If rules are set on the employees agreement those will override the rules set on the unit.
The rules for hours is also configured in the Agreement Templates. The rules in the templates will override the rules on the unit for the employee associated with the template.
Example:
- Create an unassigned shift = unit setting rules.
- Create a shift for an employee with agreement template = templates settings.
Rules for working time
Set specific working time hours:
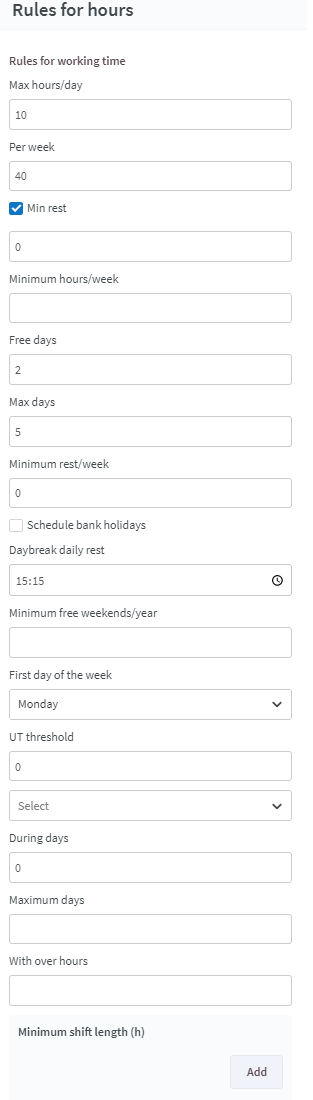
- Max hours/day: The maximum number of hours for which the employee may be scheduled per day, before Quinyx issues a warning.
- Per week: In this case, we have specified that the scheduled time per week may amount to a maximum of 48 hours.
- Min rest:: The minimum rest period, daily rest, is set to 11 hours in the example. The box on the right determines whether the rest period can extend beyond daily break (in which case the box is checked) or whether the total rest period must fall within the preset 24-hour period (in which case the box will be unchecked). In the latter case (with the box unchecked), there is no need for 11 hours' rest between work shifts, but the rest period can be taken any time during the 24-hour period, but not extending beyond daily break.
- Minimum hours/week: The minimum limit for the number of scheduled hours per week.
- Free days: The minimum number of consecutive days off the employee is entitled to after working the maximum period specified in the field above.
- Max days: The maximum number of consecutive days that may be scheduled for the same employee. Quinyx generates a warning if the employee is scheduled for more than these consecutive days.
- Minimum rest/week: Just as with daily rest, you can specify how many hours of continuous weekly rest the employee is to have. E.g. 35 hours. Quinyx will also generate a warning in this case if the minimum weekly rest quota is not met.
- Schedule bank holidays: If the agreement template covers people who work in a unit which, for instance, closes for every bank holiday, such as a head office, this box can be unchecked. You will then receive a warning about trying to schedule employees for days which are entered as bank holidays in Quinyx.
- Daybreak daily rest:: This refers to the time for daily daybreak. This value set here will impact min daily rest, min weekly rest, max hours per day and max hours per week.
- Minimum free weekends/year: This field can be used if the employee is entitled to have a certain number of weekends off per year.
- First day of the week: Specify the first day in a 7-day period. This period is specified so that Quinyx can monitor within which 7-day period the weekly rest quota is achieved.
- UT threshold: Some collective agreements state employees must work a certain number of hours per week or calculation period for employees to be entitled to unsocial time compensation. This compensation will in that case be based on the relevant unsocial time periods. Unsocial time compensation will be generated only when the specified time limit is reached. When the time limit is reached, said compensation will also apply retrospectively to the whole period.
- During days/Maximum days/With over hours: These three fields are used in conjunction with each other are only relevant for a few collective agreements. In these collective agreements, there's a rule saying that during a particular period, there's a limit to the amount of days during which the employee may work shifts exceeding a number of hours. As an example, the rule could say that during a time period of 10 days, a maximum of 3 days worked by the employee may contain shifts with over 10 hours. A warning is generated in Quinyx if the rule specified in these three fields is broken.
- Minimum shift length: Click "Add" to add any rules on minimum shift length for which an employee can be scheduled. An example would be that the shift must be at least 6 hours if the shift starts anytime between 19:00 and 03:00.
Rules for breaks
Configure rules for breaks here:

- Calculate breaks as working time: Use this if you apply meal breaks (paid lunch breaks) in the workplace. This box must be ticked.
- Maximum work hours w/o breaks (h): Allows you to indicate the maximum number of work hours allowed without breaks.
- Minimum break (minutes)/ Maximum break (minutes): Allows you to indicate the length of the shortest and longest break. A warning is generated if you staff a shift with a break time that is shorter or longer than the minimum or maximum.
- Lock for schedule changes: Set the duration of the schedule lock in months, weeks, or days. This will trigger a warning if you try to schedule an employee within this period.
SMS/Coordinates
Configure SMS and coordinates in this section:

- Country code: Enter the country code for the location.
- Application ID: Application ID.
- SMS provider: Select the SMS provider.
- Get default SMS settings: Click this to have the following fields automatically populated.
- Service ID: Service ID.
- User name: Enter a company-specific user name.
- Password: Enter a unique password.
- Two-way SMS number: Two-way SMS number.
- SMS Sender: Enter the SMS sender.
- Coordinates: You can manually configure latitude, longitude, and radius here. These are defined in meters, and 1 meter = 3.2808399 feet. If the coordinate is around a specific location it could be good to add the location name and address you know what has been setup.
Shift
You can configure shift types here:
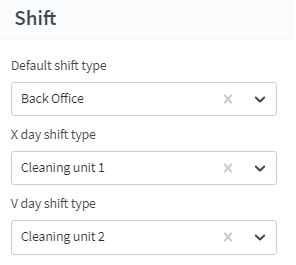
- Default shift type: Select default shift type that should be created if the employee punches in without being scheduled
- X day shift type: First day off.
- V day shift type: Second day off.
Delete units
Navigate to Account settings > Group management, and click on a unit. A side panel opens, and at the bottom of the panel you'll see a delete button:
After clicking delete, you will see a confirmation dialogue. Click OK if you want to proceed with the deletion:
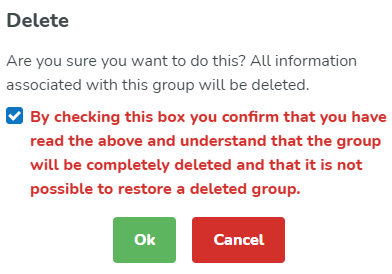
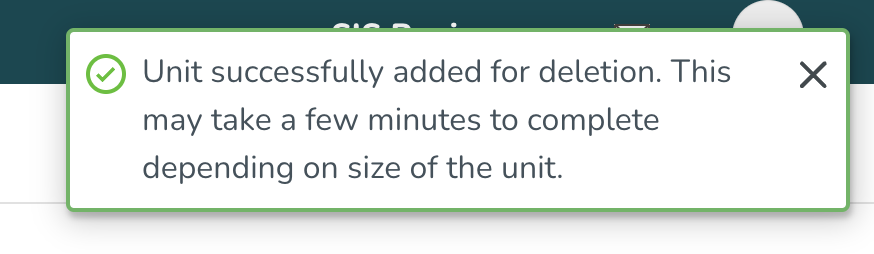
A message displays in the top-right corner indicating whether the deletion was successful.
When deleting a unit that includes all employees and connected data, Quinyx handles this as a background process. This means that, depending on the size of the unit and connected data, it can take a while before it is actually deleted and removed from the system: