Employee Hub - Saved Audience Admin Page
 Updated
by
Victor Jespersen
Updated
by
Victor Jespersen
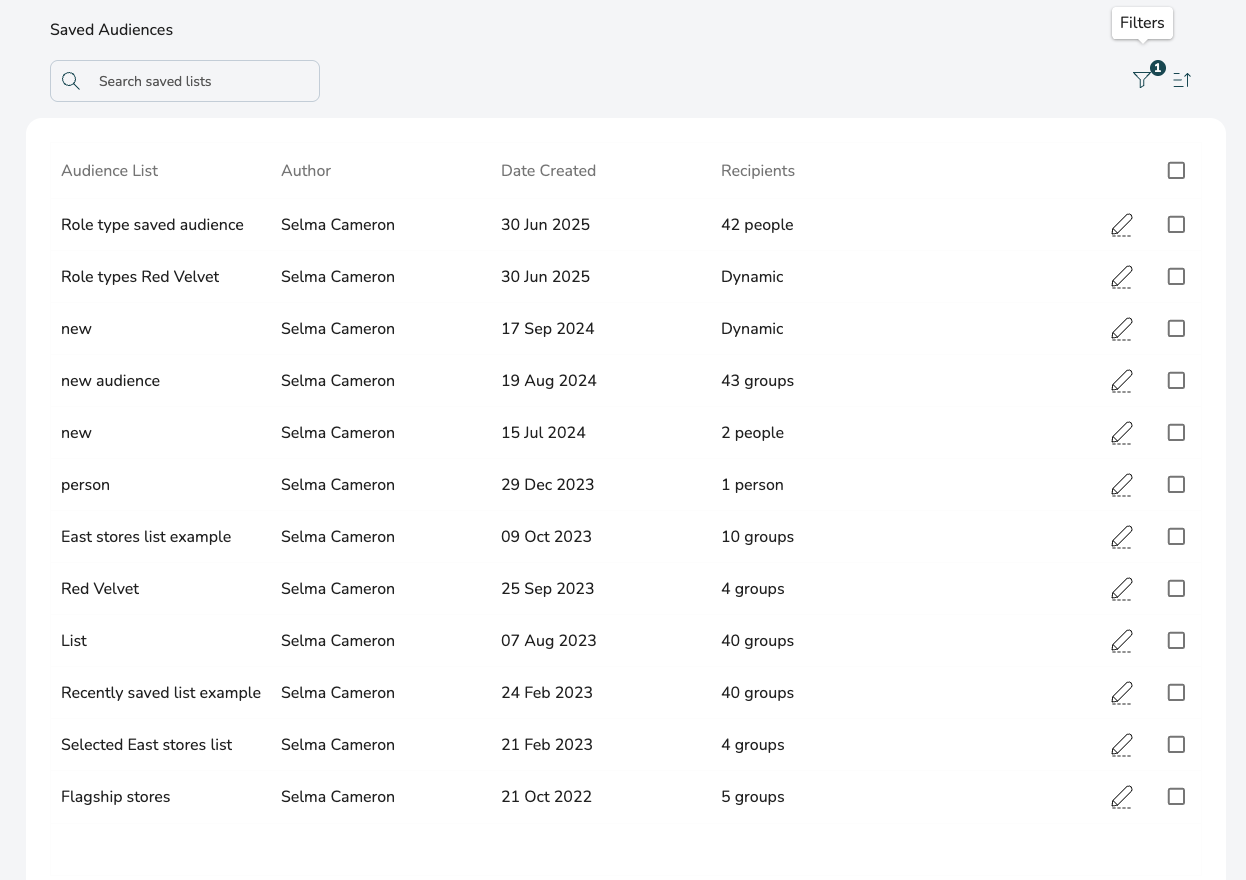
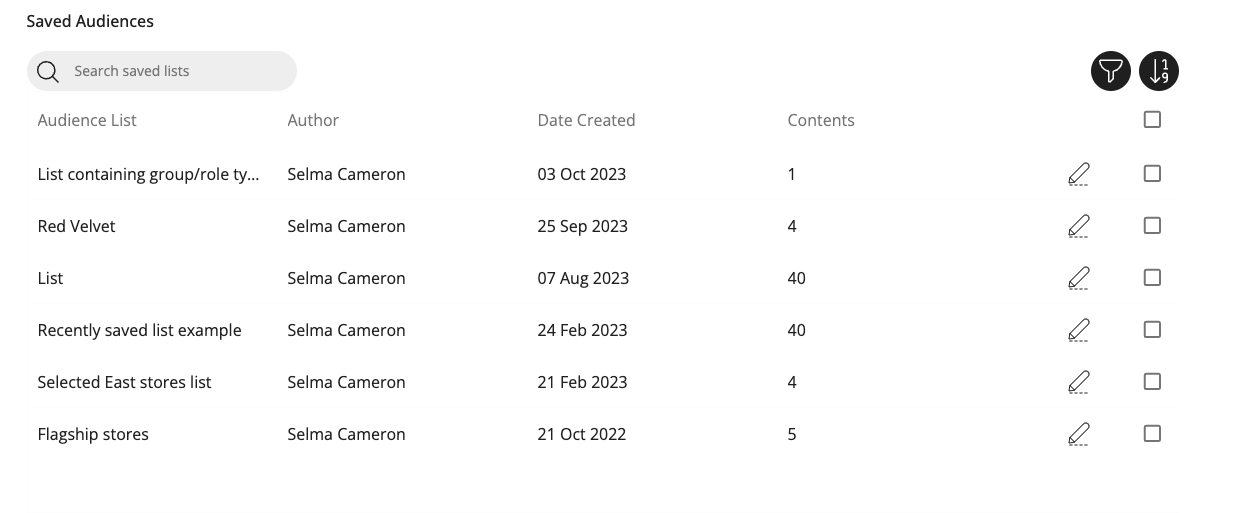
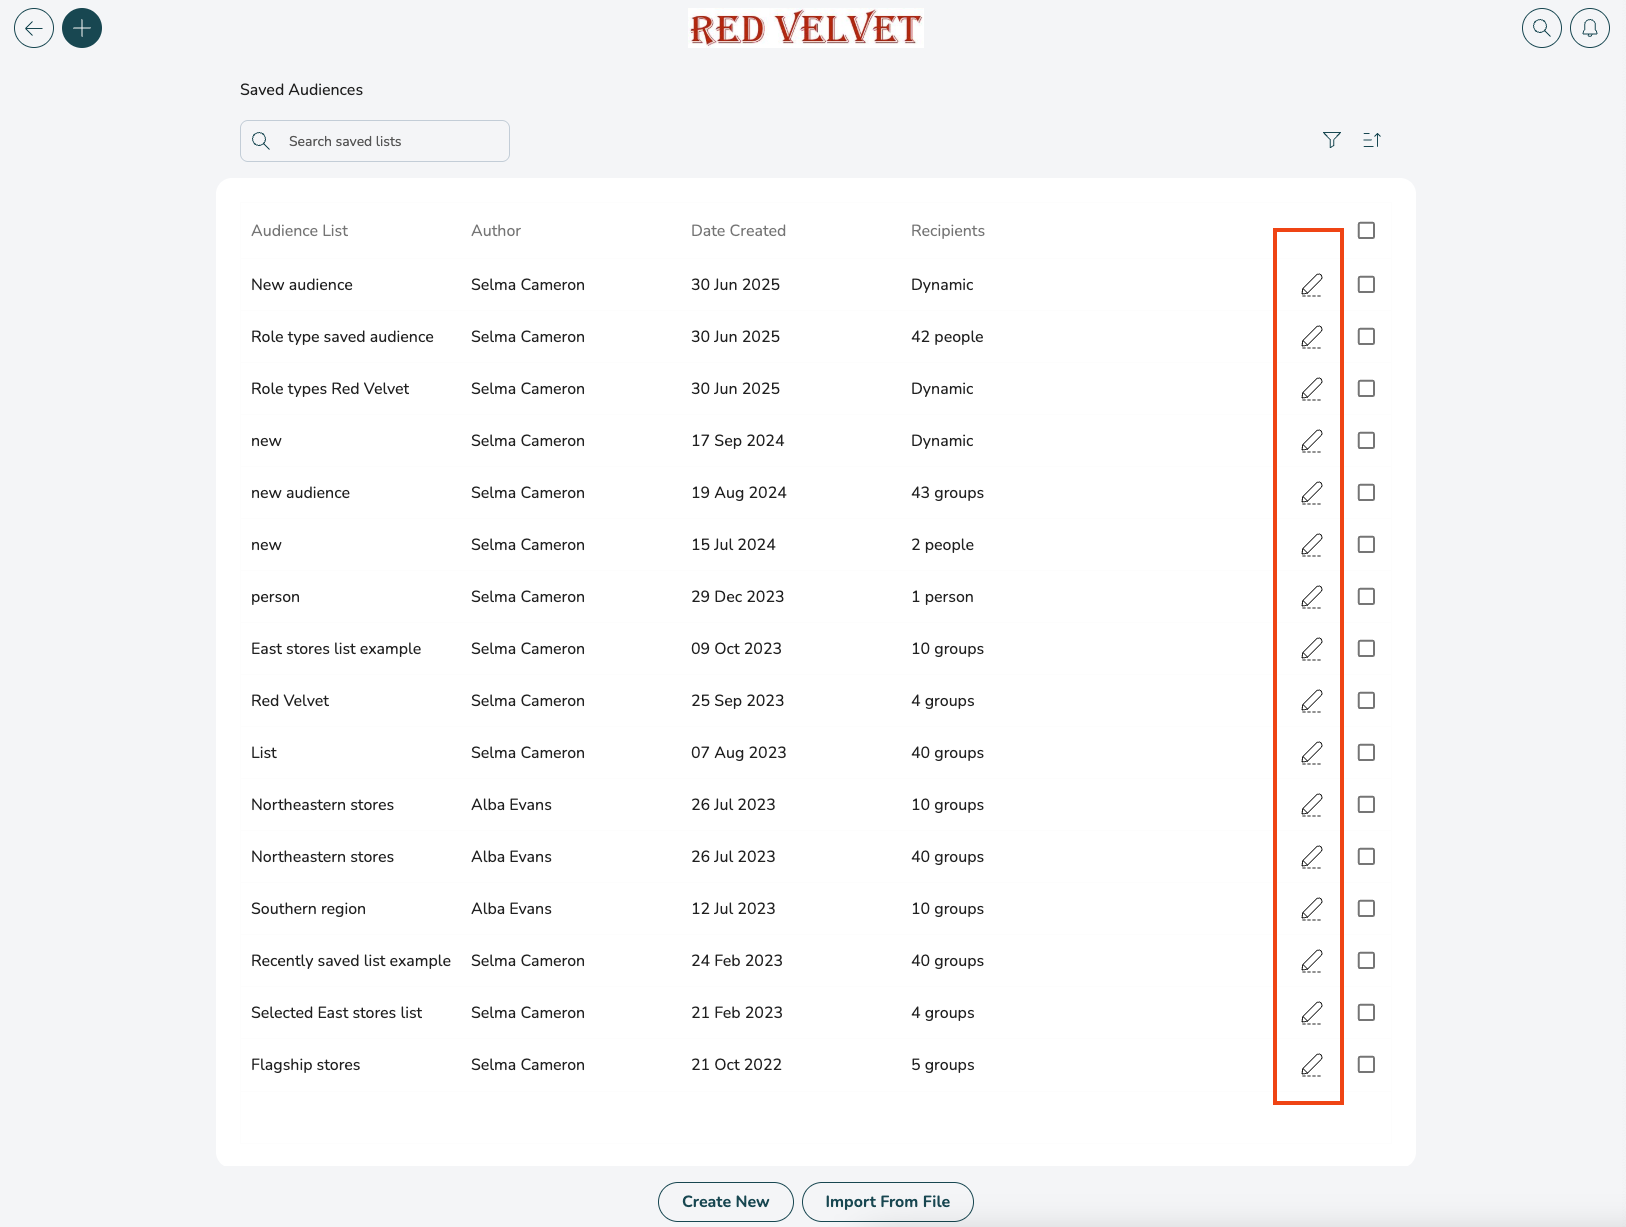
You can filter and search on the admin page for saved audiences. Saved lists are filtered by the following criteria:
- Group Type: Any group type available on this tenant. Tenants will have different group types named; for example, the typical "District" or "Store" but could also be "Warehouse" or "HQ." If the selected Group Type is used in the audience, the saved audience should be displayed.
- Role Type: Any role type available on this tenant. While "role type" is used here, this is actually the "Job Description" in current terminology. If the selected Role Type is used in the audience, the saved audience will be displayed.
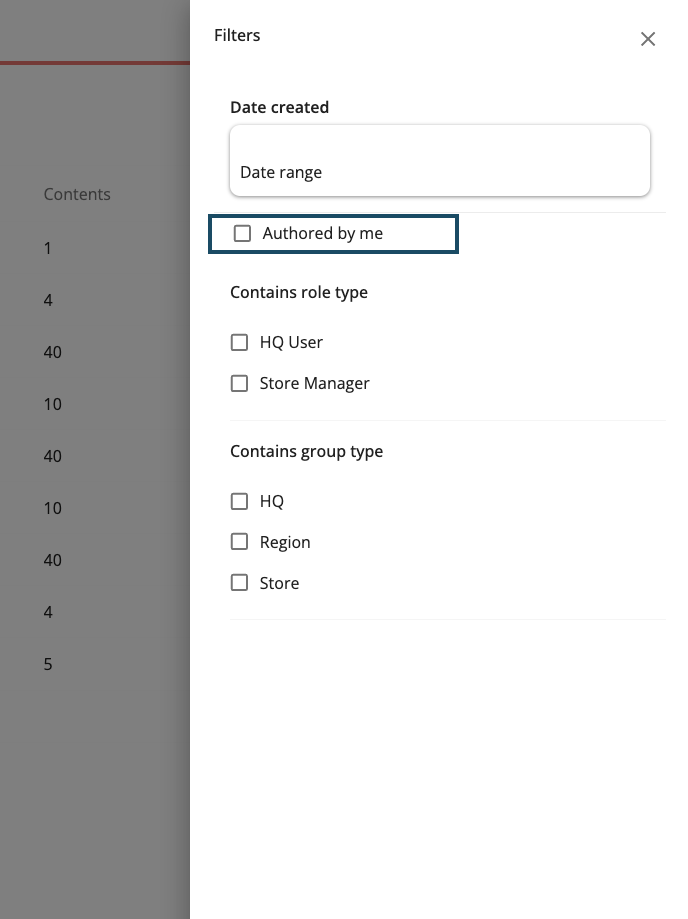
Filters
Group and Role type
Authored by me
You can filter to those lists you have created by adding a checkbox similar to that used on files for your own uploads. This is a checkbox that, when ticked, filters the list of saved audiences down to only those the current user themselves has created.
- In the Filter view, tick the checkbox Authored by me, and click Apply to see your own saved audience lists.
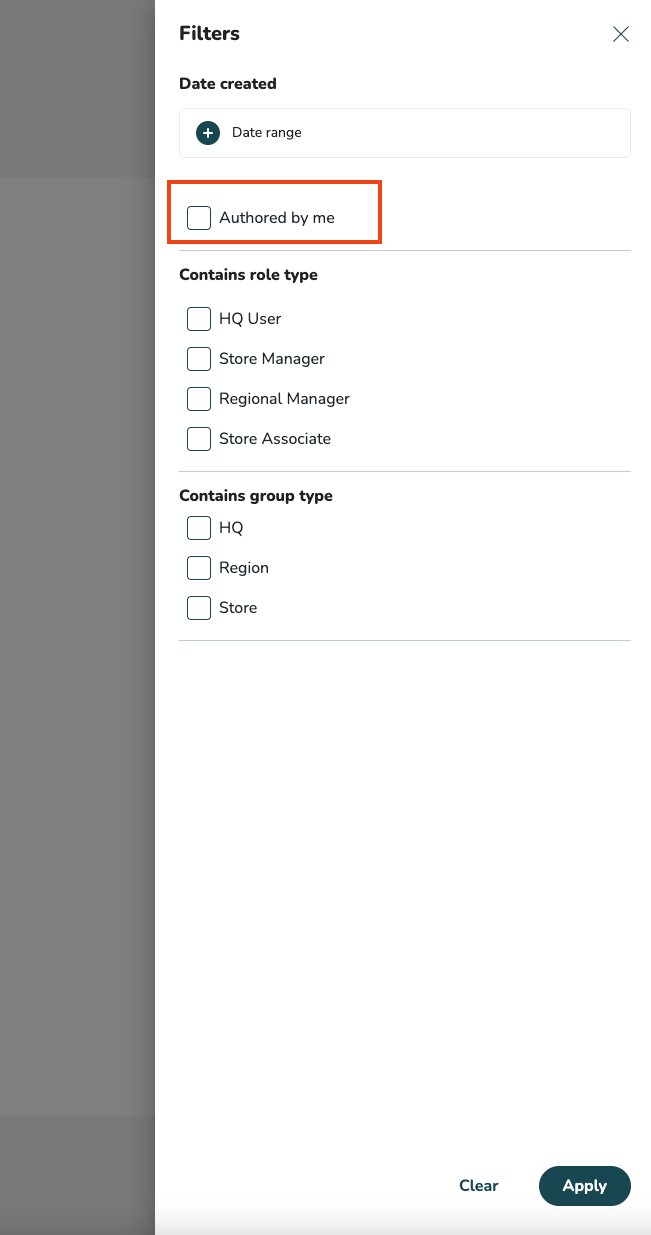
- You'll now only see Saved Audience lists that you've created.
Search
You can search for different types of information.
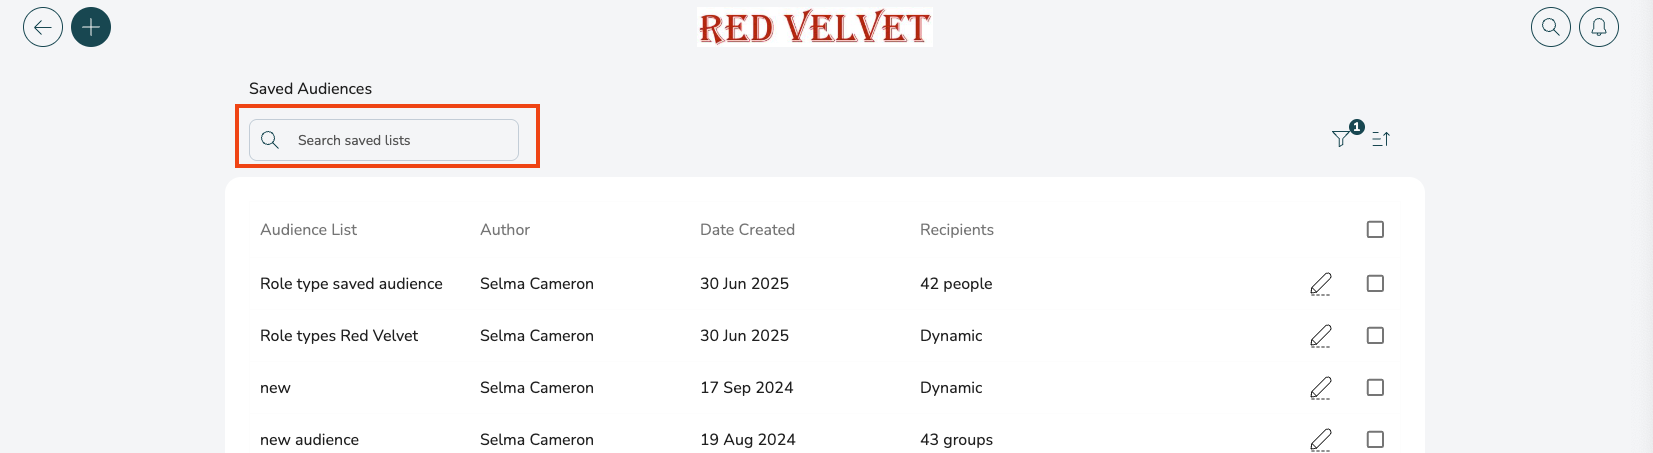
Search by group/role type
When adding group/role types to your audience after the method selector, when you select which group or role types you want, you can search the list. This helps save time when you have long lists and know exactly what you're looking for. The search field will work like any other search field, but it applies to these lists.
Group type
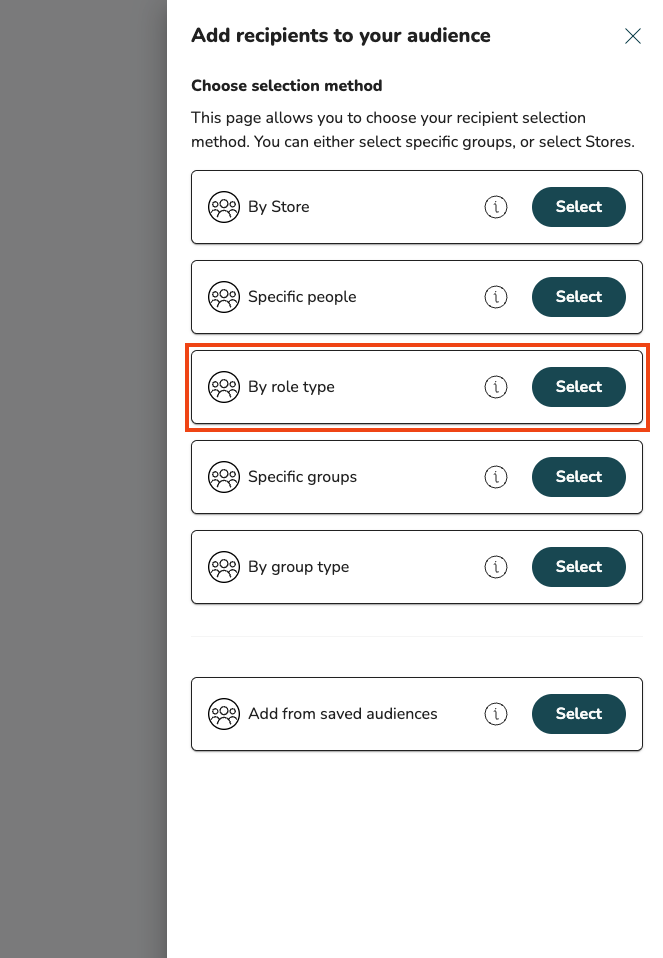
- In the Audience picker, click the plus icon to add recipients to your audience and proceed to the selection method view.

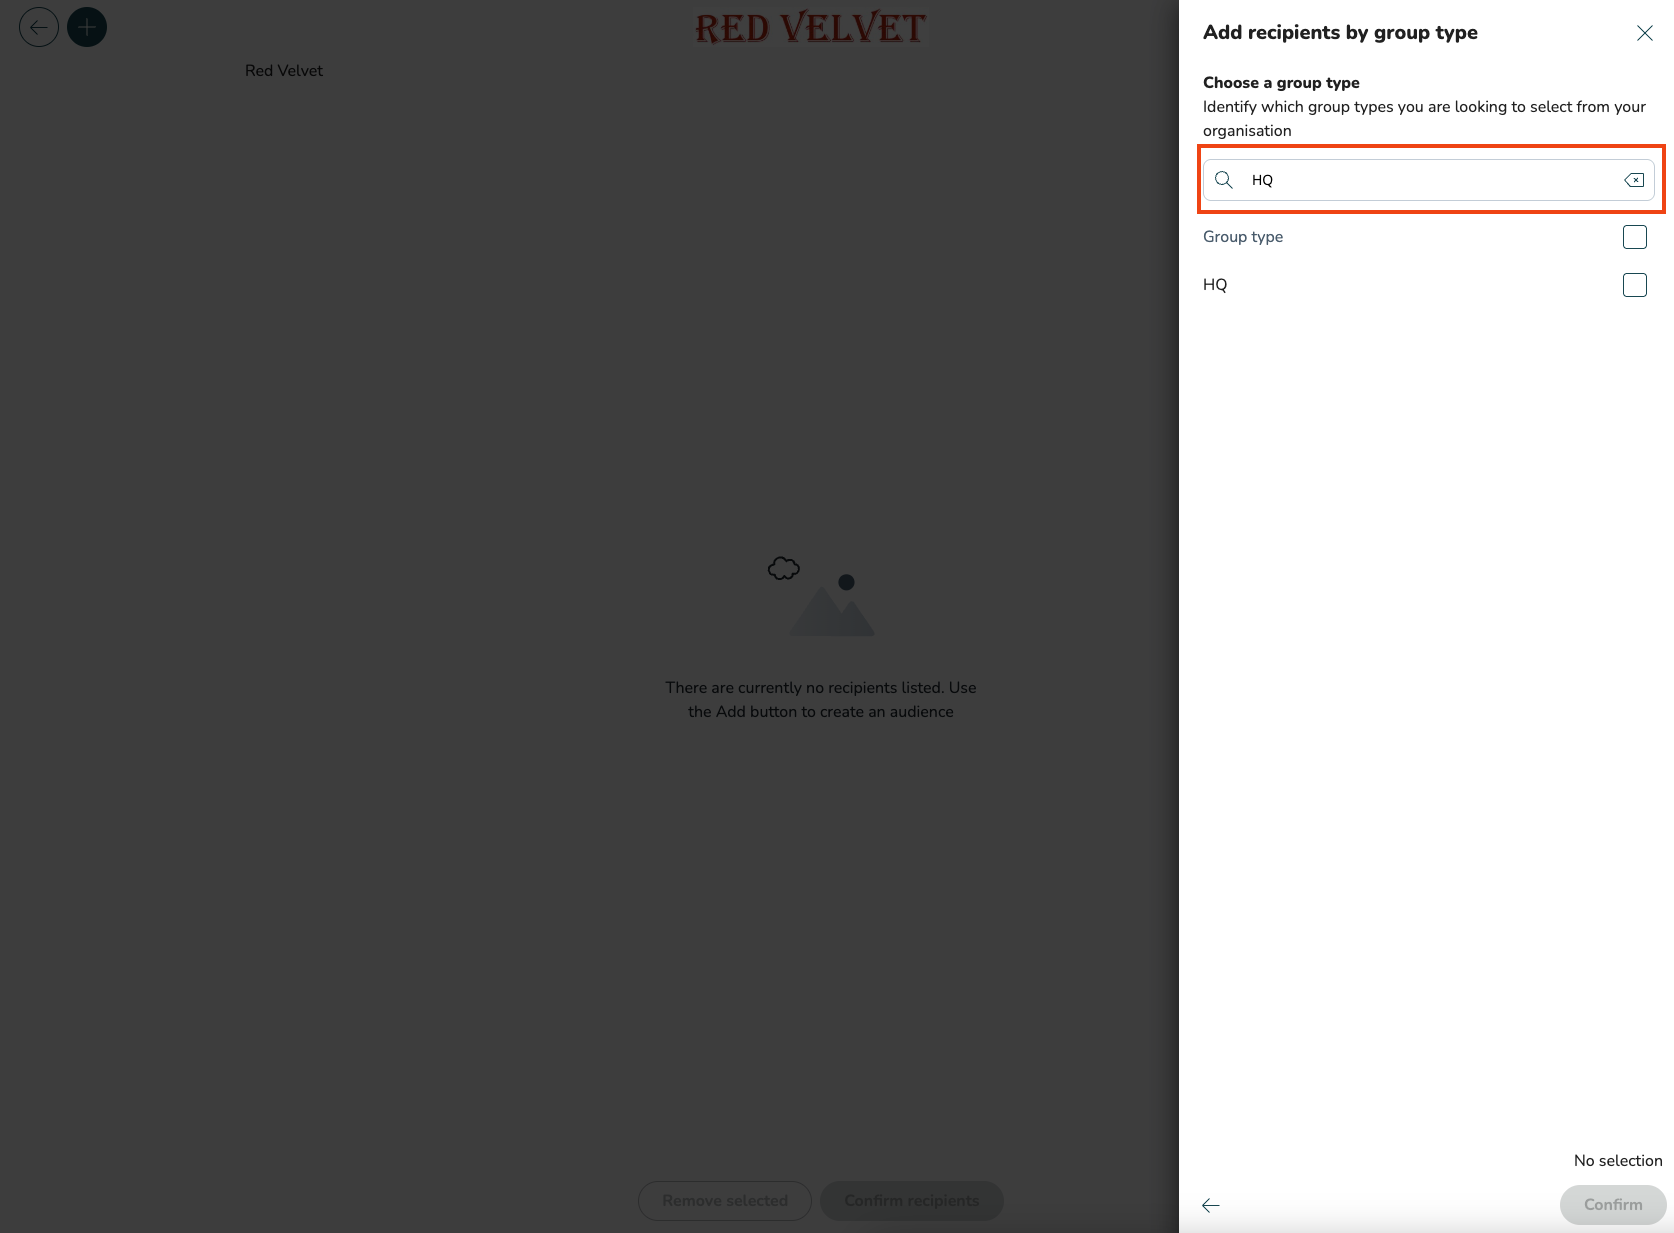
- In the method selector, select By group type to add recipients by group type.
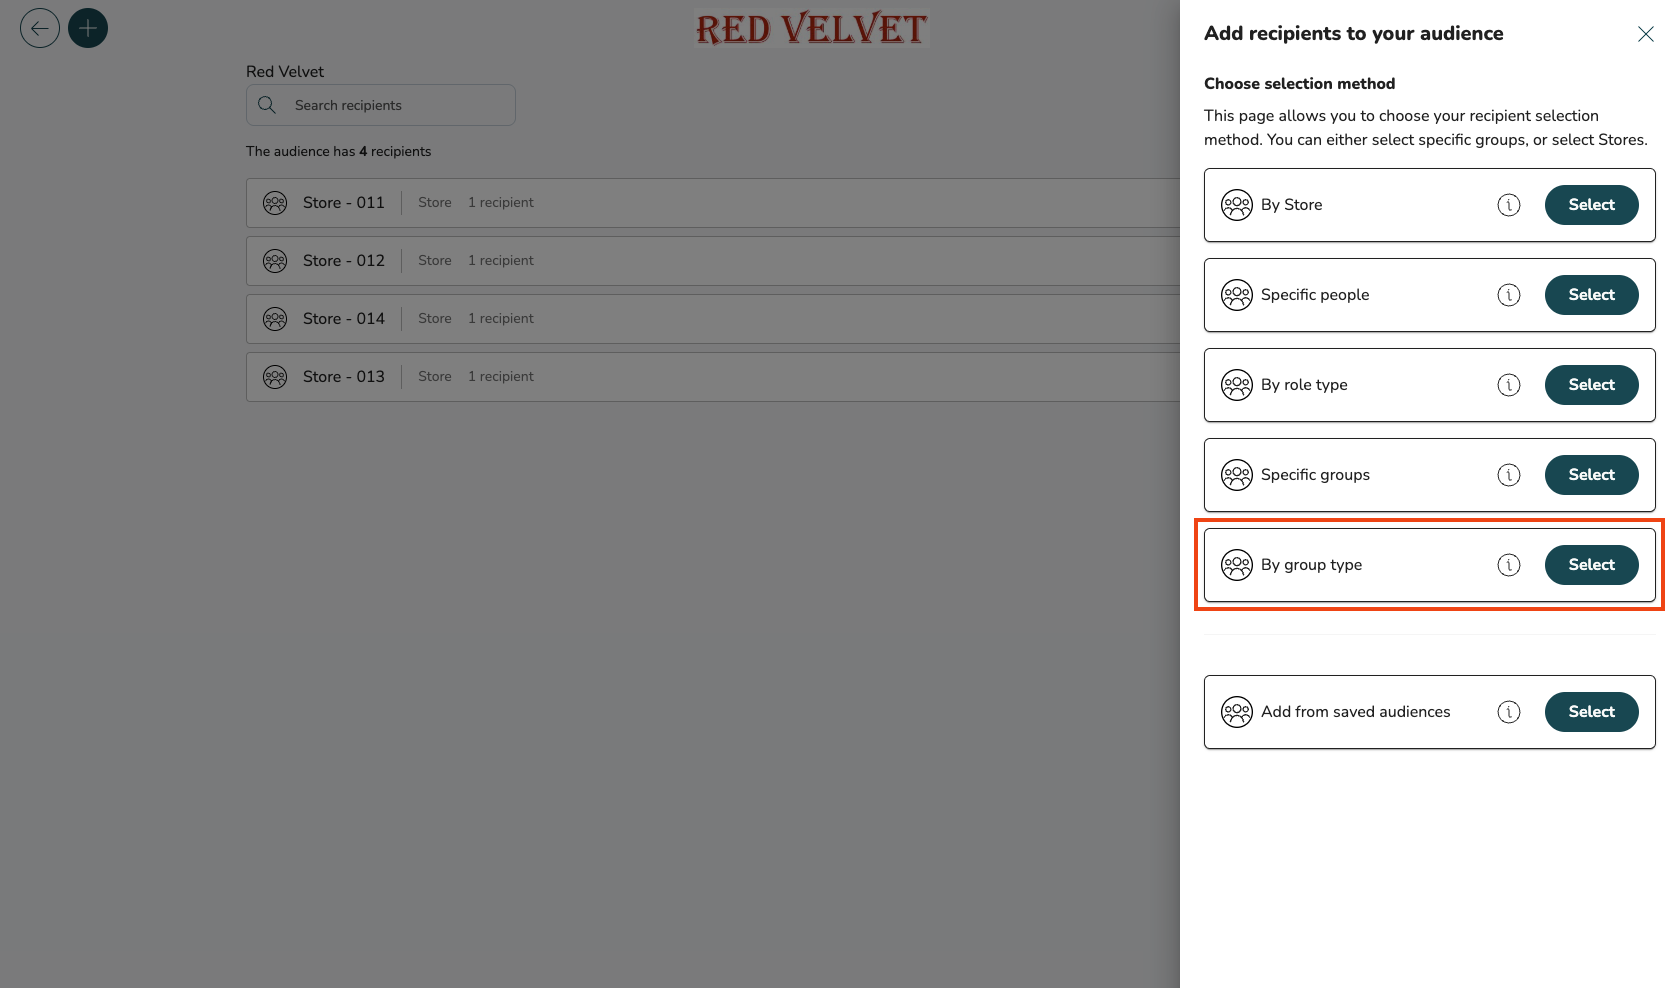
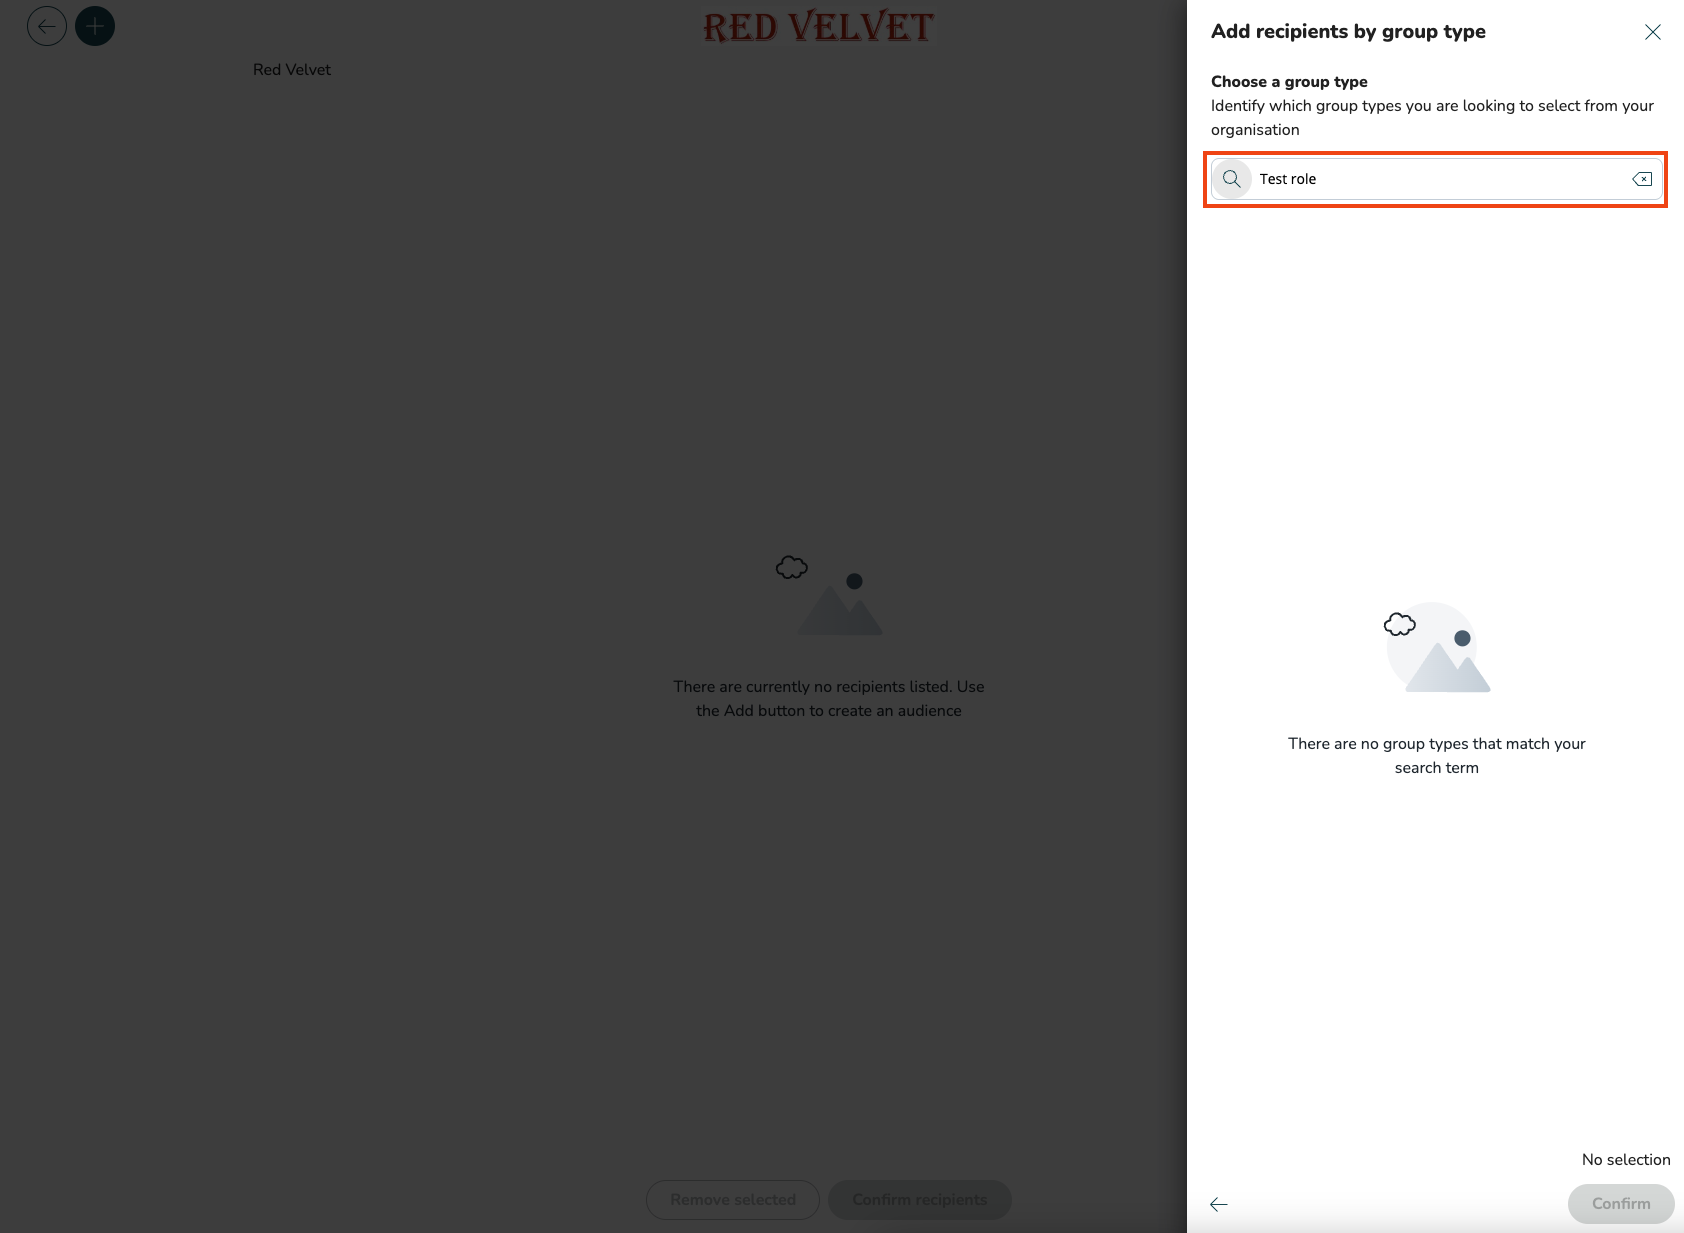
- Using the search field in the group type selector, you can search for specific keywords to narrow the list of available group types as your recipients.

- If your search doesn’t return any results, the list will be empty.

Role type
- In the Audience picker, click the plus icon to add recipients to your audience and proceed to the selection method view.
- In the method selector, select By role type to add recipients by role type.
- Using the search field in the role type selector, you can search for specific keywords to narrow the list of available role types as your recipients.
- If your search doesn’t return any results, the list will be empty.
Create new audience
You can create a new audience within the Saved Audience admin page by following these steps:
- Select the Create new button at the bottom of the screen.
- Select the recipients for the audience.
- Select the Confirm recipients button.
- Choose visibility option.
- Select the Save As New button.
- Type the name of the new audience.
- Select the Create button.
Edit Saved audiences
Within the Saved Audience admin page, you can edit the existing saved audiences. You can do this by selecting the pen icon to the right of the recipient's field in the Saved Audience admin page view.
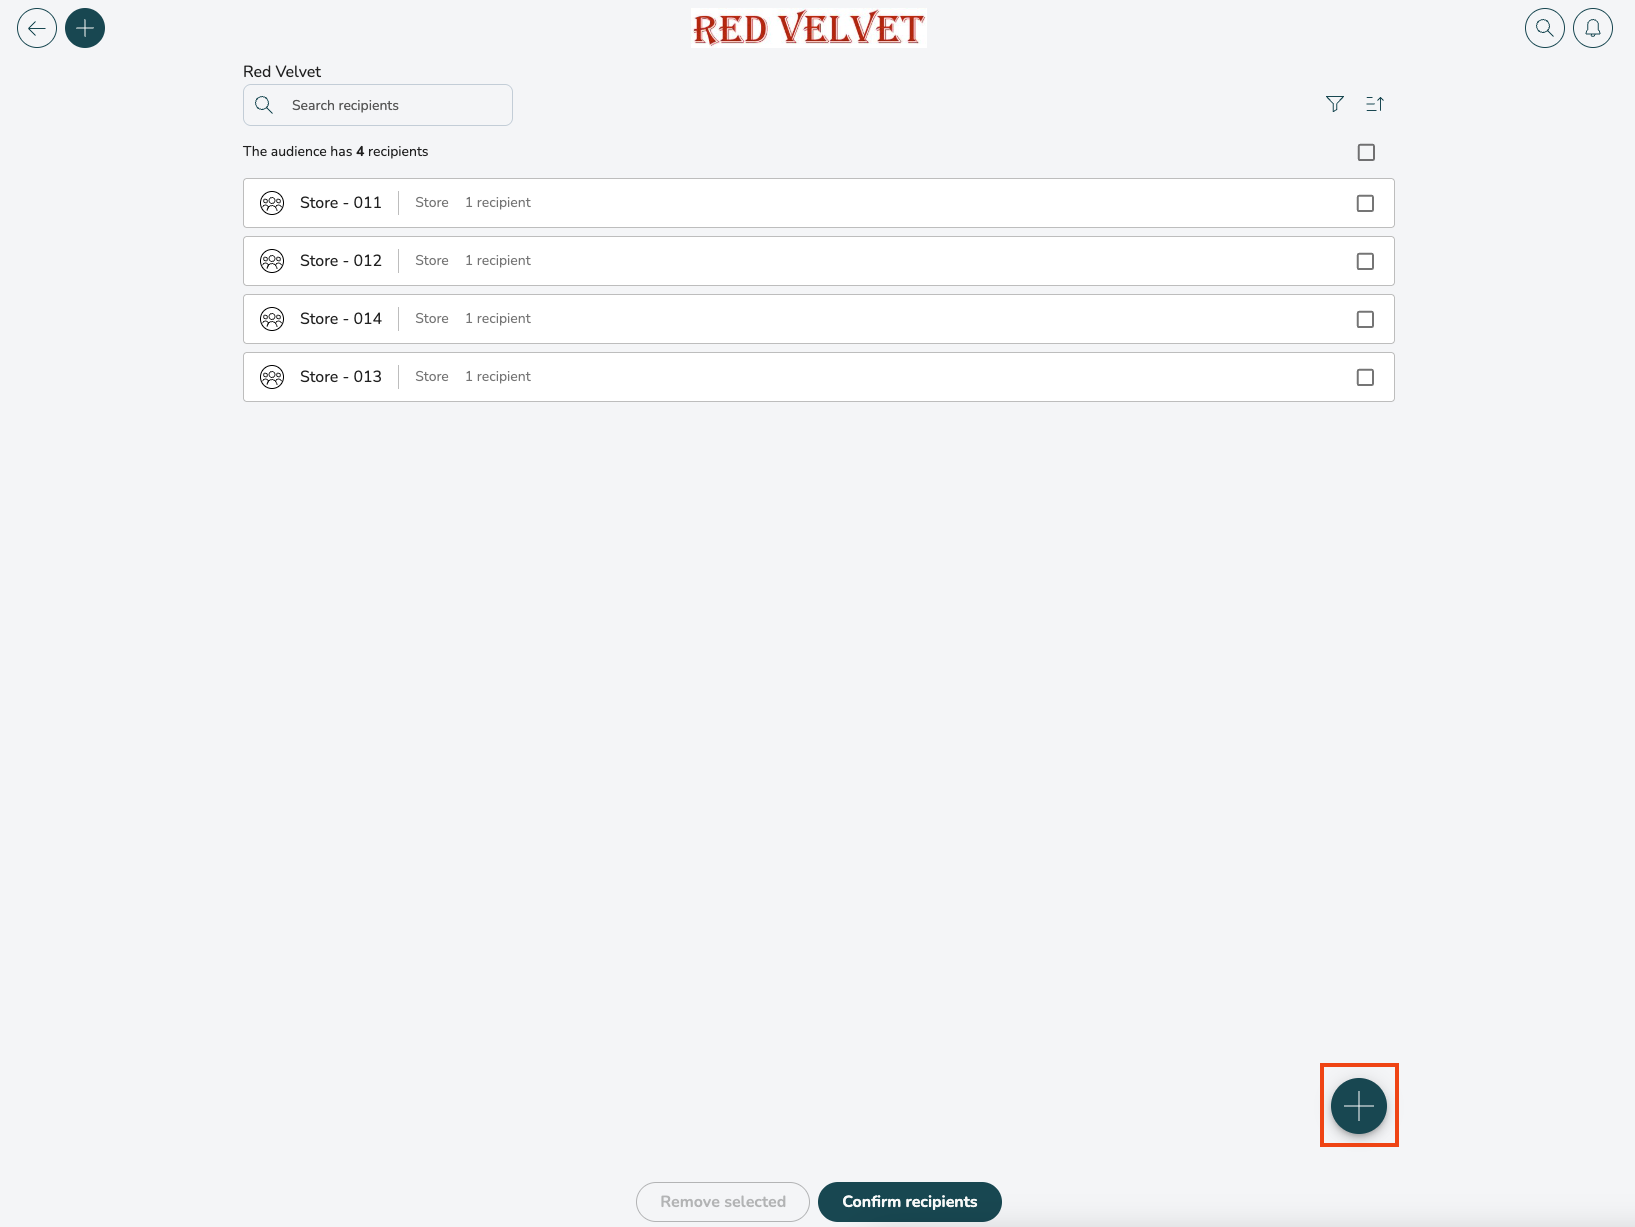
Add recipients to existing Saved audiences
You can add more recipients to an existing Saved Audience by selecting the plus icon at the bottom right.
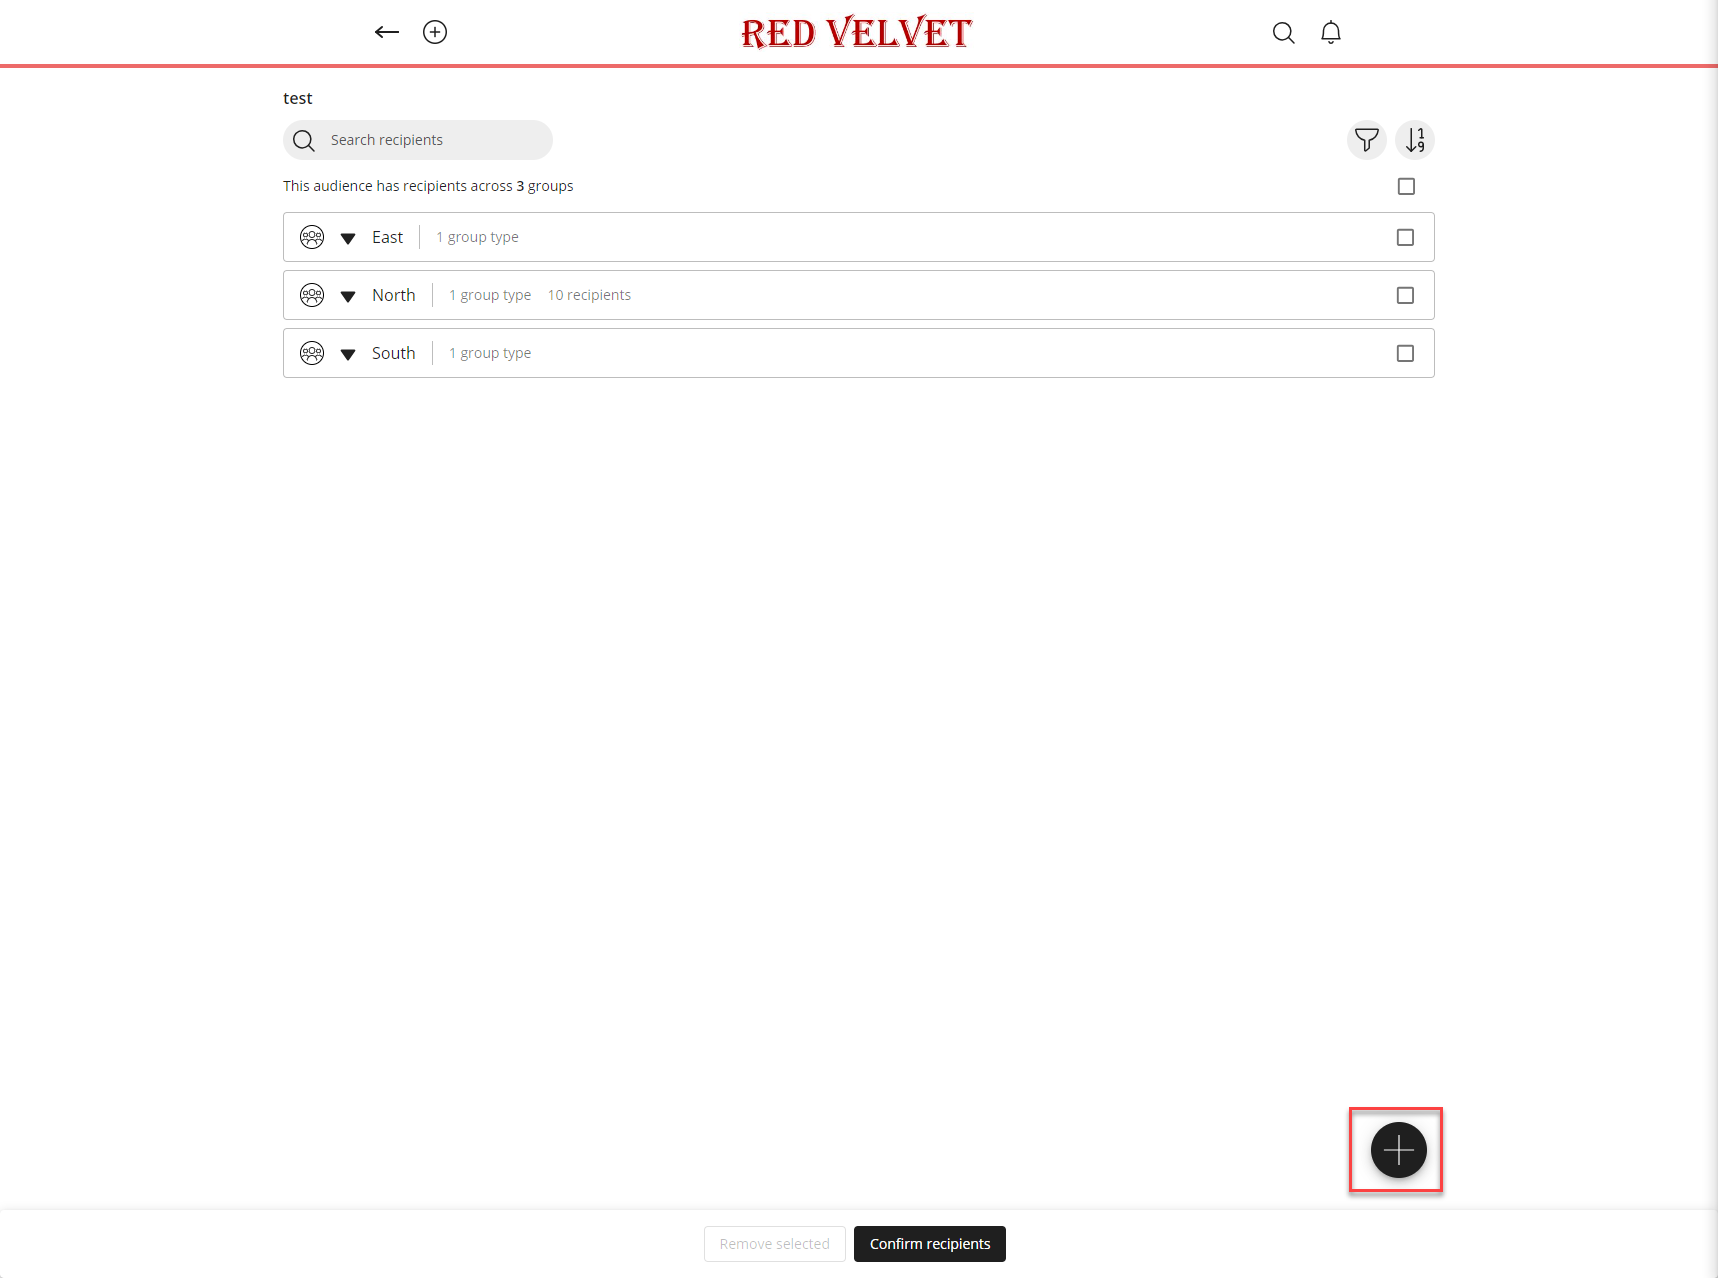
A side panel will show up where you can choose the selection method. Then, you can select what recipient you want to add to the Saved Audience and confirm the change by selecting the Confirm button at the bottom right.

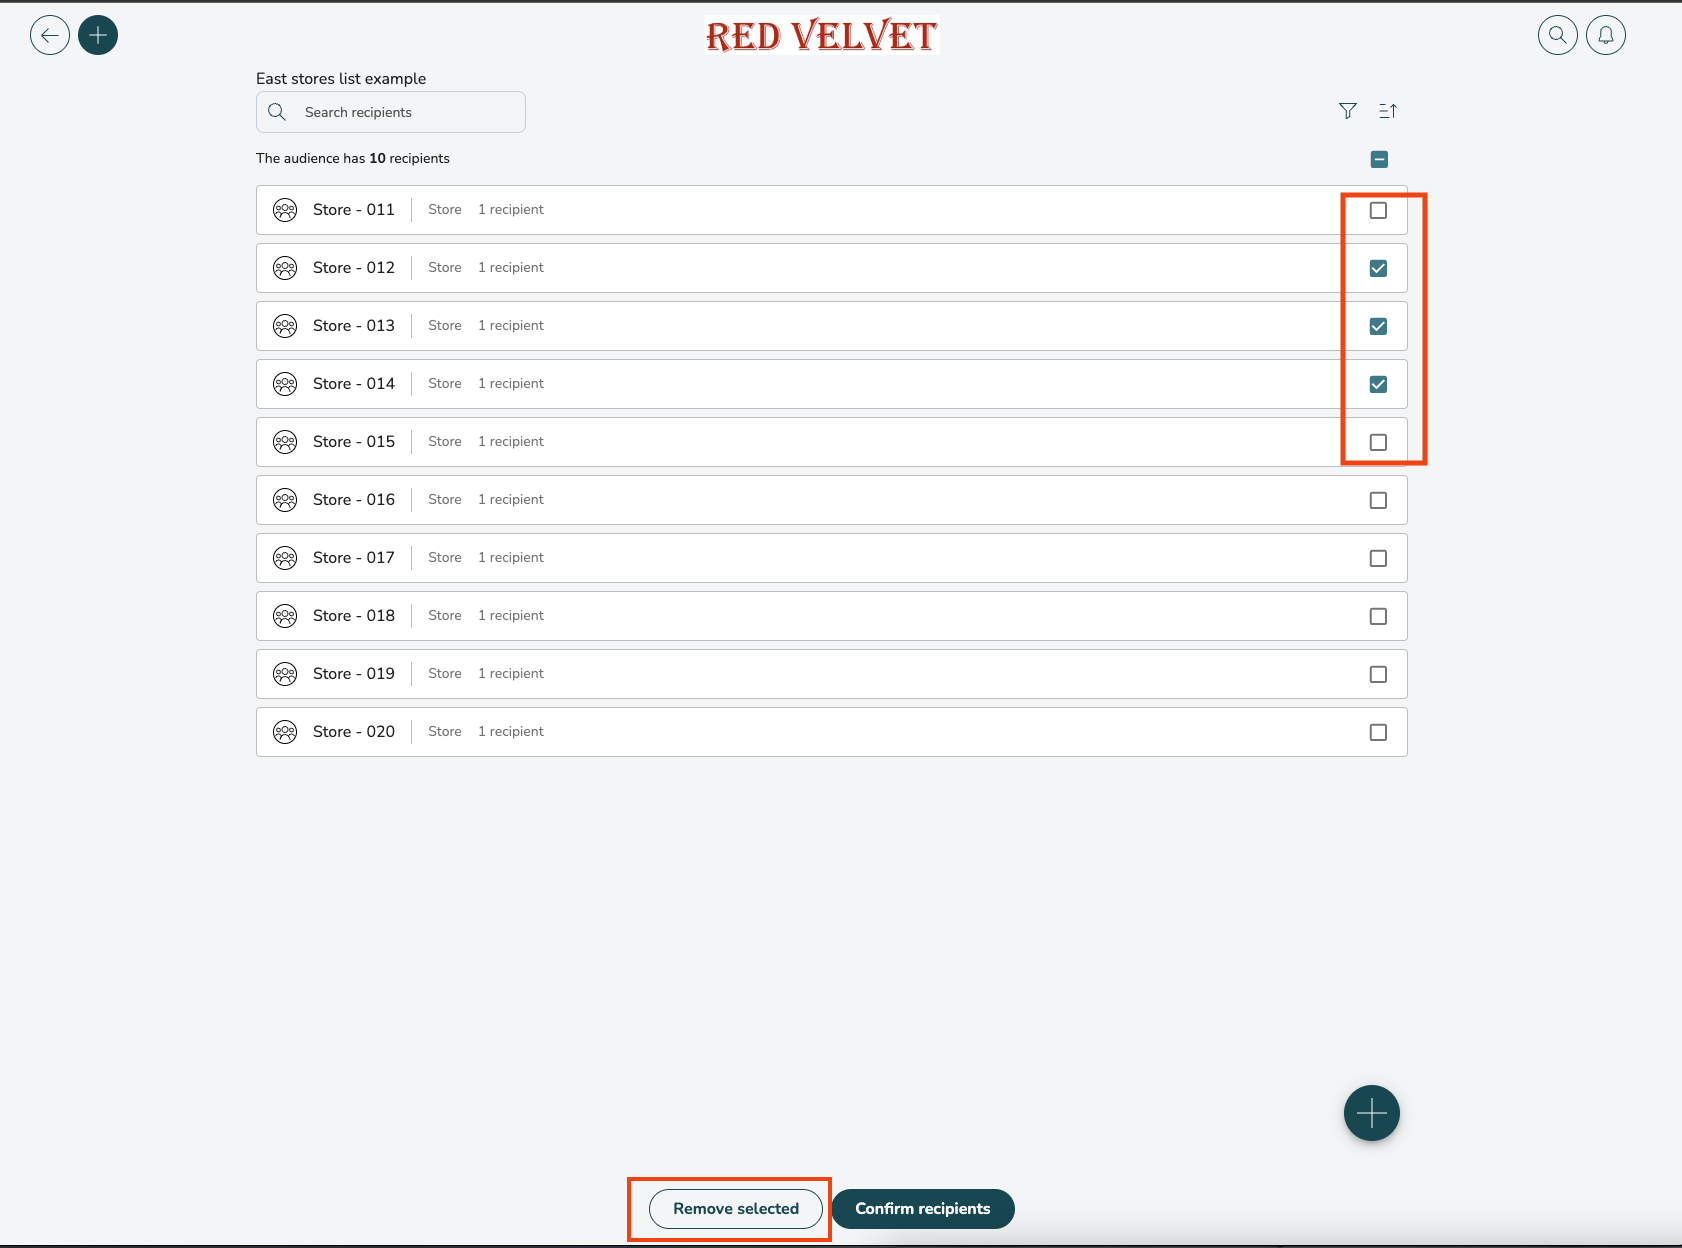
Remove recipients from existing Saved audiences
You can choose what recipient to remove by selecting the checkbox to the right side of a recipient's name and selecting the Remove selected button at the bottom center of the screen.
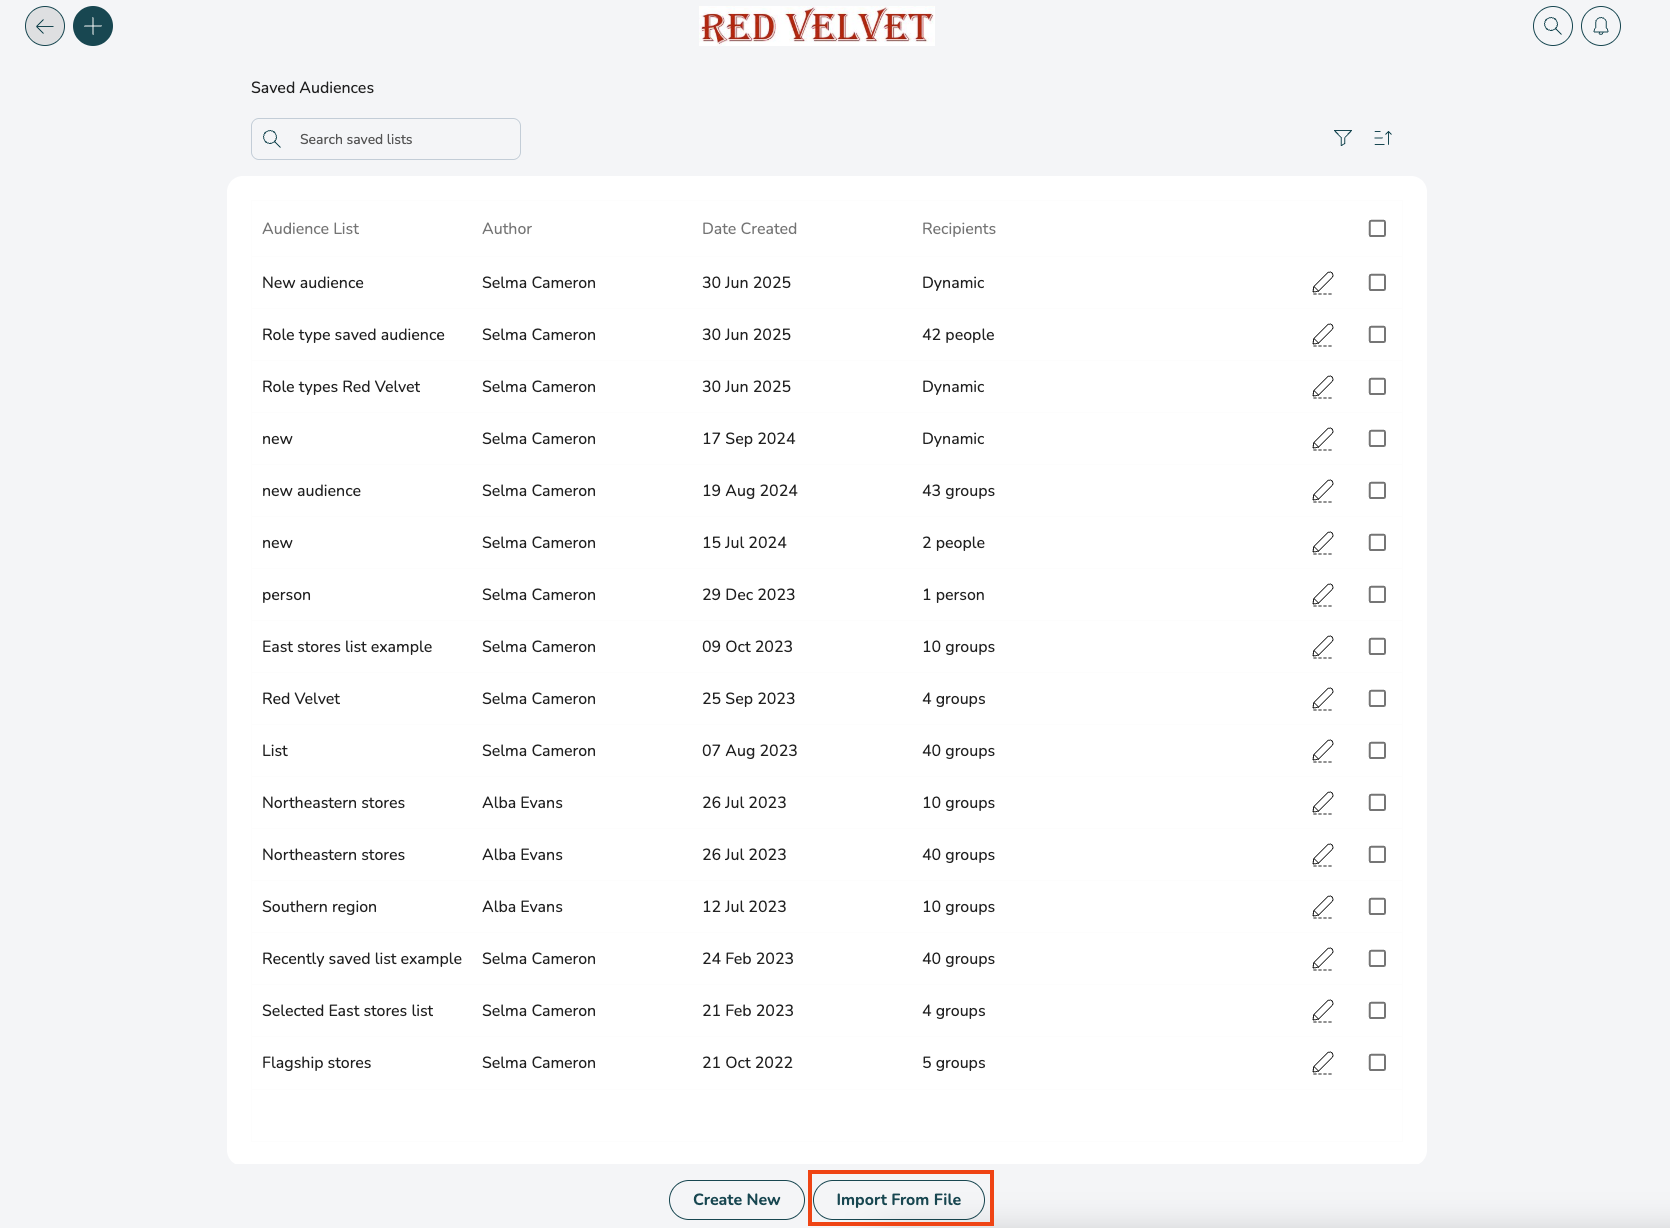
Create a saved audience group by importing files
You can create saved audiences by importing a xlsx/ csv file. All you have to do is to select the Import From File button and upload the file to the Employee Hub.
- Import Distribution Guidance:
- Users can import a file to generate a distribution list of stores or people.
- Accepted file formats: csv, xlsx.
- Imported files must have column headers.
- Column headers can have any of the following names (further options can be added on request):
- Store name, unit name, group name, store, group, email, employee, employees, number, store number, group number, store #, group #
- Imported file must have columns containing at least one of the following (can contain both).
- Users: Email addresses or user names.
- Stores: Store names or numbers.The users, stores need to exist in the Employee Hub before importing the file, and the names, numbers, email addresses need to be identical to what is listed in the Employee Hub.
- Users will be given the option to select which group column(s) they wish to import e.g. district, region, or store.
- There is no limit to the number of rows in a file.