QClock overview
 Updated
by
Leigh Hutchens
Updated
by
Leigh Hutchens
QClock overview
Employee identification
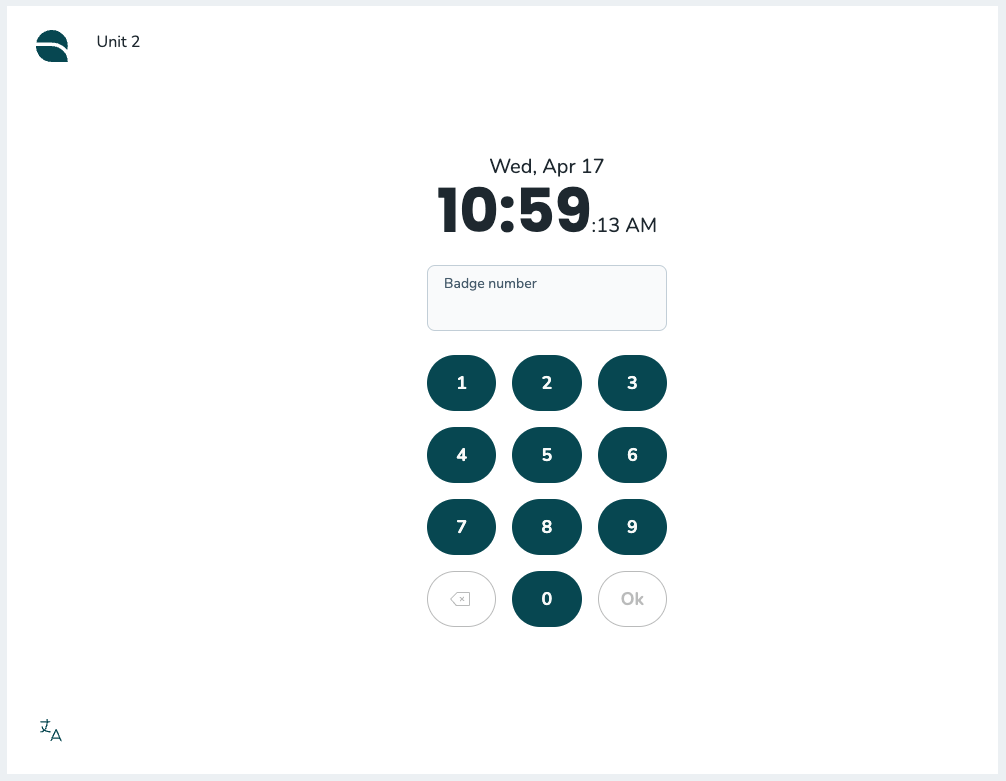
The first thing you will see when a device is authorized to use QClock is the employee identification screen. This is where the employees enter their badge number or use their RFID card/tag to identify themselves.
Here you will see:
- Numpad to enter your badge number.
- Date and time.
- Unit name.
- Language selector.
Identify employee
To identify an employee, enter the employee's badge number, swipe the employee's card/tag, or put the cursor in the input field and type on your keyboard. Select Ok to confirm.
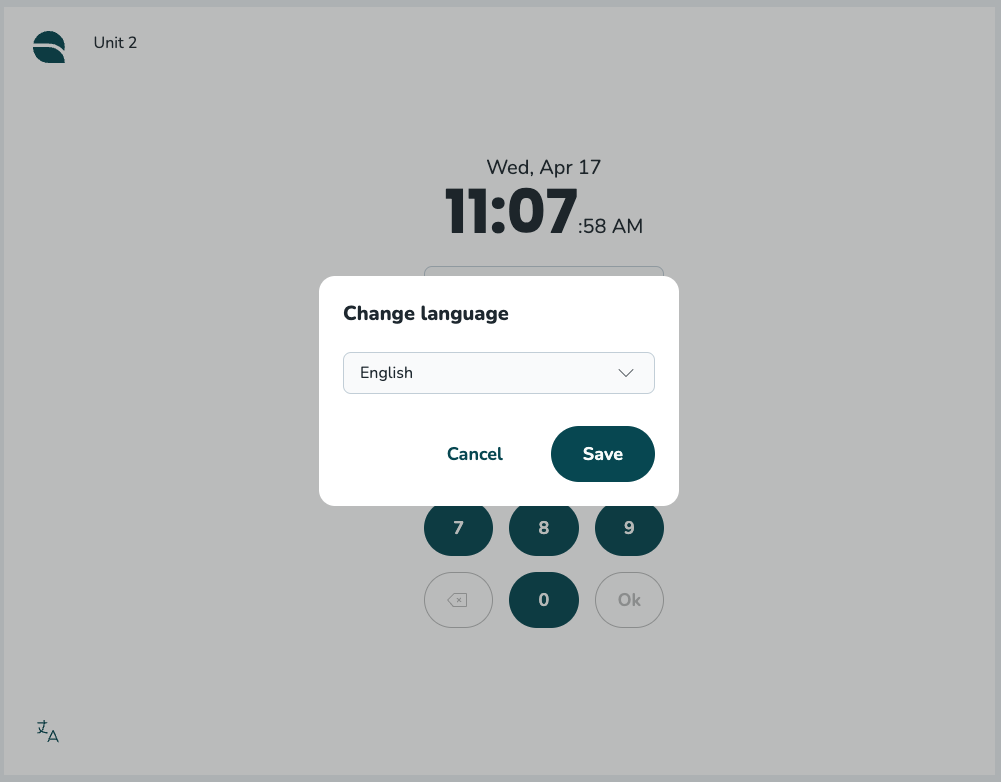
Change language
If you would like to change the language press on the language selector in the bottom left corner, select the language you want to see QClock in, and select Save.
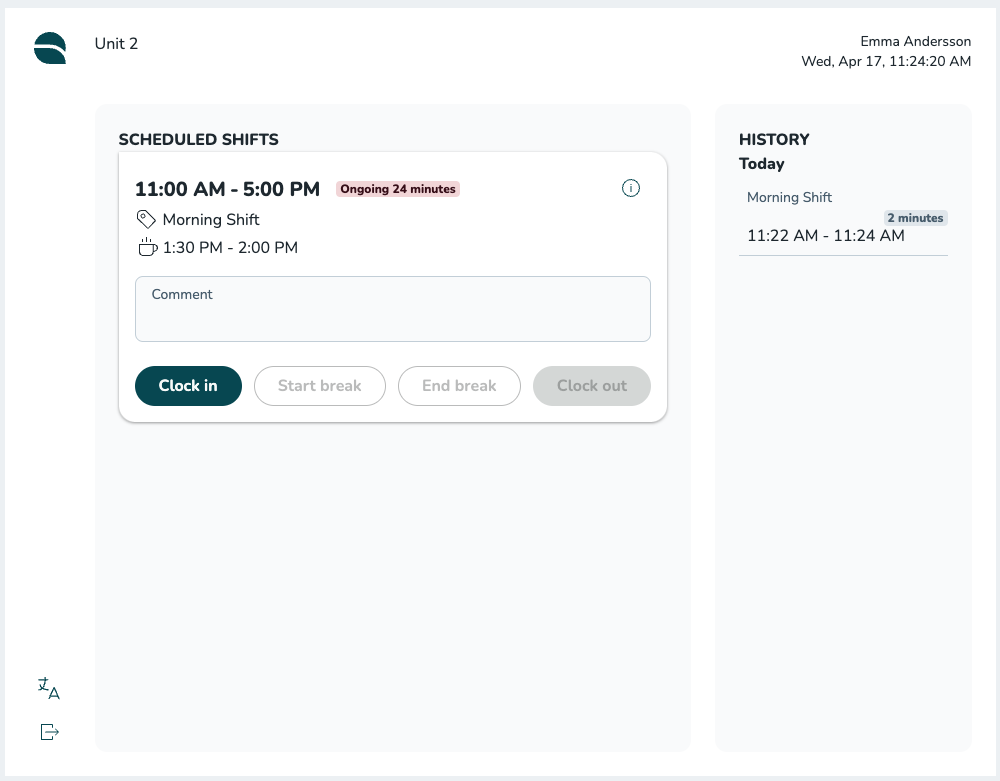
When you have identified yourself, you will get to the overview screen. This is where you see details about your scheduled and worked time for the day and this is also where you clock in/out.
Scheduled shifts
Here you will see all your scheduled shifts for the day.

Scheduled shifts contain:
- Start and end time of the shift(s).
- Shift name.
- Break time.
- Detailed information.
Shift details
You can see the detailed information about the shift by selecting the i icon and a new panel will open.
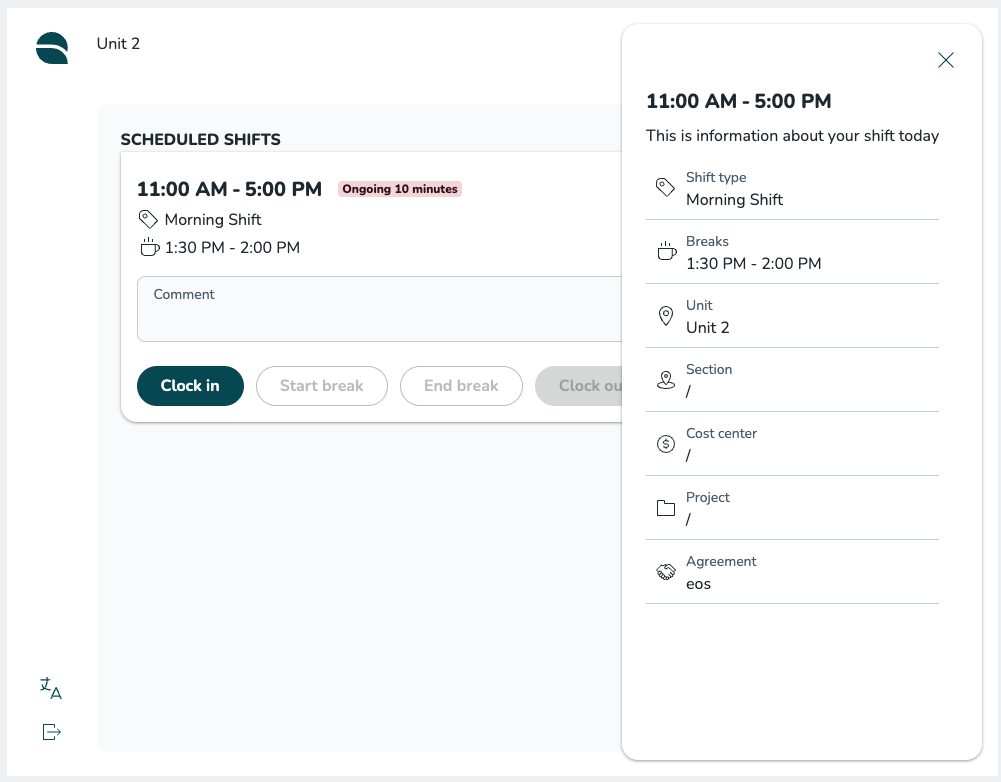
The detailed information contains:
- Unit.
- Section.
- Cost center.
- Project.
- Agreement.
Select X to close the detailed information panel.
History
Under history, you will see the worked time registered for the day.
Log out
If you want to log out from the overview page, select the log-out button in the bottom left corner and confirm that you want to log out.
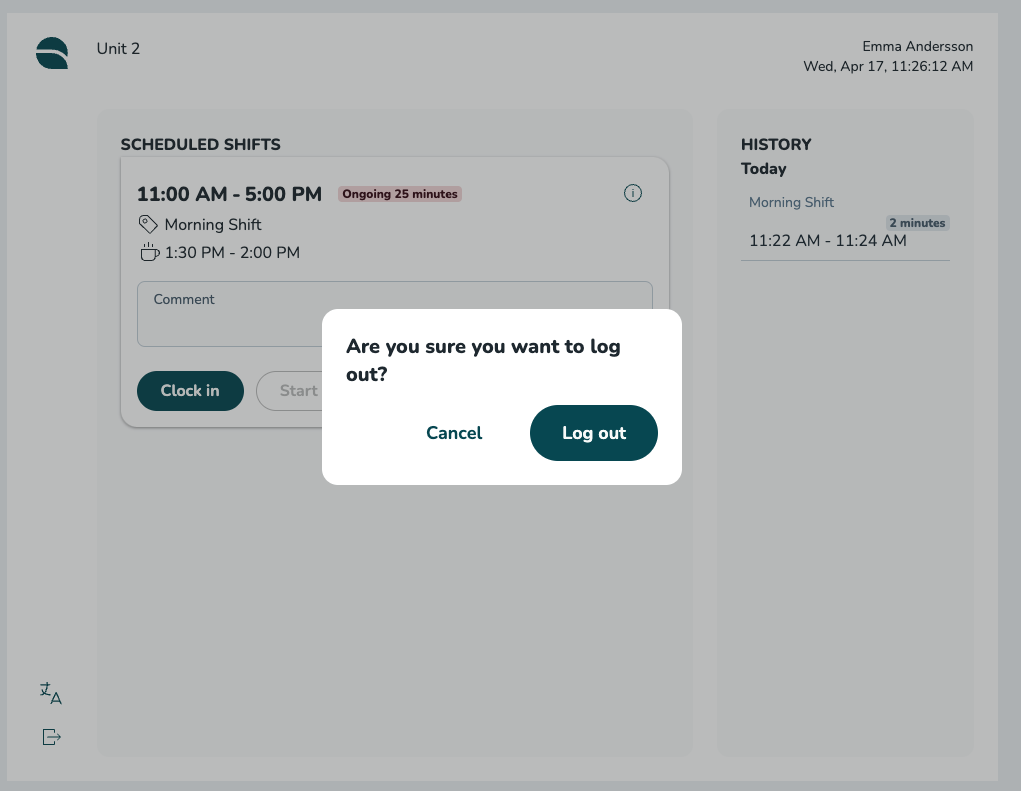
When you have confirmed, you will return to the employee identification screen.