Working with E-signing (Scrive)
 Updated
by
Leigh Hutchens
Updated
by
Leigh Hutchens
E-signing is an add-on service that uses the Scrive eSign module. Employment agreements can be created, signed, and distributed digitally via Quinyx. In an agreement template, it's possible to define settings relating to the distribution flow.
Setting up Scrive is a joint effort. The Quinyx Application Specialist will enable Scrive, and you're responsible for configuring it in a way that's tailored to your organization.
Getting started
Scrive setup
Your Quinyx Application Specialist will perform the following to get you started:
- Set up a Scrive agreement for the customer.
- Activate the Scrive module.
- Configure Scrive with your company's branding.
- Add license periods.
Define agreement flow on the agreement templates
Any type of document can be mapped to Quinyx. The most common is an employment agreement, however, other types of documents can also be mapped. The document must be in PDF format. If the original is in any other format, it needs to be saved as a PDF.
PDF mapping tags
The following fields are available for mapping.
Tags - Standard | Functionality |
"date1" | Current date Y-m-: |
"date2" | Current date Y-m-d |
"managerLogin" | A tag that returns the full name of the logged in manager |
Tags - Employee information | Functionality |
"fullName" | First and late name |
"badgeNo" | Employment number |
"email" | |
"cardNo" | Card no. |
"familyName" | Last name |
"givenName" | First name |
"sectionName" | Name of section on employee card |
"costCentre" | Cost centre name |
"yearOfBirth" | Year of birth, format: XXXX |
"monthOfBirth" | Month of birth, format: XX |
"dayOfBirth" | Day of birth, format: XX |
"address1" | Address, first line |
"address2" | Address, second line |
"zip" | Zip code |
"city" | City |
"workPlace" | Name of unit |
"employedDate" | Date when employment started |
"employeeLeaveDate" | Date when employment ended and only to be used if setting Emploed = unchecked |
"category" | Staff category |
"telephone" | Phone no. or Cell no. |
"phoneNo" | Telephone no. |
"cellNo" | Cellphone no. |
"nextOfKin" | Next of kin |
"nextPhone" | Next of kin phone number |
"legalGuardian" | Legal guardian name |
"legalGuardianEmail" | Legal guardian email |
"employeeInfo" | Info field |
"socsecNo" | Social security number |
"isOld" | True if age>67 |
Tags - Employee Agreement | Functionality |
"agreementTempName" | Name of agreement template |
"agreementStartDate" | Start date of agreement |
"agreementEndDate" | End date of agreement (none if agreement does not have end date) |
"agreementInfo" | Comment from the individual agreement |
"salary" | Hourly salary amount (none if monthly employed) |
"monthlySalary" | Monthly salary amount (none if hourly employed) |
"hourly" | True if payed for working hours |
"notHourly" | False if payed for working hours |
"weekHours" | The same week hours as the column Hours in the agreement list (People -> Agreements/Availability) |
"weeklyAvg" | Average weekly working hours for full time |
"levelOfEmployment" | Level of employment in percentage |
"agreementAdditionalFieldX" | Added agreement additional fields 1-5 (set up under People > [Employee] Agreement -> Additional fields), exported as the tags agreementAdditionalFieldX for X = 1 .. 5 |
"isFullTime" | (checkbox) if employee employment level is 100% |
"isPartTime" | (checkbox) if employee employment level is below 100% |
"weekHoursIfPartTime" | (text string) If checkbox ifPartTime is used, this string will return the weekly hours |
"salaryParagraph" | Outputs actual salary, followed by future planned changes (multi-line text) |
"salaryParagraphFull" | Outputs your least recent salary, followed by all changes that has occurred or are planned to occur (multi-line text) |
"employmentRateParagraph" | Outputs actual employment rate, followed by future planned changes (multi-line text) |
"employmentRateParagraphFull" | Outputs your least recent employment rate, followed by all changes that has occurred or are planned to occur (multi-line text) |
"fullTimeWorkingHours" | Fulltime working hours of the agreement |
"monthlySalaryWithWorkedYearAdjustments" | Monthly salary + personal adjustment |
“nextSalaryStepDate” | Date of the next salary raise |
“currentSalaryStep” | The years worked steps that the employee is currently on |
"monthlySalaryPartTimeRounded" | Rounds the part-time salary to the nearest 1 kr |
Tags - Unit Info | Functionality |
"unitPhoneNo" | Phone no. from the unit |
"unitEmail" | Email address from the unit |
"companyName" | Company name from the unit |
"companyAddress" | Company, address from the unit |
"companyZip" | Company, zip code from the unit |
"companyCity" | Company, city from the unit |
"companyOrgNo" | Company, organization number from the unit |
Tags - Customer Info | Functionality |
"customerPhoneNo" | Telephone no. |
"customerCellNo" | Cellphone no. |
"customerTelephone" | Phone no. or cellphone no. if no phone no. exists |
"customerEmail" | |
"customerName" | Customer name |
"customerAddress1" | Customer address line 1 |
"customerAddress2" | Customer address line 2 |
"customerZip" | Customer zip code |
"customerCity" | Customer city |
Mapping the PDF document
Mapping a pdf form to Quinyx fields is best done in Adobe Acrobat Pro DC. Of course, other software can be used, but this guide covers how it’s done in Adobe Acrobat.
Create fields in form and field mapping
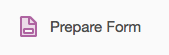
Click the Prepare Form icon:
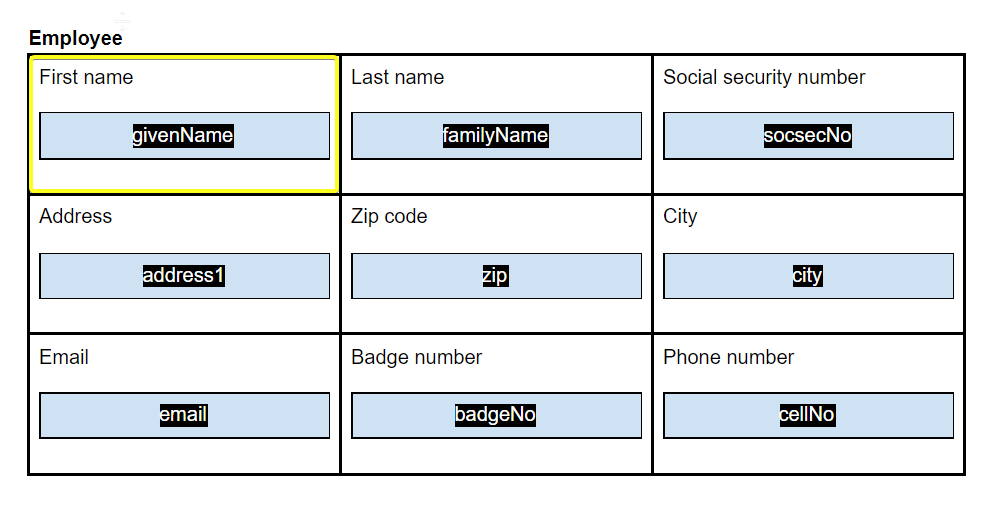
You're now in the form editing view. In this view, you can add and change text fields, checkboxes, etc. The boxes with, for example, “givenName” are the names of the fields that will map to Quinyx.
You can add a text field or a checkbox:

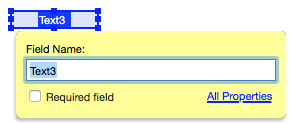
When you add a field you can give it a name. Add the tag for the Quinyx field as the name:
When you choose the field name, you can choose from the fields that already exist or create an additional employee field name.
Create additional employee fields
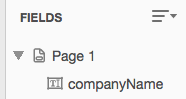
You can create additional fields in Quinyx. Navigate to Account settings > People> Additional fields:
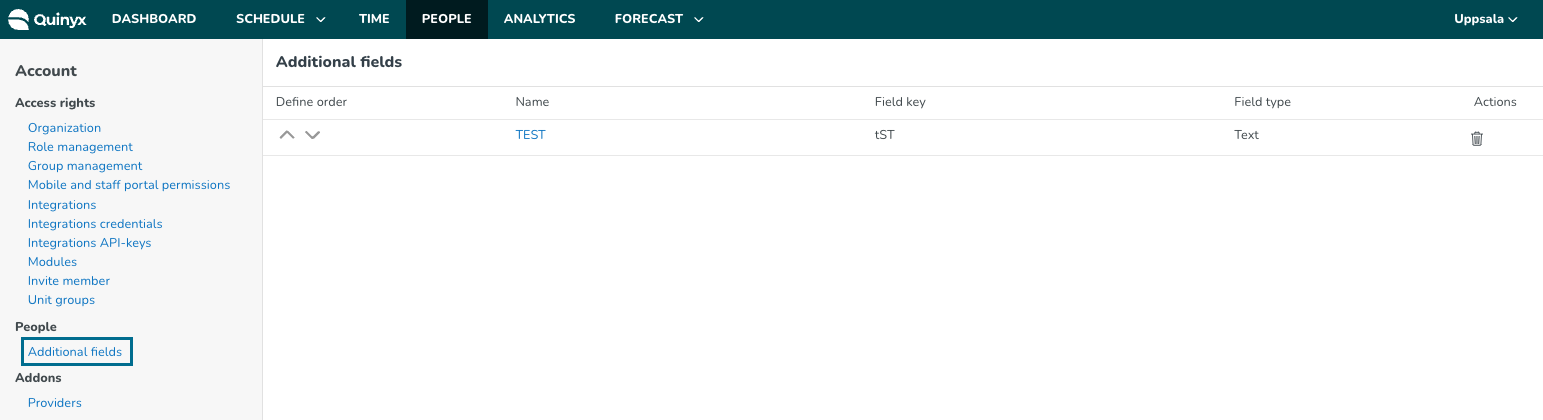
How to create an additional field:
- Navigate to Account settings > People > Additional Fields.
- In the top-right corner, press the + icon.
- Input the following information.
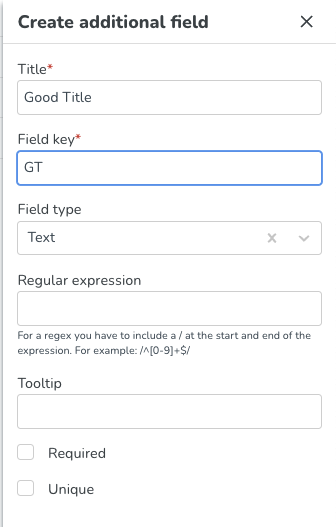
- Save.
By default, the created additional fields in Quinyx will end up in alphanumeric order, and the extra fields in Quinyx end up in the order in which they were created.
It's also possible to add/change the tag for a field in the menu to the right.
Shortcut: Using existing fields for a new document
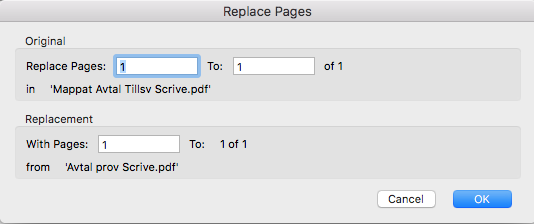
Your organization may want a number of different employment agreement templates to be mapped in Quinyx. It's common that customers within the same business/vertical use the same template. In these cases, it's possible to use an already mapped document and change the “underlying” document. In the Tools menu, choose Organize Pages. Choose to replace (top right corner in the picture).
Select all pages or a specific one if only one should be replaced and the other remains the same.
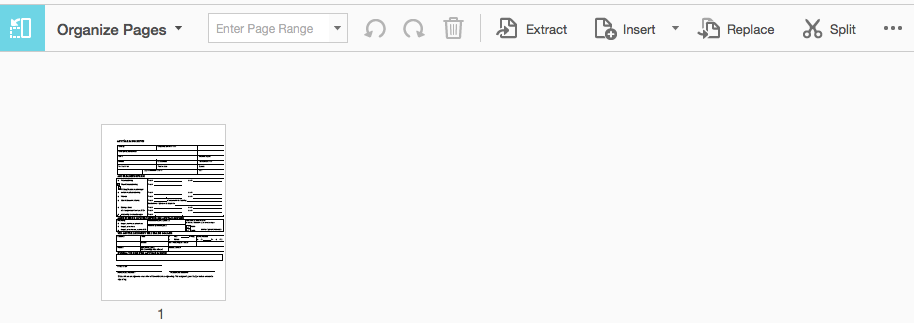
Choose to replace the pages, and click OK.
The document, or specific pages, will be replaced but the mapped fields will remain. It’s possible to add more fields and re-arrange if needed.
Final steps
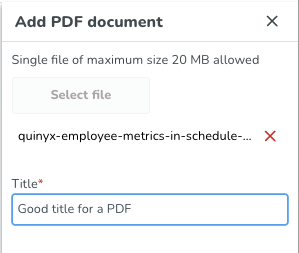
When you've created and mapped all fields, save the document. Upload the document in Quinyx under Account settings > Forms > PDF Forms.
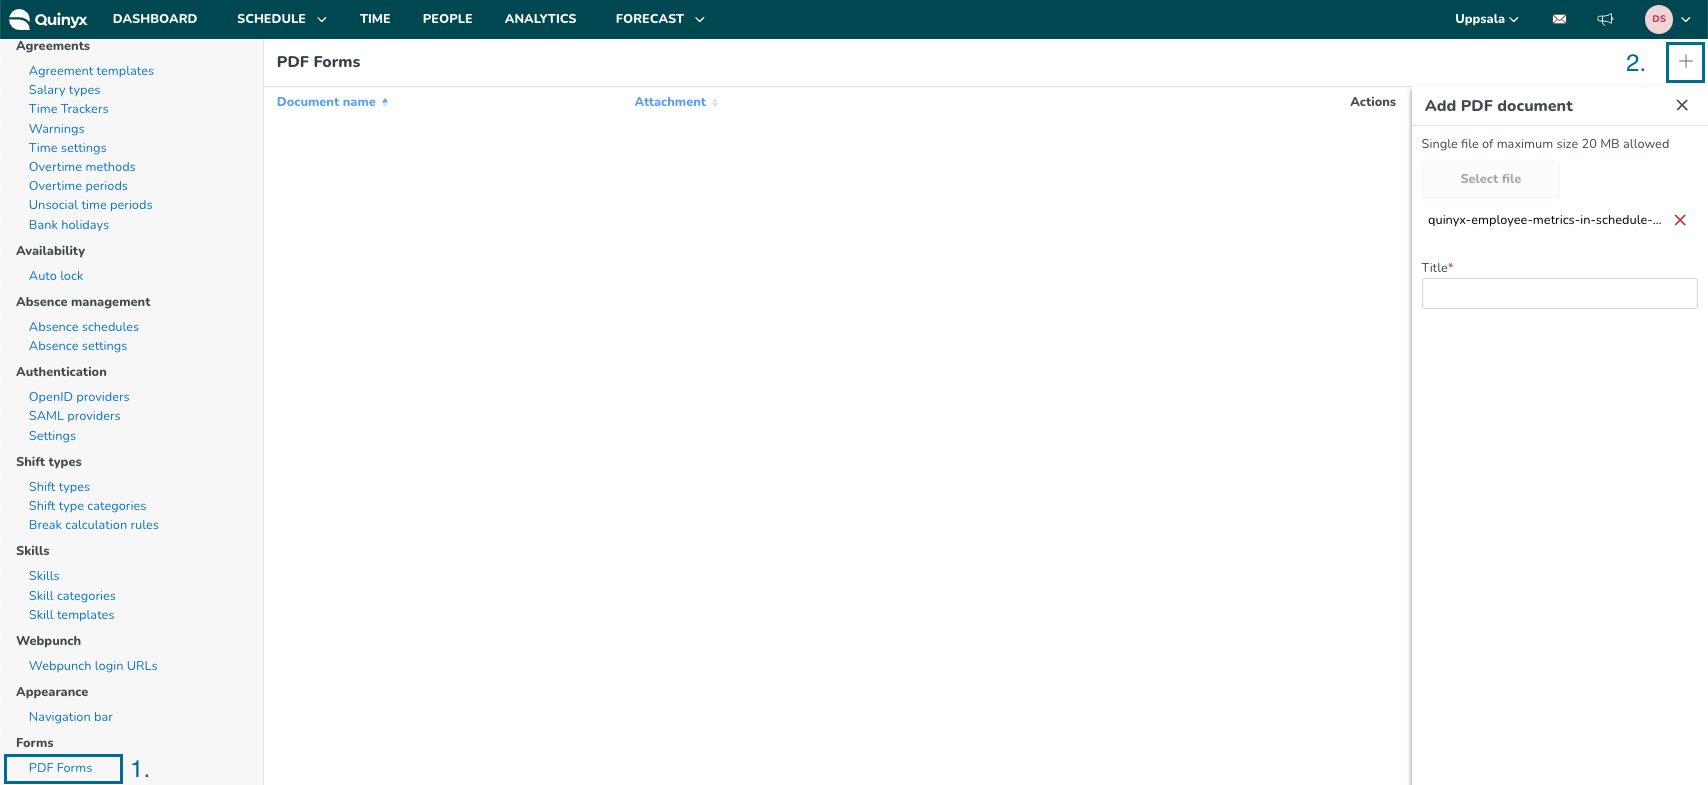
Choose a name for the document. This is the name it will have within the Quinyx GUI.
Frequently Asked Questions
Q: Can a customer map their own contract?
A: Yes, customers can map their own contracts.
Q: When signing with BankID can the workflow be set so that only one person in the workflow has to use it?
A: No, if BankID is configured on the contract, everyone on the workflow must sign with BankID.
Q: When using Bank ID with Scrive, in what format does the social security number need to be entered?
A: The following formats are accepted:
- YYYYMMDDXXXX
- YYMMDDXXXX
- YYYYMMDD-XXXX
- YYMMDD-XXXX
Q: Am I able to pull contracts through an API?
A: This is not currently possible.
Q: Is it possible to get an overview of the contracts not signed?
A: This is not currently possible.
Q: How does it work when a customer has used all of the signings they have in a period? Is there a warning?
A: No warning is produced, and there is no limit to how many you can use; however, you will be invoiced for any agreements above what was agreed in the contract with Quinyx.
Q: Do I set the language in Quinyx or Scrive?
A: You configure languages in Scrive.
Q: When a signed contract is signed by all signees, a confirmation is sent to the recipients. Is it possible to disable the confirmation email?
A: No, this is not possible. All recipients will receive a confirmation email.
Q: When employment has ended, why don't I see the agreement?
A: If you activate the employee, you can see the agreement again.
Q: Do we have ways of hiding salary costs in Scrive?
A: No, this is not possible since this is a contract an employee signs with the agreed salary.
Is it possible to have an upcoming employment rate/salary in the Scrive contract?
Q: Are contracts stored in Scrive or in Quinyx?
A: Contracts are stored in Scrive and fetched on demand in Quinyx.
Q: How do I set the workflow of the e-signing?
A: You can customize the e-signing workflow under Account settings > Agreements > Agreement templates > Agreement > E-signing. Read more about setting up the e-signing workflow here.
Q: Why do I receive an error message when I initiate the e-signing process?
A: Read more about Scrive HTTP status codes that indicate the success or failure of an API request here.