Version 0061
Analytics
With the release of Neo 0061 we are introducing two new reports that can now be generated and downloaded from Neo:
Reports
Schedule - Cost
To generate the schedule cost report, click "Cost" under "Schedule" in the menu on the left-hand side:
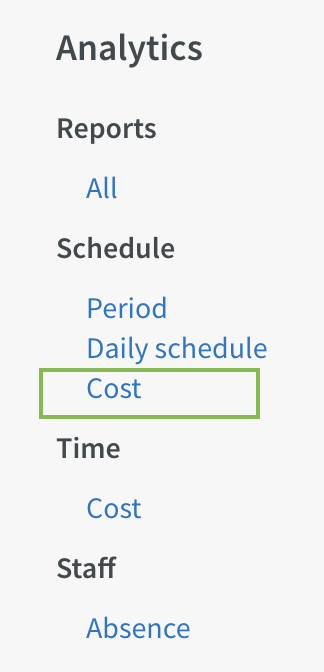
Click "Create" to open the dialog where you can create a new Schedule cost report:
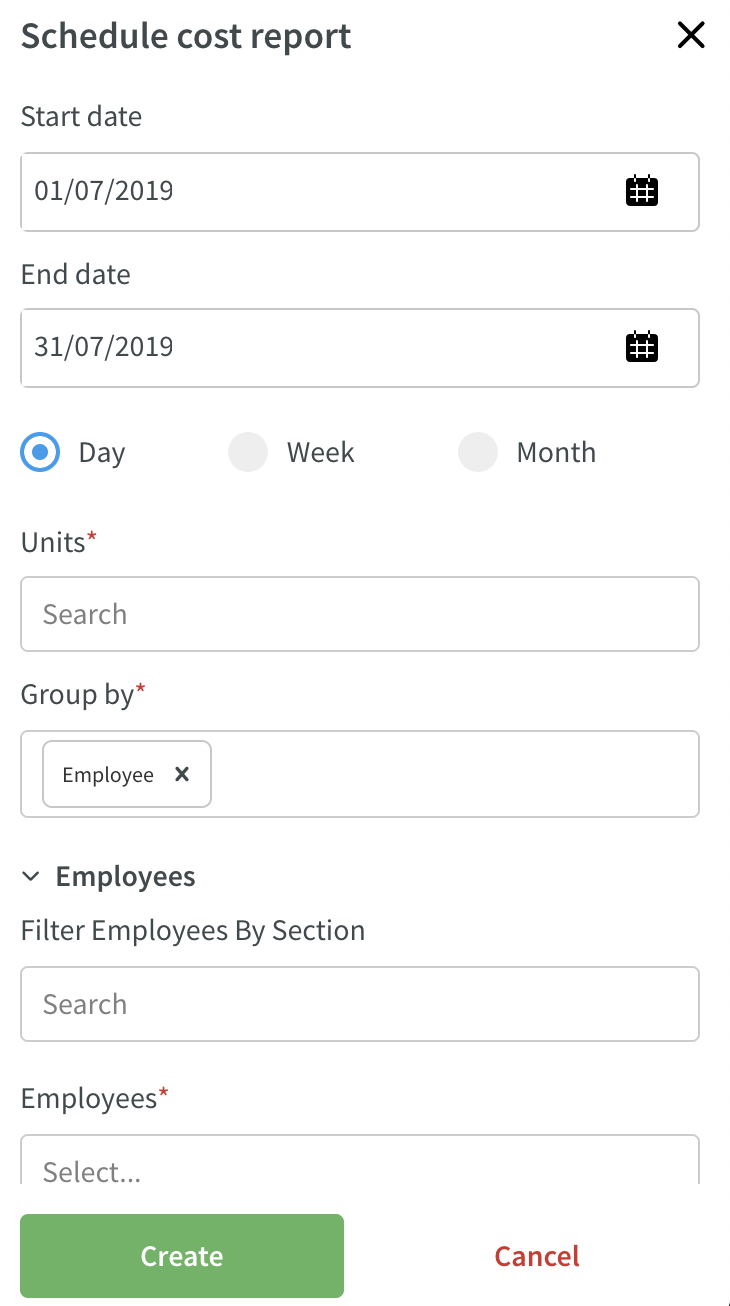
- Select the data you wish to use for the report (fields marked with * are required fields).
- Click "Create".
- The dialog will now close and the status of your report will display.
- Once the status changes from "processing" to "download", you can click the blue text to download your report.
Time - Cost
To generate the time cost report, click "Cost" under "Time" in the menu on the left-hand side:
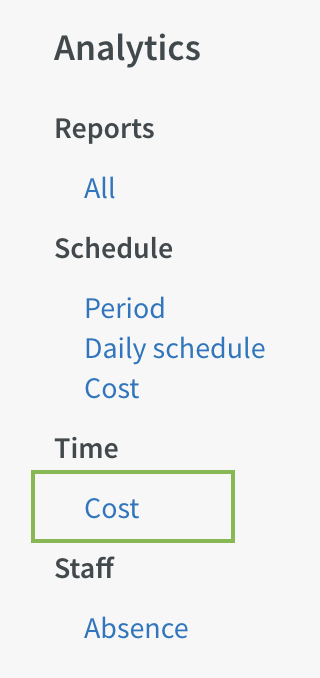
Click "Create" to open the dialog where you can create a new Time cost report:
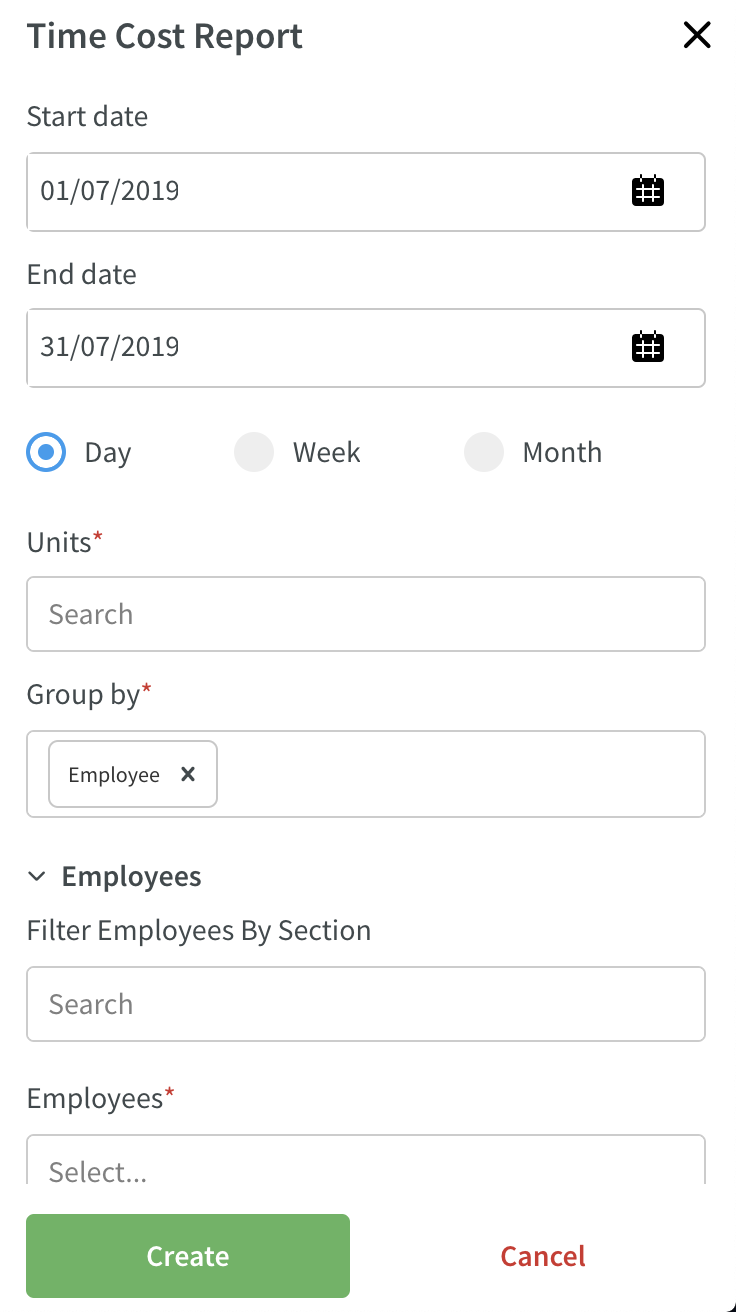
- Select the data you wish to use for the report (fields marked with * are required fields).
- Click "Create".
- The dialog will now close and the status of your report will display.
- Once the status changes from "processing" to "download", you can click the blue text to download your report.
People
Agreement
Advanced Calculation for Part-Time Employees
The possibility to set advanced calculation rules for part-time employees presently available in Classic is made available in Neo as of this release. This is done in "Agreement" < "Advanced Setting Categories" < "Schedule period and working hours" < "Advanced calculation for part-time employee". Just as in Classic, this dropdown menu has two values, "Calculate average employment rate on 0% employees" and "Calculate for mini jobbers average hours/day".
You can choose the number of weeks back in time that should be taken into account in the calculation. In the below example it will calculate 16 weeks back in time from the week before the week the absence schedule is applied on:
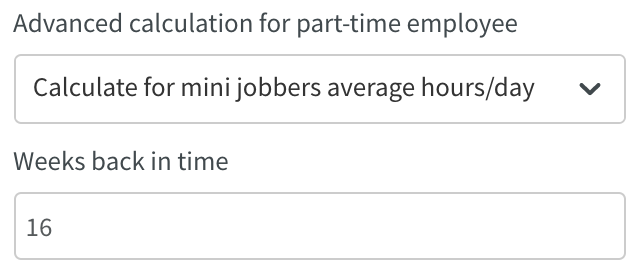
For more detailed information on the "Calculate for mini jobbers average hours/day" functionality, see the release notes of Classic Version 358.
Schedule & Time
Base Schedule
Batch Deletion of Shifts - Full Base Schedule
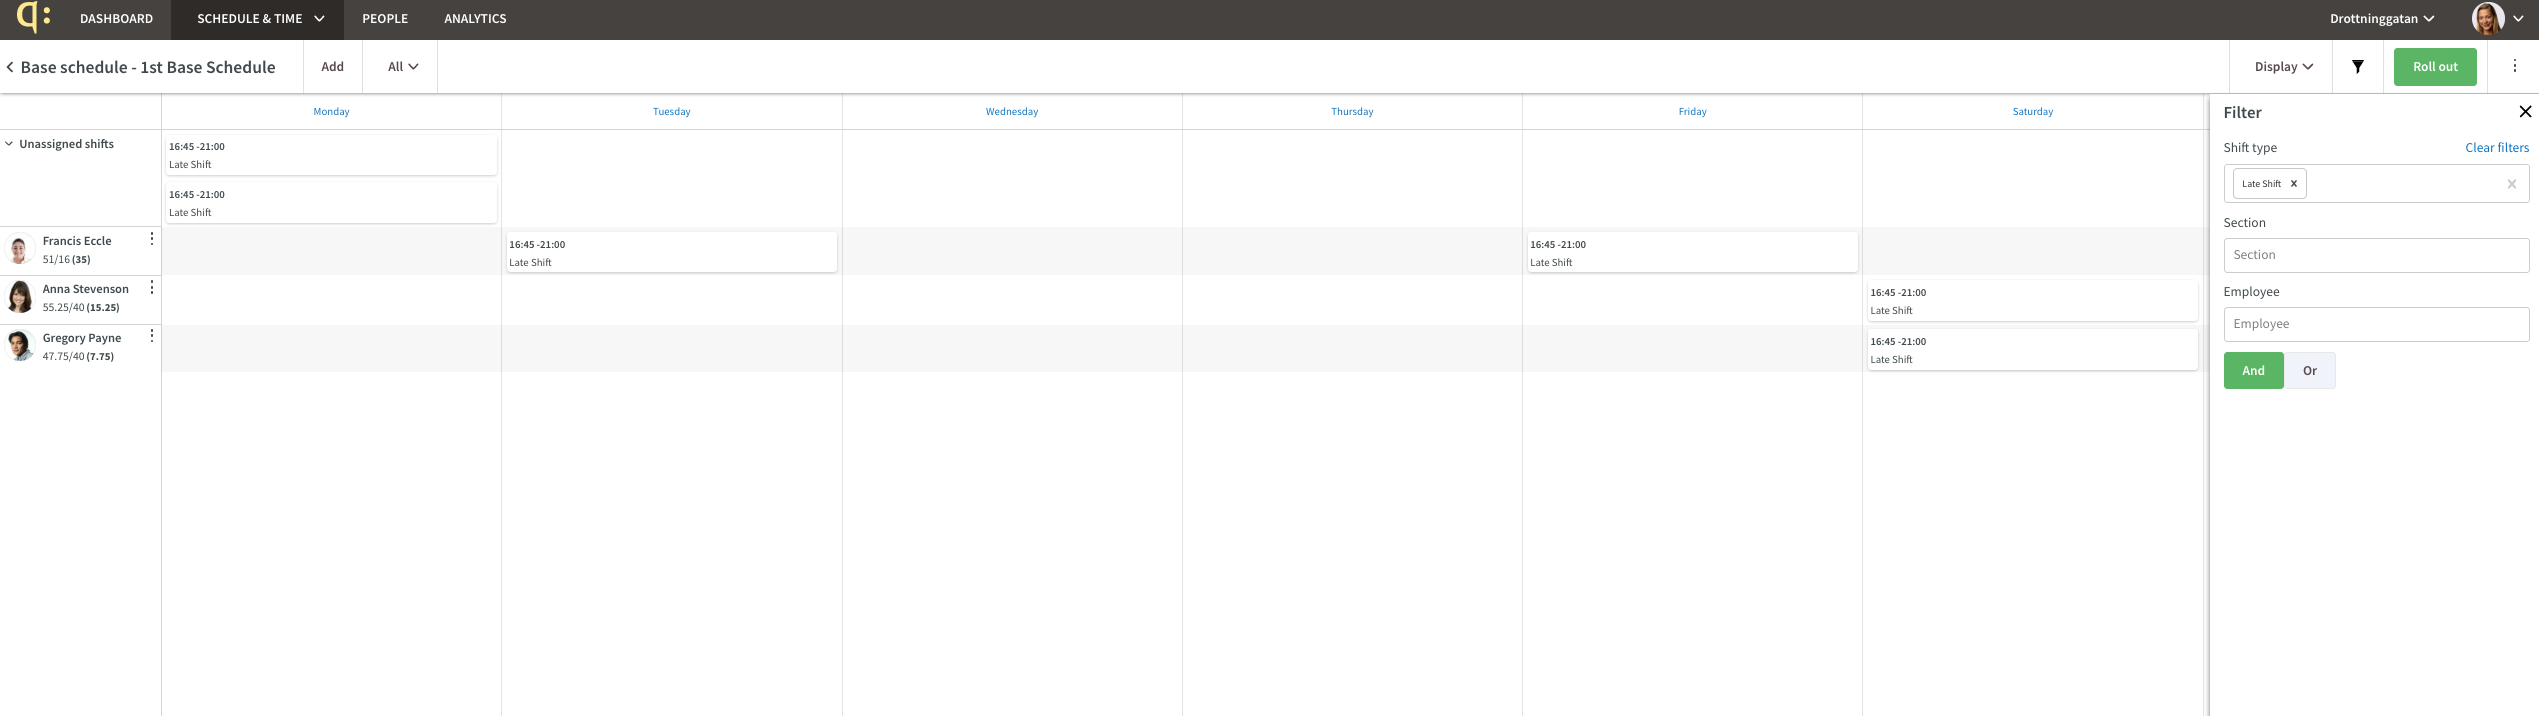
As of this release, it is possible to delete all currently visible shifts. Any filter selections you've made are also taken into account. This means you can, for instance, choose to delete all shifts of a certain shift type in your base schedule.
Start by navigating to the base schedule of your choice and applying any filter - we've selected to delete all shifts of shift type "Late Shift" in the base schedule named "1st Base Schedule":
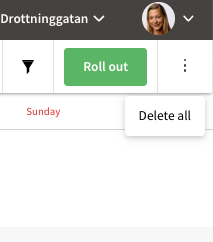
Click the ellipsis in the top right-hand corner followed by "Delete all":
Confirm your action:

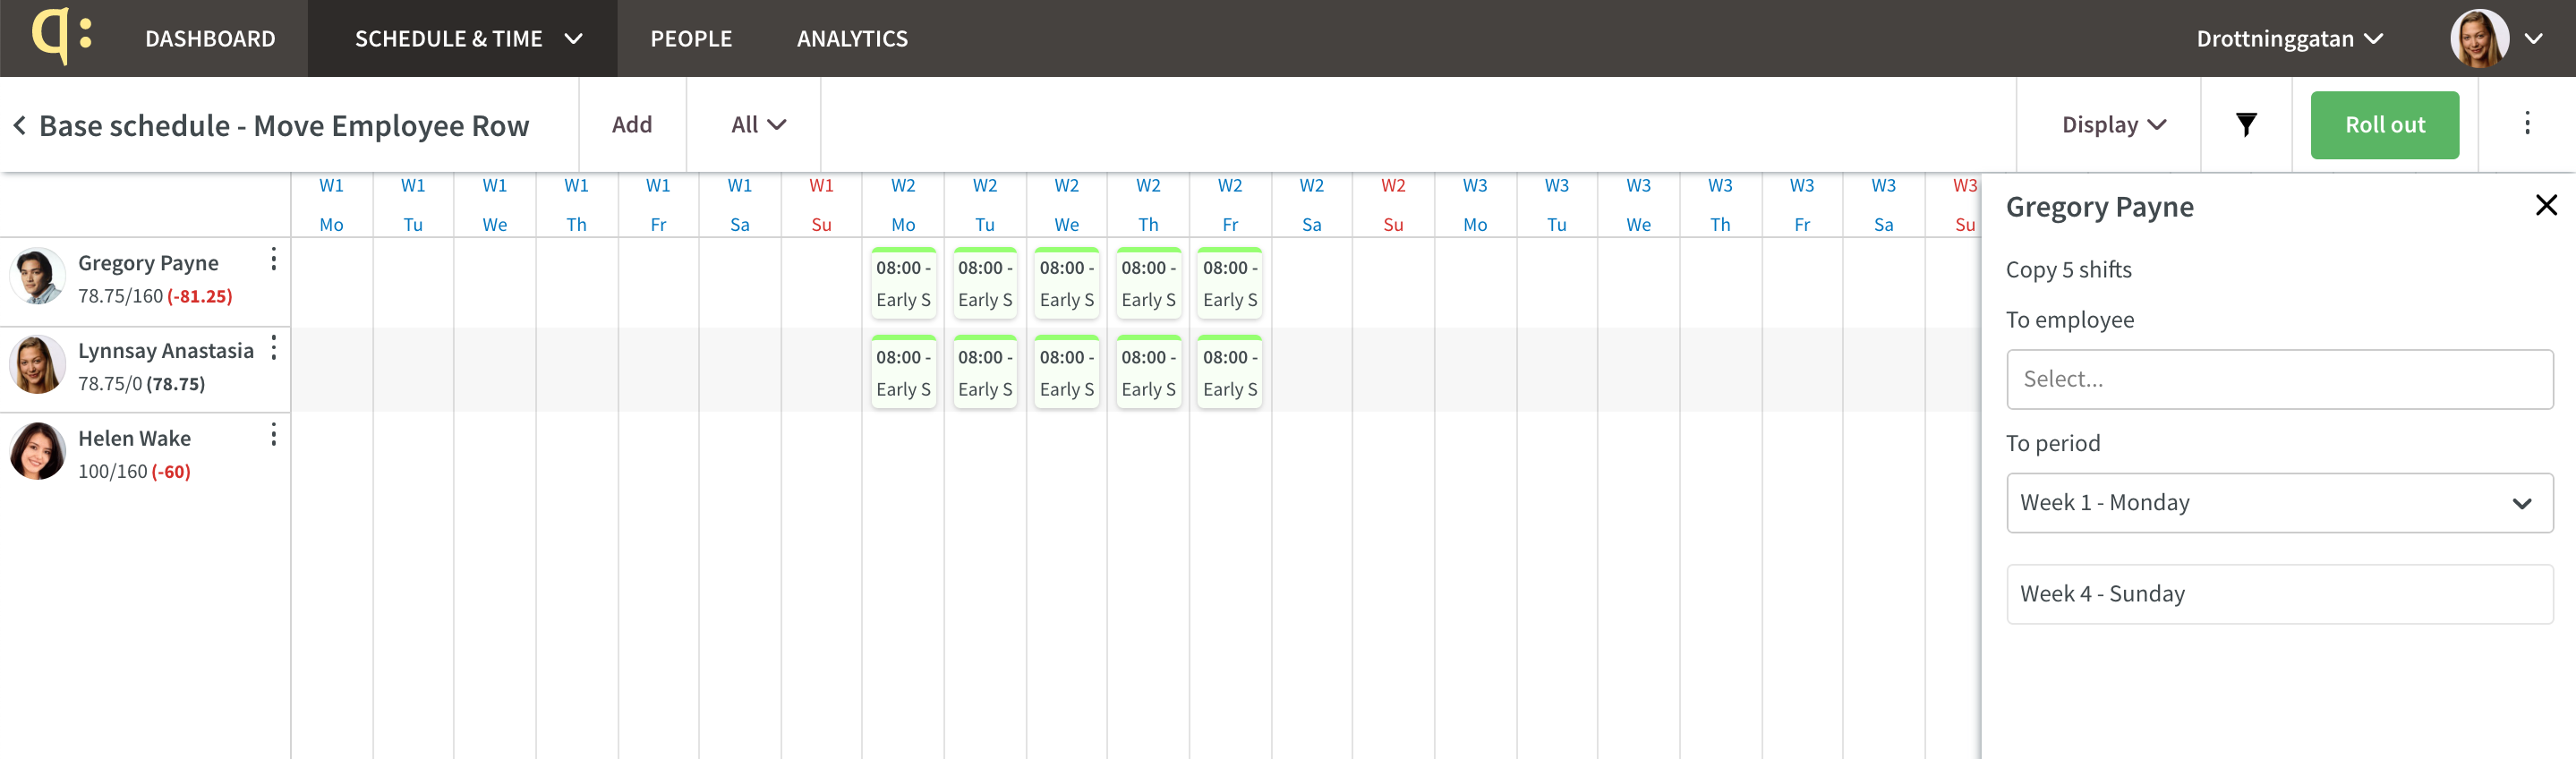
Copy or Move Employee Row - Filter Selection Update
In the last release, we added the ability to copy or move specific employee rows in Base schedule. However, it was flagged that filters weren't taken into account during this copying or moving; this has now been fixed. That means that as of this release, if you've applied a filter to only display shift type "Early Shift" (but not notices of interest, absences etc), you will only copy or move the selected employee's shifts that are of shift type Early Shift:
Schedule
Batch Attest / Batch Unattest Employee Row
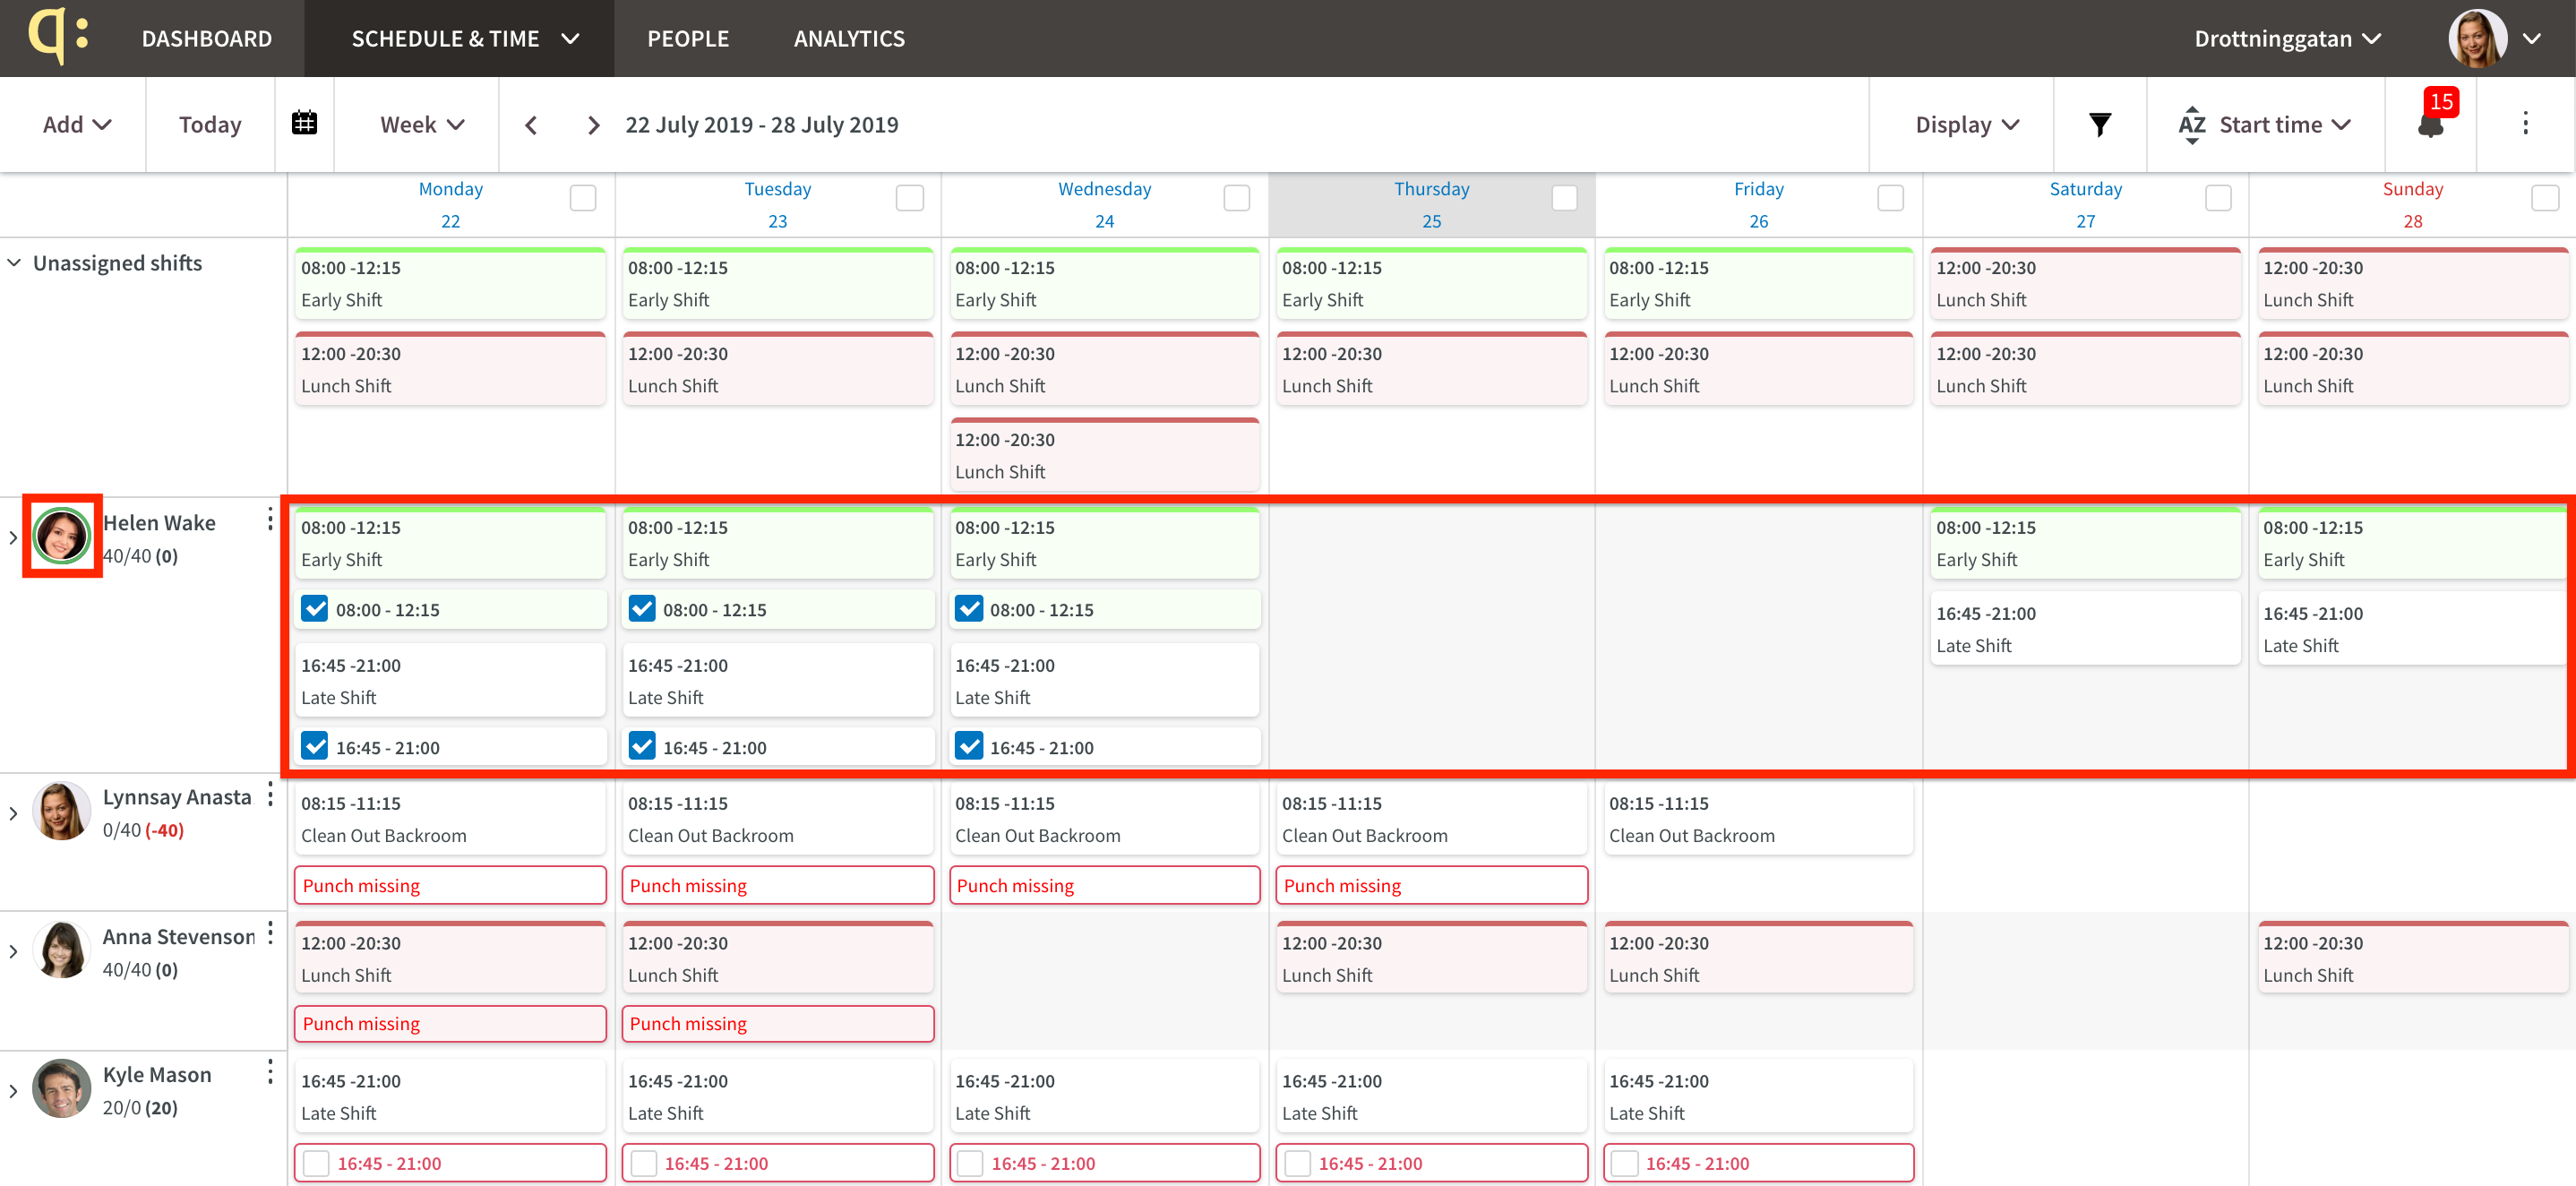
With this release, the interface for attesting and unattesting an employee row is updated. In order to attest an given employee's row, click the ellipsis next to the employee name in Schedule followed by "Attest all":

This will attest all of the currently visible punches and absences for the employee (Helen Wake), no matter how many of the employee's punches and absences were attested before:
Additionally, it will make a green circle appear around Helen's avatar. This is a new graphic component indicating that all of an employee's punches and absences in the shown period are attested.
In order to unattest all visible punches and absences for that same employee, click the same ellipsis but this time, select "Unattest all":
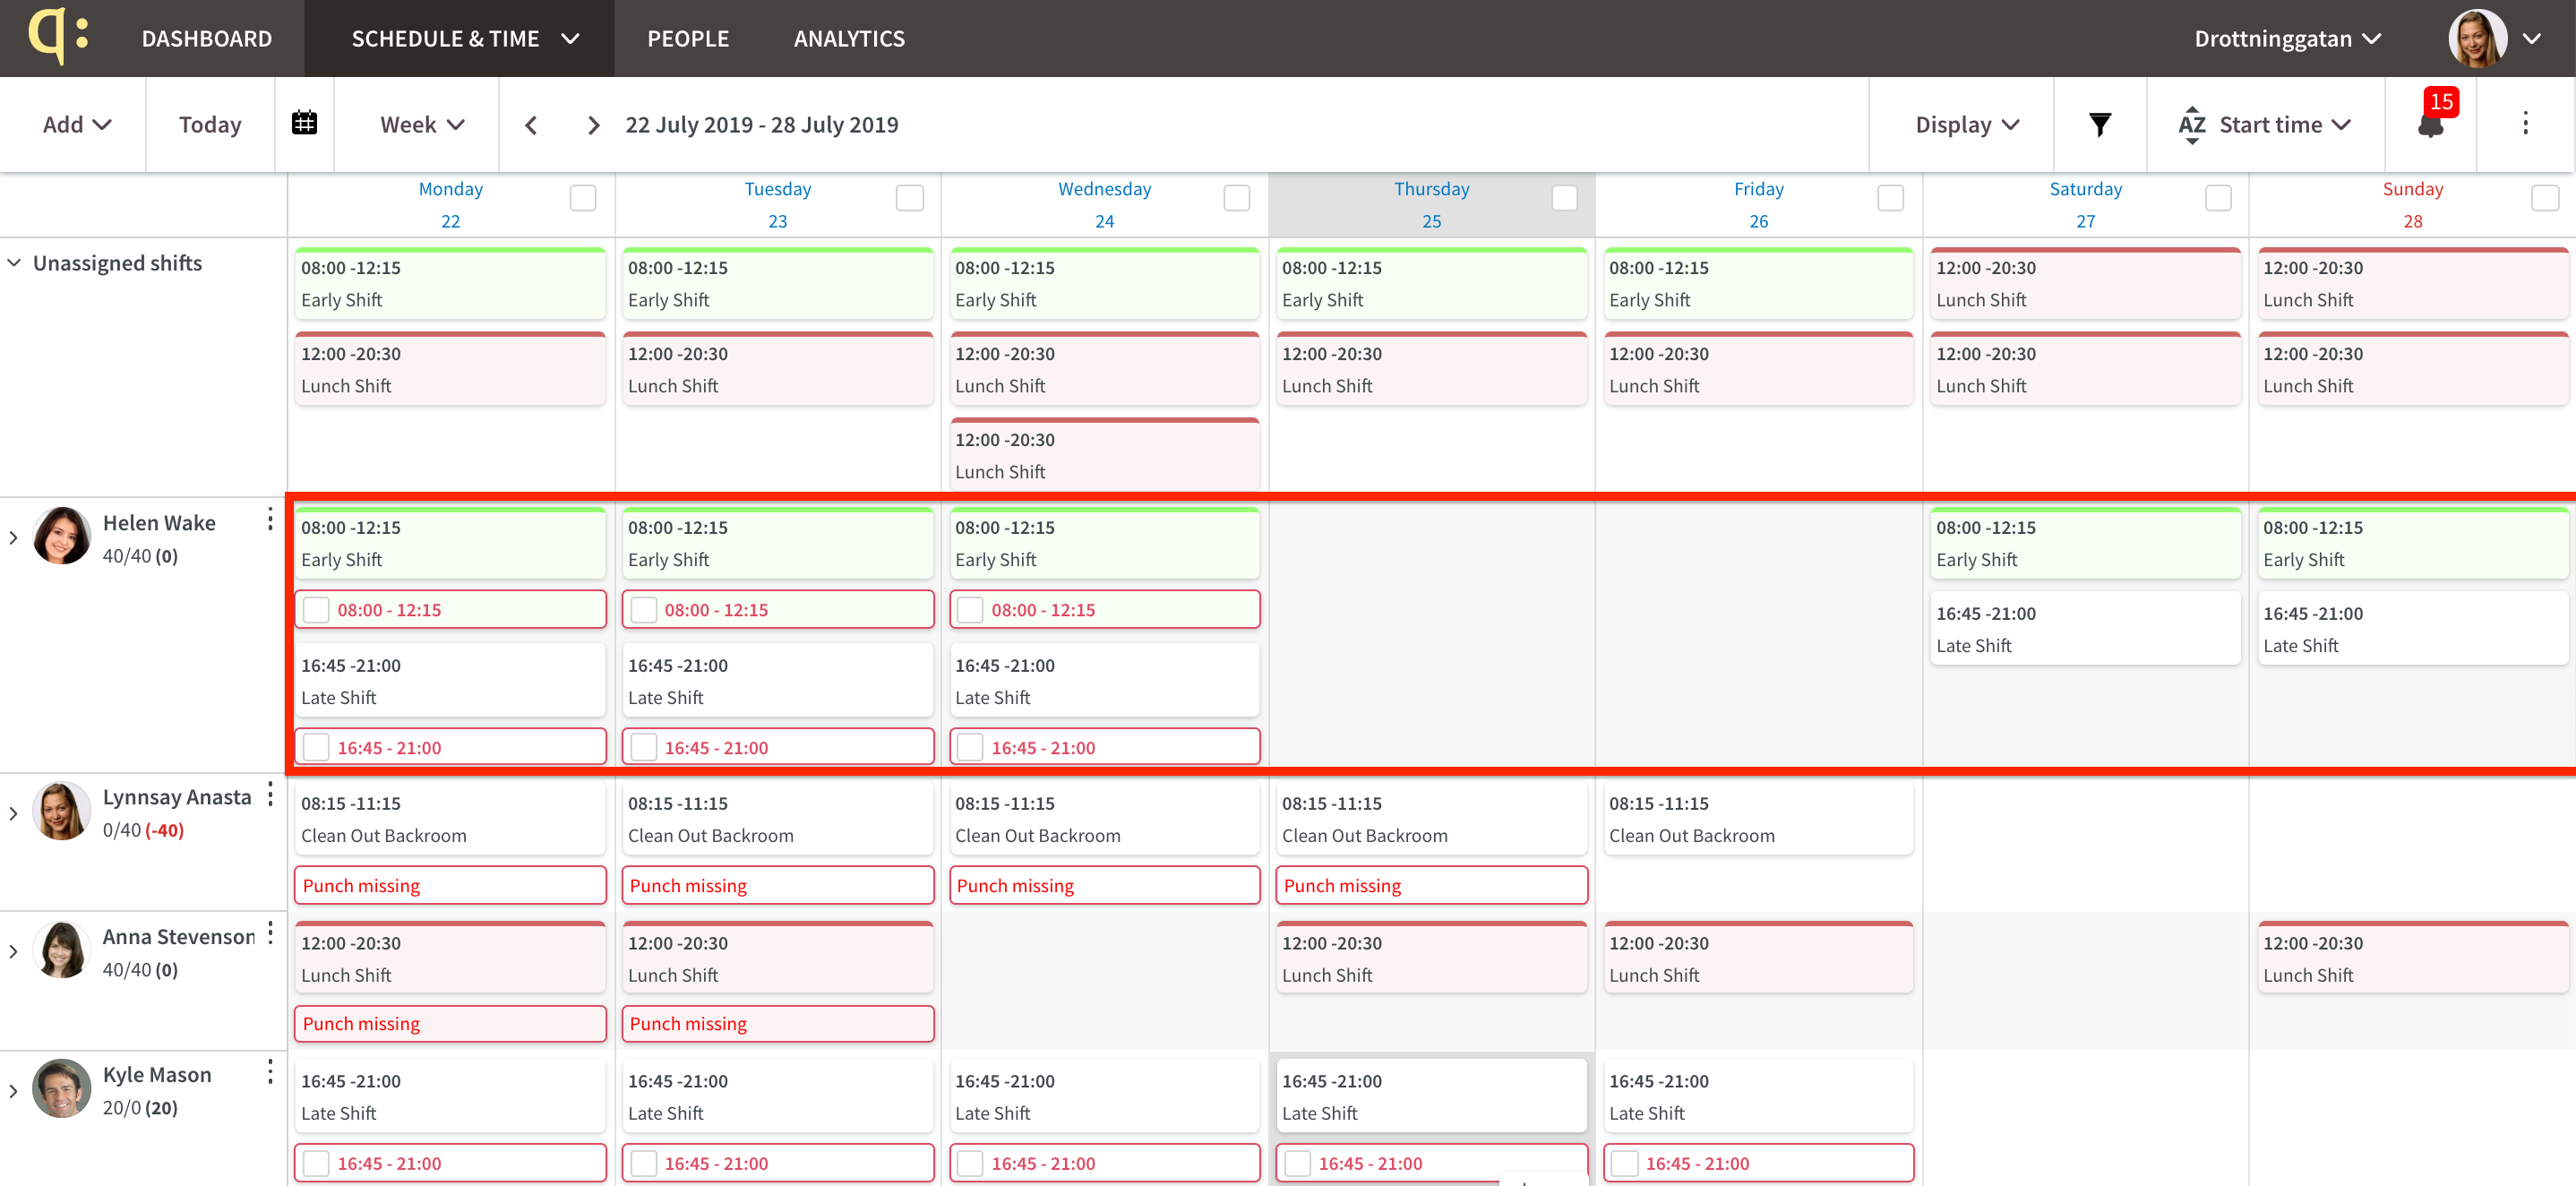
As you can see above, this action unattests all visible punches as well as removes the green circle around Helen's avatar. Had there been attested absences in Helen's row above, these would have been unattested as well.
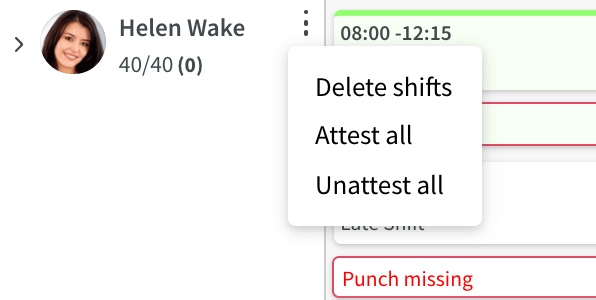
Batch Deletion of Shifts - Employee Row
As of this release, you're able to delete an entire employee row in Schedule. Just click the ellipsis next to the employee name in Schedule followed by "Delete shifts":
The following popup will appear:
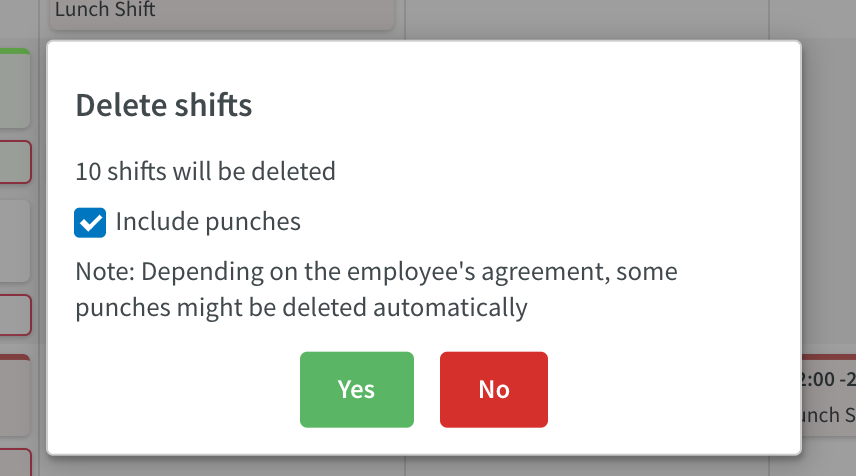
In the above popup, you're able to select whether you want to also delete the punches present in the row in question.
Batch Deletion of Shifts - Full Schedule
As of this release, it is possible to delete all currently visible shifts, which means that any filter selections you've made are taken into account. This means you can, for instance, choose to delete all shifts for a given unit and month originating from a certain base schedule!
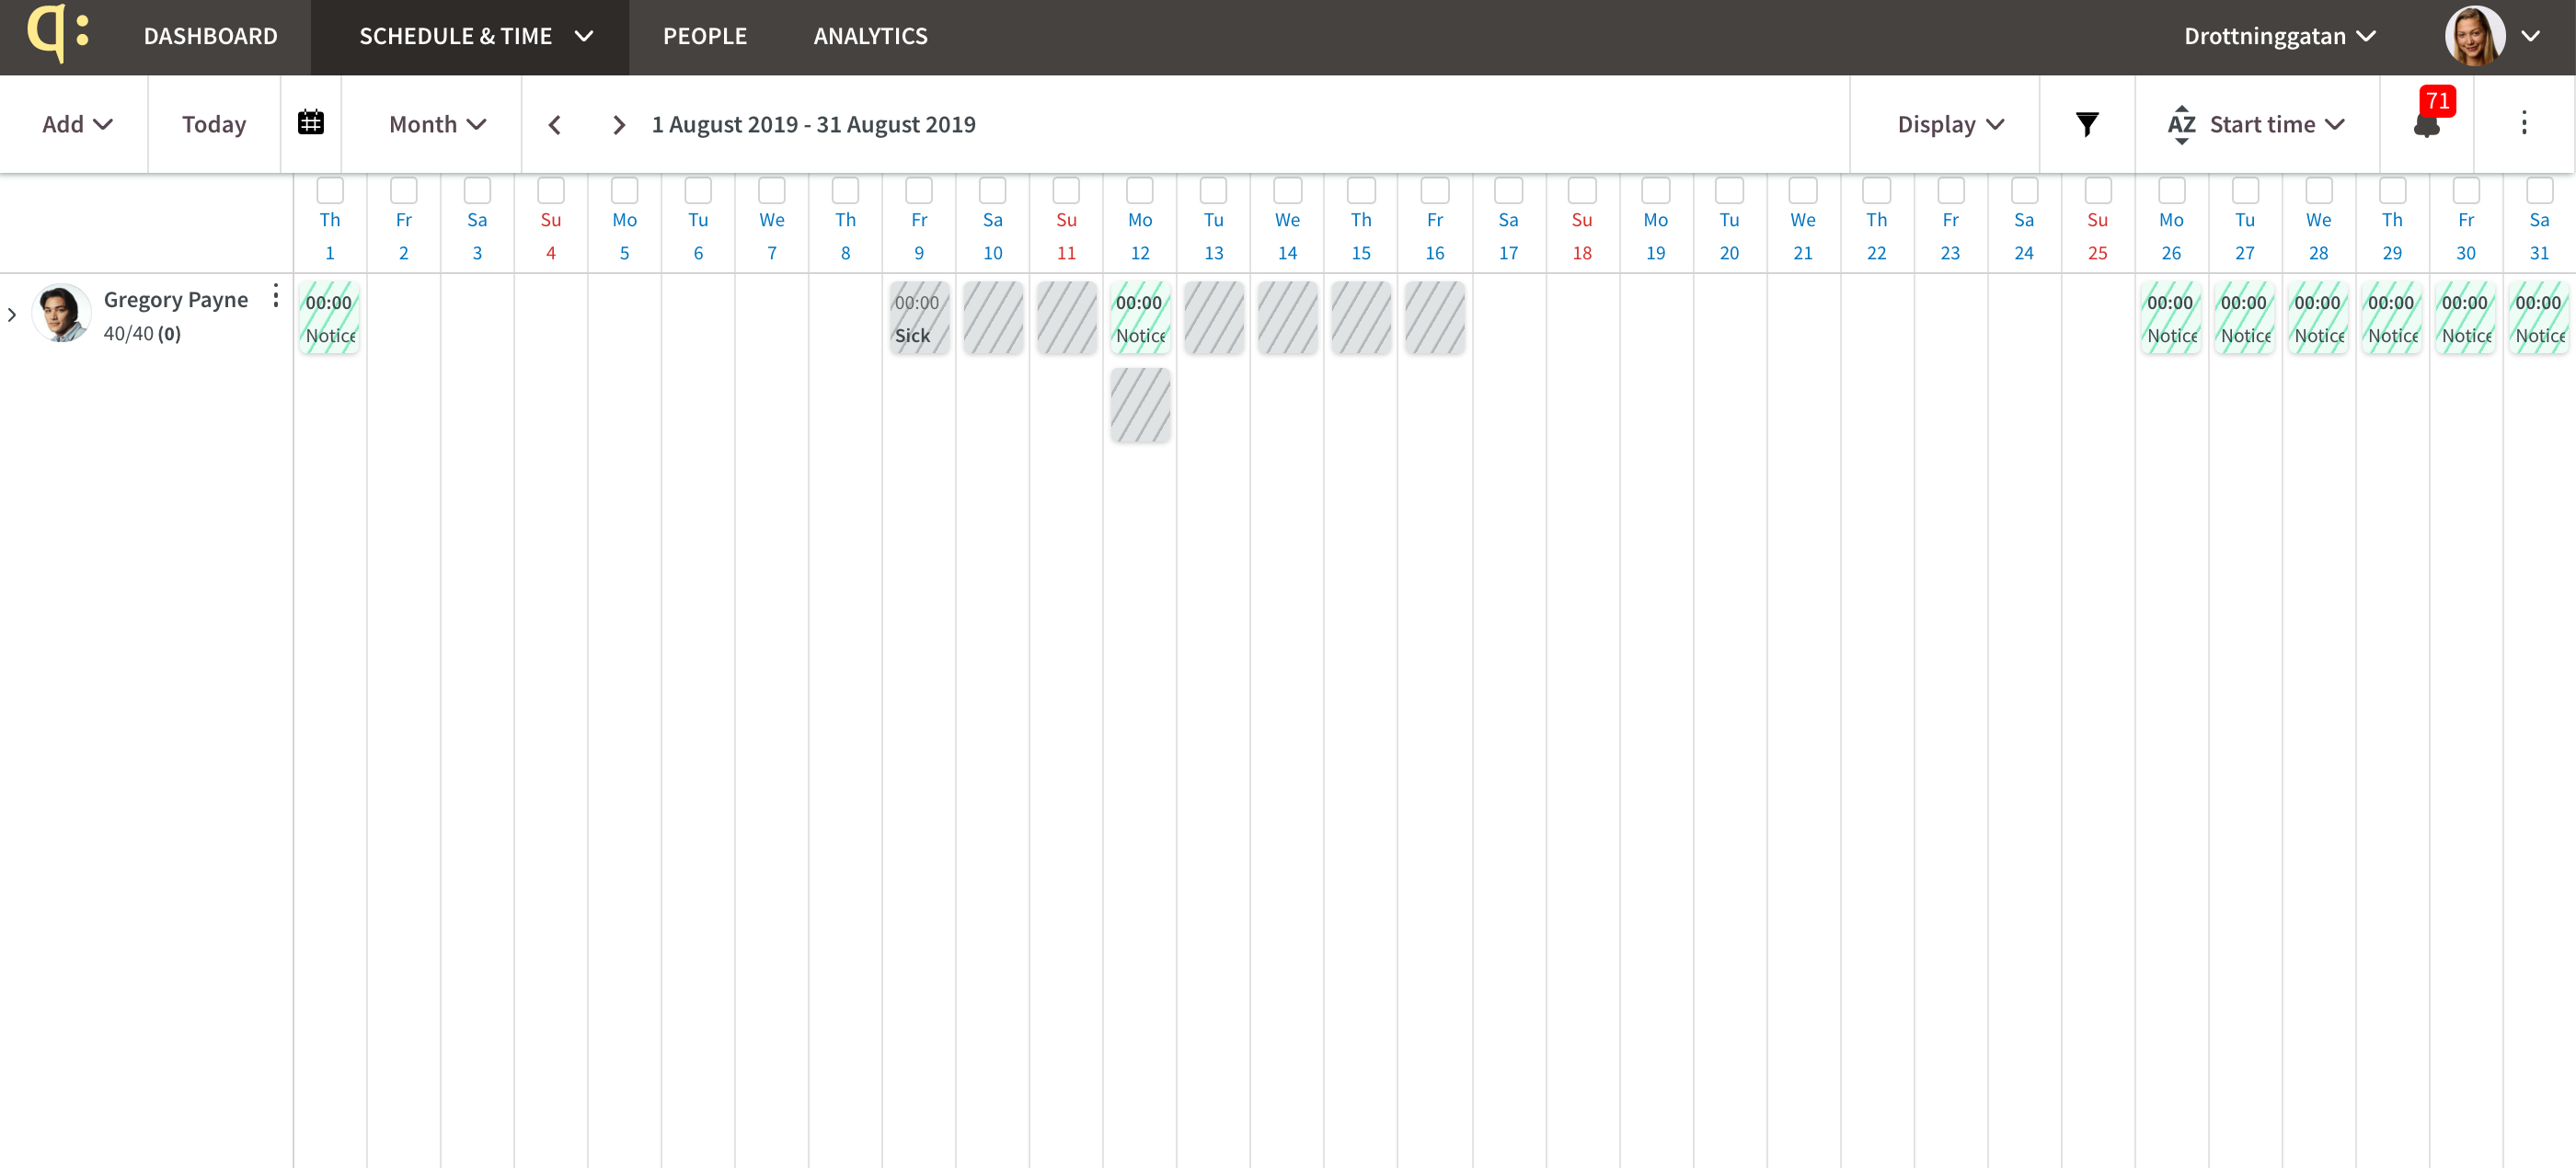
Start by navigating to the month of your choice and applying any filter - we've selected to delete all shifts originating from the base schedule named "Base schedule" for our Drottninggatan unit in August:
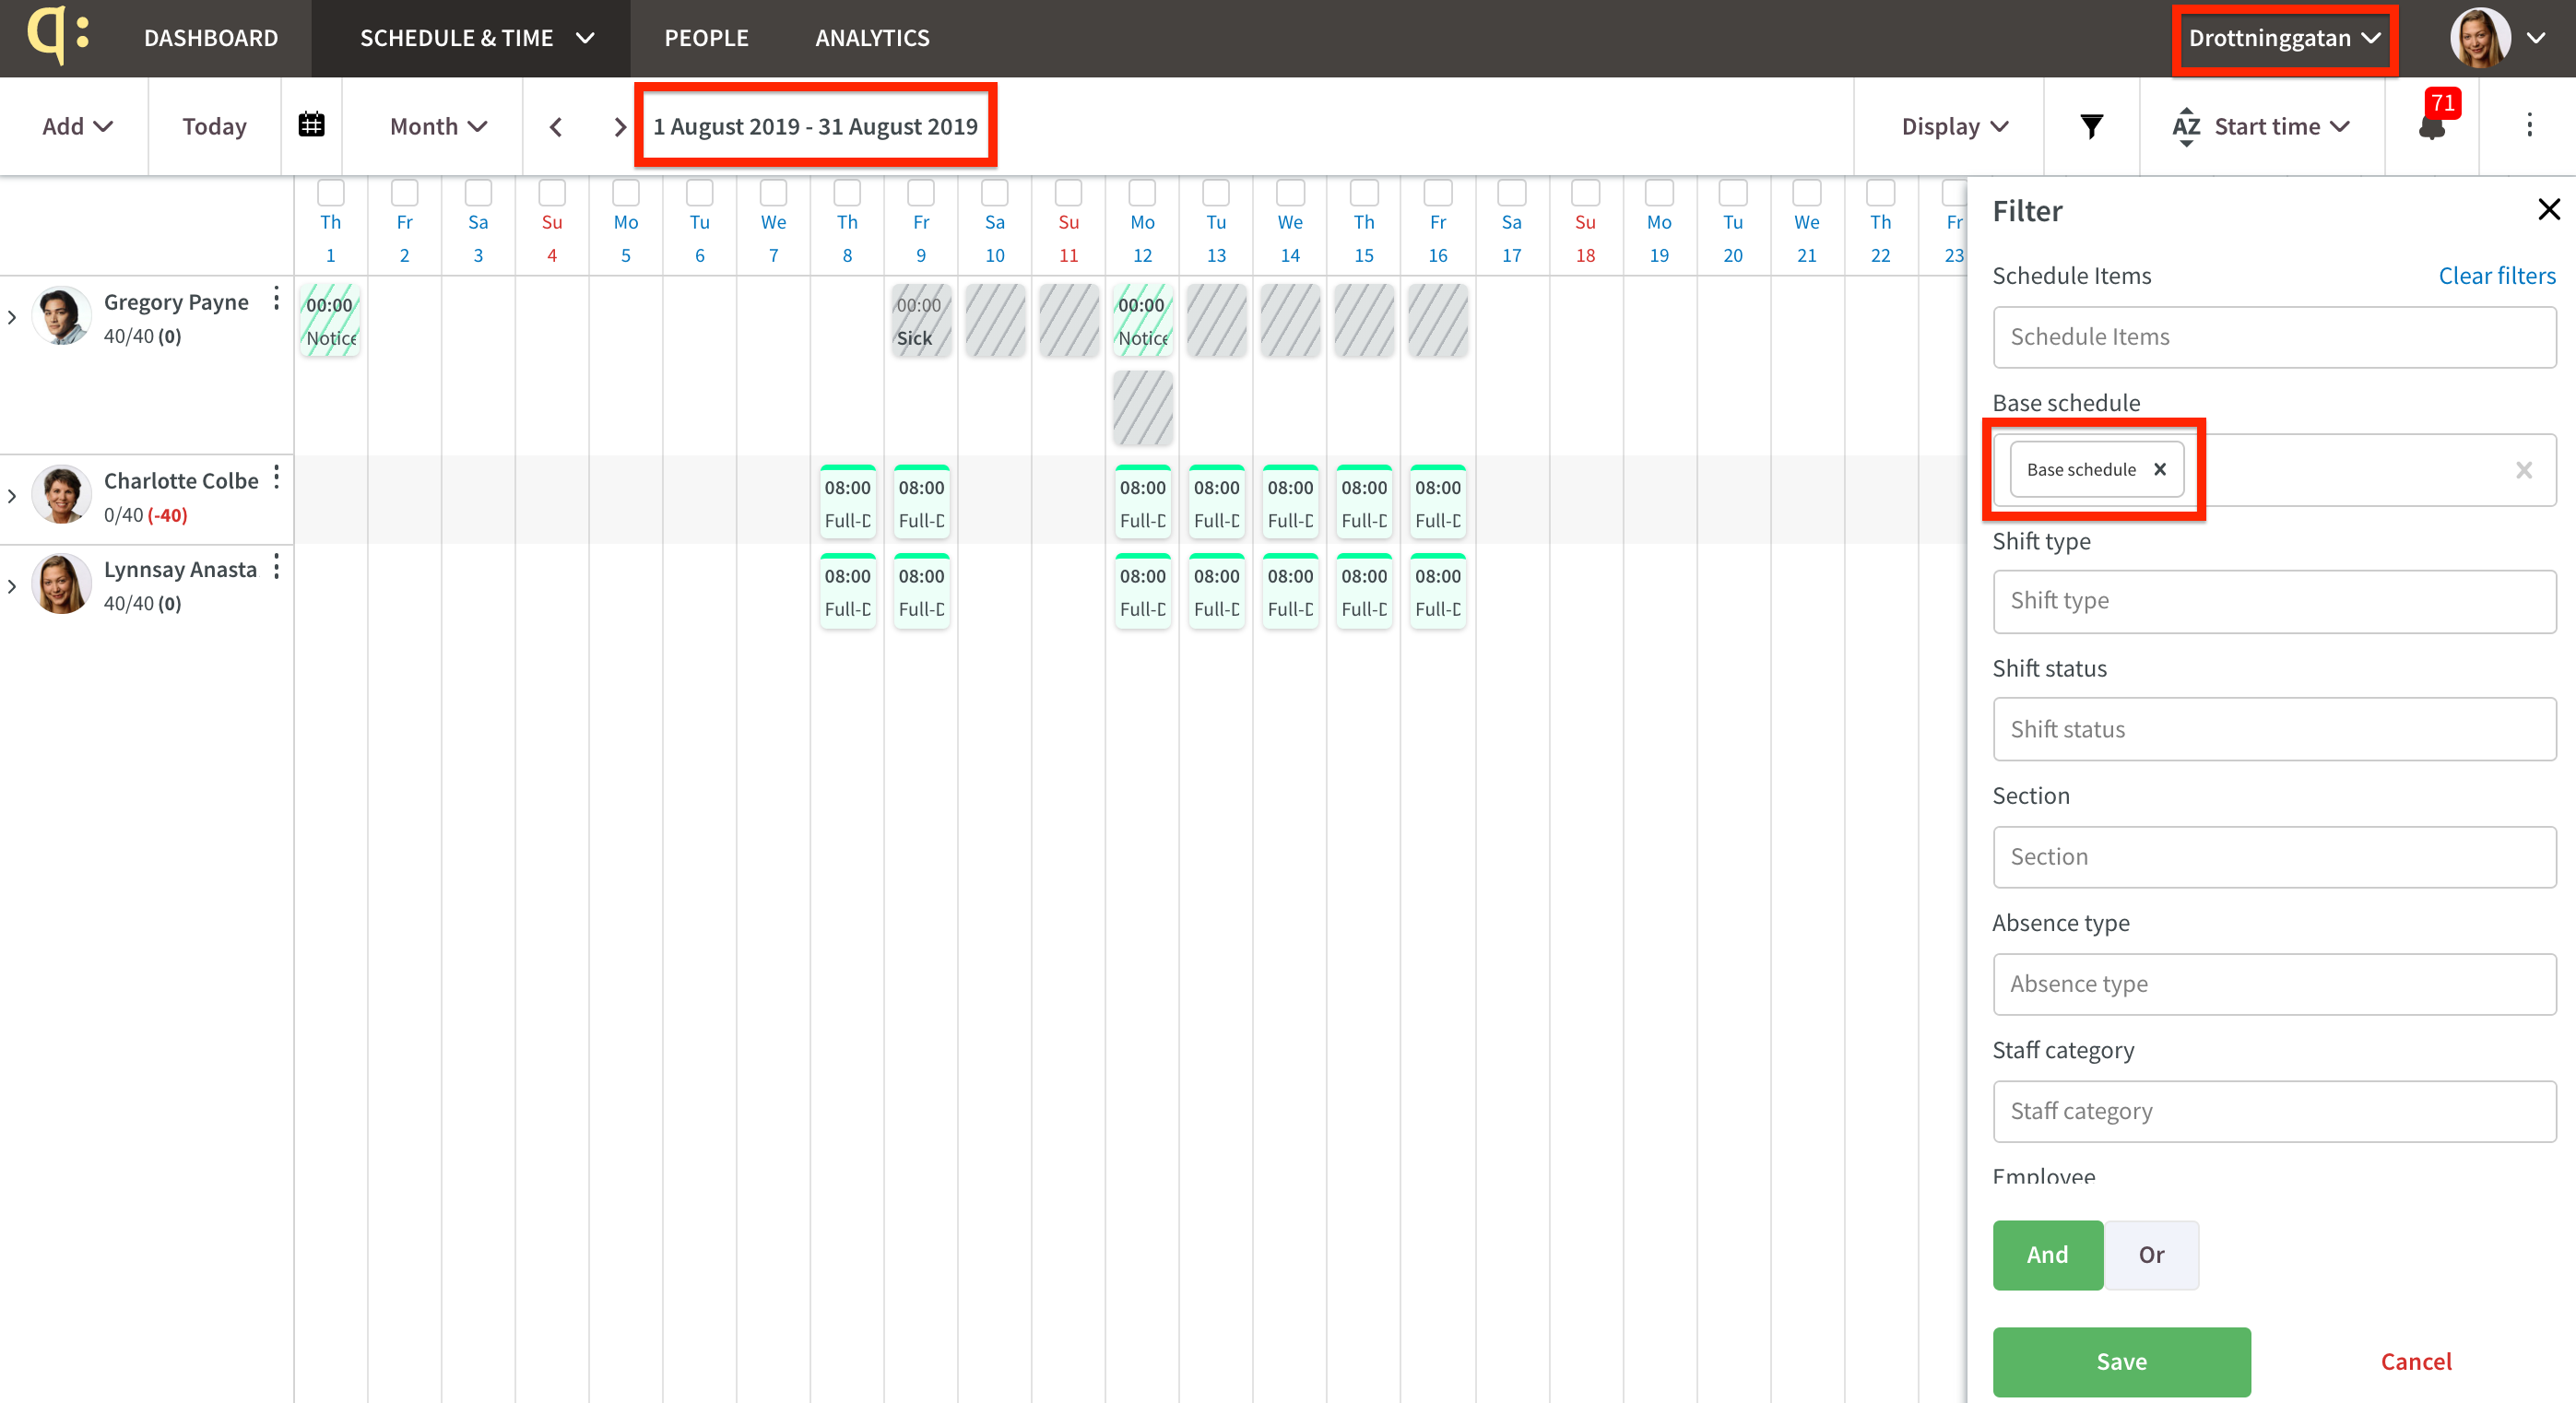
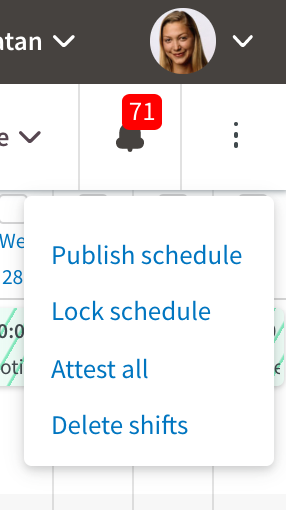
Next, click the ellipsis in the top right corner followed by "Delete shifts" as shown below. Please note that the "Attest all" control that used to be placed next to the "Display" menu has now been moved to this menu:
Upon clicking "Delete shifts", the following popup will appear, displaying the number of shifts to be deleted and giving you the option of also deleting the corresponding punches:
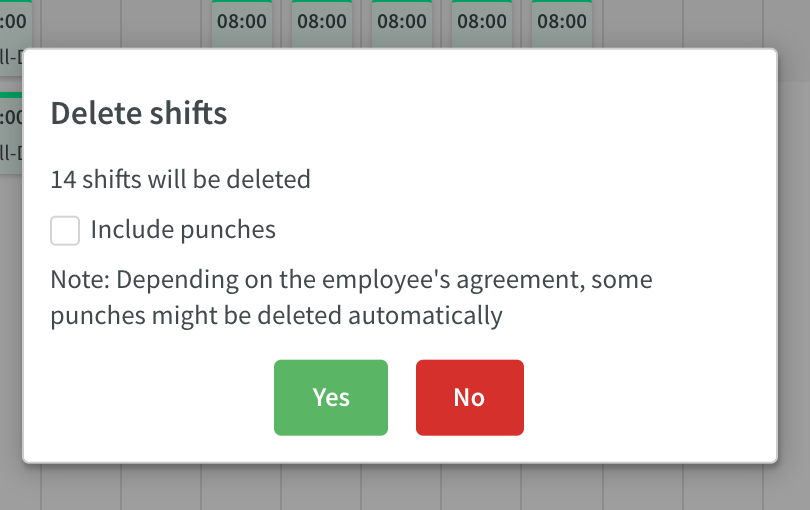
In our example, our selection of shifts have no corresponding punches so we won't tick that box.
The result can be seen below - all shifts corresponding to the filter we had applied have been deleted with only absences and notices of interest remaining for the month of August on our Drottninggatan Unit: