Add, edit, and use group type labels for your Collaboration groups
 Updated
by
Daniel Sjögren
Updated
by
Daniel Sjögren
Working with group type labels in your Collaboration group
When configuring a Collaboration Group, you must also associate a group type label to each level of your collaboration group hierarchy.
These group type labels are the WFM equivalent of the group type label in FLP Standalone. This enables you to share content in the FLP AIO platform following the hierarchy structure you have created or to specific group types, e.g., group type/label = store.
Example: Under Collaboration groups you have created the following hierarchy:
- Tree 1
- Branch A
- Branch B (Group type label = Bird Nest)
- Branch C
- Baby Branch D
- Baby Branch E (Group type label = Bird Nest)
Through the more traditional distribution model, you could choose any group. Whether you're sharing a task, story, or what-have-you, that content will be distributed to that Group and the children below it following the traditional trickle-down hierarchy rules.
But by associating the group type label “Bird Nest” with it, you now have an additional option. Suppose you want to distribute content across the hierarchy when sharing the content, you can select group type label = Bird Nest, and the content will be shared with each group with that group type label rather than being limited to the groups within an individual hierarchy.
So, in essence, adding a group type label to each Collaboration Group within a hierarchy enables users of the All-in-one platform to share content in an additional way. You can select the group you want to share it with, or, thanks to labels, you can also distribute content topically across the hierarchies you have created.
How to configure group type labels
Configuring group type labels is a two-step process:
- First, you must create a list of available group type labels.
- Then, when configuring the Collaboration Groups you can select from the list of available group type labels.
When distributing content, the end-user can select from this list of available group type labels under the Group type label dropdown.
Creating a list of available Group type labels
First, under Account settings > Frontline Portal settings > Group type label management you must create the list of group type labels that you would like to have available when configuring the Collaboration Groups.
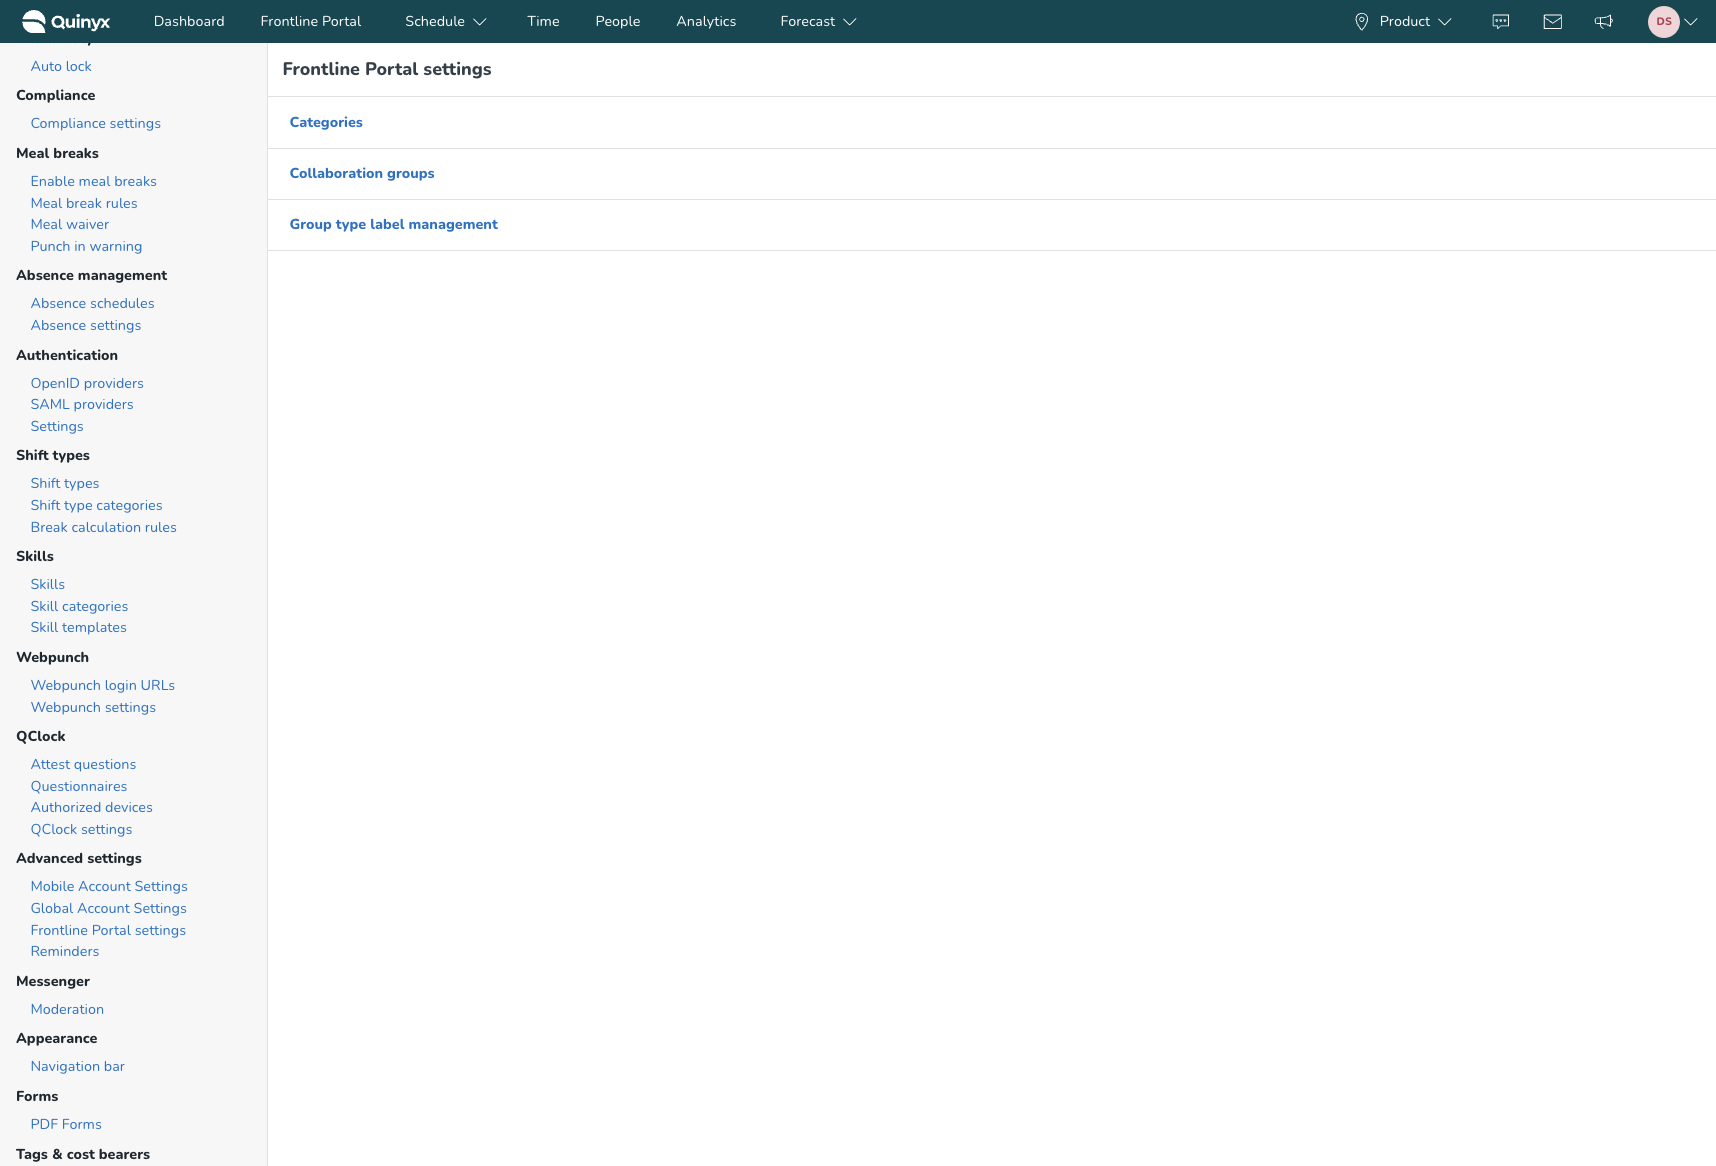
- Navigate to the Frontline Portal settings > Group type label management.
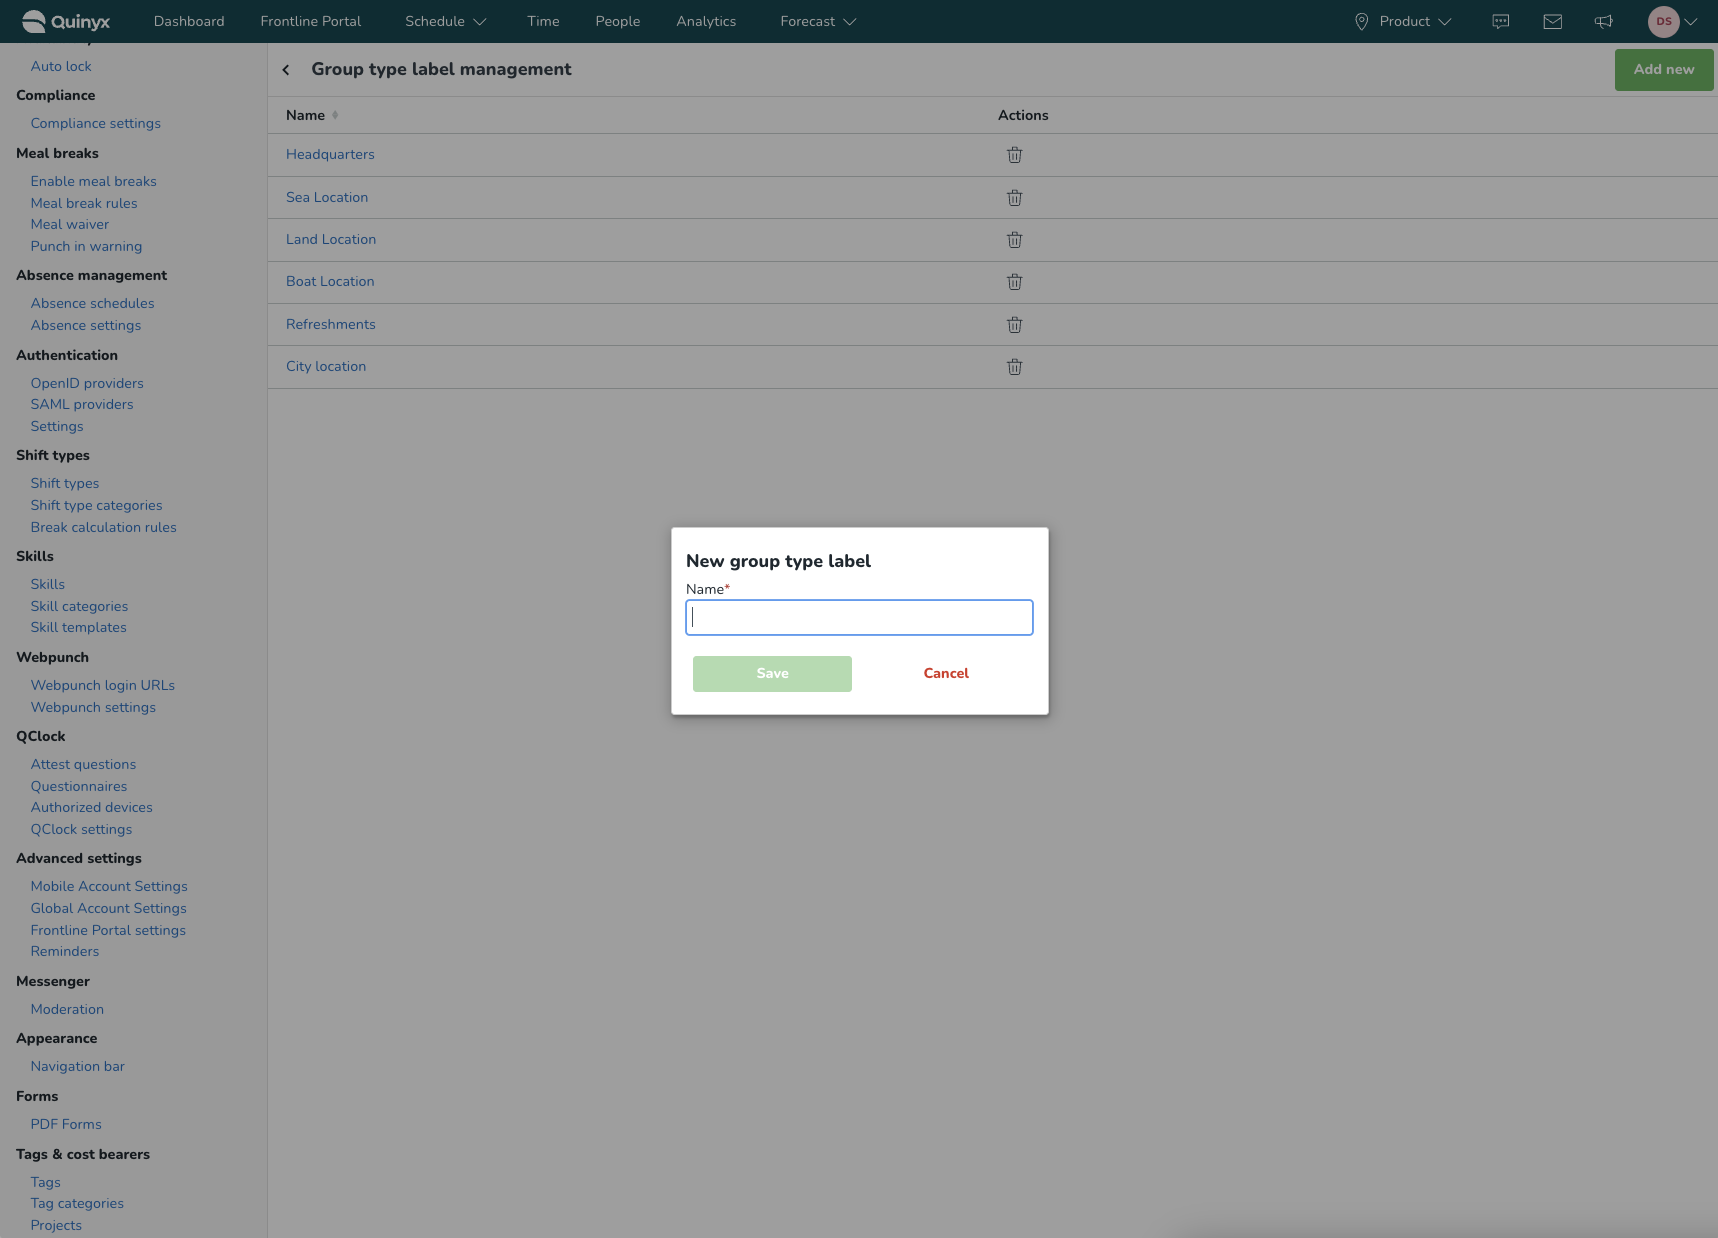
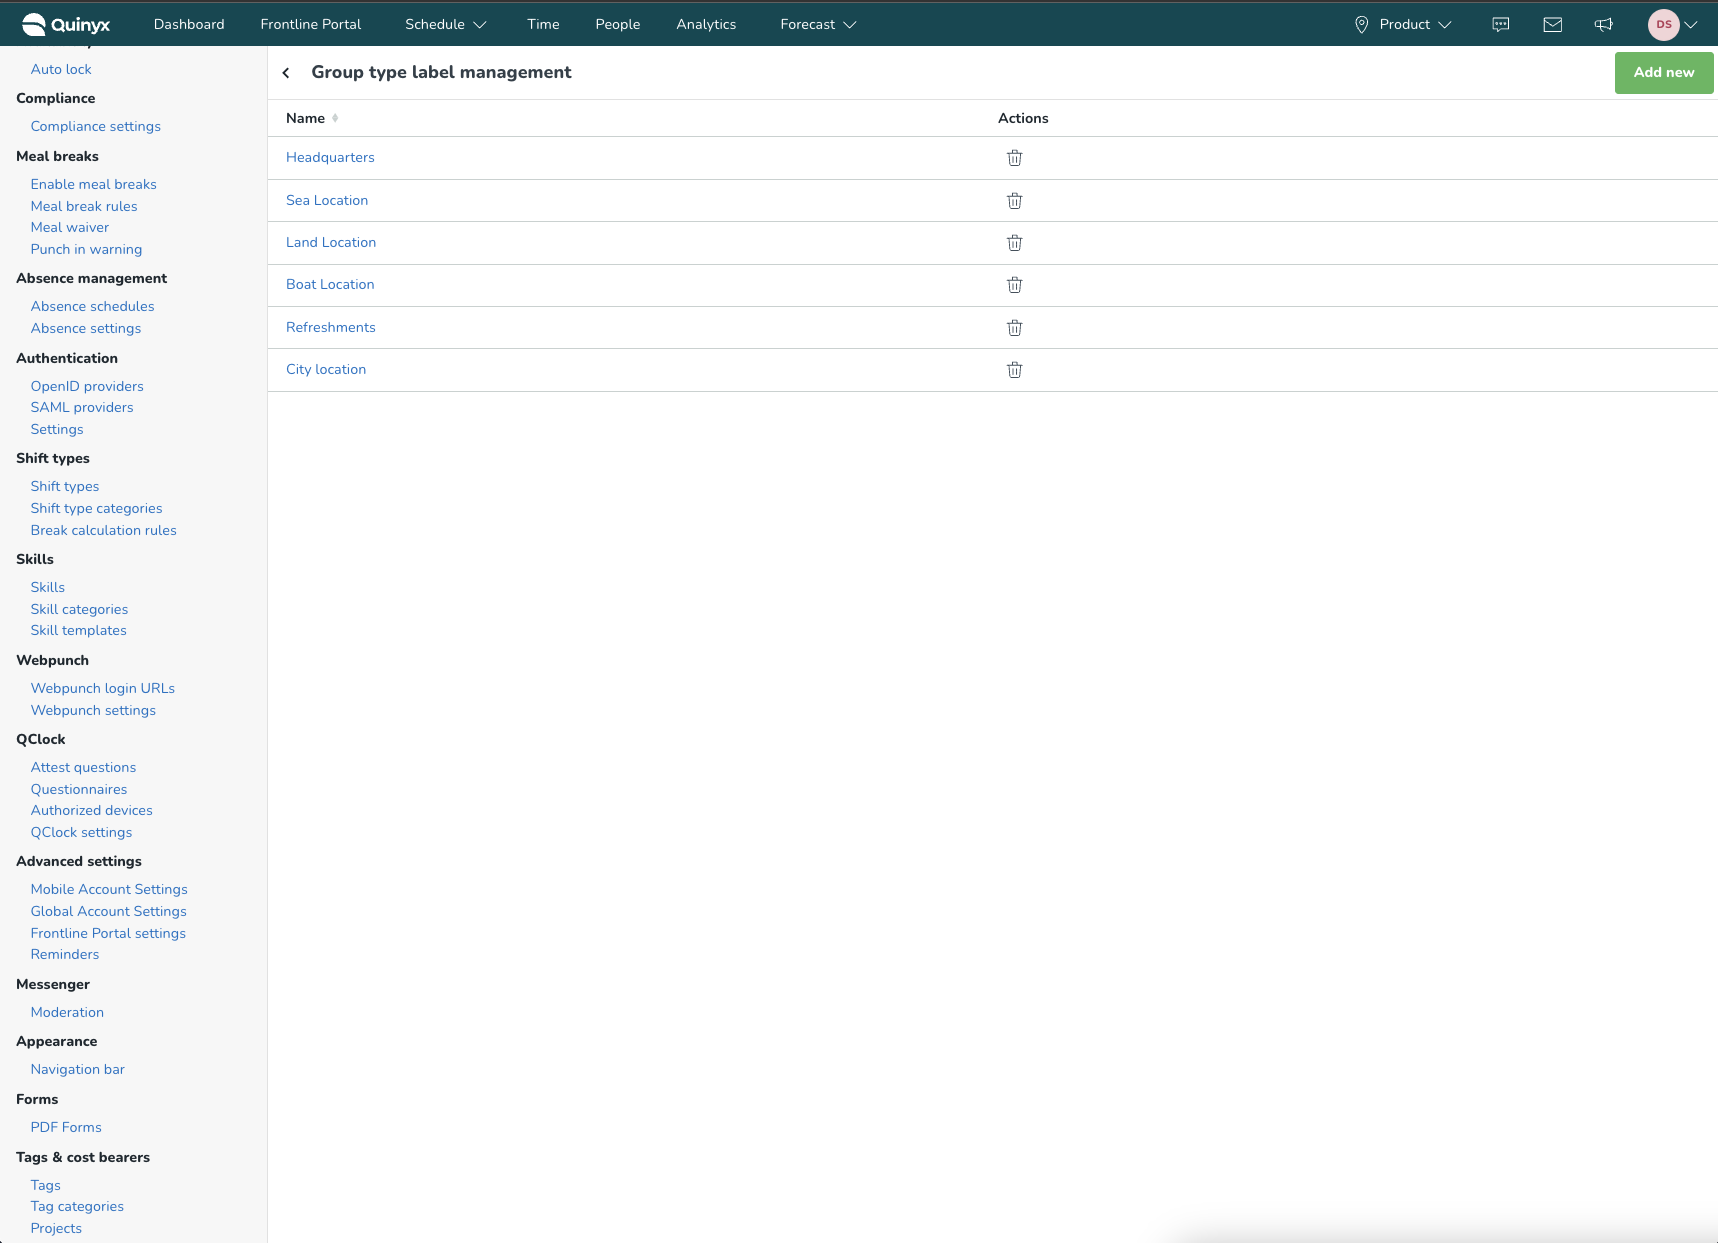 You can manage existing group type labels or select the Add new button to create new labels.
 - Then, select Add new to add a new group type label.
Associating a group type label to your Collaboration groups
Once the group type labels have been created, you can associate a group type label to each group by navigating to Account settings > Frontline portal settings > Collaboration groups.
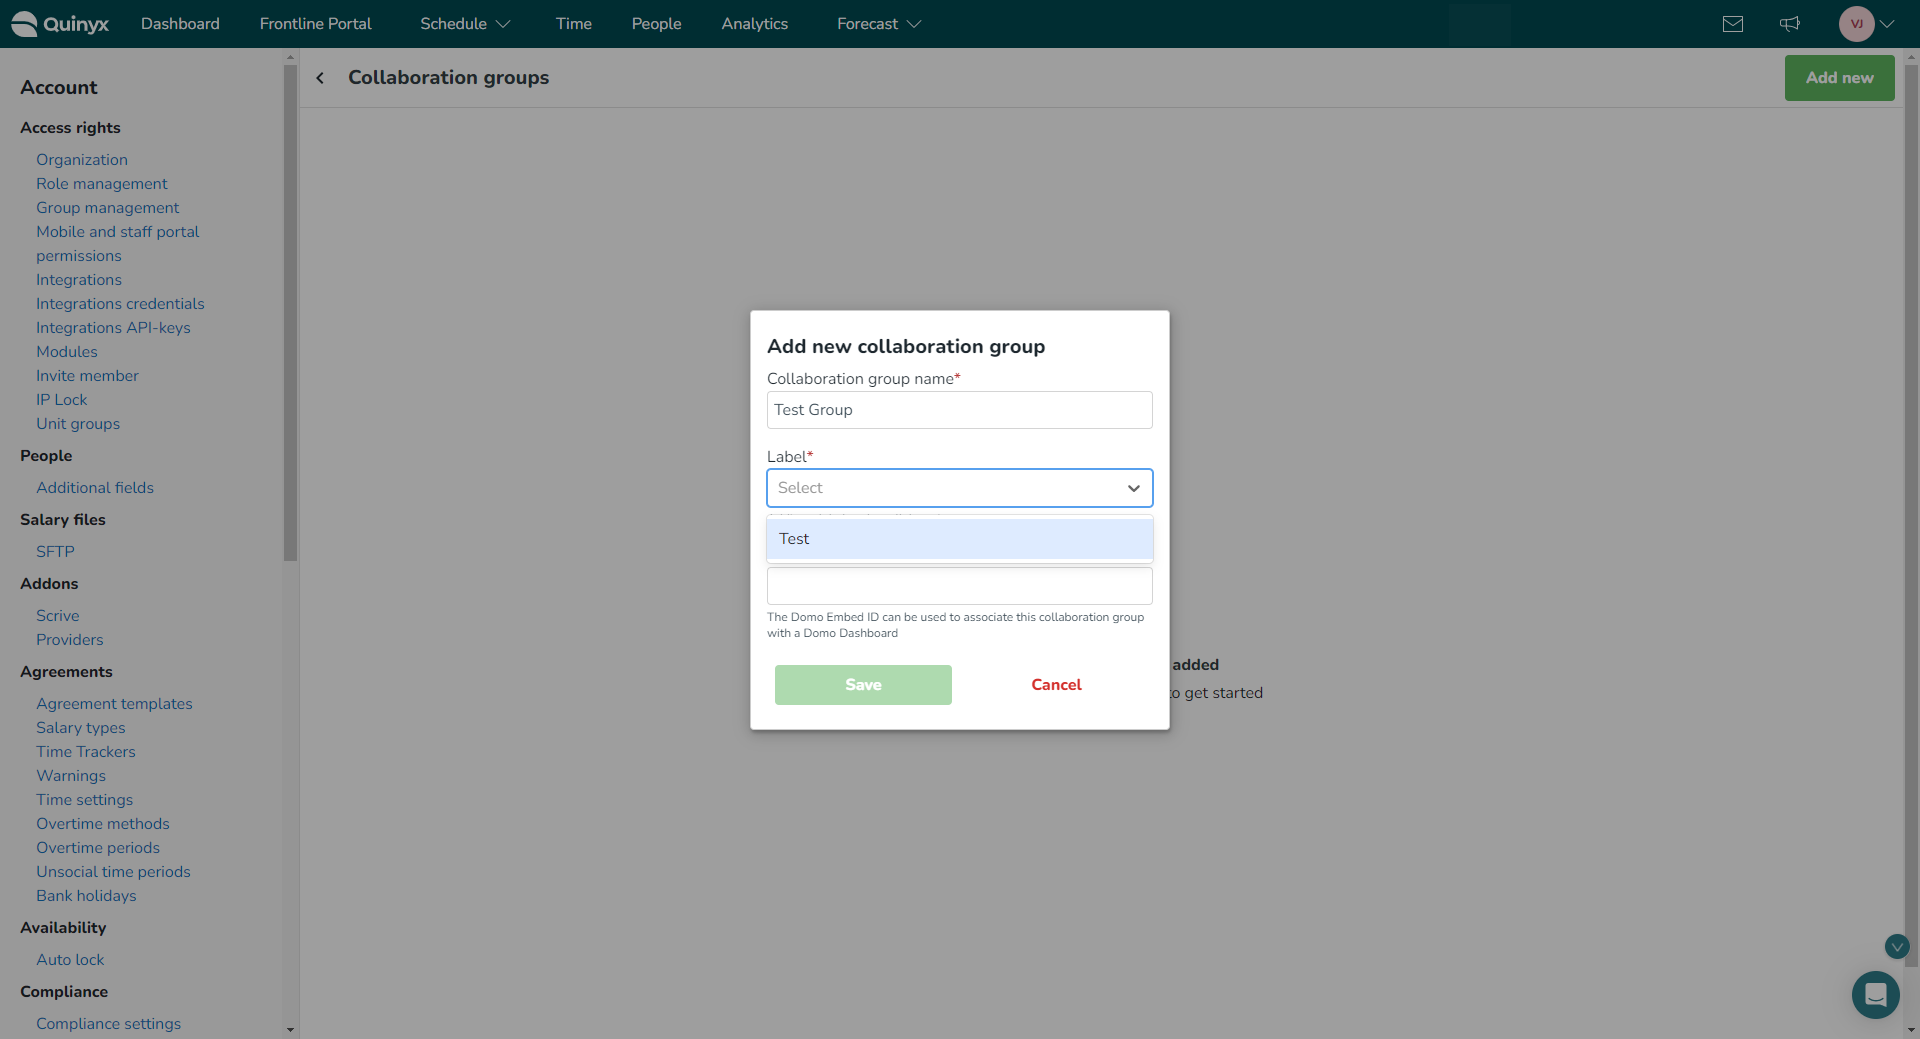
A group type label is selected when creating a Collaboration group and can be edited on any existing group in the side panel.