Q3 2023 Quinyx release recap
 Updated
by
Leigh Hutchens
Updated
by
Leigh Hutchens
To keep up with the latest features and not miss out on any added value, we recommend that you stay updated about key functionality from recent releases. In the third/fourth quarter of 2023, we had multiple releases. The images below highlight the key functionalities we added and their corresponding software areas. Please note that this is not an exhaustive list, as each release also includes bug fixes, smaller additions, and updates.
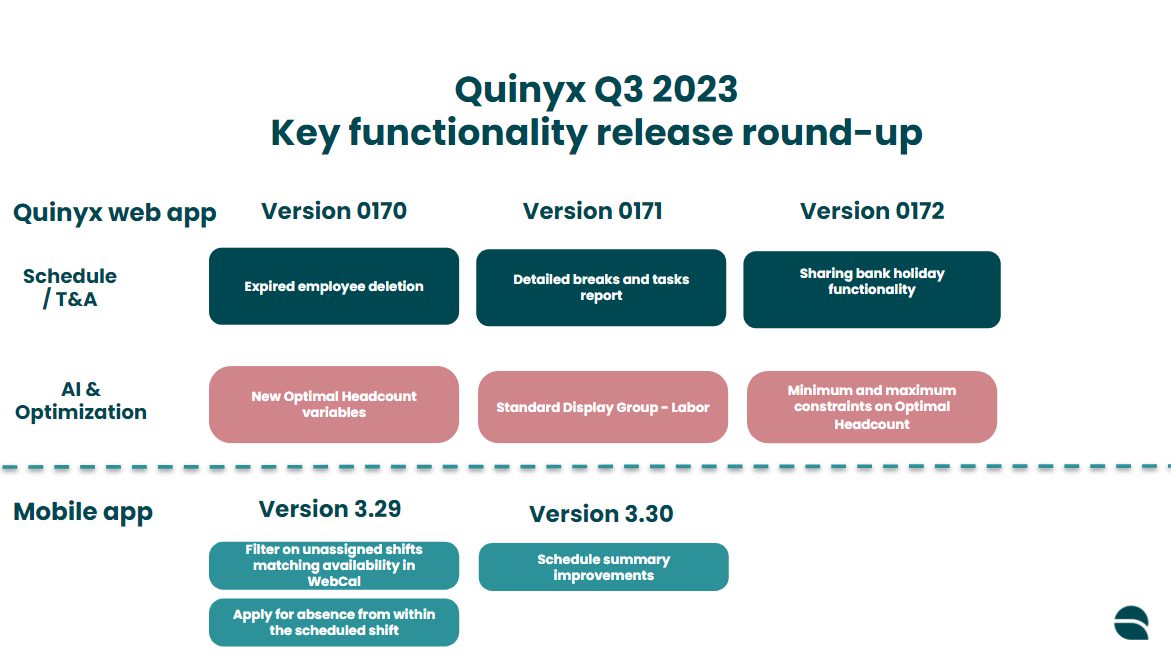
Version 0170
Quinyx web app
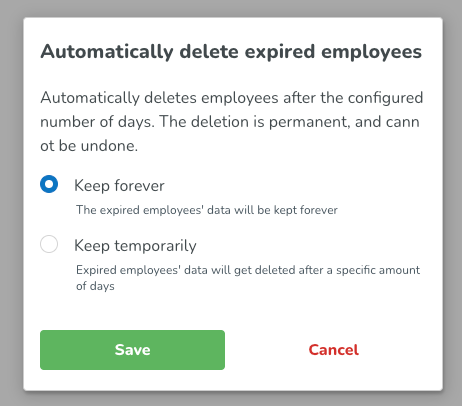
Advanced settings > Expired employee deletion
Under Advanced Settings > Global Account Settings > Expired Employee Deletion we’ve added a new configuration, which can be used when you want to set up a rule to automatically delete expired employees after a configurable number of days.
For example, whether due to some security protocol or just for a desire to minimize manual clean-up of your system, you could set a rule like: “After 182 days permanently delete all expired employees from the system.”
By default this rule is disabled, and the system will store expired employees forever (unless you manually delete them).
New Optimal headcount variable > Only one shift type
For the new optimal headcount variables (and labor standards) released last sprint, we made a slight improvement for technical performance and maintenance reasons.
From now on, you can only have a one-to-one relationship between the shift types and the optimal headcount configured. This means that one single shift type can only be connected to one optimal headcount variable, and vice versa. This will make sure that future optimal headcount versus scheduled headcount visualization (which will be part of one of our upcoming releases - please stay tuned!) based on the shift type of the optimal headcount will be comparable and consistent.
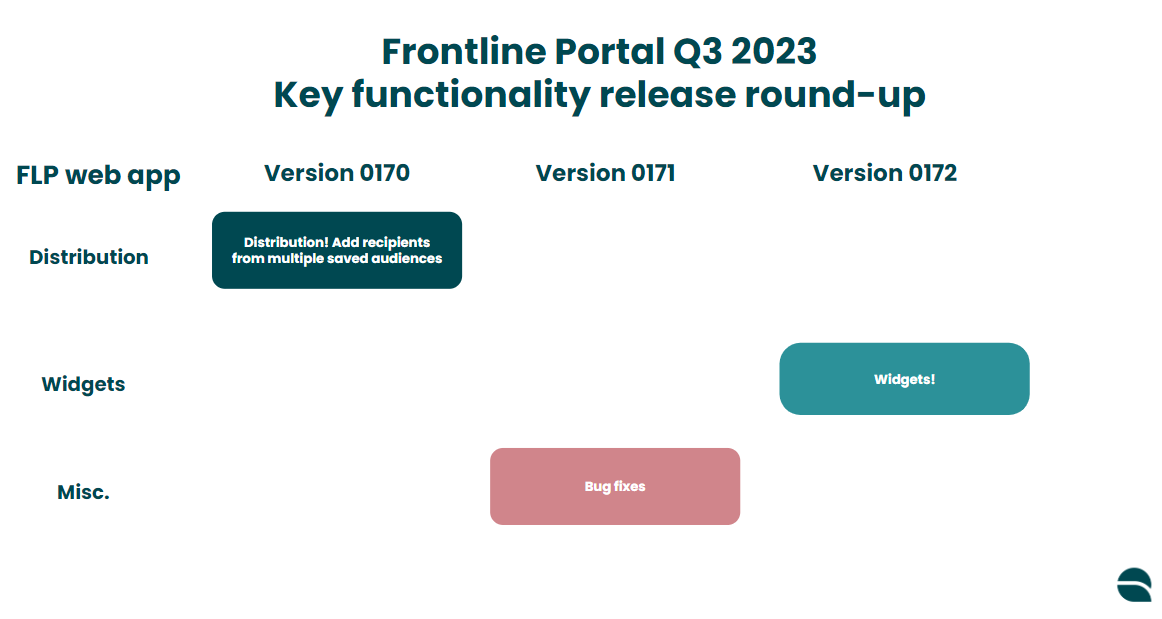
Frontline Portal
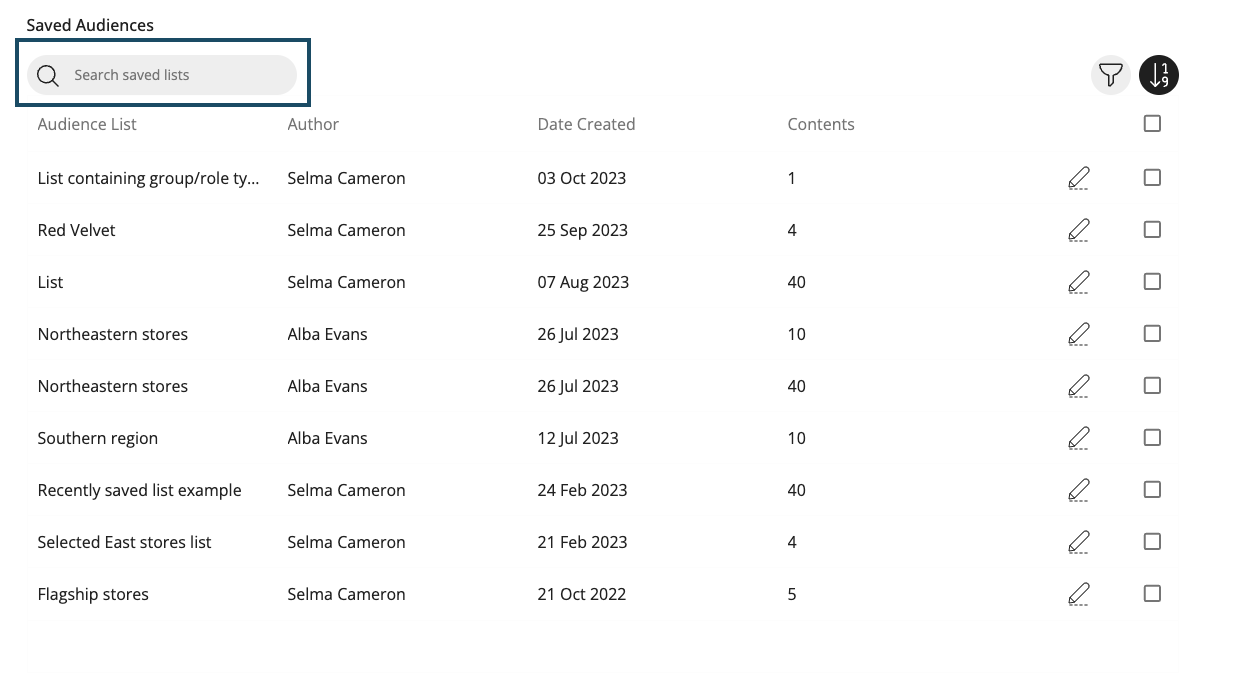
Distribution - Saved Audience Admin page - Filter & Search, Authored by me
We've added search options in the Saved Audience Admin Page, as well as adding group/role types when using the filter.
Search bar in the Saved Audience Admin page
Group/Role type filters in the Saved Audience Admin page
Authored by me filter on Saved Audience lists
We've added the option to filter to those lists you have created by adding a checkbox similar to that used on files for your own uploads. This is a checkbox that, when ticked, filters the list of saved audiences down to only those the current user themselves has created.
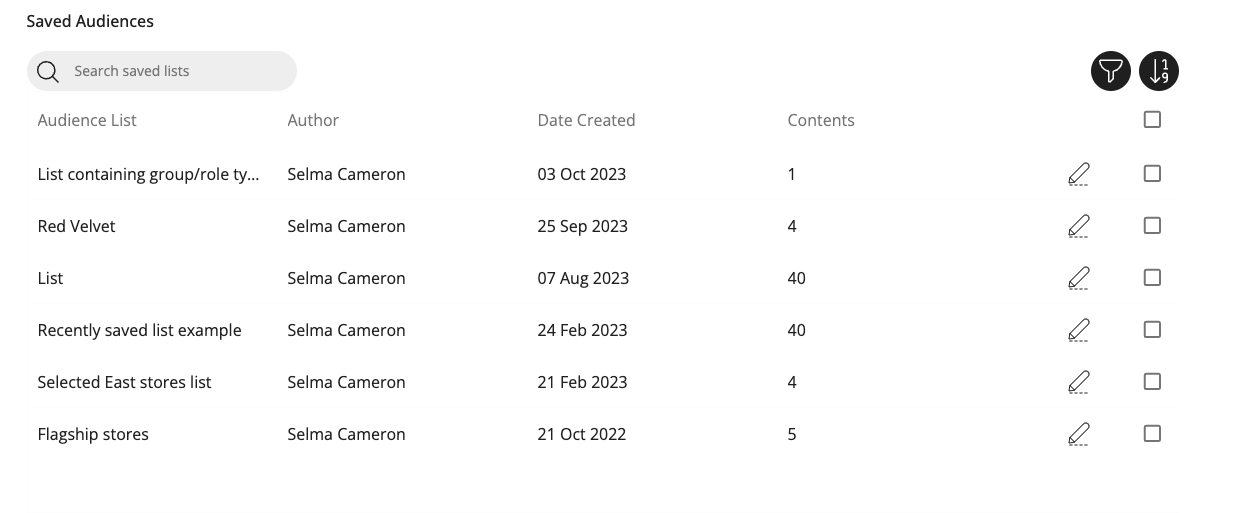
- In the Filter view, tick the checkbox Authored by me, and click Apply to see your own saved audience lists.
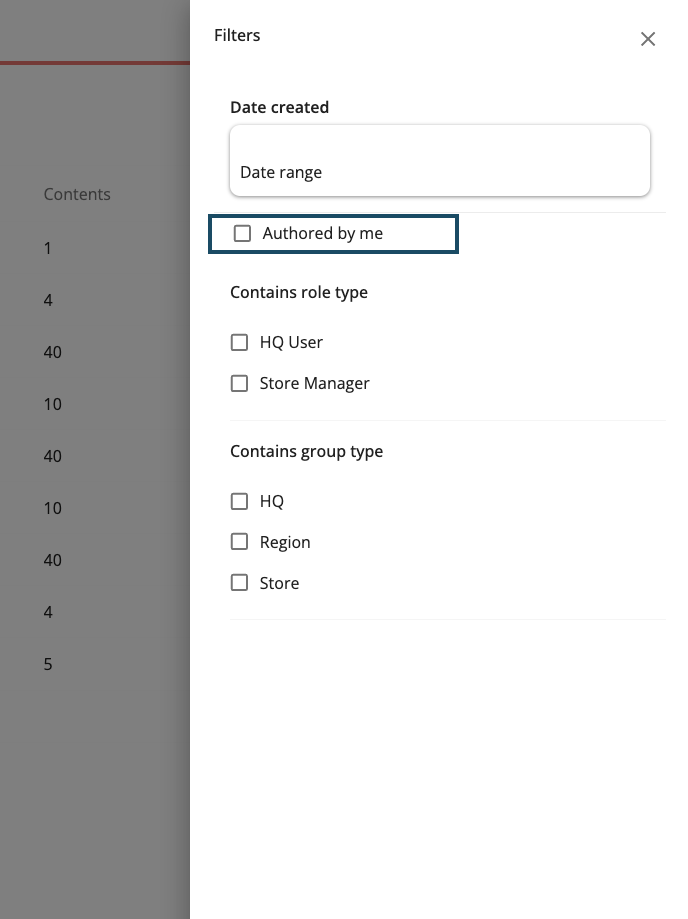
- You'll now only see Saved Audience lists that you've created.
Distribution - add group/role type options for Saved audiences
From now on, if you are a distributor of resources, you have the option to add group/role type options for your saved audiences.
In the expanded view of the Saved audience page, you can either edit the recipients of an existing saved audience and then choose Group type or Role type as the selection method, or you can choose it when creating a new saved audience list.
Distribution - Search by group/role type
When adding group/role types to your audience after the method selector, when you select which group or role types you want, you can search the list. This helps save time when you have long lists and know exactly what you're looking for.
The search field will work like any other search field, but it applies to these lists.
Group type
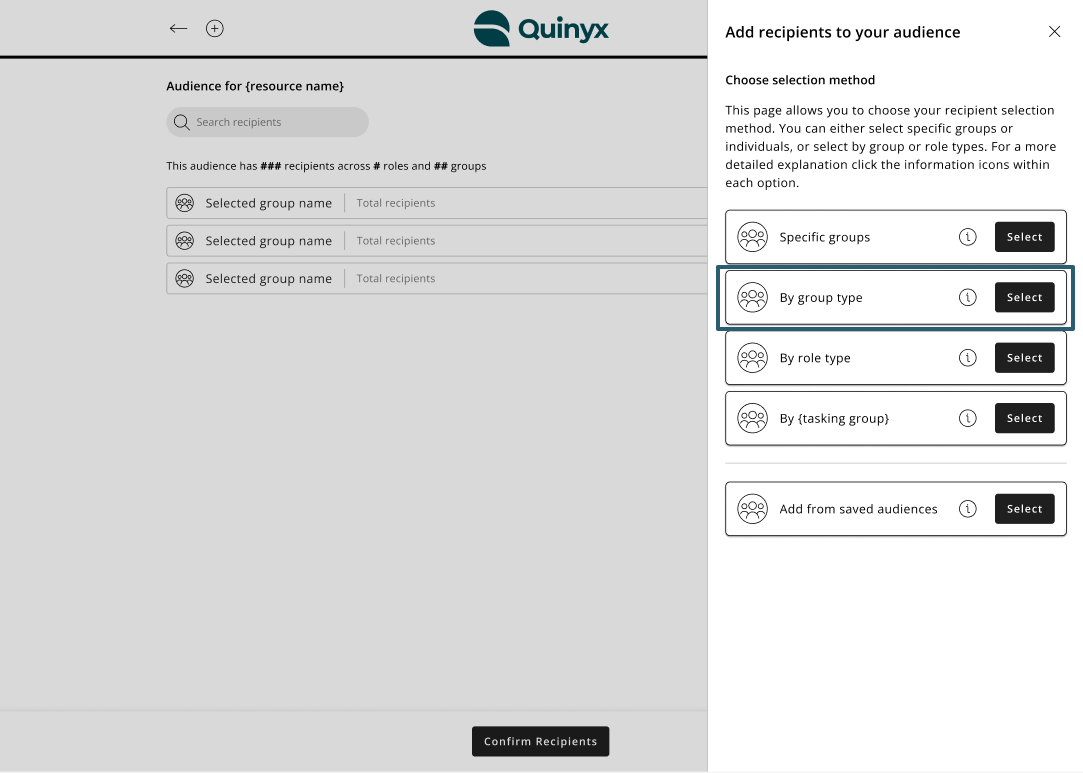
- In the Audience picker, click the plus icon to add recipients to your audience and proceed to the selection method view.
- In the method selector, select By group type to add recipients by group type.
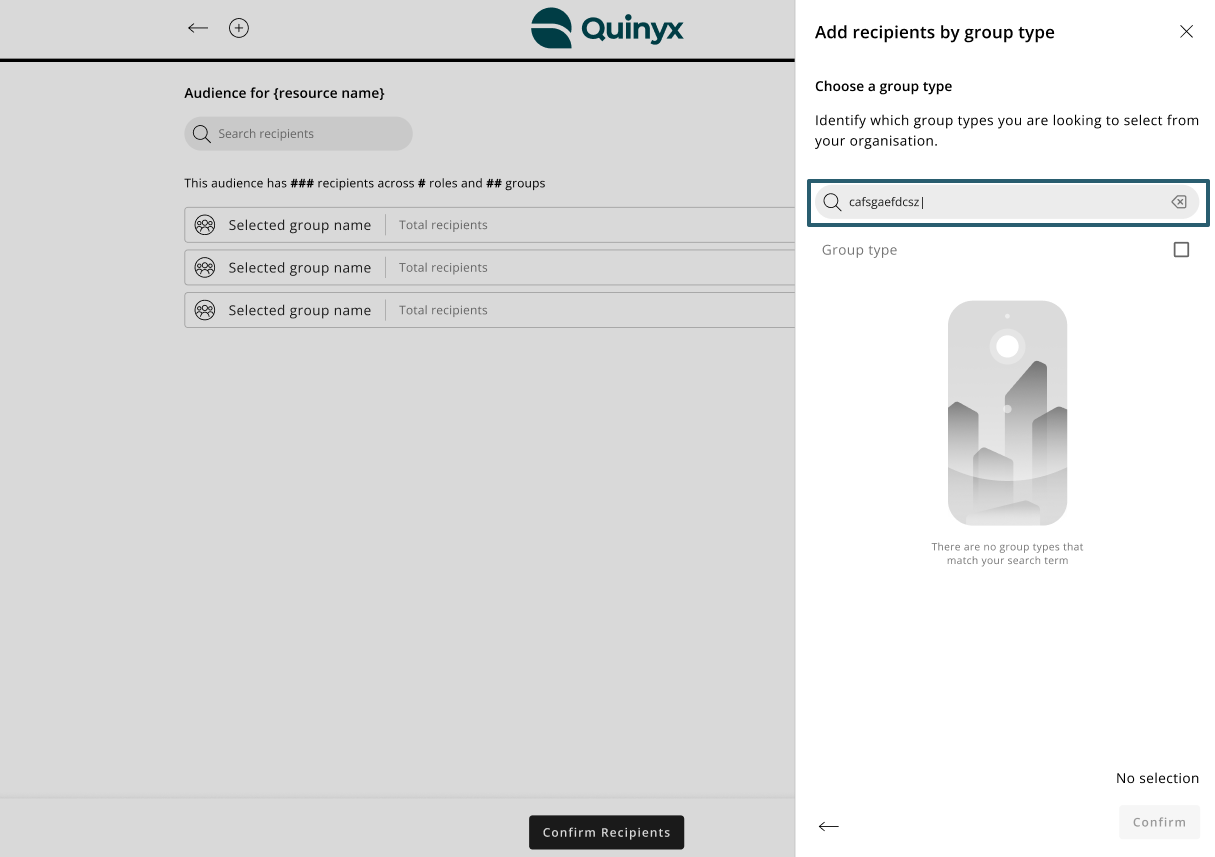
- Using the search field in the group type selector, you can search for specific keywords to narrow the list of available group types as your recipients.
- If your search doesn’t return any results, the list will be empty.


Role type
- In the Audience picker, click the plus icon to add recipients to your audience and proceed to the selection method view.
- In the method selector, select By role type to add recipients by role type.
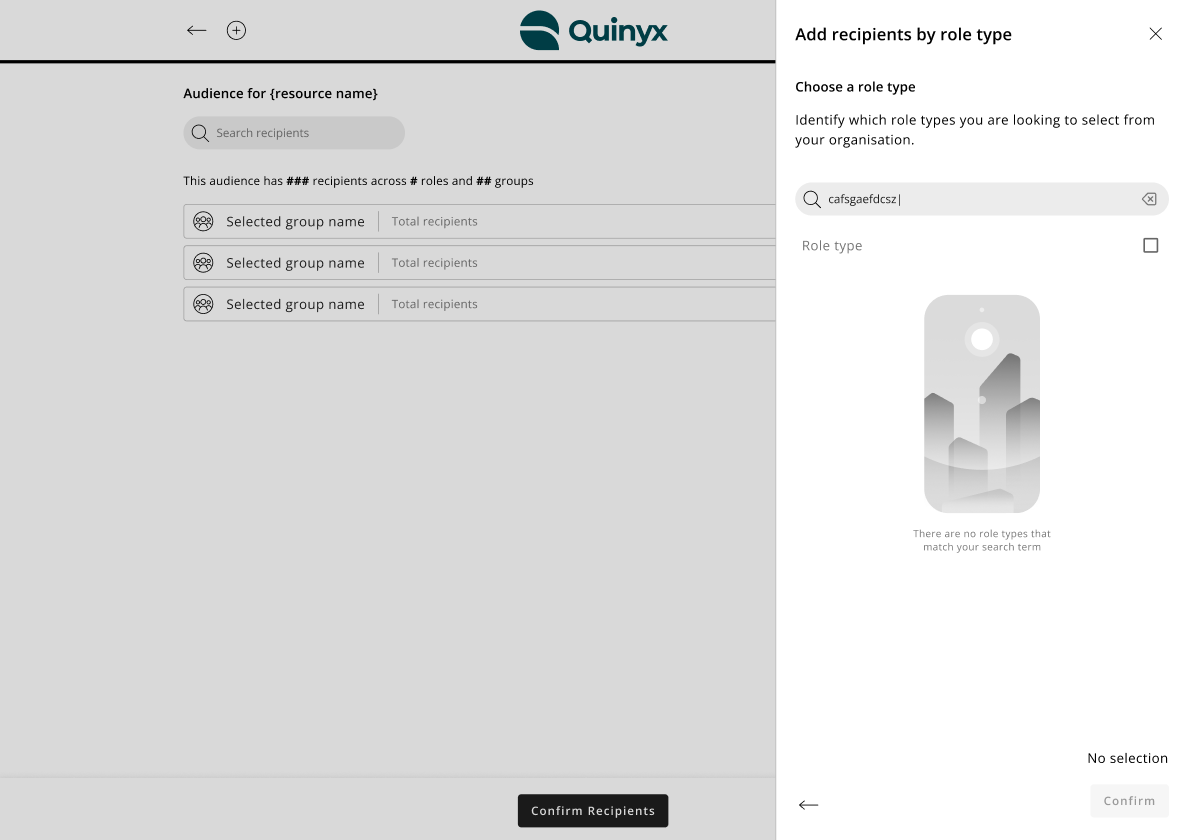
- Using the search field in the role type selector, you can search for specific keywords to narrow the list of available role types as your recipients.
- If your search doesn’t return any results, the list will be empty.


Version 0171
Quinyx web app
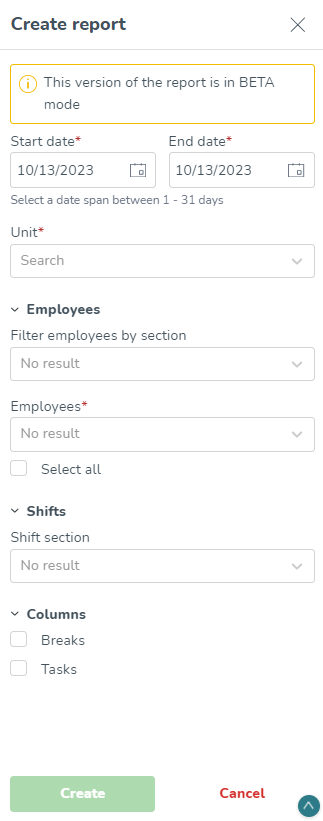
New report: Detailed breaks and tasks (Beta version)
In Version 0171, we released a report that intends to make break and task information available in a format that helps managers control the payroll outcome. You can access this report under Analytics > Time > Detailed breaks and tasks.
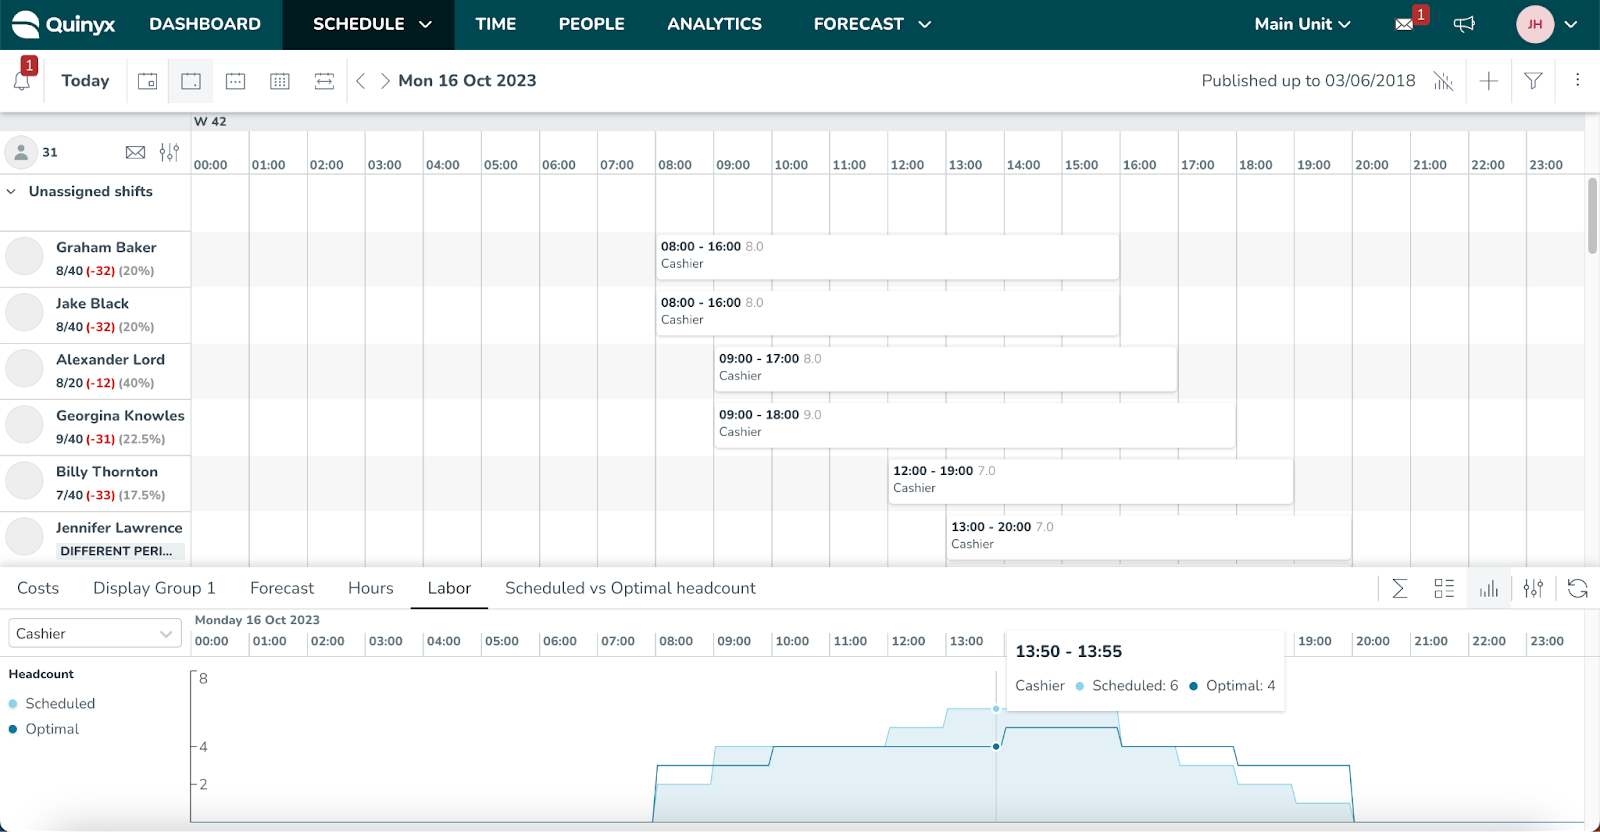
New Standard Display Group: Labor
Following the release of the new Optimal Headcount & Labor Standards (Optimal Headcount and Labor Standards NEW) functionality in sprint 169 we have worked on improving the visualization of labor needs in the Schedule view. This has been captured by introducing a new standard display group: Labor.
The Labor display group will automatically be created whenever an optimal headcount variable is created through the new Optimal Headcount & Labor Standards - NEW functionality (please read more about it here: Optimal Headcount and Labor Standards NEW). The newly created variable will automatically be added to the newly created Labor display group.
In the new Labor display group, you are able to view total optimal headcount, which is a summation of all optimal headcount variables in the unit you’re viewing, as well as optimal headcount per each individual optimal headcount variable. You can also compare optimal headcount to scheduled headcount in total as well as per each optimal headcount variable.
The filtering possibilities and comparison with scheduled headcount is only possible in schedule statistics, not yet in the forecast graph and table.
Approving absence requests
Due to purely technical limitations, when approving absence requests specifically on dates where there is already an existing absence, it has so far only been possible to replace an existing absence if the start or end date of the absence request matches that of the existing absence. This restriction has now been removed.
Debug mode to SSO providers
Our SSO providers, SAML, and OPEN ID now have a setting for activating a debug mode. This mode will present a stack trace if a login fails and that will give important information about what could be the issue and facilitate troubleshooting. Edit your current provider and in Open ID you will find the debug mode in the section Advanced preset values. Press the lock icon in the right corner to edit these settings.
In the SAML provider settings,the activation is available in the main form.

Frontline Portal
We were busy planning for lots of cool new functionality, so we mainly focused on that during the Version 0171 release. Keep reading to find out what we did release in Version 0172.
Version 0172
Quinyx web app
Sharing bank holiday functionality
To improve the overall user experience around Bank Holidays and reduce the amount of manual work needed to effectively manage them, with this release, we’re happy to introduce the new sharing action.
Where, as detailed below, we’ve added this new share behavior to two touch-points in the application:
- The first is in Global Bank Holidays, where you can now share your configurations across available bank holidays to allow for easier management and curation of the configurations.
- The second is in Agreement Templates, where you can now copy and share bank holidays you’ve created across agreement templates.
Minimum and Maximum constraints on Optimal Headcount
We have added an additional labor rule to the new Optimal Headcount & Labor Standards functionality: minimum and maximum rules.
What are minimum and maximum rules?
Minimum and maximum rules are constraints that can be configured for your Optimal Headcount to indicate the minimum or maximum headcount needed for that specific role/shift type. For example, you need to ensure that at least 1 manager is scheduled at all times. Or you can never schedule more than 6 cashiers at the same time, although demand might require it, because of physical constraints of the unit.
Minimum and maximum rules can be used for informative purposes when doing manual scheduling, or to constrain the Auto Schedule to ensure that the resulting schedule does not exceed the set minimum or maximum requirements.
How can I use minimum and maximum rules?
Minimum and maximum rules can be set up within the labor standards within your optimal headcount variables (this is only applicable when using the new Optimal Headcount & Labor Standards functionality, read more about it here: Optimal Headcount and Labor Standards NEW.
Minimum and maximum rules can be configured per day of the week and time of day. It is also possible to connect the minimum and maximum rules to your opening hours, e.g. you need a minimum of 1 manager 15 minutes before opening hours to 15 minutes after opening hours. Read more about how to set up your opening hours here: Opening hours - standard and special hours.
Frontline Portal
Widgets
We're happy to announce the release of widget functionality.
IMPORTANT!
When using this functionality, we recommend limiting access to this powerful functionality to a select group of HQ users, as it grants the ability to shape the layout of the entire site. By restricting the number of individuals with this permission, you can ensure a secure and controlled environment to prevent issues that might arise if multiple content managers are using widgets concurrently.
If you require further information or have specific queries about these features, please do not hesitate to get in touch with your dedicated Customer Support Manager. Your CSM can offer personalized guidance on optimizing widget usage.
You can't grant permission to widgets to users yourself. If you're a Quinyx support contact, please reach out to our Support team. They can help you get started.
Using widgets
You can use Frontline Portal's new widget functionality to group different resource types, target bespoke combinations of the most relevant content for your needs, and drive engagement.
Widgets aren’t just about aesthetics; they enhance efficiency and user engagement. By reducing the time spent searching for information, widgets enable users to focus on tasks and goals, and you can better address prioritization needs and have more control and ownership over pages' look and feel.