Employee Hub - Create a new form
 Updated
by
Leigh Hutchens
Updated
by
Leigh Hutchens
In addition to the ability to create forms and surveys as part of a task, the Employee Hub offers the ability for users to submit forms without needing to receive a Task first. We understand that the need to complete a form often originates from:
- general queries (Merchandising Query, HR Query)
- something happening in-store (Accident Reporting, Stolen Goods, Product Feedback, Local Competitor Report)
- something that needs to be completed regularly (Daily Opening Checklist, Weekly Health & Safety Report, Weekly Sales)
- other store needs (Uniform Ordering, Non-Stock Requests, Stock Transfers).
HQ & field teams can create forms and make these available for the stores & users who might need them.
Getting started
Select Form from the + menu to get started. If there are templates available then you can choose Select from Template to make this process quicker.
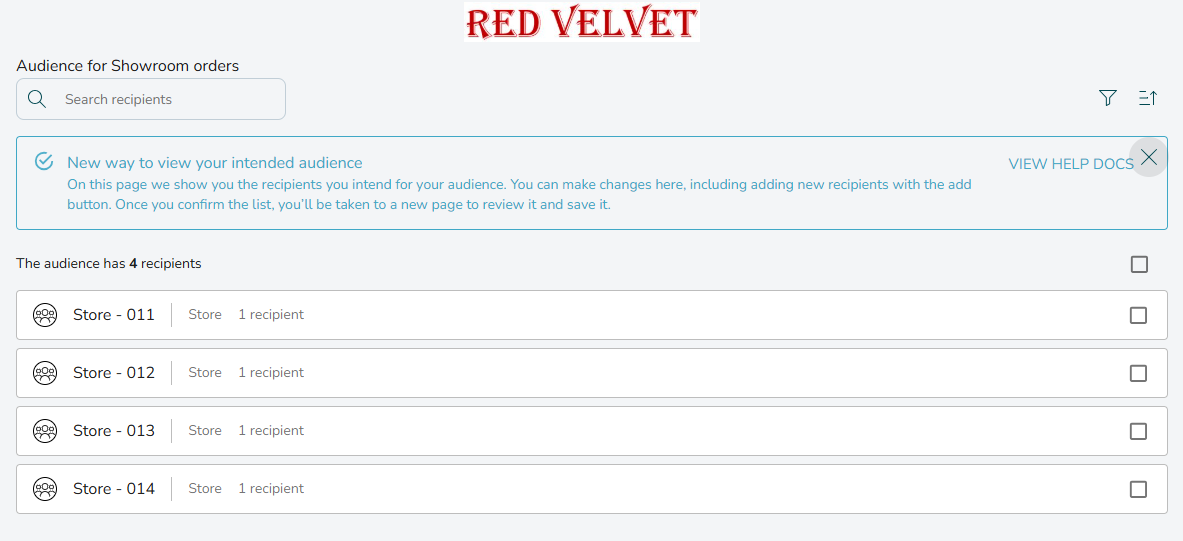
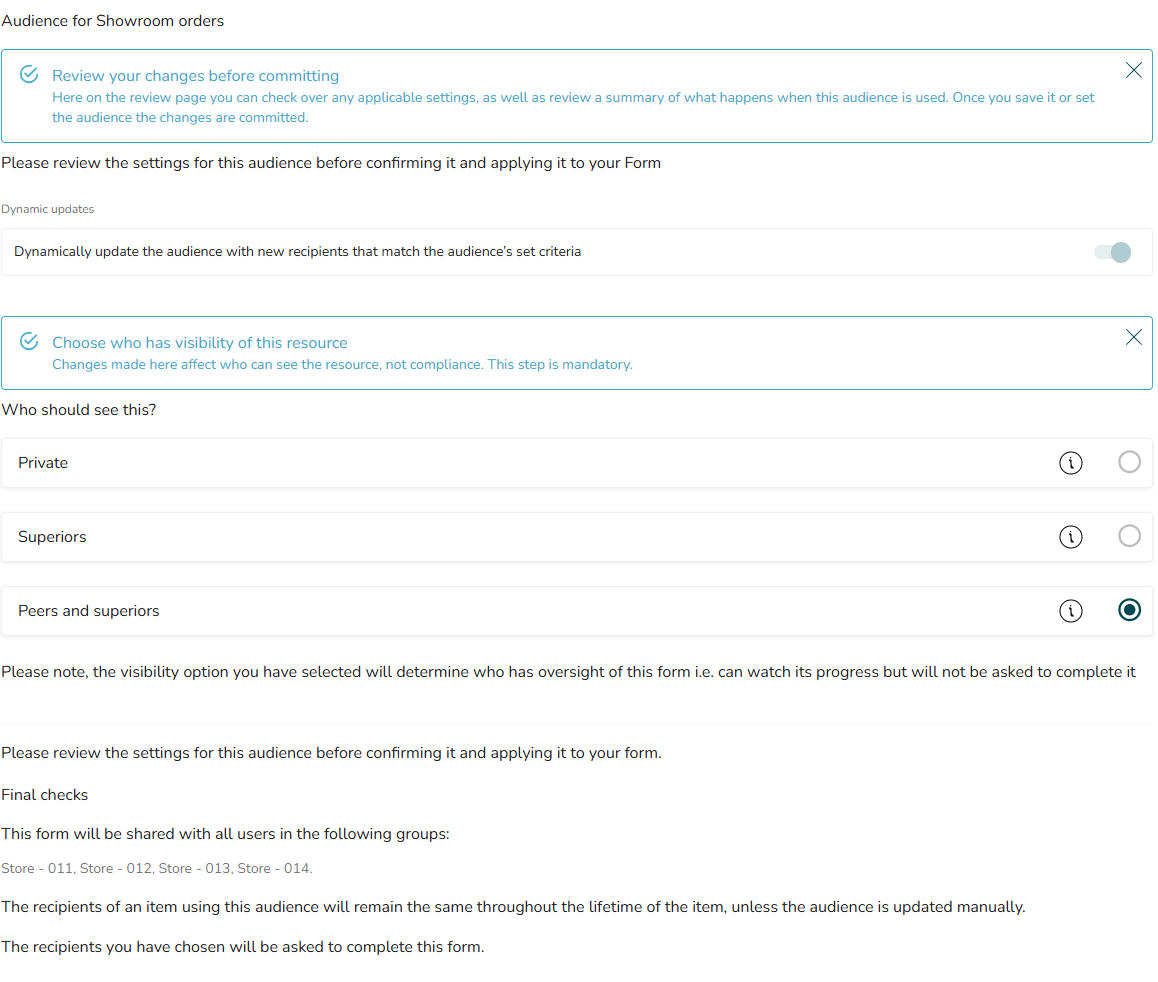
Audience
You can select your audience.
After selecting your audience, you can add additional details such as whether employees should be notified of submissions, the category, relevant tags, and any questions and responses. You can also choose whether the question is required.
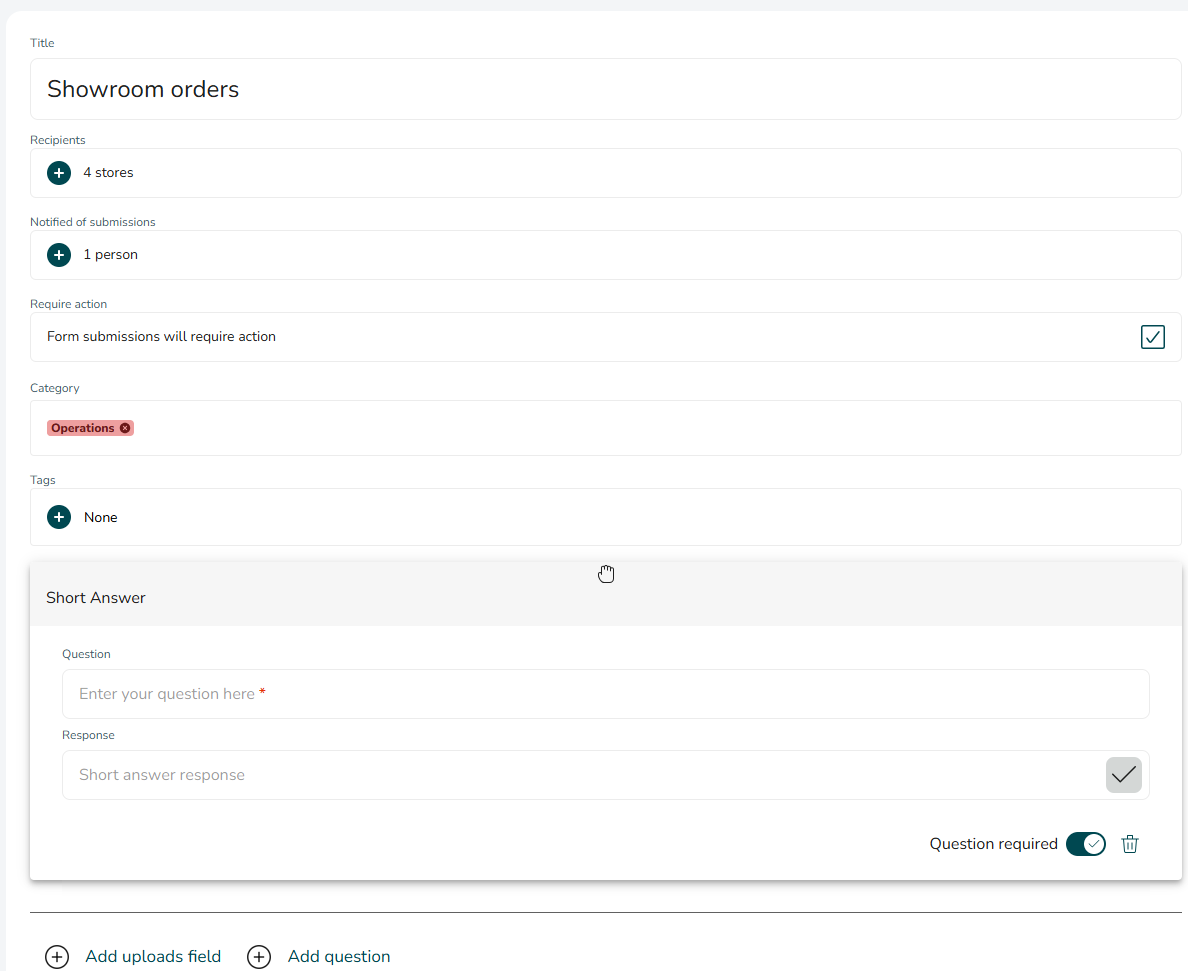
Recipients
Who should be able to submit these forms?
Notified of submission
Who should receive a notification when a new submission of this form is made?

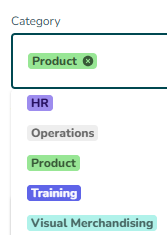
Category
What category is the form for?
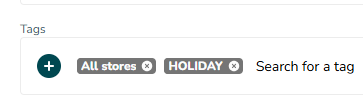
Tags
You can add as many tags as you'd like, or leave this field blank. Tags are optional and not required to complete the submission.
Form Elements
Several simple elements can be added to a form to ensure that the right information is gathered in the easiest way, whatever the form's purpose. Select Add question to choose the form elements you want to include.
Choose from a variety of question types to match your needs:
Question Type | Description |
Short answer | Collect short text responses (e.g., names, emails). |
Paragraph | Use when you need more detailed written responses. |
Multiple choice | Let users select one option from a list. |
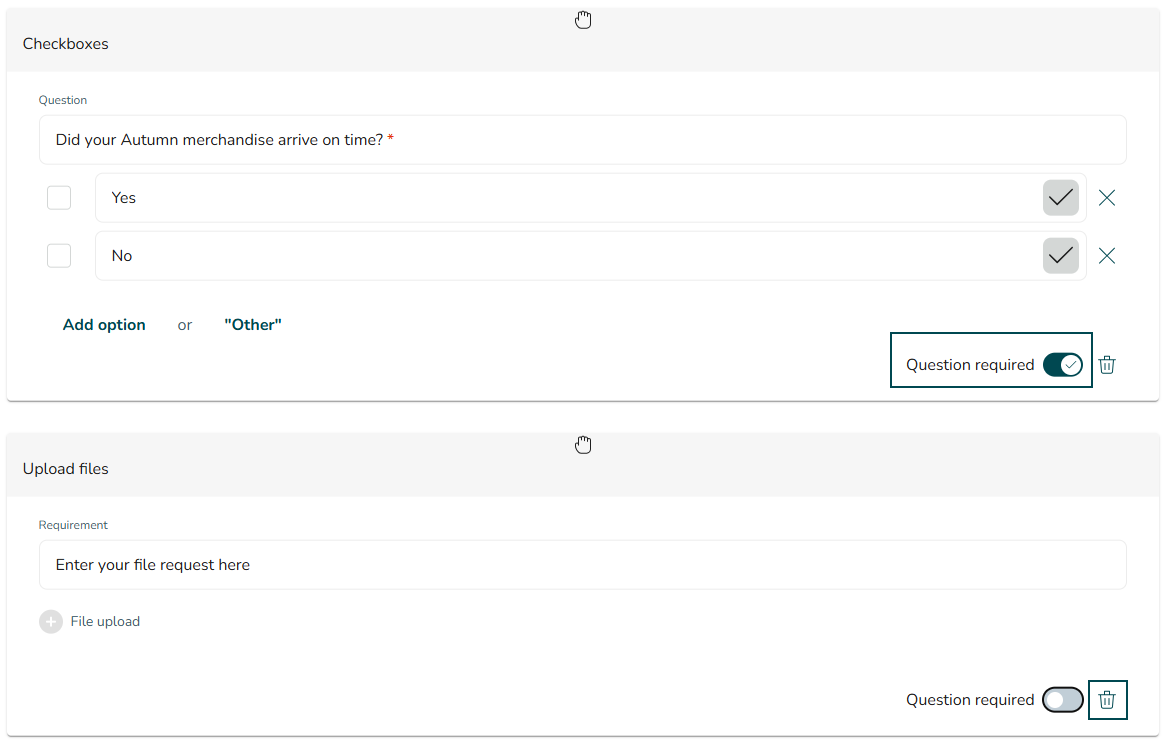
Checkboxes | Allow users to select multiple answers. |
Date | Ask for a specific date. |
Upload files | Let users attach a file or photo as part of their answer. |
Content | Insert text, images, or instructions to support the task. |
Code Scanner | Ask for a barcode or QR code input. |
Checkboxes: The user submitting a form can select MANY of the options provided.
Example: FIRE SAFETY CHECK FORM - Where are you fire extinguishers situated? [Front of store, Back of store, Store office, other]
Example: UNIFORM ORDERING - Which of the below items are needed? (select many from list)
Date: Pick from a date picker.
Example: NON-STOCK ORDERING FORM - When would you like to receive these items?
Upload Files: Prompt or force submitters to upload files to support their submission.
Example: MONTHLY RISK ASSESSMENT - Upload pictures of all fire exits.
Content: Add content to support the understanding & completion of the form. Can be used to add quick introductions or to create headers for different sections in long forms.
Example: FIRE SAFETY CHECK FORM - Introduction to explain how to complete the check.
Example: NON-STOCK ORDERING - Images & descriptions of items available for order.
Example: HEALTH & SAFETY REPORT - Fire section, Falls from height section,....
Drag & drop to move Form Elements around the Form.
Mandatory or Optional elements, and you can delete the elements.
When you're ready to make the form available for recipients to use then click Publish. Recipients will receive a notification to alert them to the new form.
If you need to make changes, you can copy the original form, apply your updates, and publish the new version. Don’t forget to archive the original form to stop collecting submissions from it.