How to set up a Collaboration group hierarchy
 Updated
by
Victor Jespersen
Updated
by
Victor Jespersen
When a basic setup is in place, with a generic Organization Hierarchy, you can get started with setting up a Collaboration group hierarchy.
To create a Collaboration group hierarchy, to complement this, you can create and configure it in Quinyx’s Account settings > Advanced settings > Employee Hub settings > Collaboration groups. Here you can:
- Enable the use of Employee Hub settings under Modules.
- Create + configure your collaboration group hierarchy by adding:
Below is a quick example of the full end-to-end flow for a first-time user for enabling, creating, and configuring their very first Collaboration groups under the Quinyx Account settings:
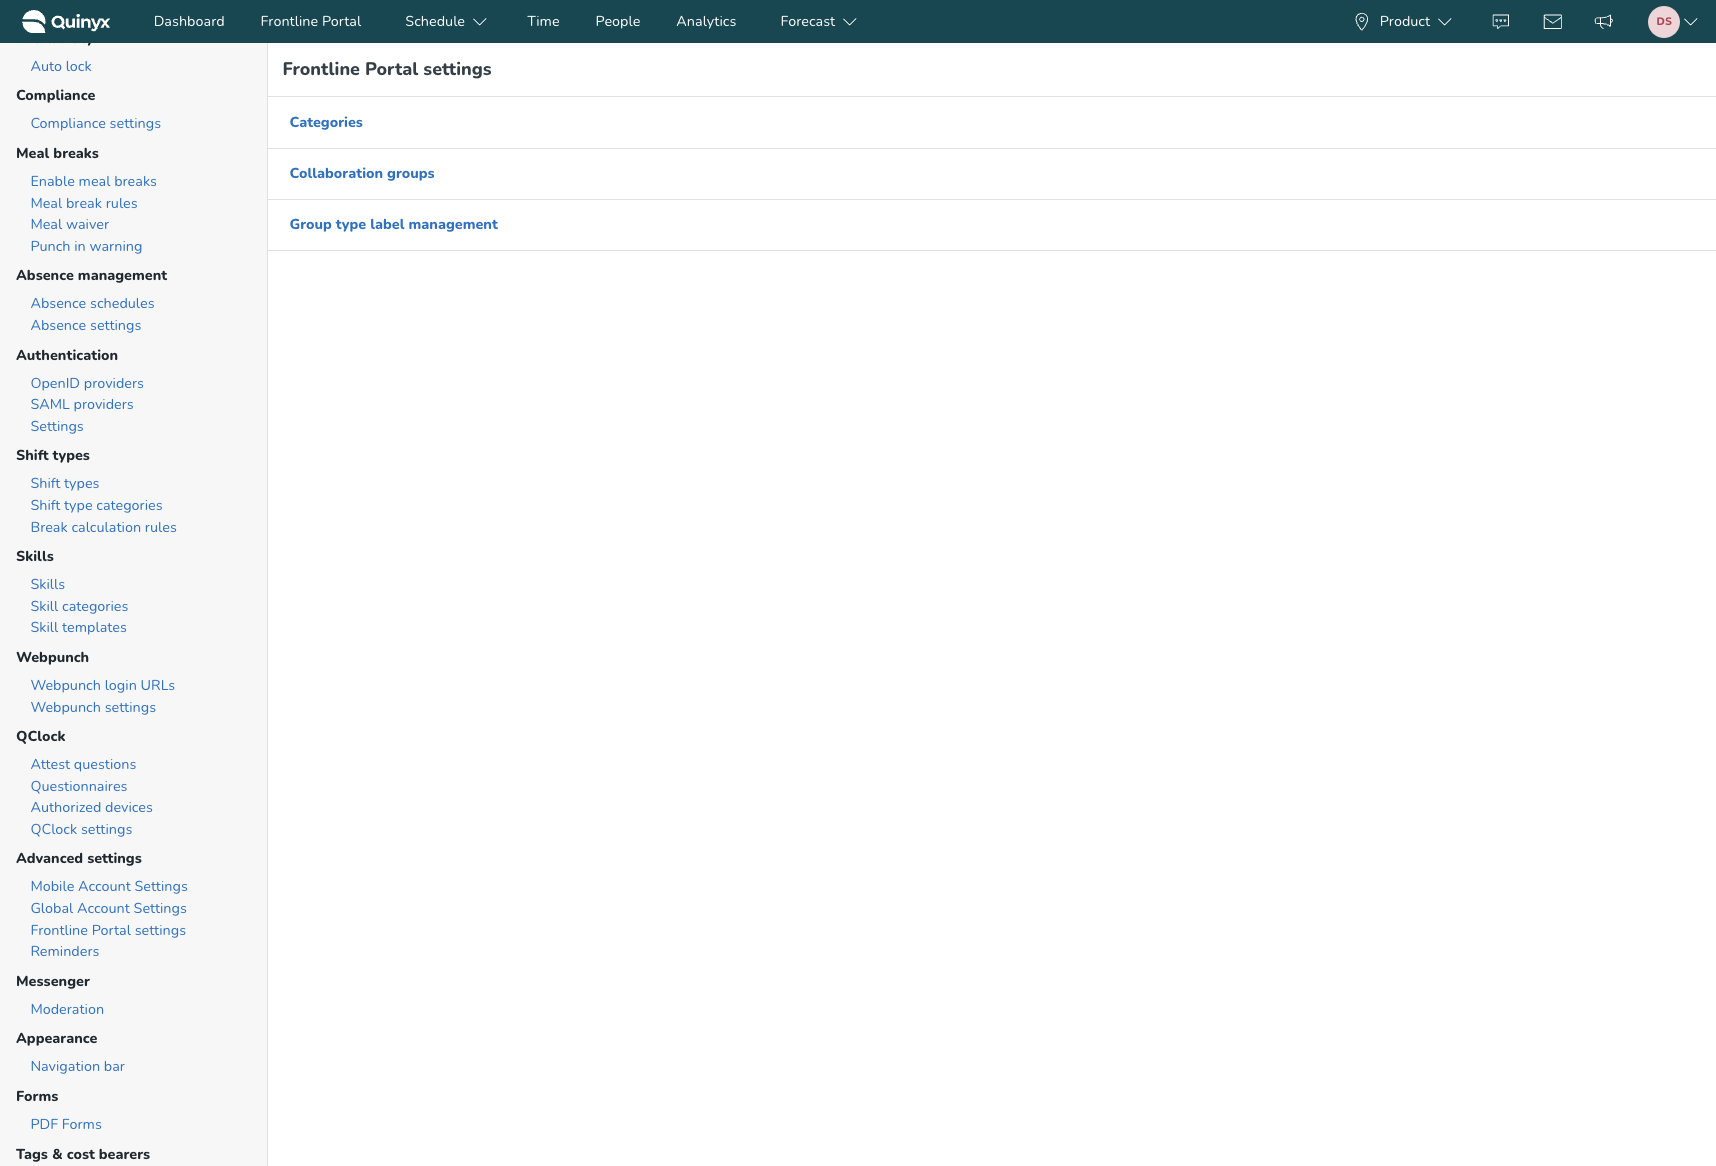
- In Quinyx, navigate to Account settings > Advanced settings > Employee Hub settings where you can find the 2 settings related to Collaboration groups: Group type label management and Categories management.
- Start with Group type label management, where you can add new group type labels, and edit existing ones for use in your collaboration groups.
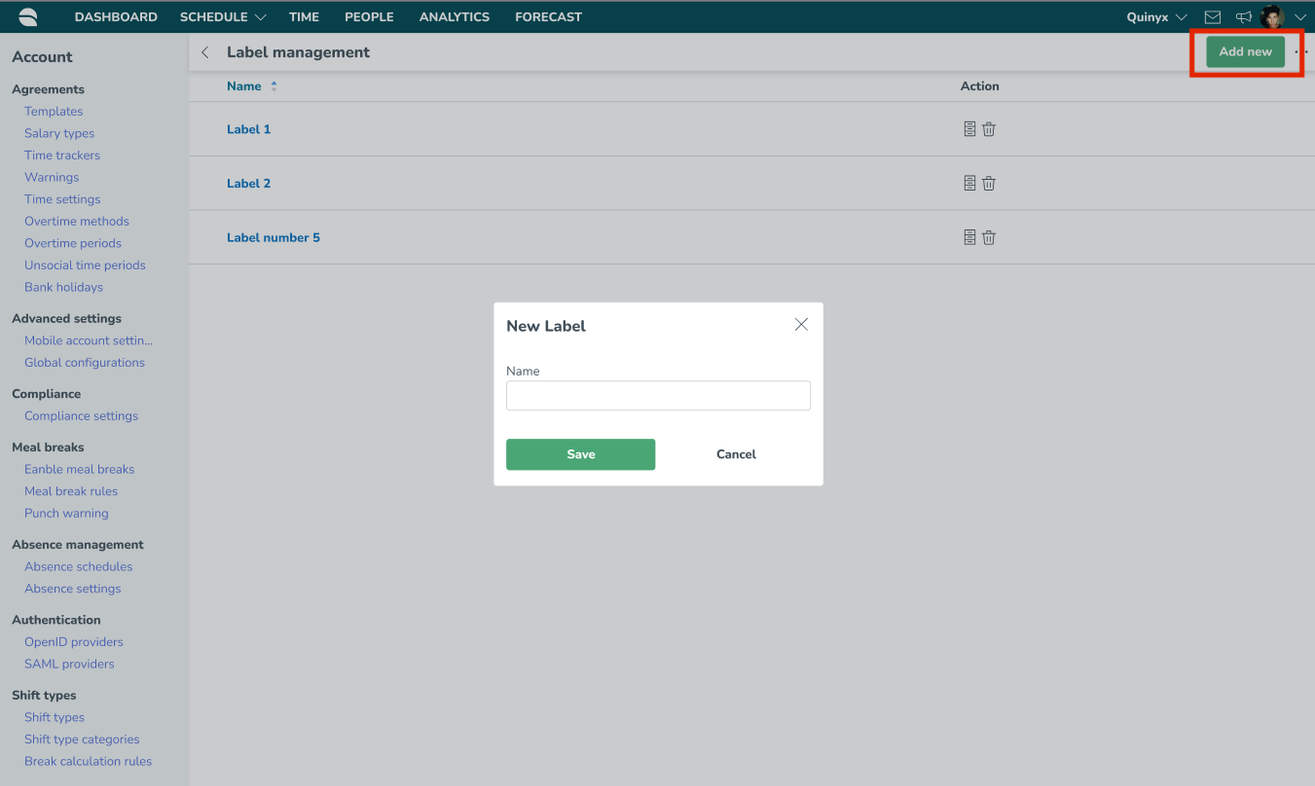
- Select Add new to create a group type label.
- Give the group type label a name and press Save when done. Repeat as many times as you like.
Navigate to Collaboration groups via Advanced settings > Employee Hub settings to start building out your collaboration group hierarchy.
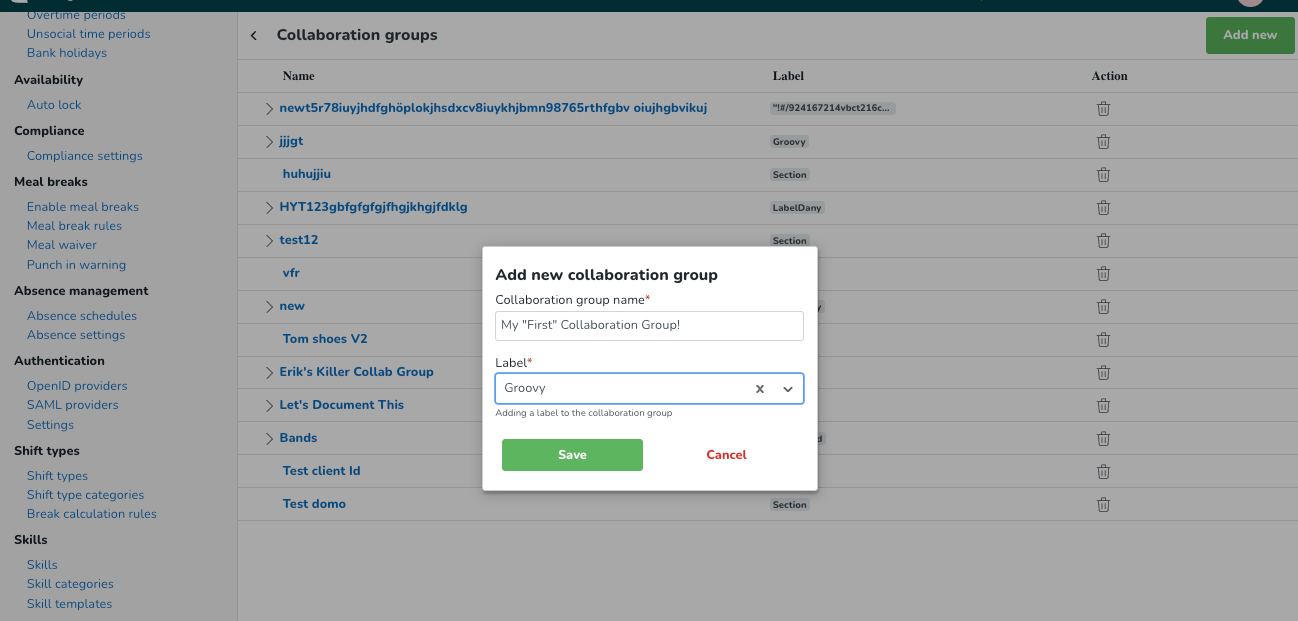
- Select Add new to create a new collaboration group.
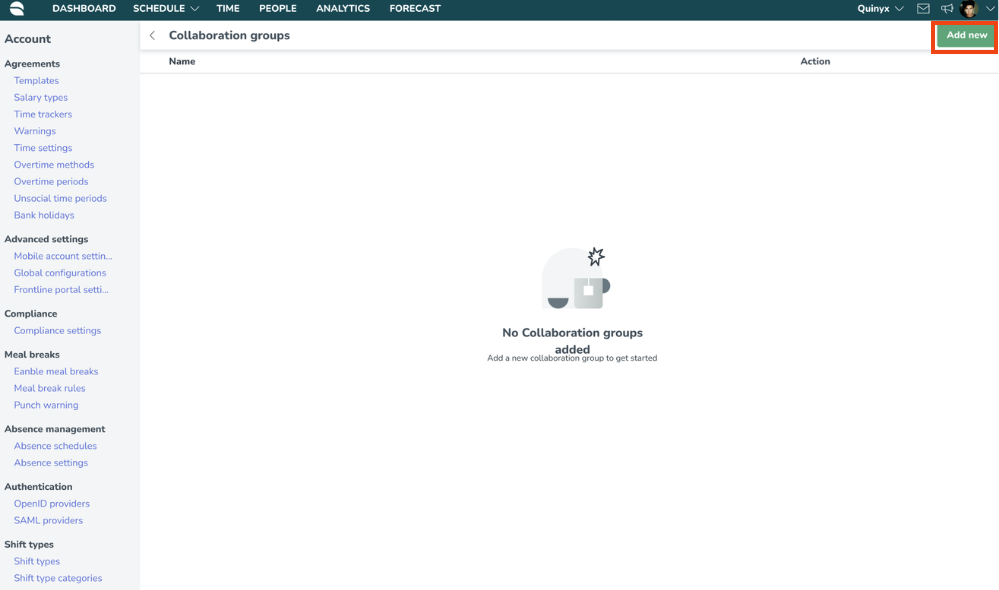
- Enter the collaboration group name in the Group name field, a Group type label (which you have to create in the list of labels first), and click Add to create a new hierarchy.
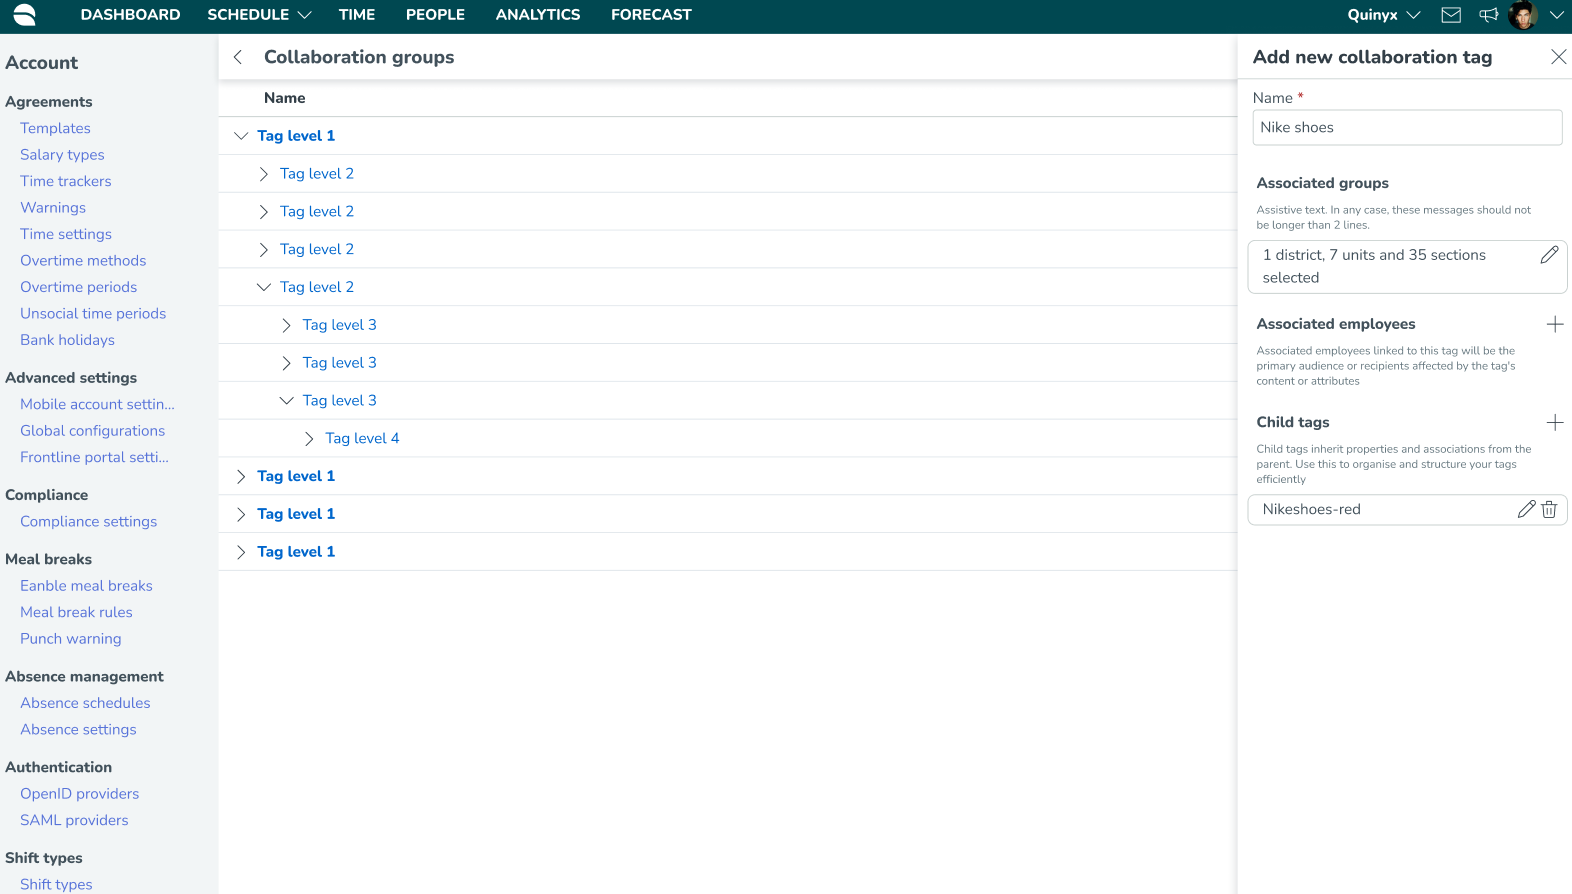
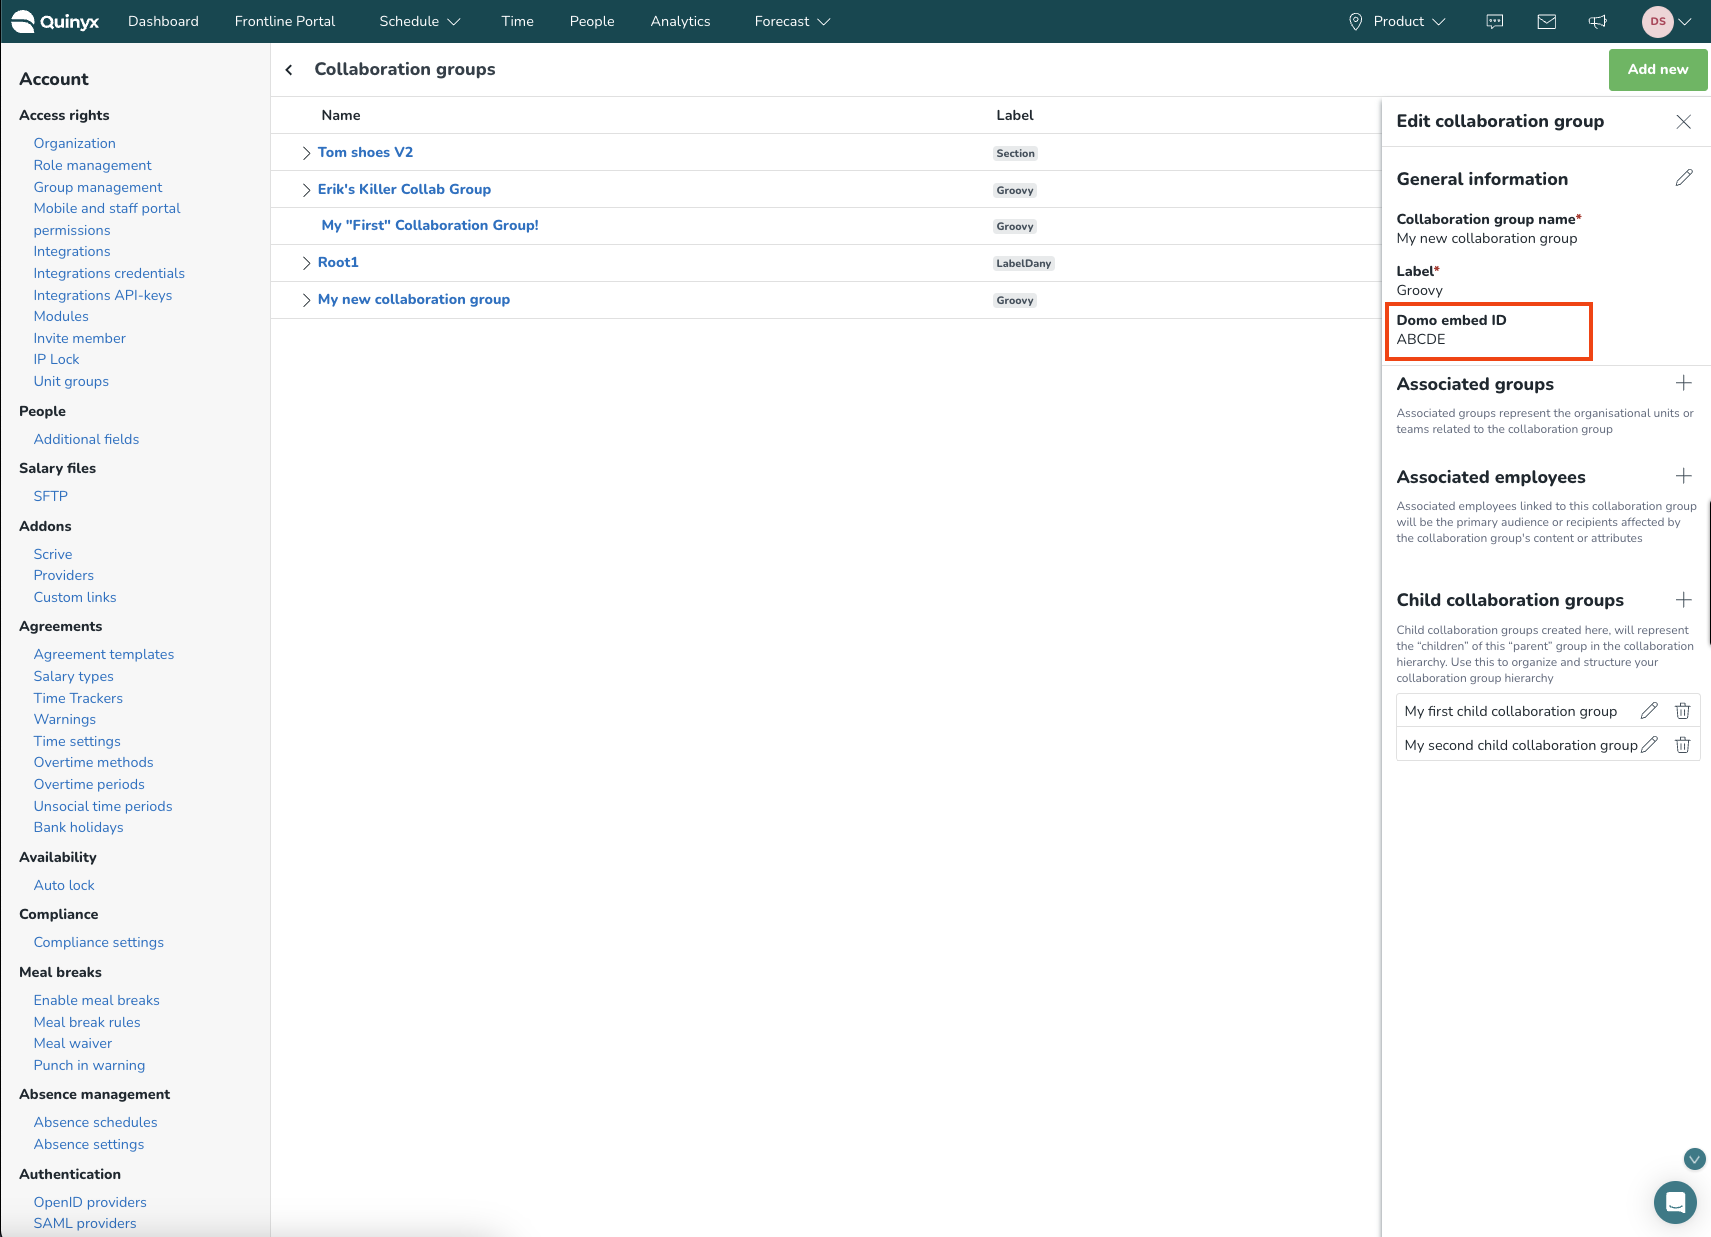
- Once created, you can further configure the collaboration group by adding Associated groups, Associated employees, Domo Embed ID, or start building the hierarchy by adding Child collaboration groups.
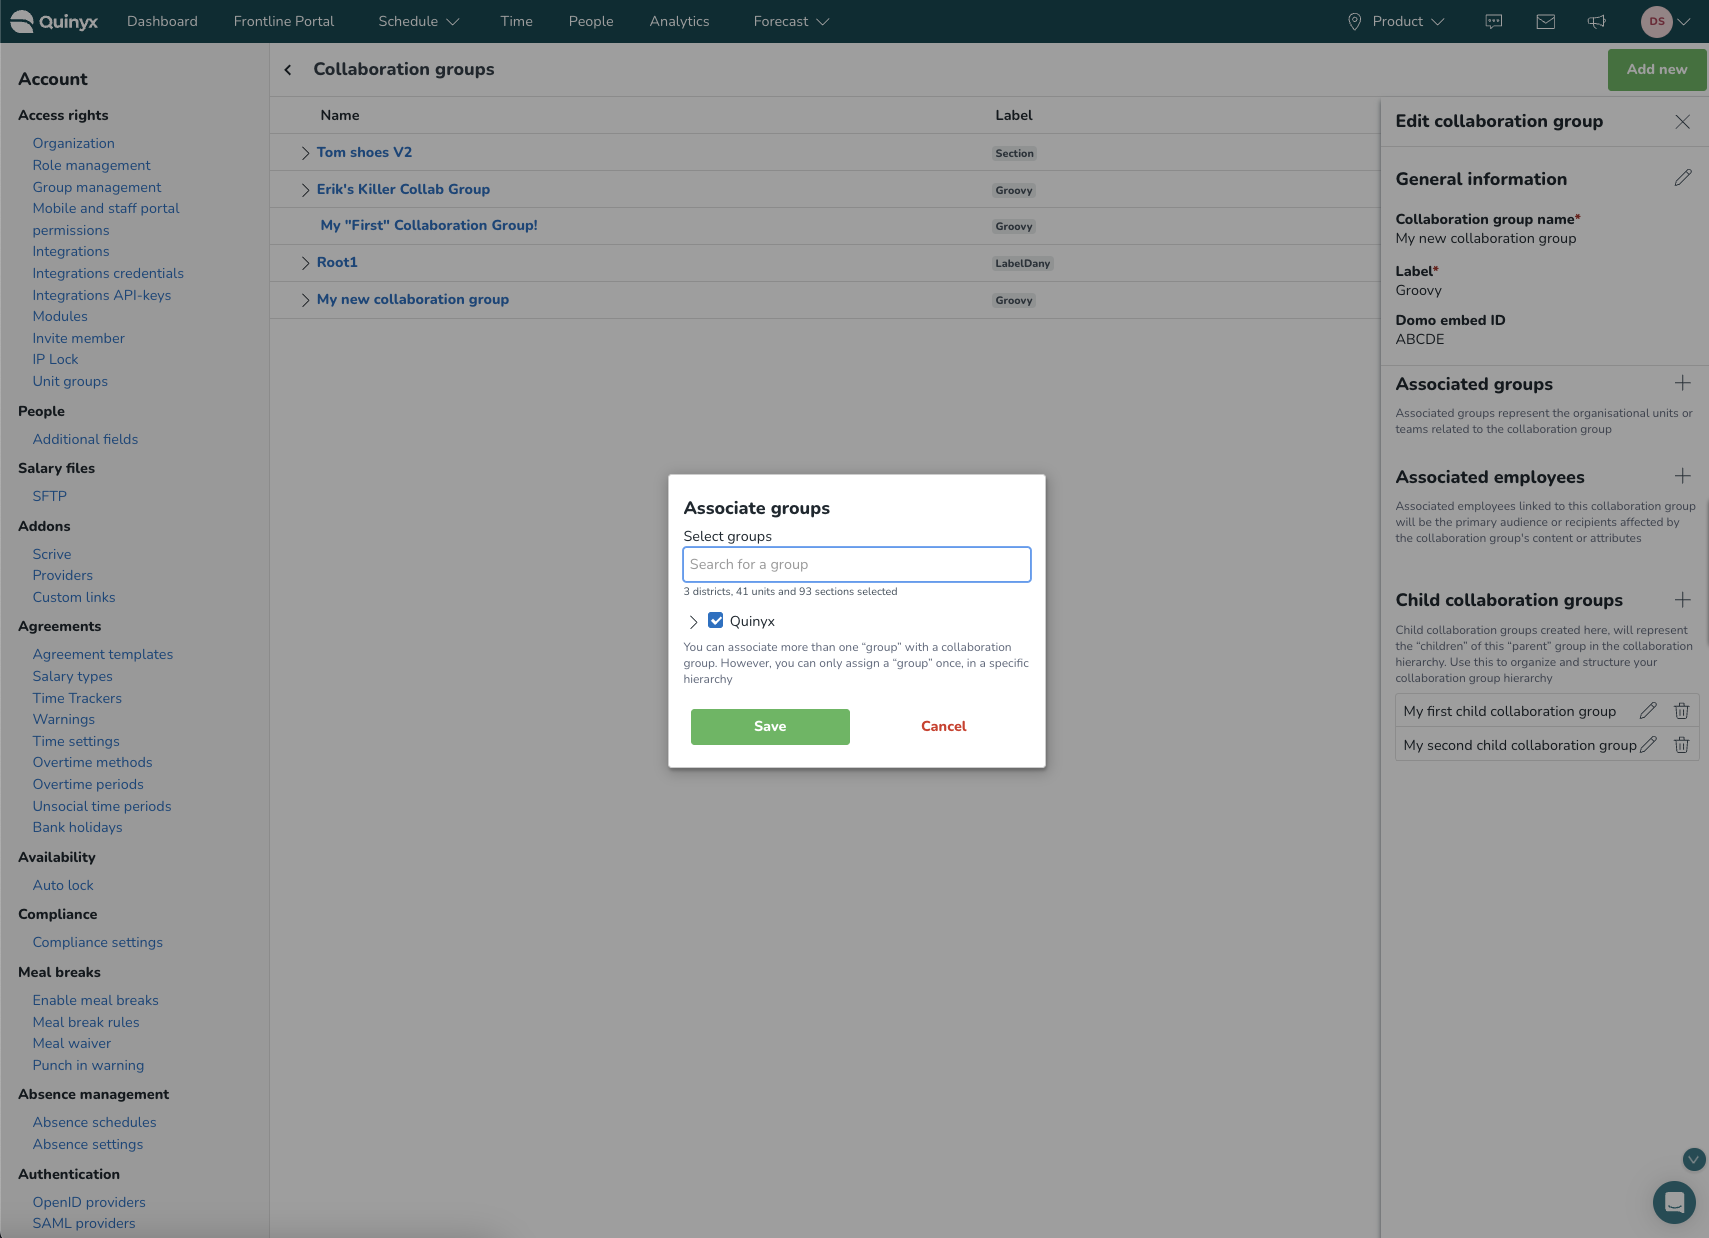
- Add Associated groups (pulling units from the Organization hierarchy).
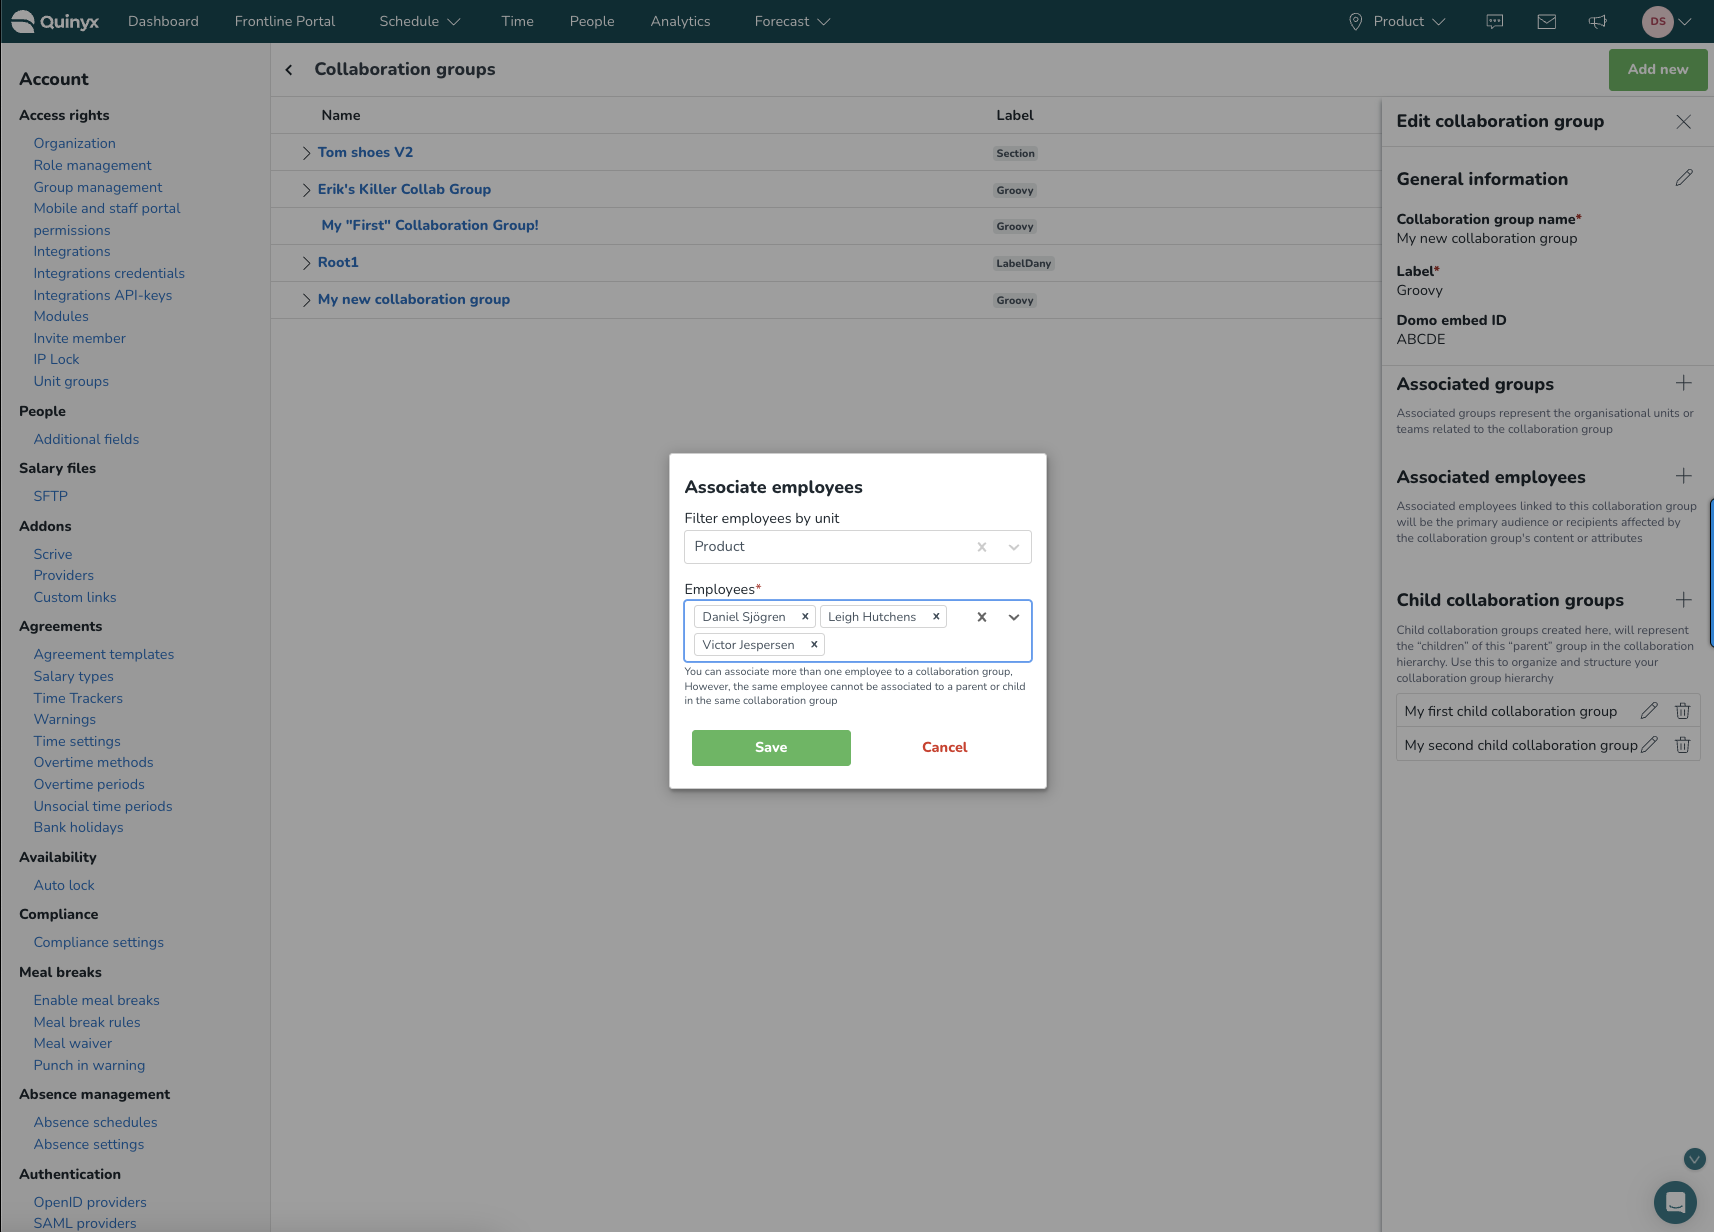
- Add Associated employees to a collaboration group.
- Add the optional Domo Embed ID.
- Add Associated groups (pulling units from the Organization hierarchy).
- Start building your hierarchy by adding Child collaboration groups, which add a new "level" in the hierarchy to be nested below the collaboration group you are currently editing.
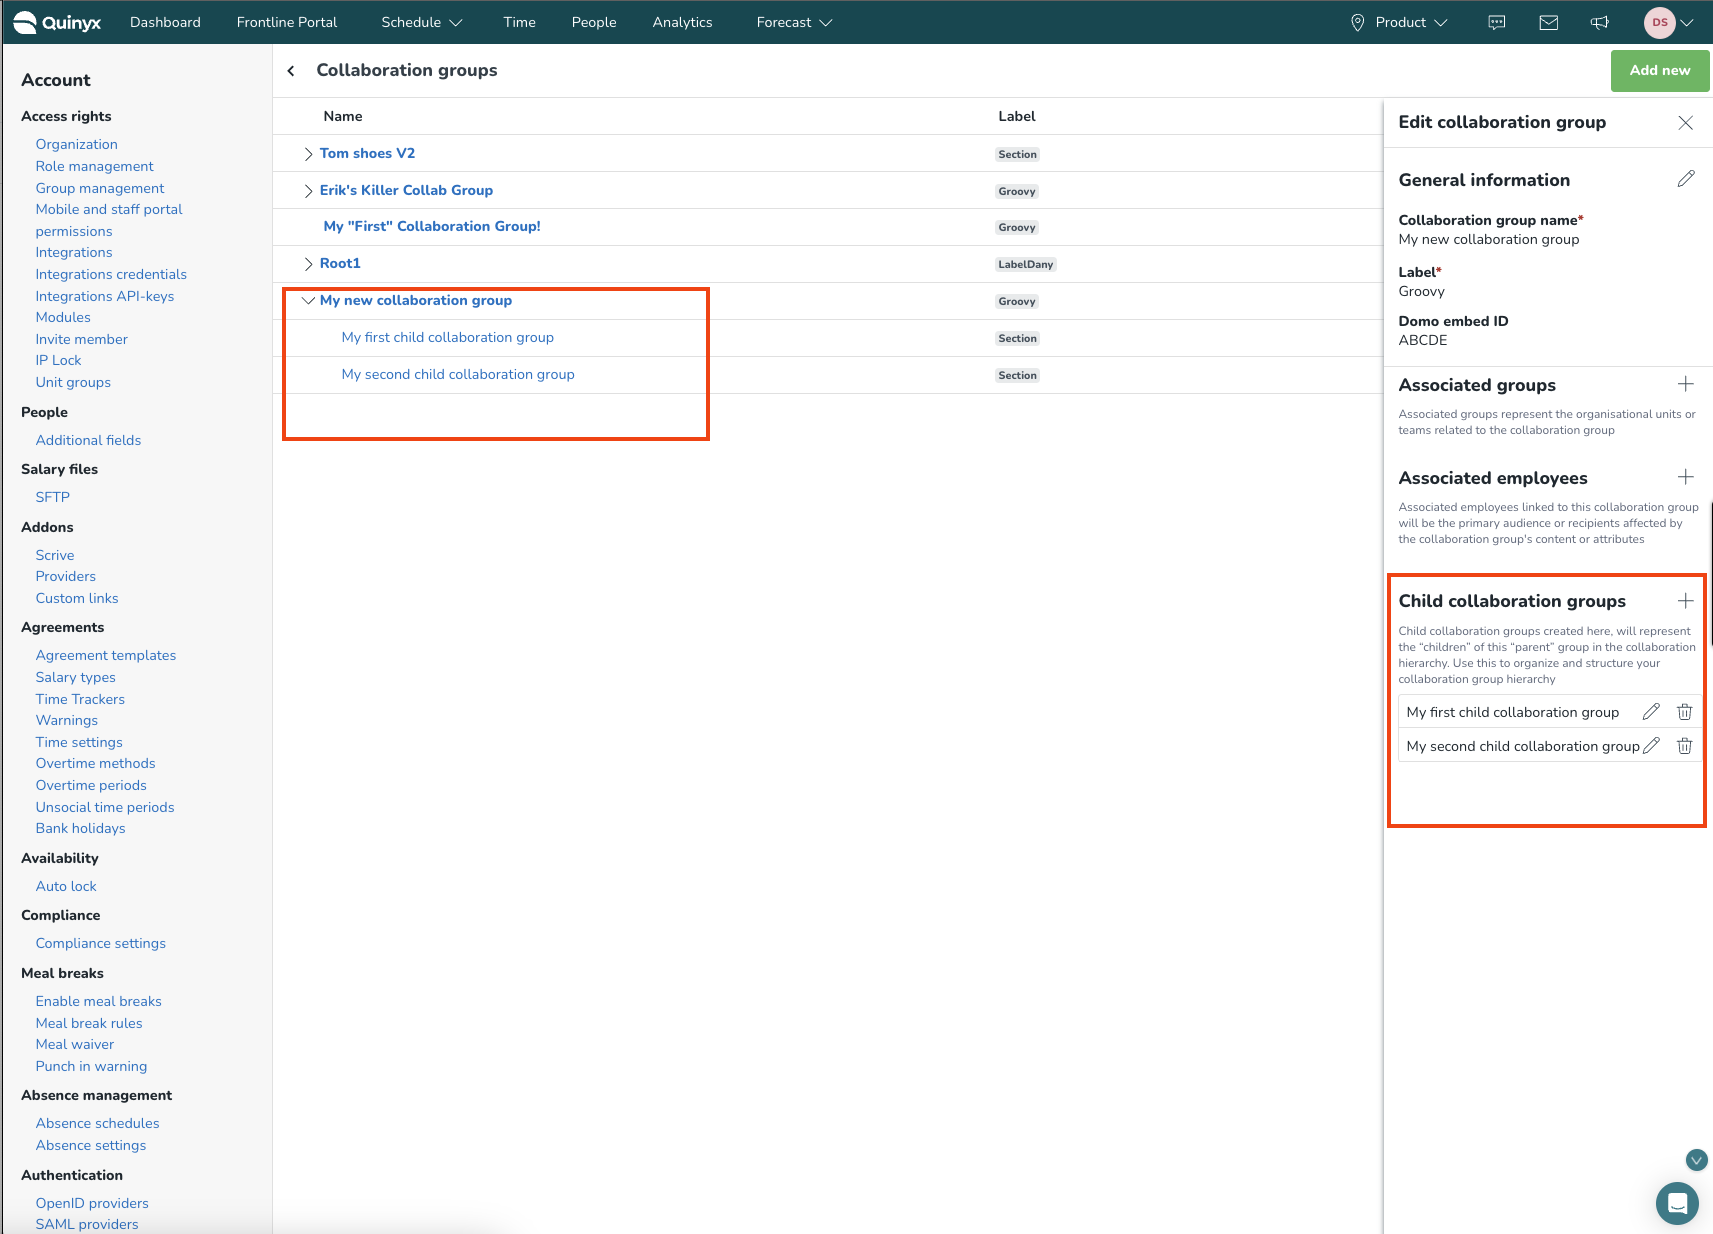
- Confirm, and just like that you have the start of your first Collaboration group hierarchy.