Version 0079
 Updated
by
Leigh Hutchens
Updated
by
Leigh Hutchens
New Functionality
Schedule
Break calculation rule improvements
In the version 0077 release notes, we pointed out that shared break calculation rules were only applied when used on the main unit. This has now been improved, meaning shared break calculation rules are now applied even when used on non-main units. In those same release notes, we mentioned that Base Schedule was not fetching break calculation rules on agreement template level, nor on agreement level. This, too, has been improved as of this release.
Redistribute tasks
As of this release, it is possible to move or copy a task from one shift to another.
How to?
- Select an assigned or unassigned shift with tasks in it
- Scroll down to the task section and click on

- Click on
 to initiate move or copy action
 - Select which shift you want to move
 or copy
  the task to
If needed:
- Change the start and end time of the task by clicking the "arrow" on the left-hand side of the tasks shift type name.
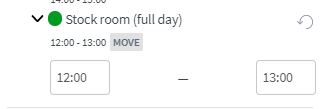
- You can also change the start and end time of the tasks that already exist on the "receiving" shift. Click on the "arrow" on the left-hand side of the task that you want to change.
Warnings
You will receive a warning when the following occur:
- A task is moved or copied to a shift where there is already a task.
- A task is moved or copied outside of a shift.

You can move/copy several tasks in one action. Each action will then be marked with the action that you have chosen, either "move", "copy" or "unassign". Note that the action won't be triggered until you click "Save". If you cancel the action, then no tasks will be moved/copied or unassigned. Note that you can also revert the action, before you have saved it by clicking 
Time warning improvements
In version 0078 release notes, we mentioned that Schedule's "Punch" filter did not support the then released time warnings - overtime, additional time, time in lieu, and salary type requires approval. This has now been improved, which means that if you have a punch with any or several of those four warnings and you select the "Warnings" option in the "Punch" filter field, the above mentioned punches will display.
In those same release notes, we also pointed out that support for those time warnings on non-punch schedule components would be added soon. With version 0079, we added support for the same time warnings on shifts and absences.
Absences
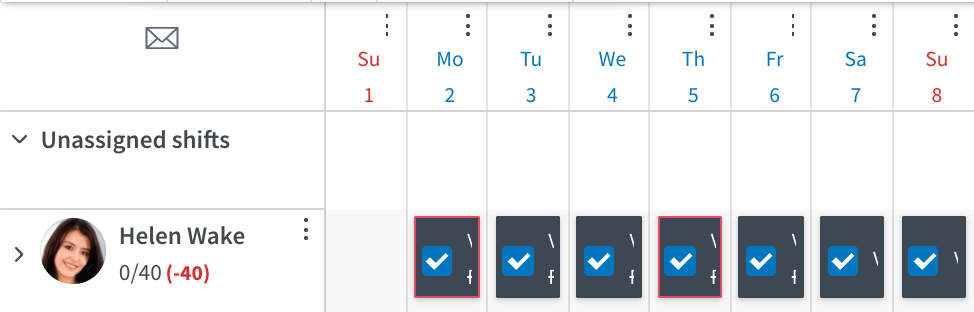
The warnings on absences are shown with a red frame. On multi-day absences, red frames are only shown on the specific days that have a warning:
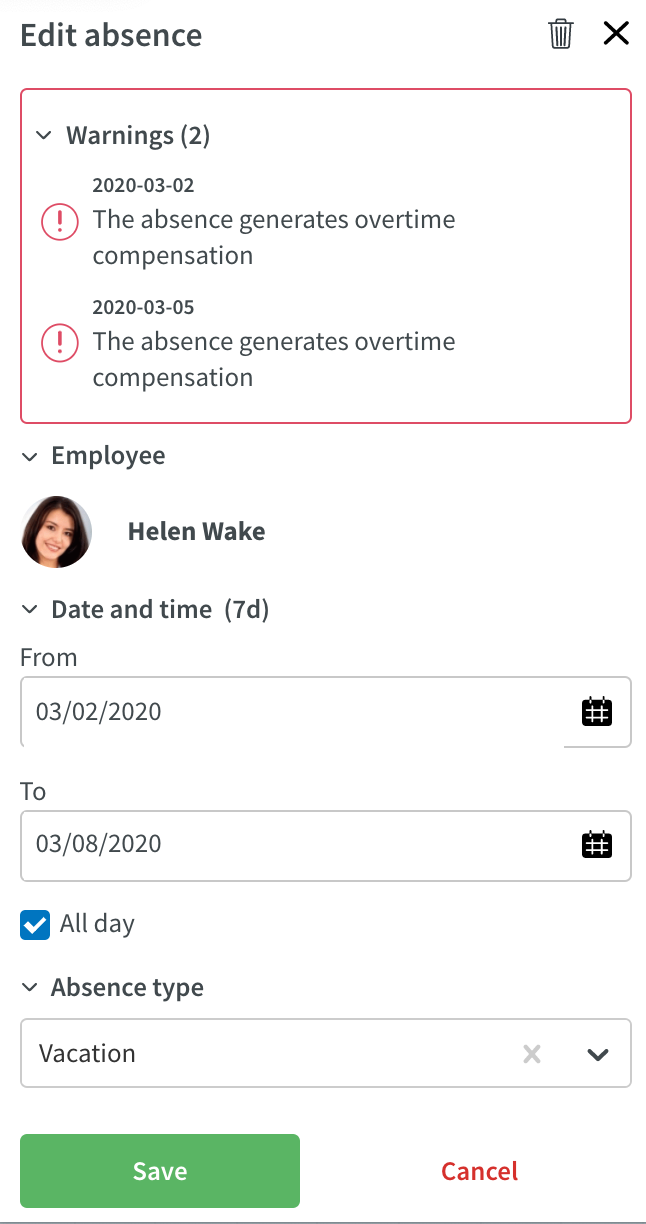
However, in the "Edit absence" panel, all the warnings of that multi-day absence will appear together with the dates to which the warnings apply:
Shifts
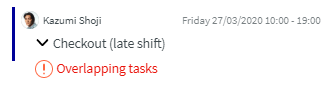
A red frame will also appear around a shift in the case of the "Shift without matching punch" bank holiday rule:

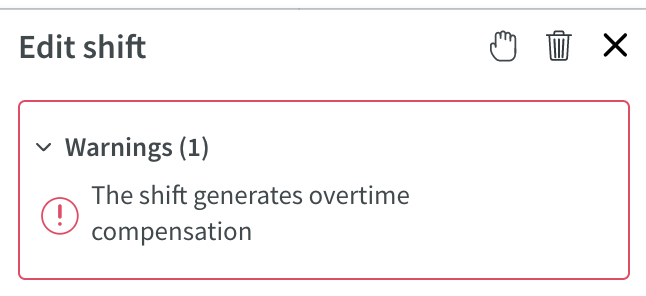
Following a logic similar to that of absences and shifts, the warning will then appear in the "Edit shift" panel:
“Time off” bank holiday rule
Note that warnings are not visualized in the case of the recent improvement regarding “Time off” bank holiday rule. We do, however, have a long-term vision to support this.
Agreement templates
In this release, we are releasing the possibility to add, copy, edit, and delete agreement templates in Neo. To see the list of your agreement templates, navigate to Account settings - Agreements - Templates.
Add agreement template
To add a new agreement template, navigate to Account settings - Agreements - Templates. Click on the green Add button at the top, and a pop up will open:
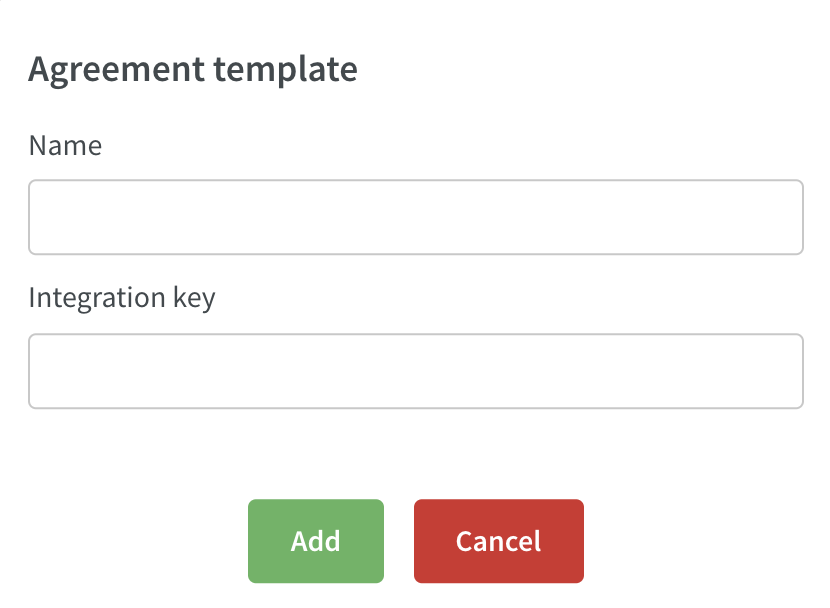
- Give new template a name
- If you are using an integration for agreements in Quinyx you can also set an integration key for the agreement template (not mandatory)
- Press add
The agreement template will be saved and a new page will open. On that page you can continue to configure all the settings for the agreement template. Read more about the different settings here
Copy agreement template
To copy an existing agreement template, navigate to Account settings - Agreements - Templates and click on the copy button on the right hand side. A pop up will open where you can give the copy a new name and integration key (not mandatory). Then press copy and all the settings from the agreement template you chose to copy will be copied to the new template.
Edit agreement template
To edit an existing agreement template, navigate to Account settings - Agreements - Templates and click on the Edit button on the right-hand side. A new page with all the settings on the agreement template will open, and you can edit the settings that you want to change.
Delete agreement template
To delete an existing agreement template, navigate to Account settings - Agreements - Templates and click the delete button on the right-hand side. A pop up will appear and ask if you are sure that you want to delete the agreement template. To proceed, press the delete button and the agreement template will be deleted.
An agreement template that is currently being used by employees or have been used in the past CANNOT be deleted and it is NOT possible to restore a deleted agreement template.
Any changes done to agreement templates in Neo will currently NOT be reflected in any logs. In the next release, we will add support for logs so that all changes will be visible in our existing logs.
Analytics
Added support for filtering units on districts in the report "time tracker". When selecting a district in the drop-down, you will then only see units belonging to that district in the unit drop- down. And if you check "select all units" you will only get the units that belongs to the district you have filtered on.
Updates and performance improvements
Visual improvements to statistics
Statistics now shows numbers instead of question marks when monthly view is chosen. If a custom period is chosen that is larger than 31 days, a magnifier glass is shown and value is shown on hover.
If numbers become too large to fit in the cells, we will use k and M to round the number and display it, and on hover the full number is shown. As an example, 145237 would be shown as 145k and 1450000 would be shown as 1.45M
Bug fixes
- Several validation bugs
- Date displayed for leave applications under Notifications are now the dates they were sent in
API / Web services updates
POST /predicted-data
Operation used for uploading predictions from external tools used for predicting sales, transactions, or similar that then later on through optimal staffing rules defines staffing needs:
- externalForecastVariableId - ID for a variable as set up for units in Account settings→Forecast→Variables→External ID
- externalForecastConfigurationId -
- externalUnitId - External ID for a unit as set up for units in Classic → Settings → Tables → integration keys
- externalSectionId (optional) - External ID for a section as set up for units in Classic → Settings → Tables → integration keys
- runIdentifier - A value to be set if external system sends multiple predictions for the same date range
- runTimestamp - A value to be set to define when the predicted data was generated. Quinyx will in the future use this value to compare different predictions if they exist
- forecastDataPayload
- data - the amount of the external prediction
- timestamp - the time of where the amount should be placed in UTC format 2020-04-09T20:45:00+01:00
New scope added for POST /predicted-data
This means that the current credentials (clientid / client secret) issued is not valid for the new operation POST /predicted-data.
The reason for this is to have control of who can upload data, write data, and get data from and to Quinyx WFM