Employee Hub - User / Store Data Capture
 Updated
by
Leigh Hutchens
Updated
by
Leigh Hutchens
When you want to contact us about adding multiple users and stores, you can use the Employee Hub User & Store data capture.xlsx template.
Note that there are 2 tabs to this file (Users, Stores).
Keep reading to learn how to populate the template.
Users
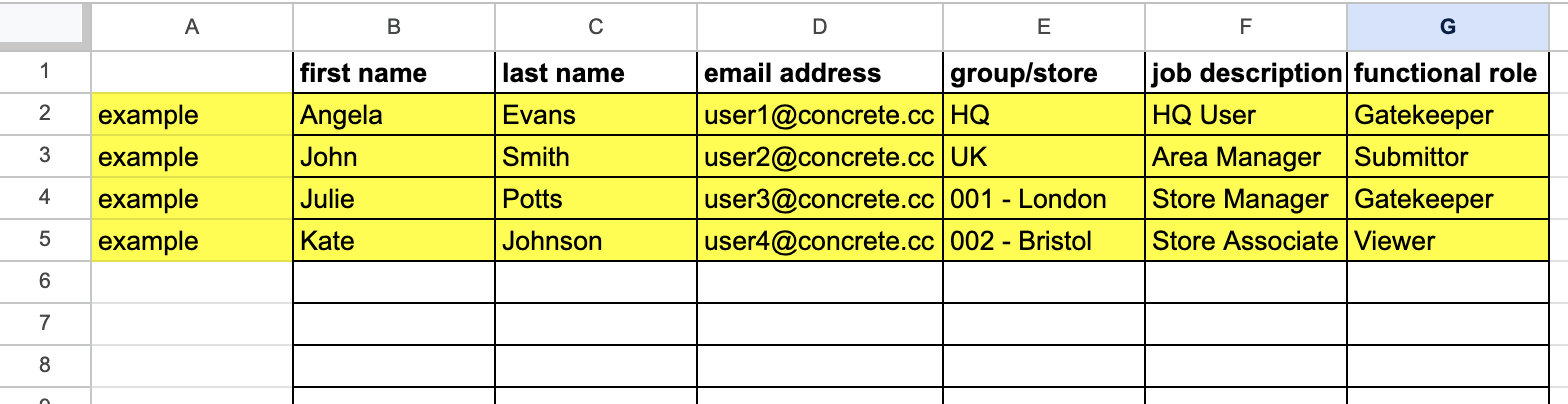
- First Name: The first name of the new user.
- Last Name: The last name of the new user.
- Email Address: The email address of the new user.
- Group: The name of the group that this account needs to be connected to HQ / Region/ District / Store, for instance, a user working in Store 001 should be in group "Store 001". Regional manager of Region 1 should be in group "Region 1".
- Job Description: The name of the role for the user in the field above. (HQ User / District Manager/ Store Associate / etc.).
- Functional rights: What level of access should the user have? The options are:
- Full Rights User (default): You can create and send new tasks/content to their group and to groups below them in the hierarchy.
- Submittor: Tasks and stories created by these users must be approved by full right users before being sent to recipients
- View Only User: Cannot add new tasks/content but can interact with content that they have access to.
Consider having a gatekeeper in stores. HQ may not know a store goes to the bank on Tuesday afternoons, and this allows for tasks such as this to be created/managed by stores.
**You need to have a gatekeeper in each group where there are submitters.**
Stores
- Store Name: e.g. 101 - Times Square.
- Parent Group: Which existing group does this store belong to? For example, New York Area.