How to use break calculation rules
 Updated
by
Daniel Sjögren
Updated
by
Daniel Sjögren
If you want to add standardized break times to your shift types, break calculation rules are great. With break calculation rules set up either on an Account level, Group level, or Agreement level, you can simply click the refresh icon on the relevant shift, and an appropriate break time will be added.
Setting it up
Account settings
- When logged into the manager portal, navigate to the top-right profile menu, and click Account settings.
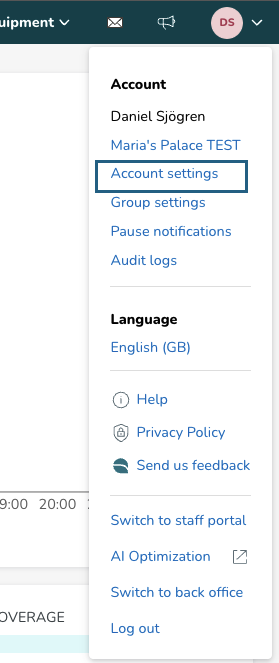
- In Account settings, go to Shift types > Break calculation rules.

- In the top-right corner, click Add.
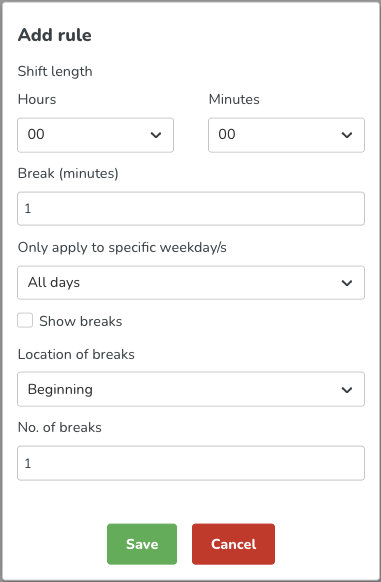
- Select the timespan, what days it should apply for, location of breaks, the number of breaks.

- Click Save and you're done!

Break calculation rules that are created under Account settings will be shared with all units in the organization.
Group settings
- While on a unit level, navigate to the profile menu in the top-right corner, and click Group settings.
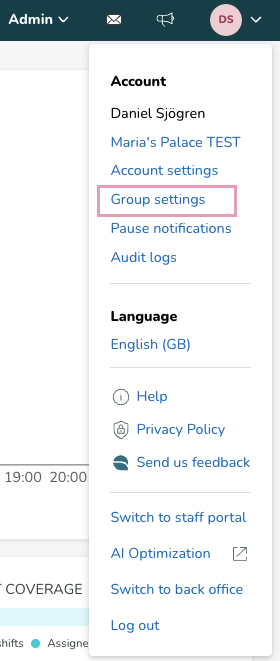
- From the left menu, click Break calculation rules.

- In the top-right corner, click Add.
- Select the timespan, what days it should apply for, location of breaks, the number. of breaks, etc.
- Done! Your new local break calculation rule will now be displayed in the list, but without the Shared badge.

Agreement templates
- Navigate to Account settings > Agreement templates > [Select agreement template].
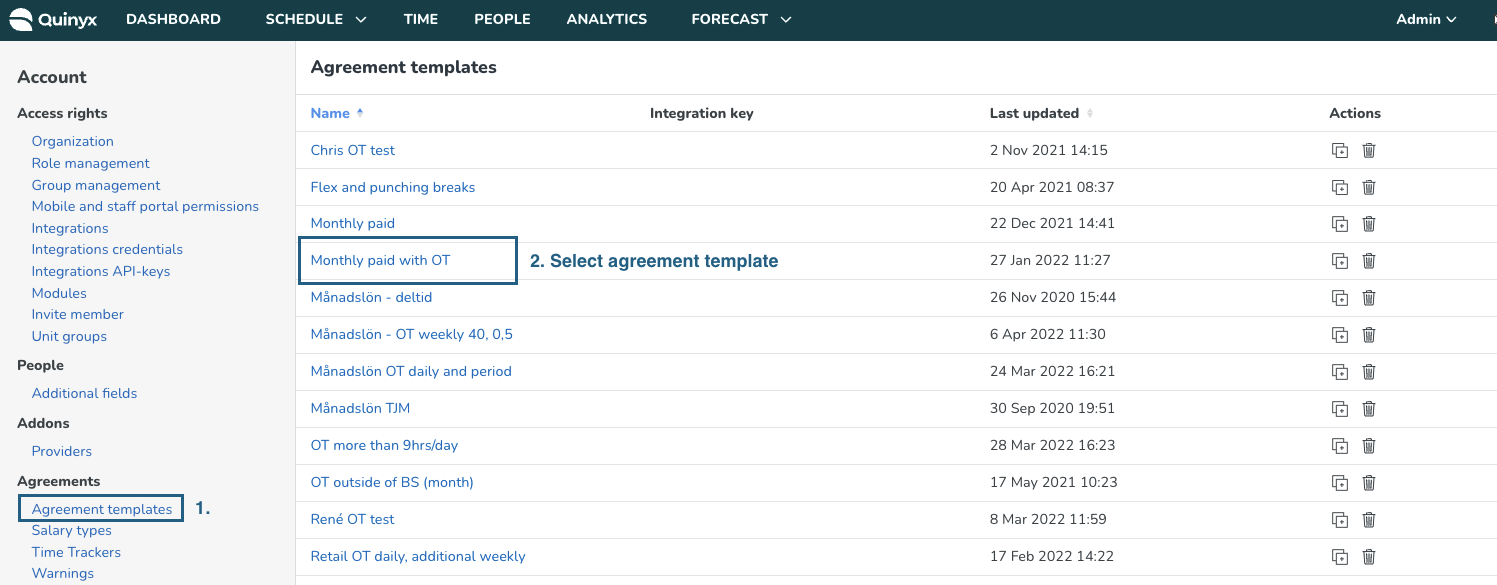
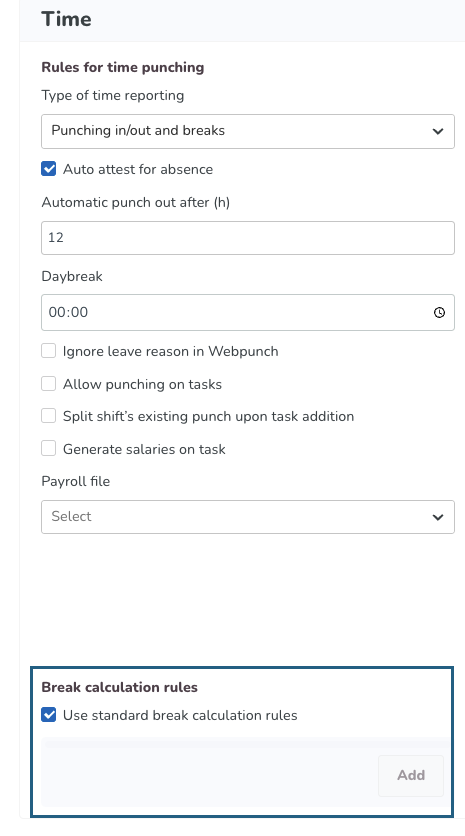
- Inside the selected agreement template, navigate to Time > Break calculation rules. By default, Use standard break calculation rules will be ticked. To use agreement template specific break calculation rules, untick the checkbox, and the Add button will be clickable.
- Select the timespan, what days it should apply for, the location of breaks, and the number of breaks.

- When you're done, click Save, and don't forget to finally click Save in the agreement template before closing.
For more information, check out Break calculation rules.