Version 0058
 Updated
by
Leigh Hutchens
Updated
by
Leigh Hutchens
Schedule
Assigning a shift
As of this release, when you add a shift, we present you with a list of employees who can be scheduled. The list is sorted by relevance and includes employees who are active and have a valid agreement. If an employee is scheduled or has an absence the same time as the about-to-be assigned shift, the employee won’t appear in the list.
Employees are then sorted with the following logic:
- Notices of Interest
- Availability according to main agreement
- No leave request same time as the shift
- Matching skills with the shift type
If employees meet the exact same criteria, they are sorted in alphabetical ascending order.
Salary type overview
In Salary type overview, you can see which salary transactions have been generated for a given day and employee. By clicking on the arrow on the left of the salary type more details are shown.
How do I get to Salary type overview?
- Hover over a cell (day and employee)
- Select (icon)

- The salary type overview opens
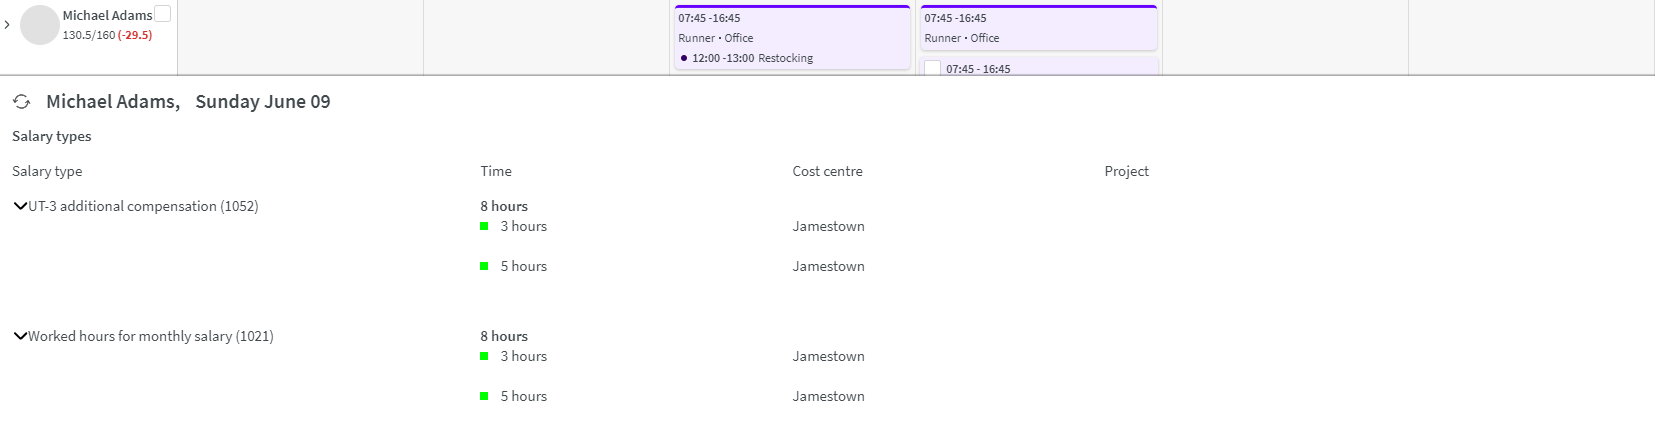
The colors in front of the time indicates the following:
- A green square means that the salary transaction has been generated automatically according to agreement (template) configuration.
- A blue square means that the salary transaction has been added manually.
- An orange square means that a salary type rule on the shift has generated the salary transaction.
- A red square means that a salary type rule on a bank holiday has generated the salary transaction.
Note that configuration of salary types are still done through Classic. More information about configuration can be found in the following articles: Tables - Salary Types and Agreement Templates - Salary Types.
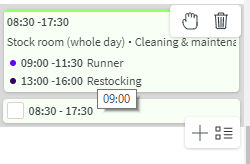
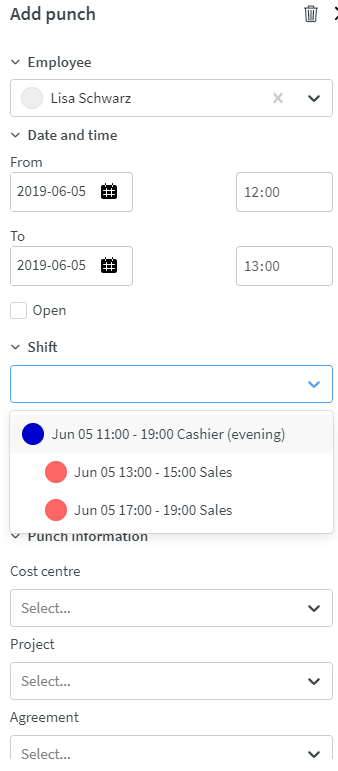
Add punch to a task
When you add a punch, it’s now possible to select tasks to connect the punch to.
- Add punch
- Choose date and time
- Choose which shift or task to connect the punch to. In the drop down you will see shifts and tasks. Tasks are indented in the list.
8-Week Base Schedule Template Period
It's now possible to create base schedules with template periods of up to eight weeks. The view in base schedule shows whatever number of weeks you have selected for your template period:

In the next release, a week view will be made available in base schedule, allowing you to scroll between template period weeks.
Updated Base Schedule Rollout Logic
By popular demand, the base schedule rollout logic has been modified. The new logic addresses the following scenario:
- A base schedule is created and rolled out.
- One or multiple shift(s) originating from the above base schedule are deleted in Schedule.
- The same base schedule is rolled out anew, over the same time period or partly over the same time period.
Up until this release, the logic has worked as follows:
- The shifts deleted in Schedule originating from the first rollout of the base schedule are not rolled out anew in the second rollout.
Starting today, the new logic will be as described in step number 4 below:
- A base schedule is created and rolled out.
- One or multiple shift(s) originating from the above base schedule are deleted in Schedule.
- The same base schedule is rolled out anew, over the same time period or partly over the same time period.
- The shifts deleted in Schedule originating from the first rollout of the base schedule are rolled out anew in the second rollout.
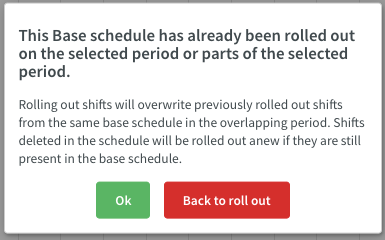
This is only temporary, and from the next release onward, shifts deleted in the schedule will be rolled out anew even if they've been updated in the base schedule. Likewise, the information received when rolling out a base schedule for the second time is currently only in English but will be available in local languages in the next release: