Frontline Portal - Distribution Version 1
 Updated
by
Daniel Sjögren
Updated
by
Daniel Sjögren
Platform Update - July 12, 2023
New Functionality
Picking people
We've made some changes to the look and feel of the basic picking of people when creating an audience. This means the people picker is now more intuitive and easier for resource creators to use.
Add people to an audience
You can now add people to an audience.
- Click the add button (+) on the Audience Viewer page.

- Click Add, and a sidebar will open.
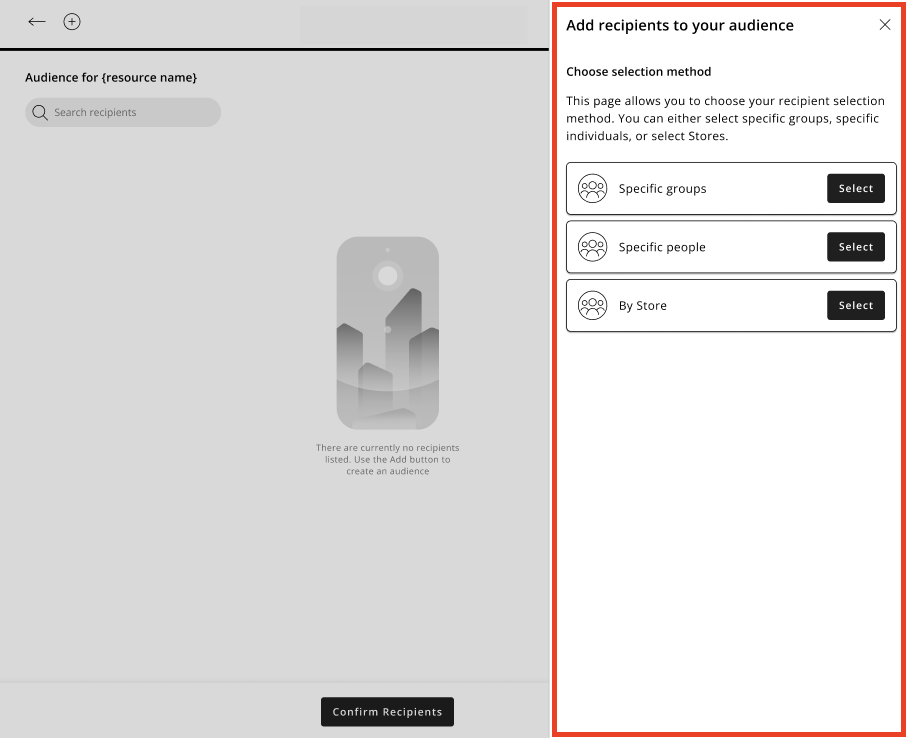
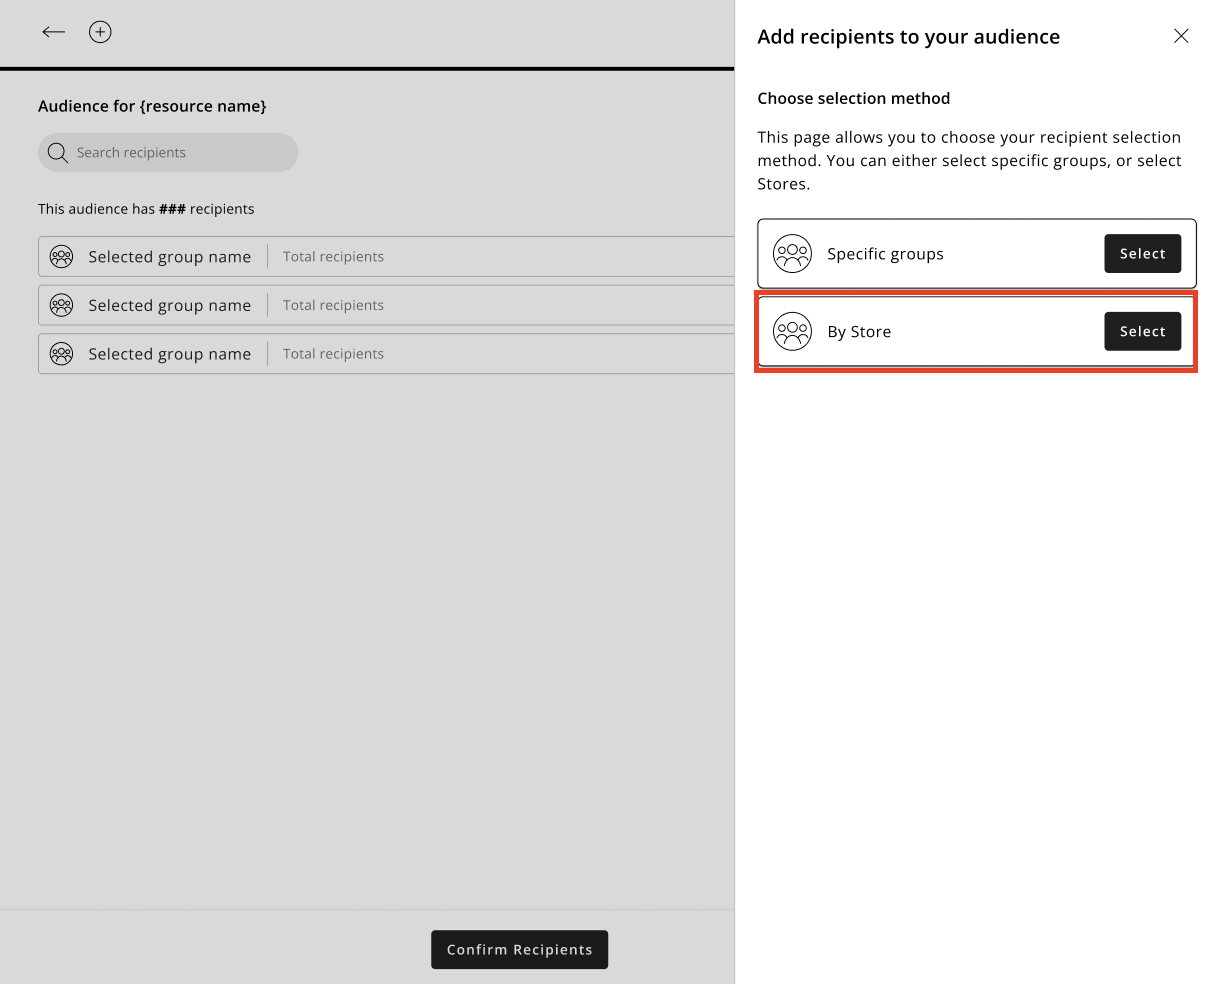
- Select the Specific people selection method.
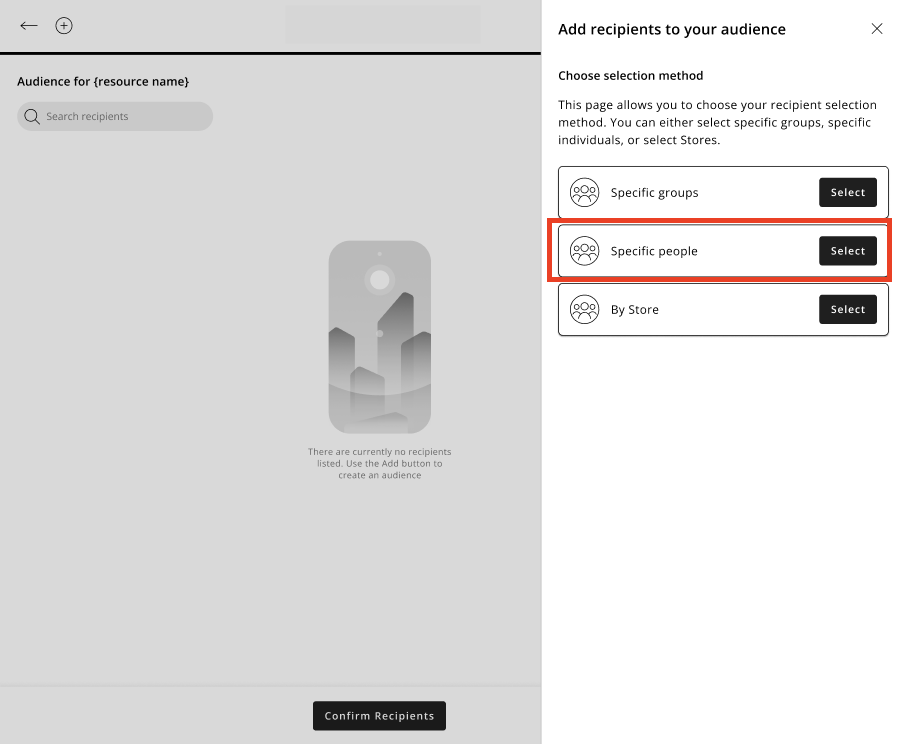
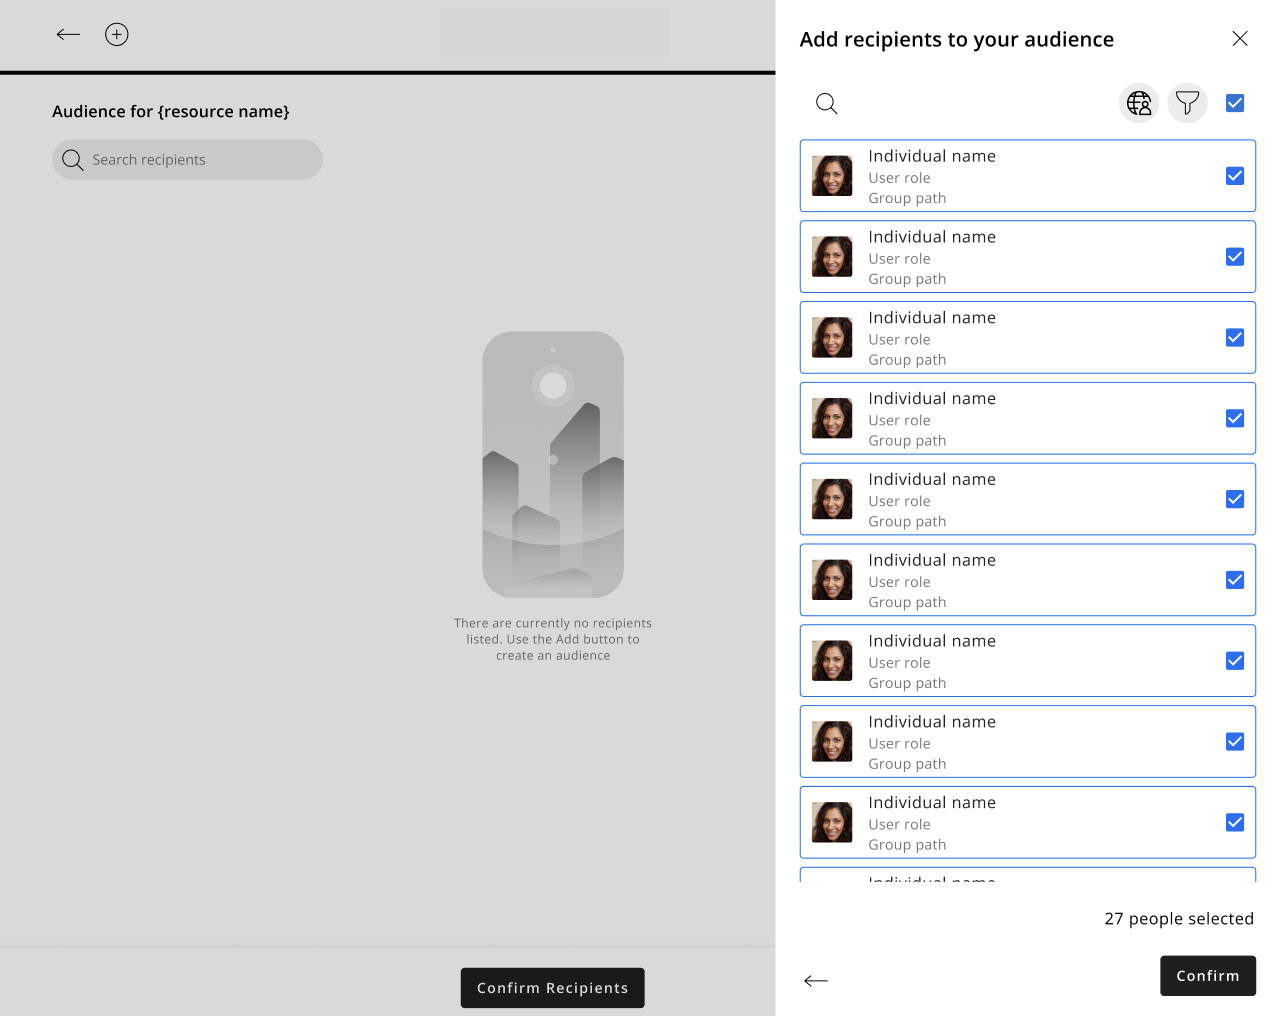
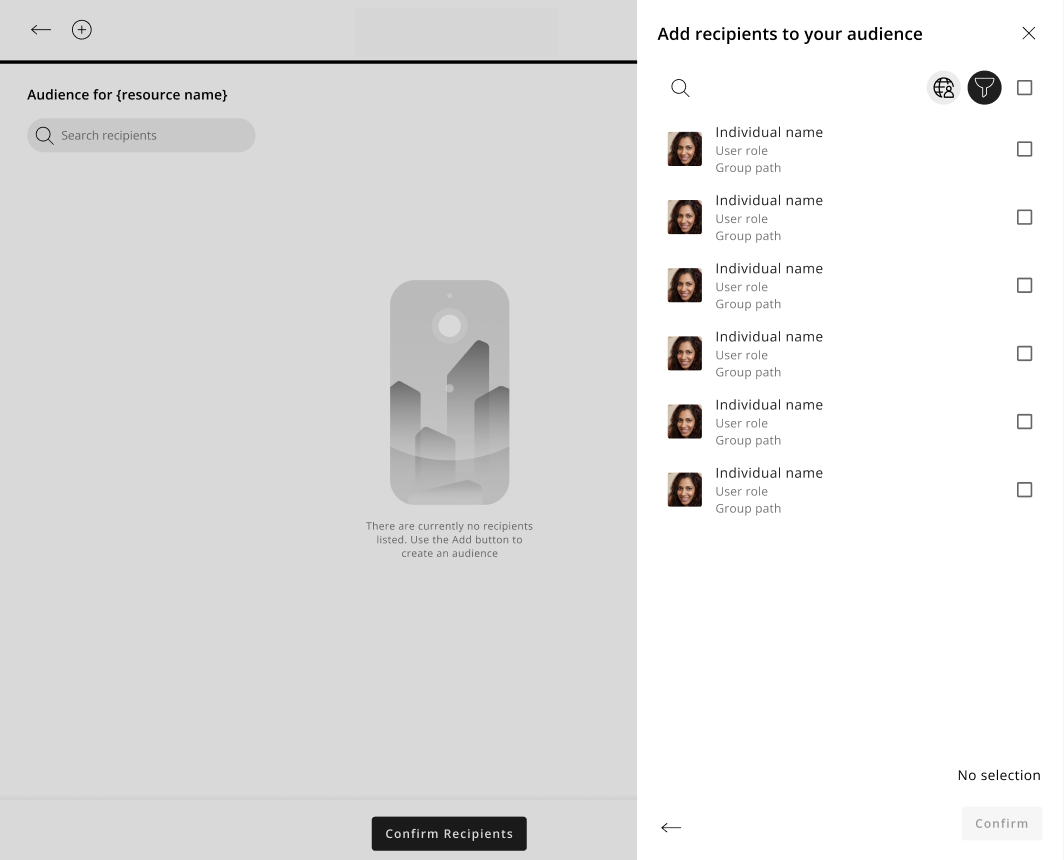
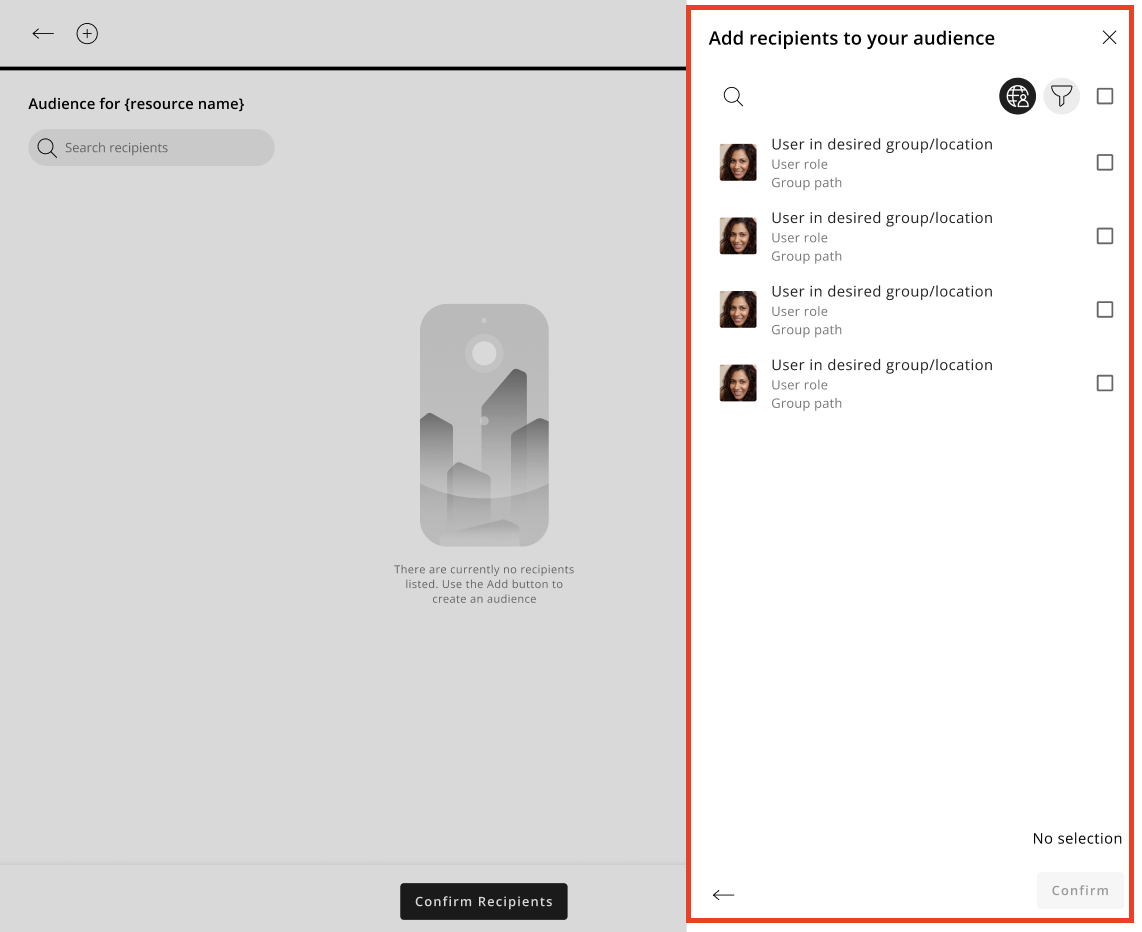
- The People Picker sidebar opens, and you can select people. Click Confirm once you are happy with your selection.
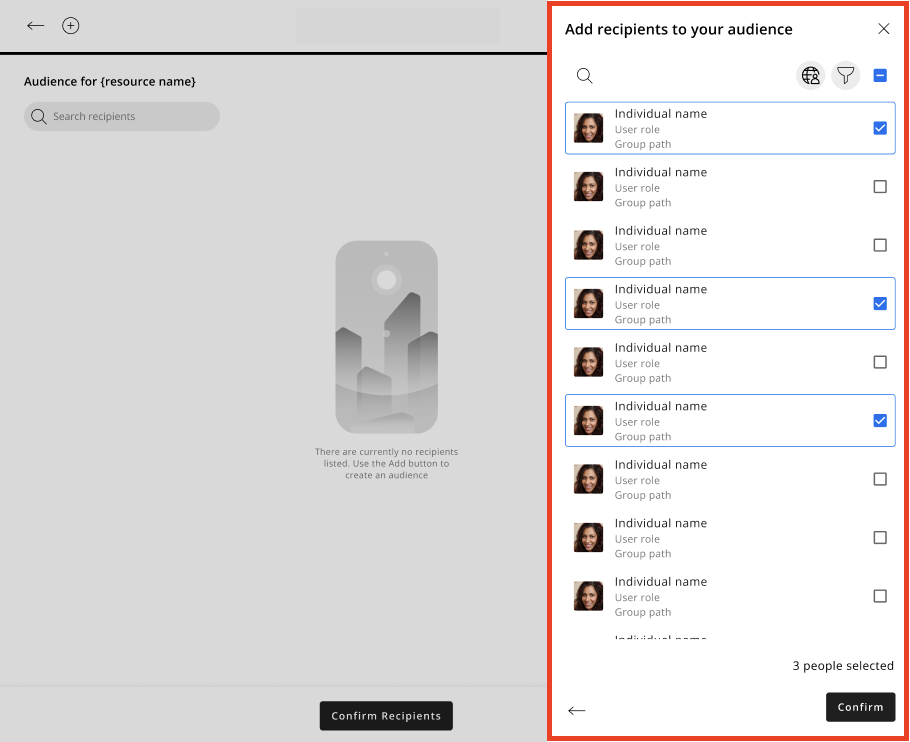
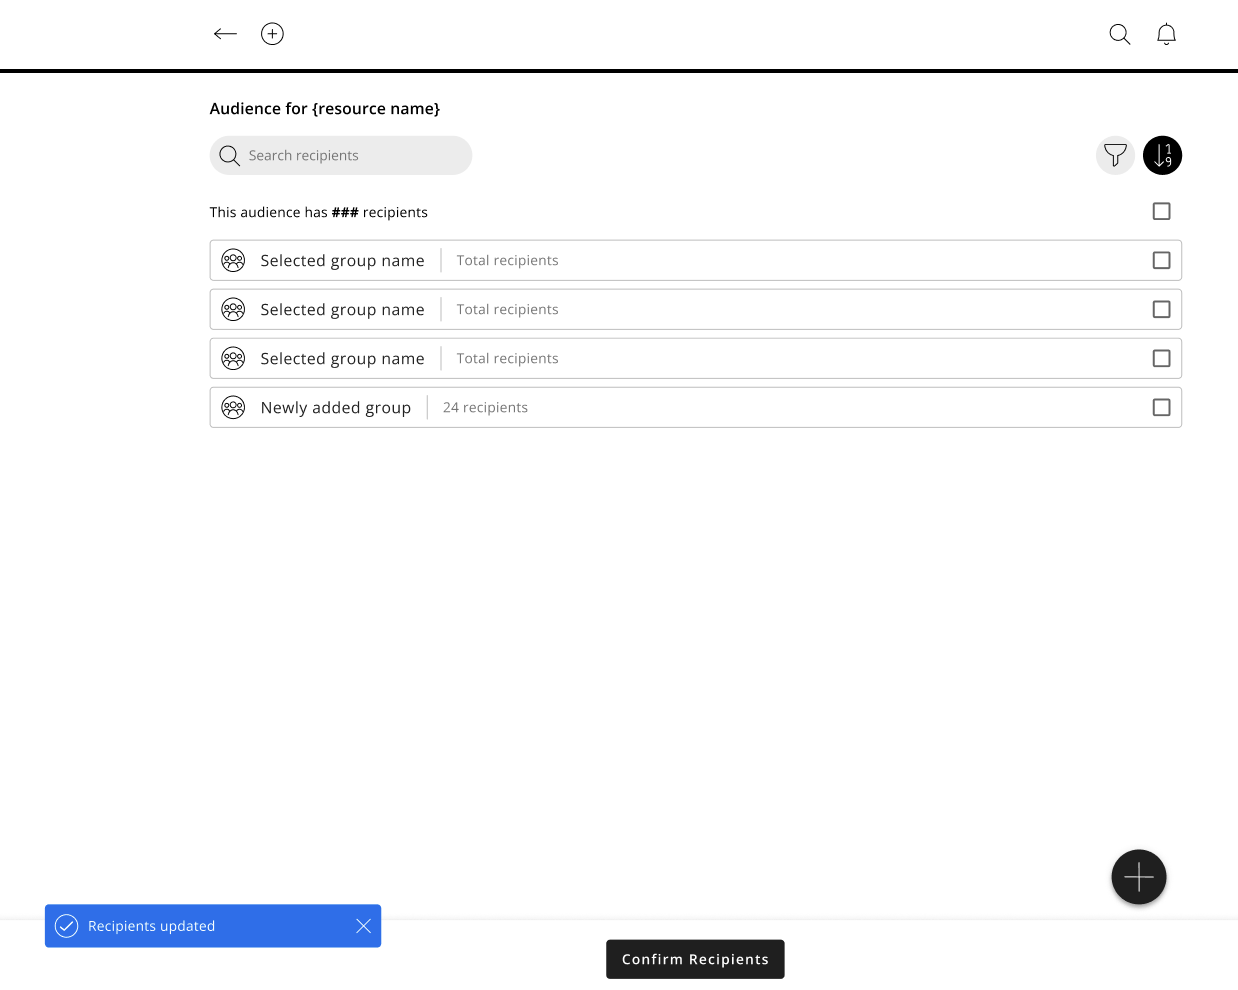
- You will be taken back to the Audience Viewer page with your audience populated; a toast message will confirm your audience has been updated with the recipients selected.
Add more people to an audience list that already contains people
You can add more people to a list you have already created containing people as follows:
- Click the add button (+) on the Audience Viewer page.
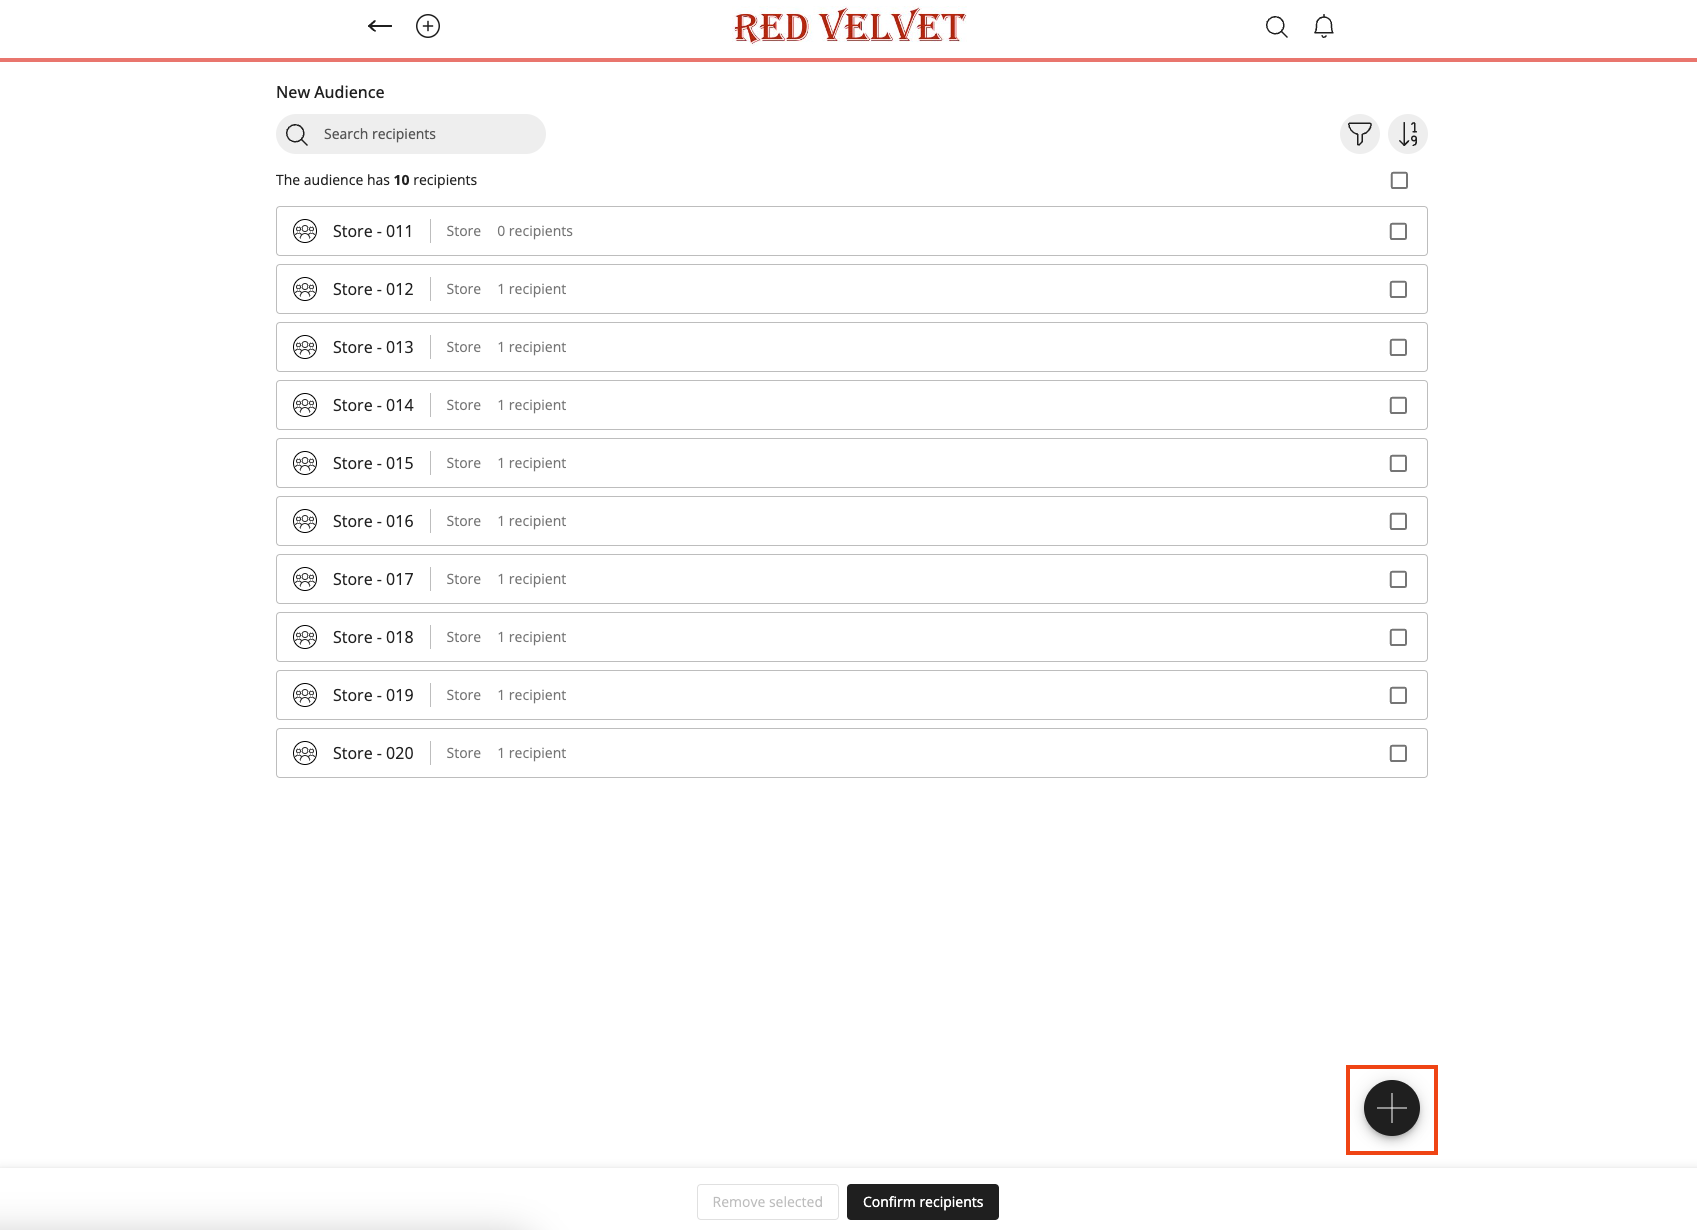
- The People Picker sidebar will open, and the people you have selected previously will be shown as selected.
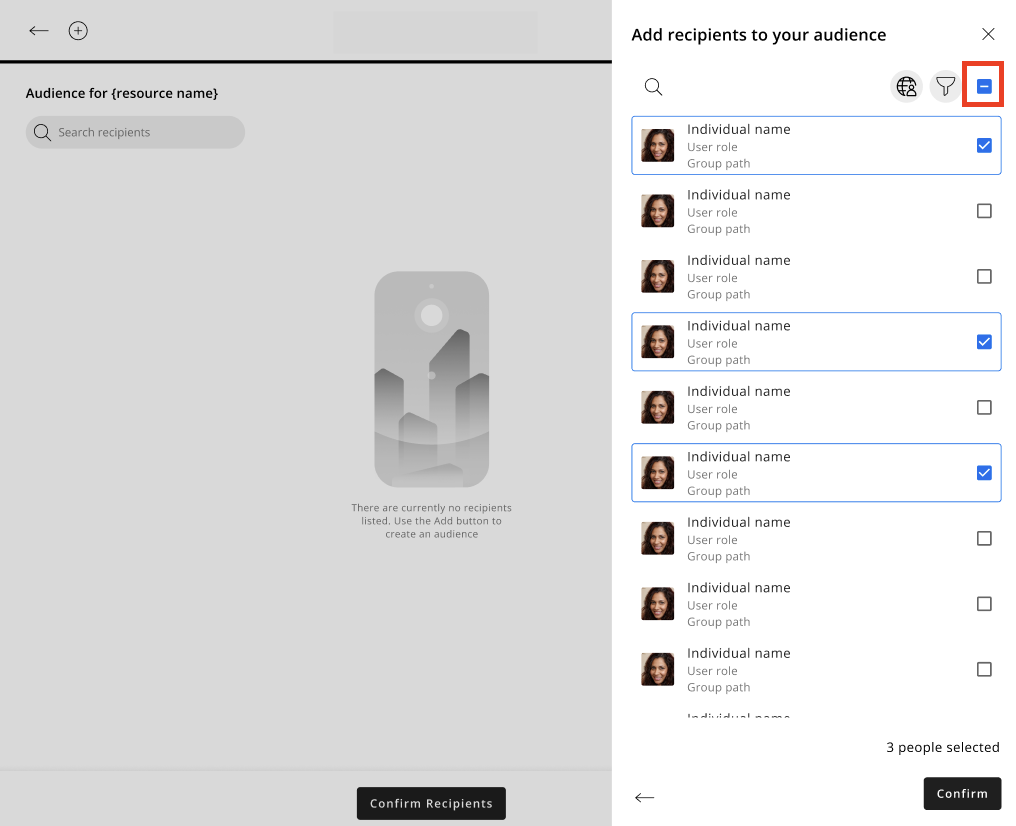
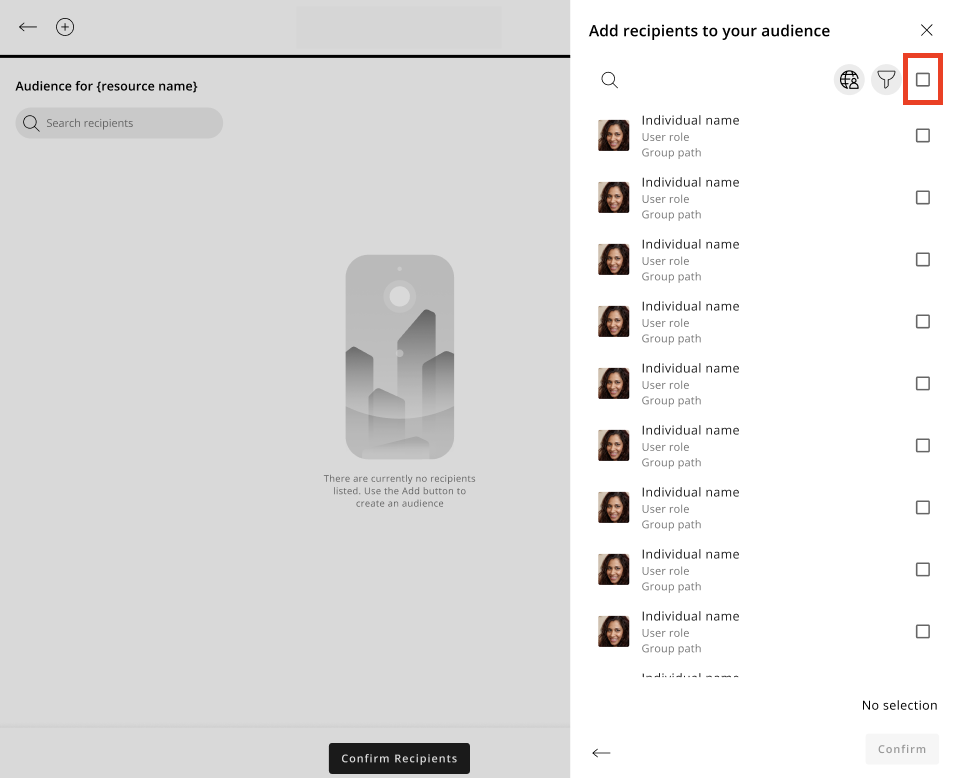
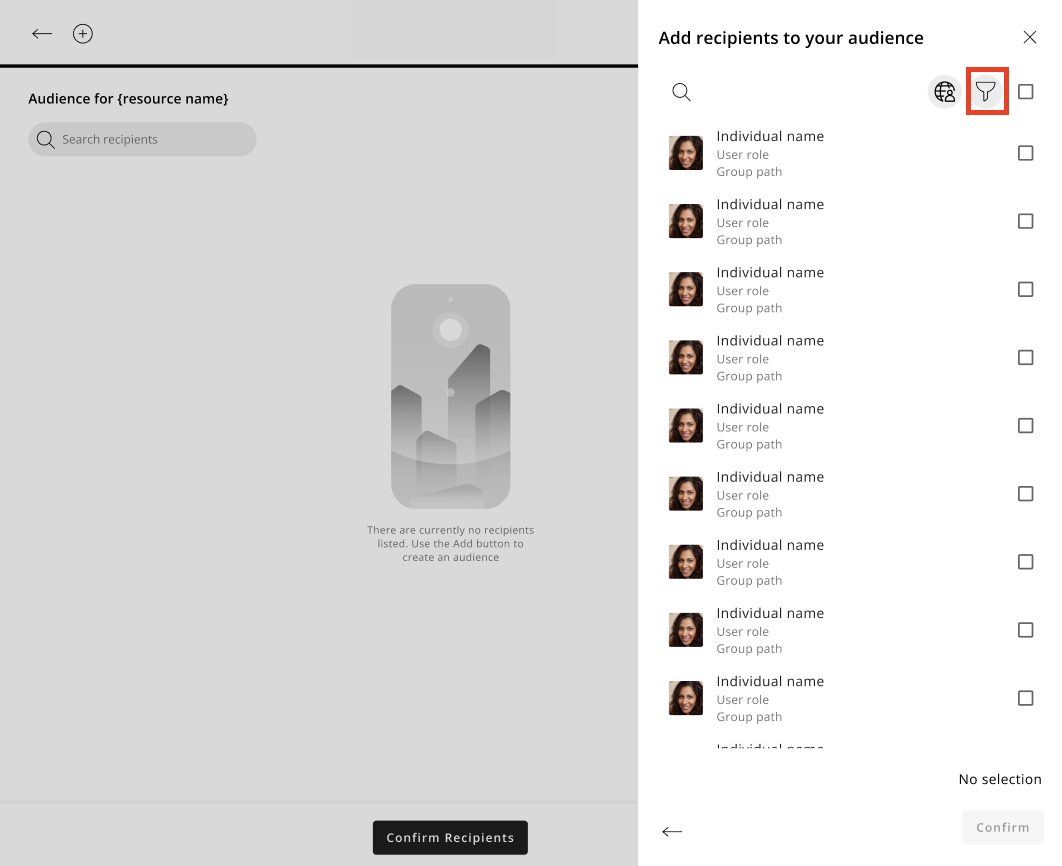
Deselect all selected people
- You can deselect all selected people using the indeterminate selector.
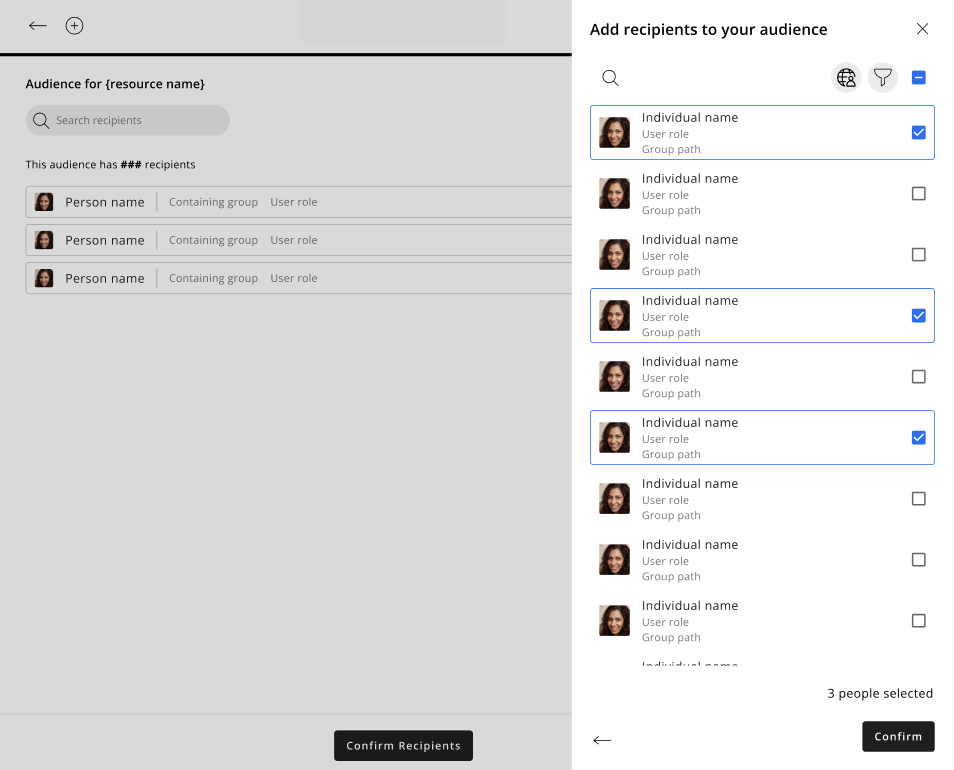
Select all people
- You can select all people using the Select all checkbox.
Filtering
Filter people within the People Picker
You can filter the list of people in the People Picker.
- Select the filter icon.
- The filter sidebar will open.
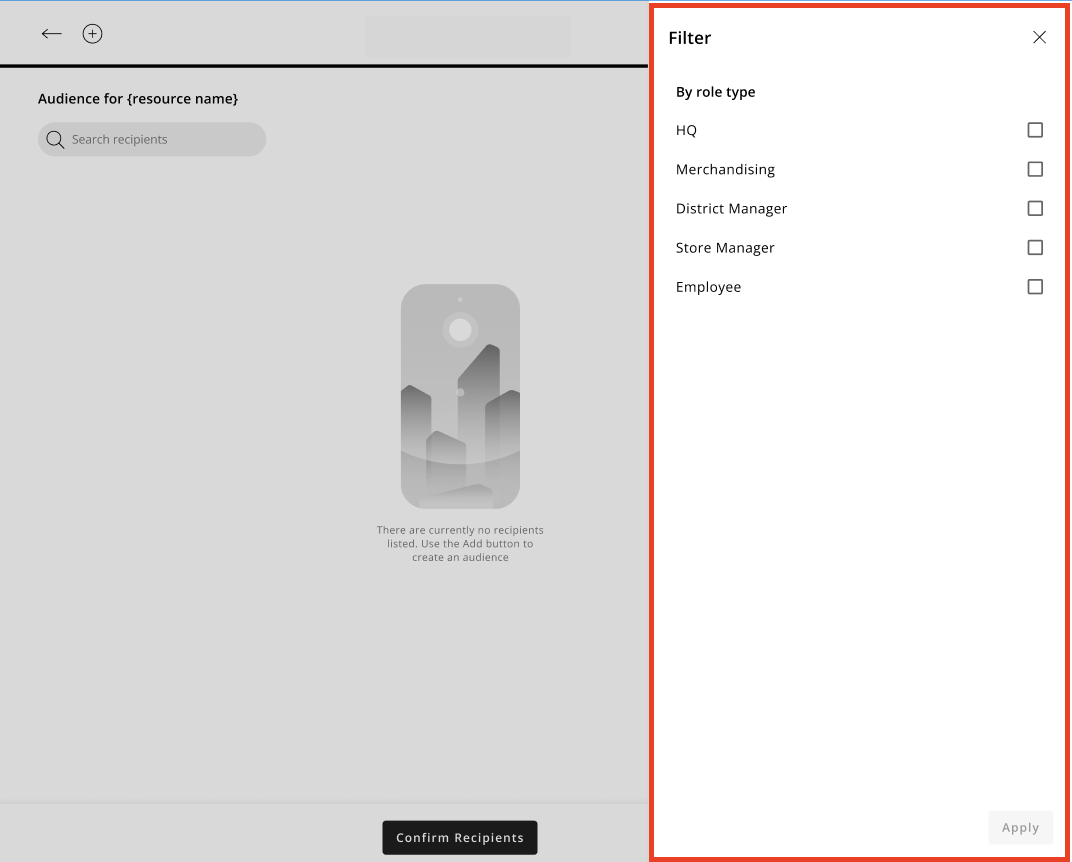
- Select the filter options you want, and click Apply.
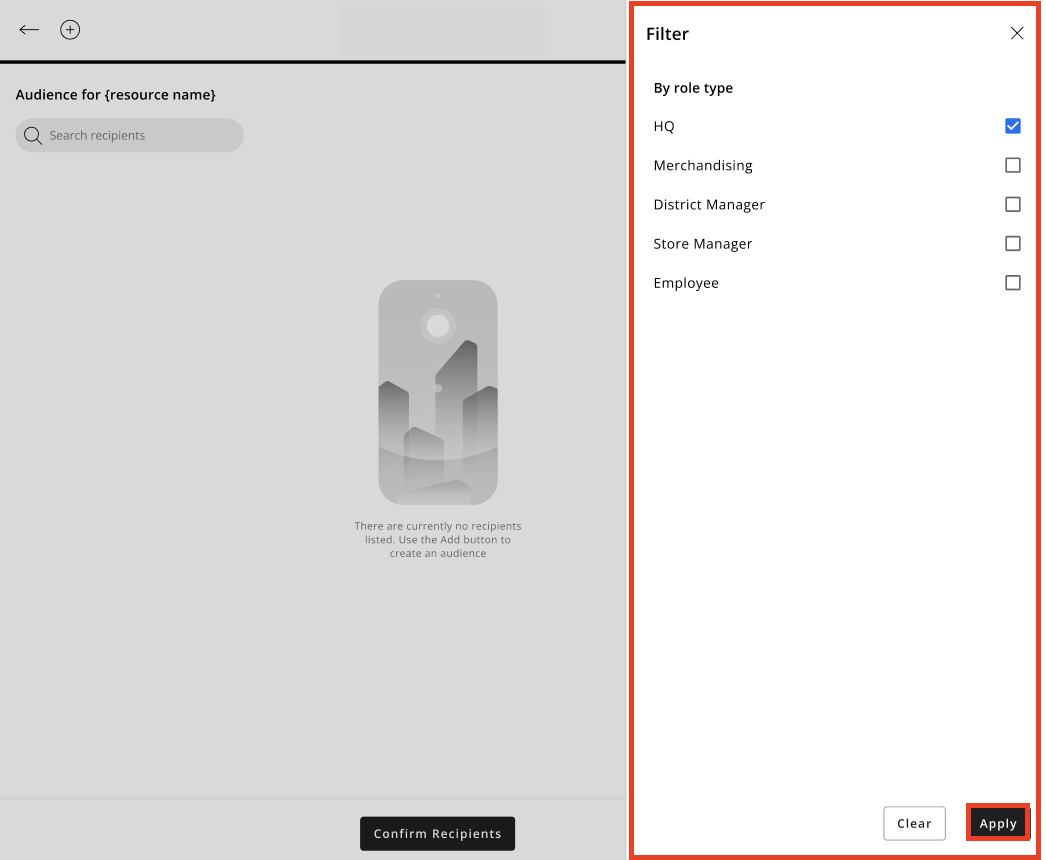
- The filter sidebar will close, and you'll be returned to the People Picker sidebar with your chosen filters applied.
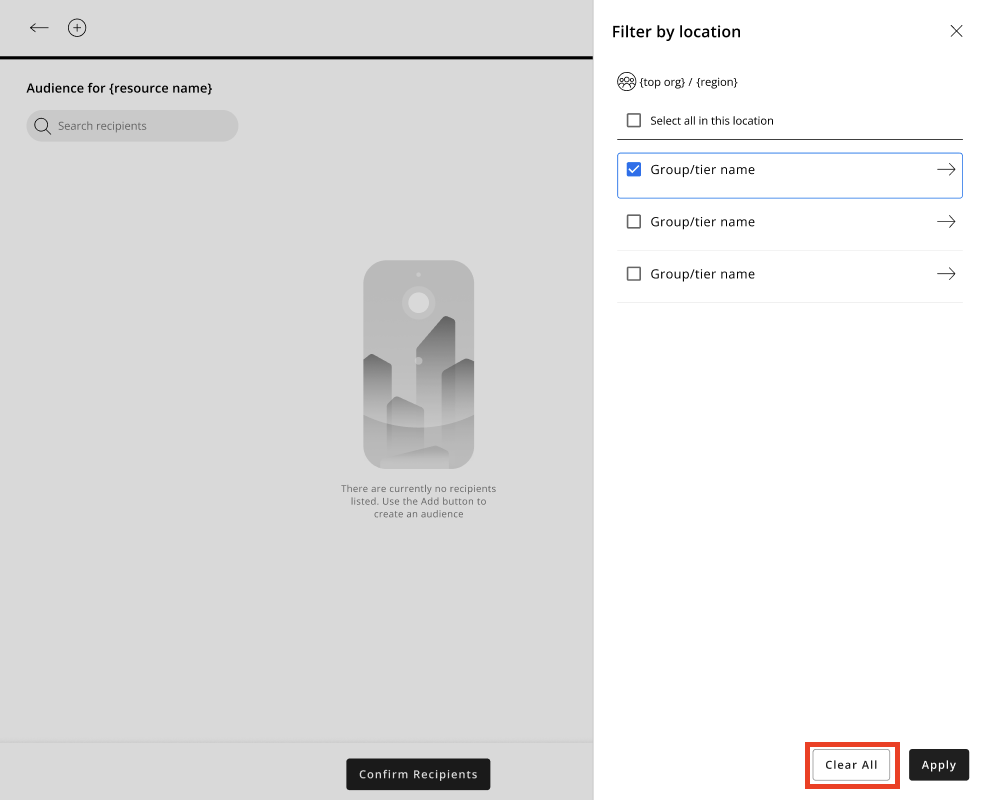
Select people via the Location Picker
You can add people to an audience via the Location Picker.
Select the Location Picker icon
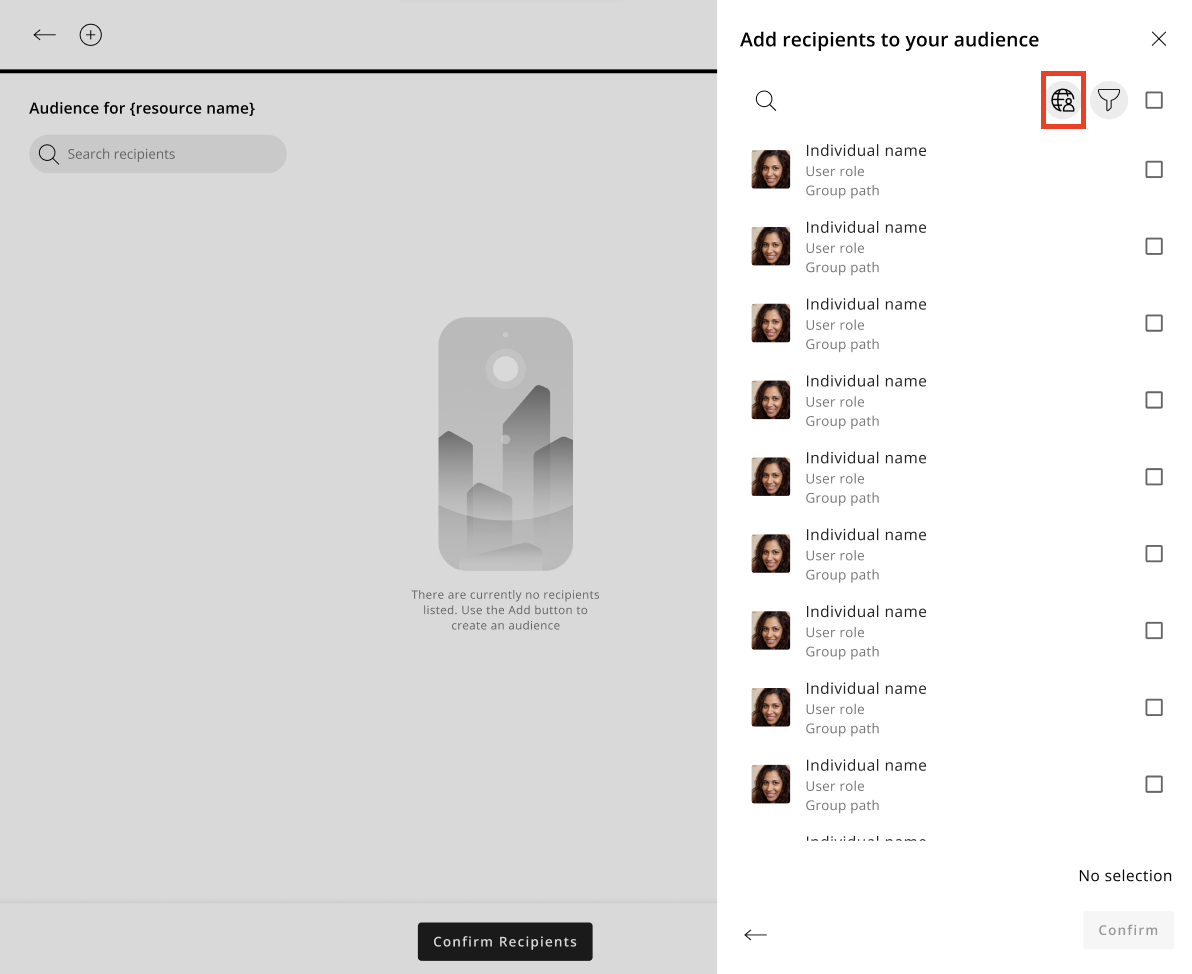
The Location Picker sidebar will open.
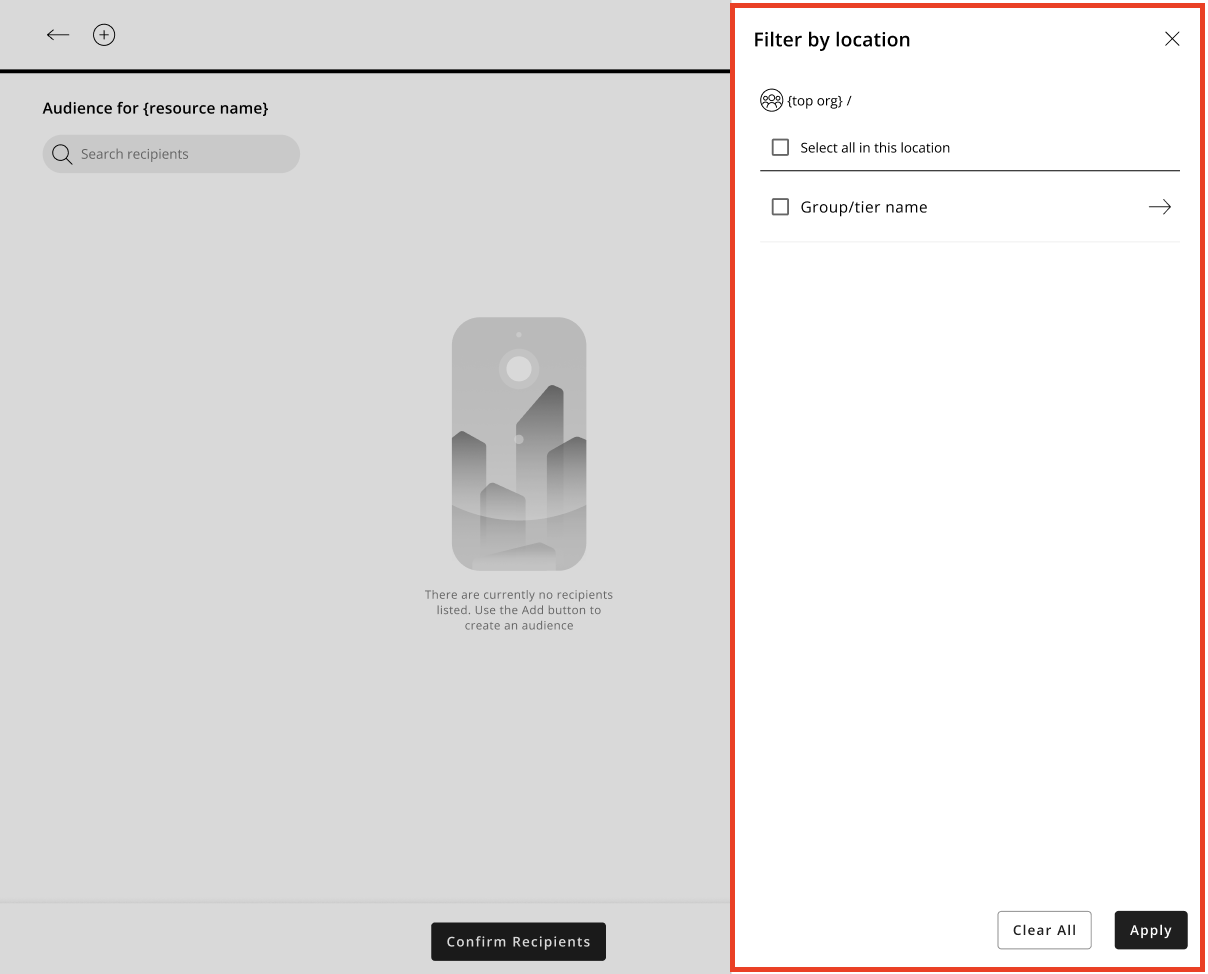
Navigate to your desired location and make a selection and click Apply.
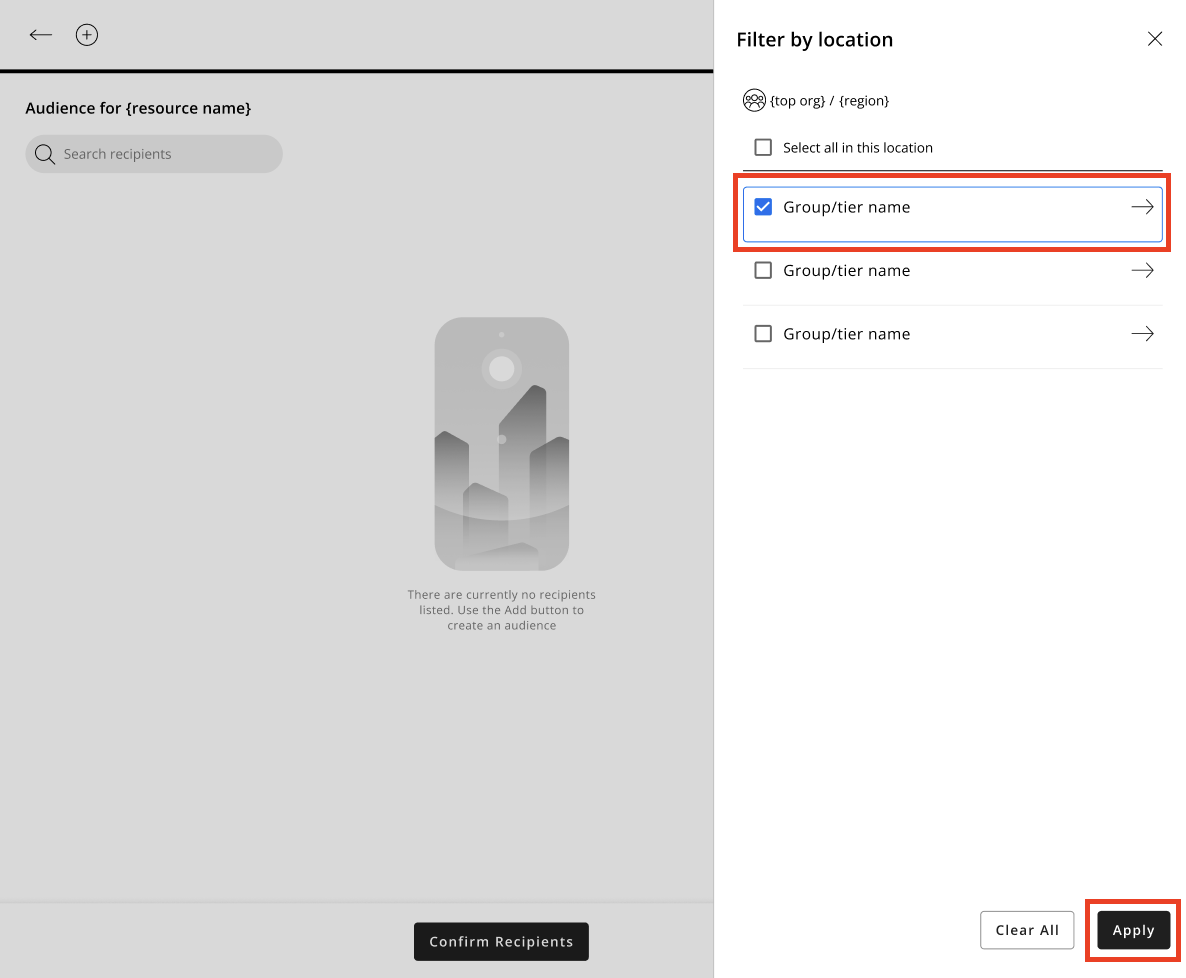
All people belonging to the location you've selected will display in the People Picker sidebar.
Clear selected locations
You can clear your selection when adding people via the Location Picker as follows:
Select the Clear all button, and all selected locations will be cleared, and the Location Picker sidebar will close automatically.
Picking Groups
We've also made some changes to the look and feel of the basic picking of groups/stores when creating an audience; this means the group/store picker is now more intuitive and easier to use for resource creators.
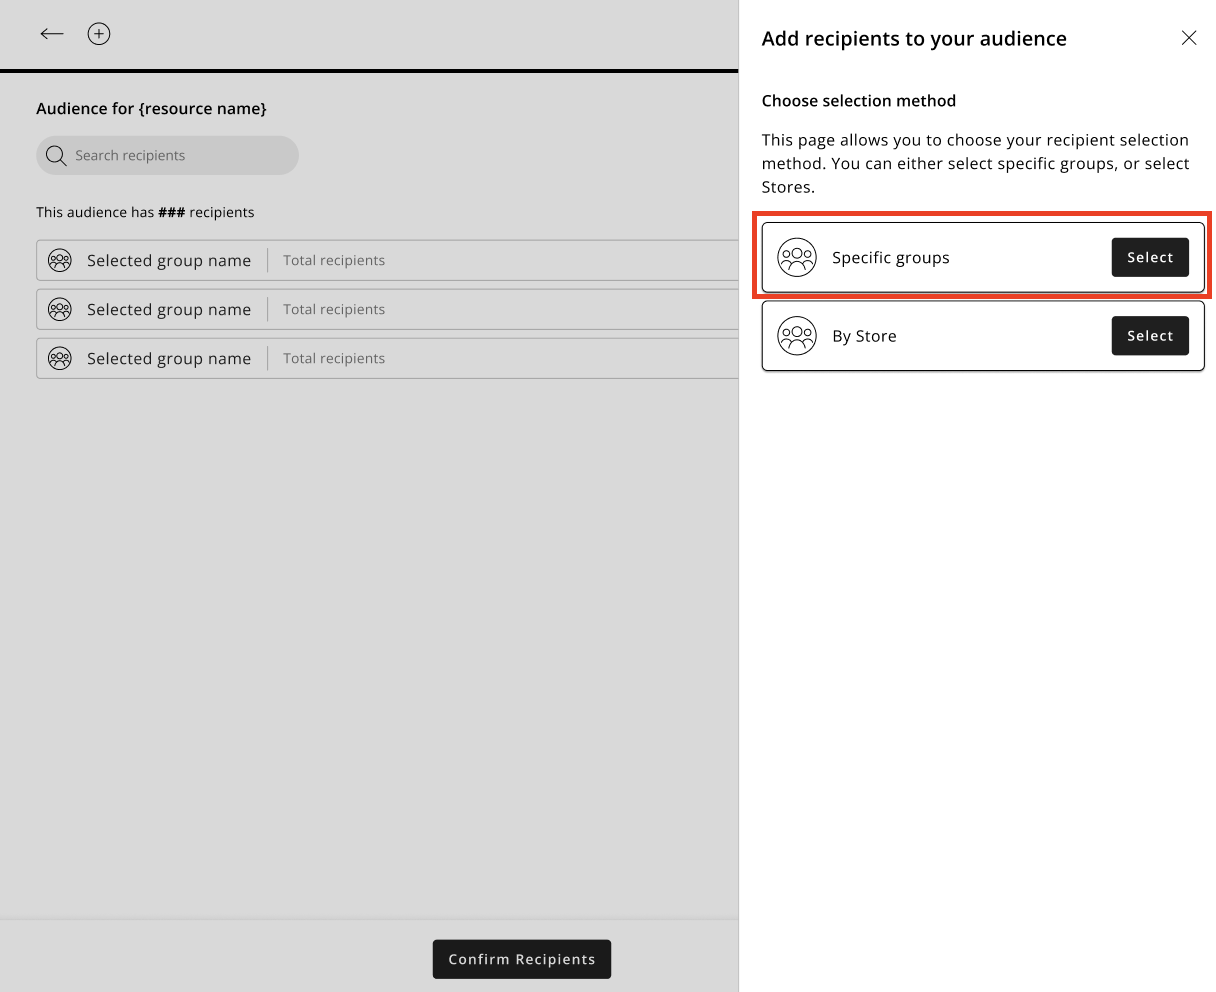
Add groups to audience
You can now add groups to an audience as follows:
Click the add button (+) on the Audience Viewer page.

The Add sidebar will open.

Select the Specific groups selection method.
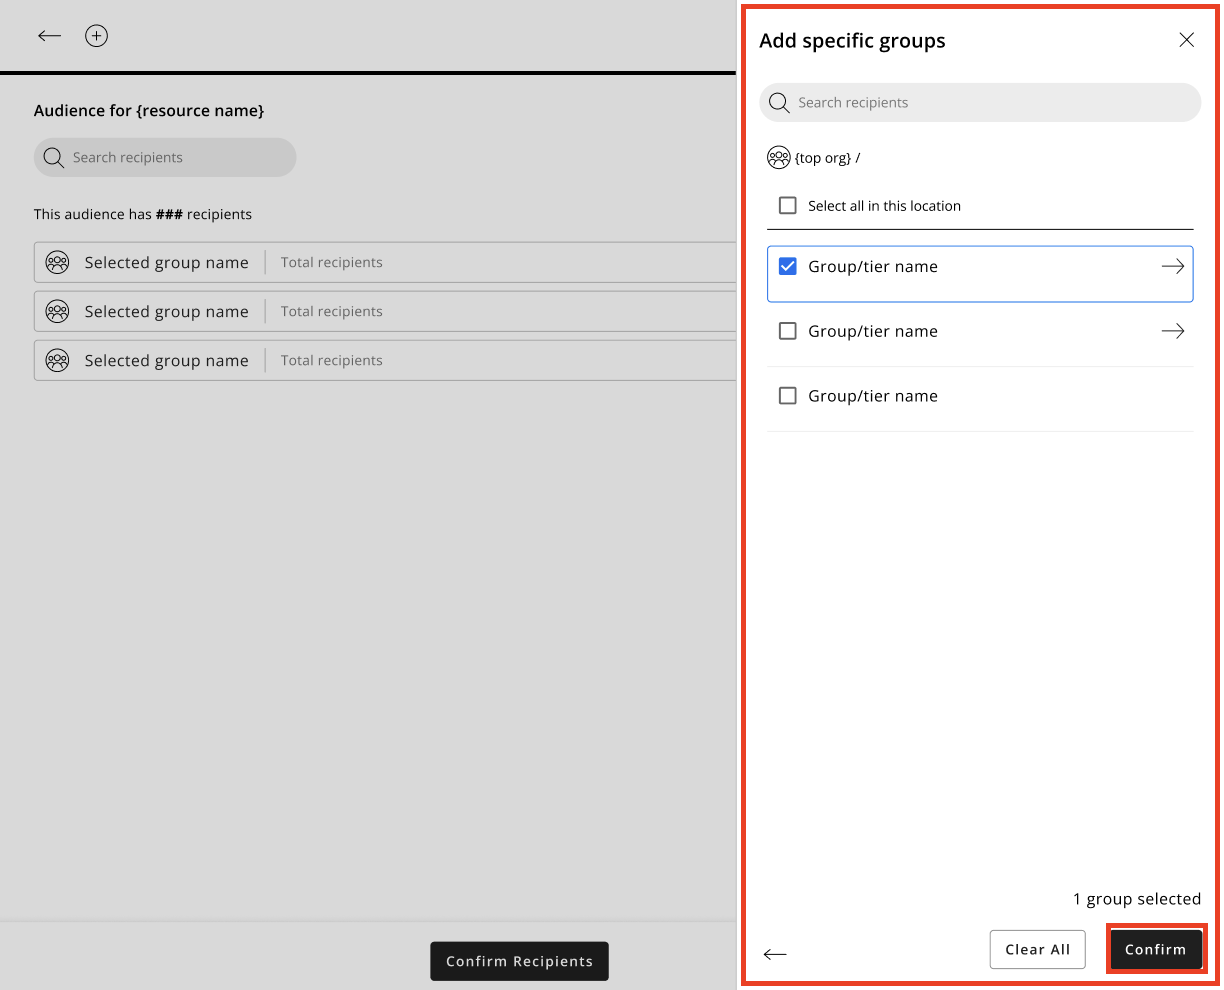
The group picker sidebar opens, and you can select groups, click Confirm once you are happy with your selection.
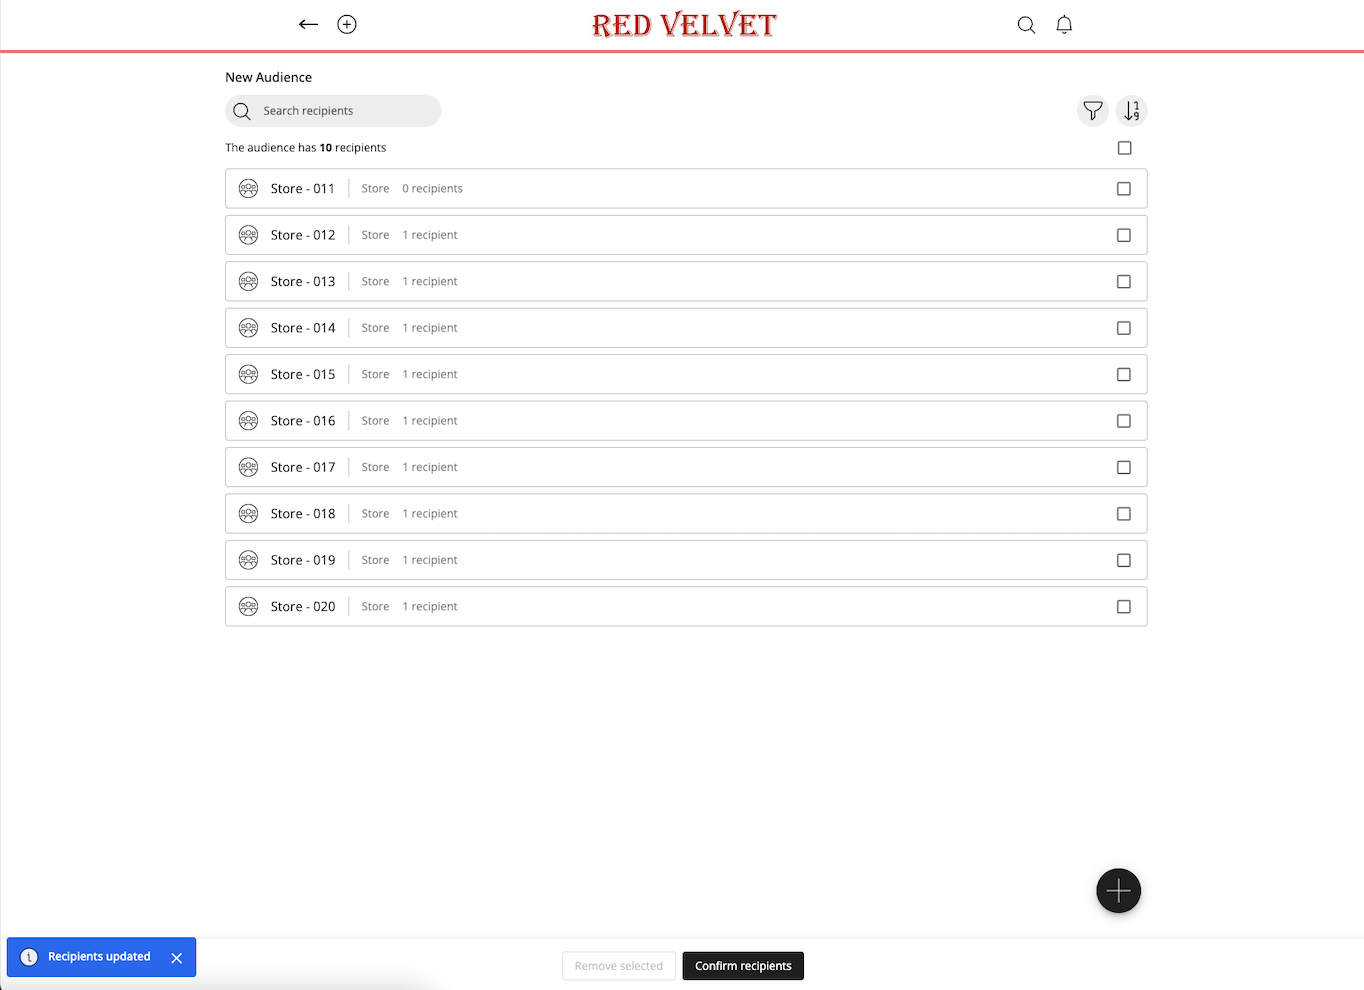
You will be taken back to the Audience Viewer page with your audience populated, and a toast message will confirm your audience has been updated with the recipients selected.

Add stores to audience
You can now add stores to an audience as follows:
Click the add button (+) on the Audience Viewer page.
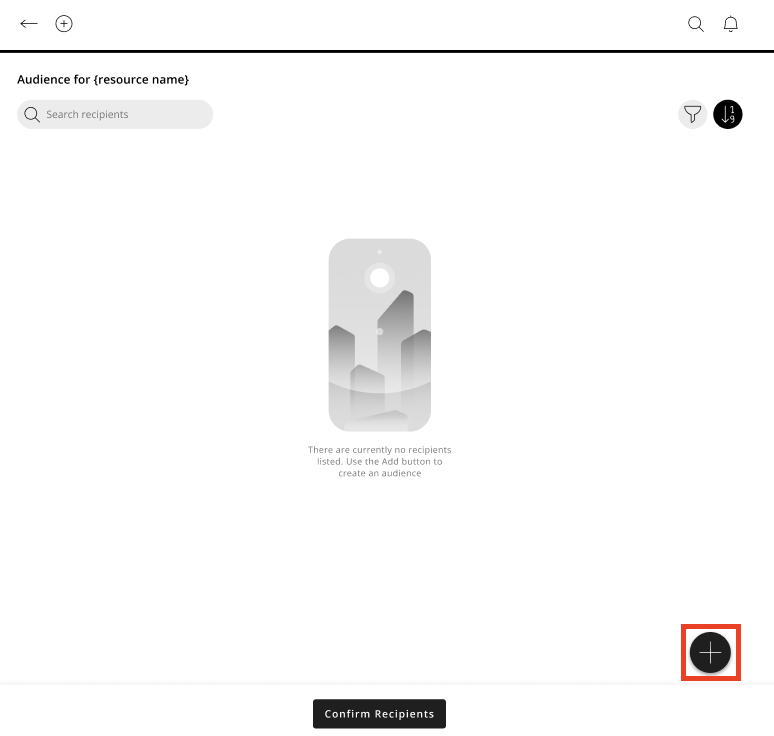
The Add sidebar will open.

Select the By store selection method.
Click Confirm.
The Group Picker sidebar opens, and you can select groups. Click Confirm once you're happy with your selection.

You will be taken back to the Audience Viewer page with your audience populated, and a toast message will confirm your audience has been updated with the recipients selected.
Select all in location using the Select all in this location checkbox
You can now select all groups in a location as follows:
Select the Select all in location checkbox, and all groups in the list will be selected.
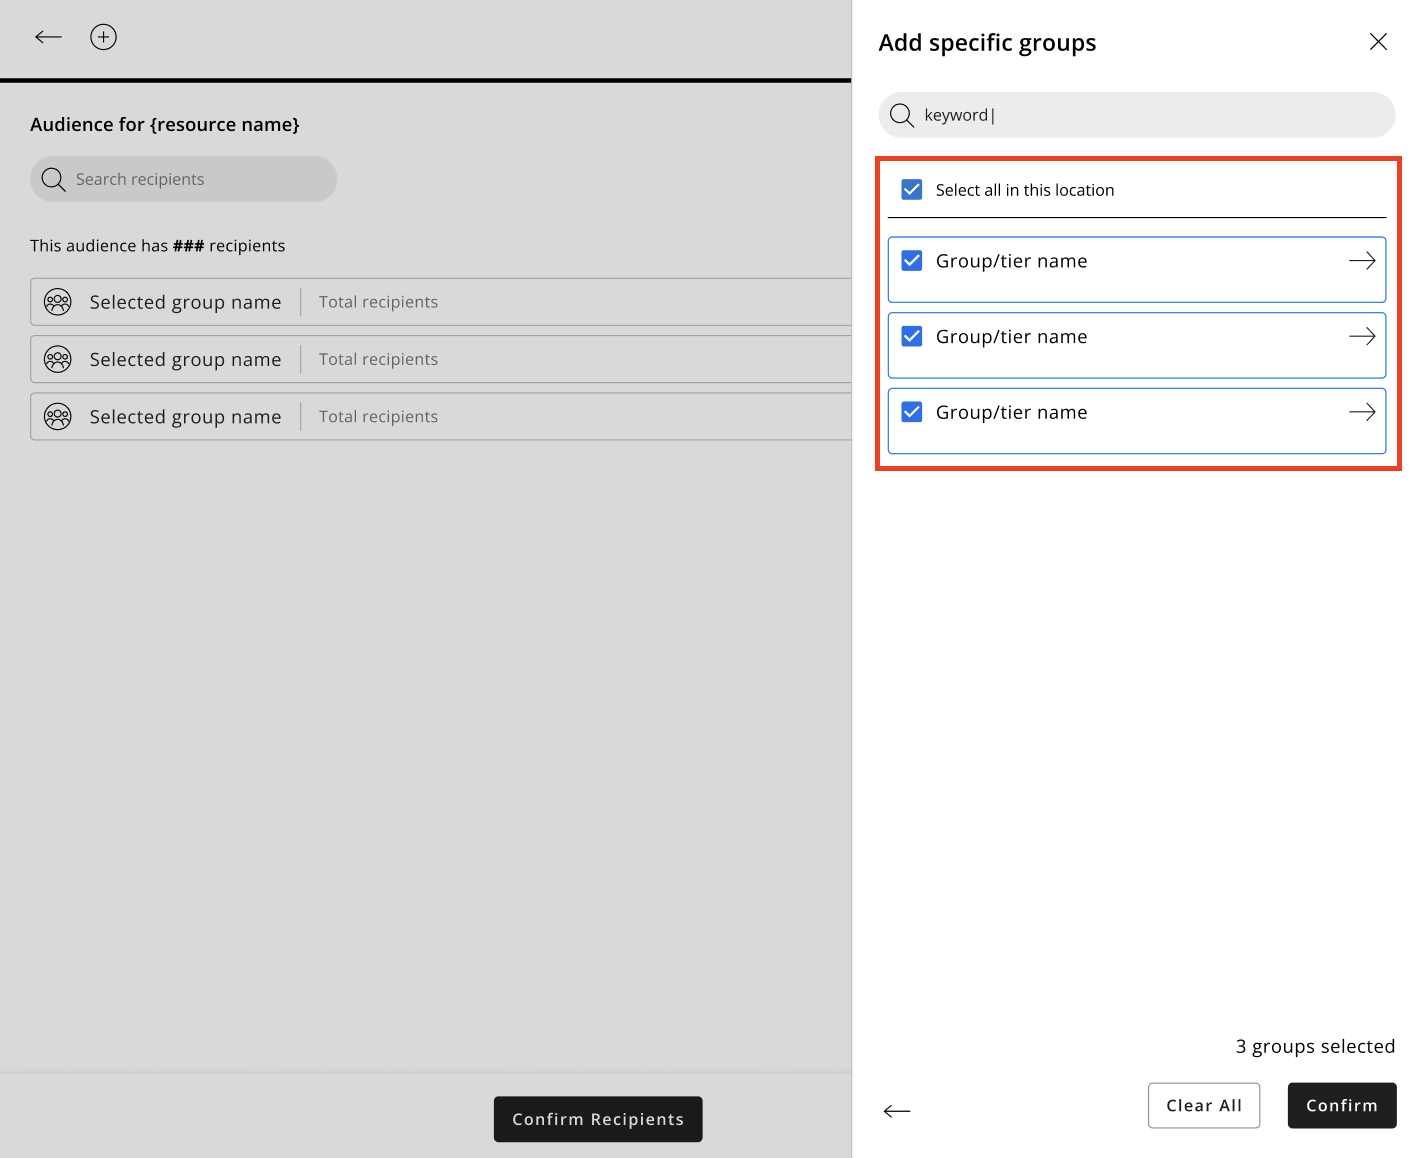
Click Confirm once you are happy with your selection.
You'll be taken back to the Audience Viewer page with your audience populated, and a toast message will confirm your audience has been updated with the recipients selected.
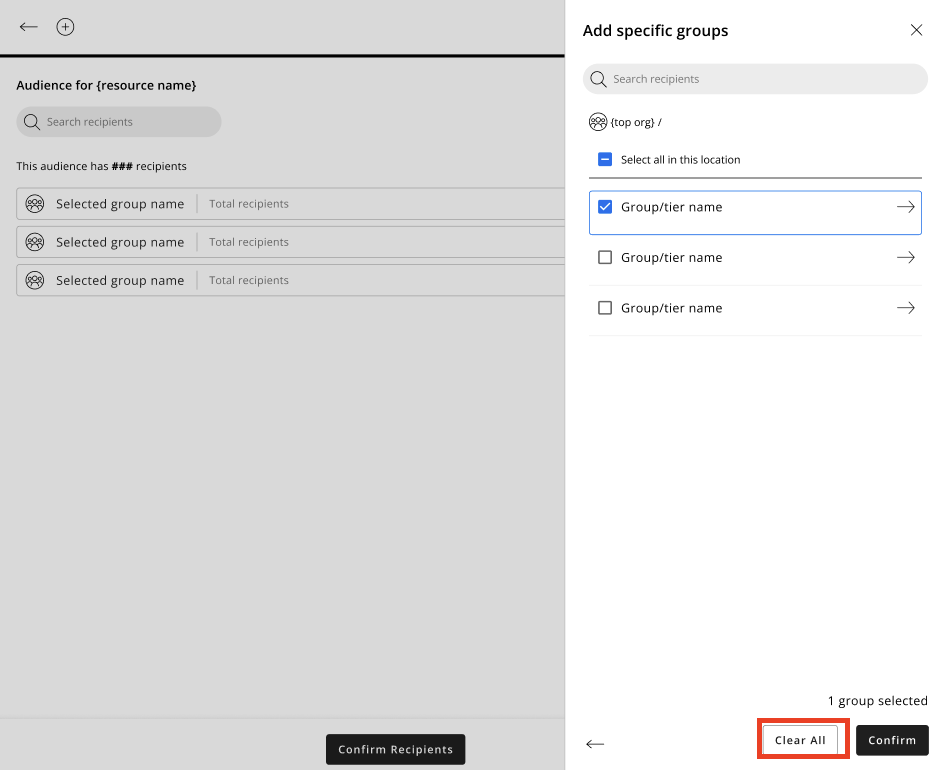
Clicking the Clear all option to clear the entire audience
You can clear your audience completely as follows:
Select the Clear all button, and you will be prompted to confirm your intention to clear all. Click Clear to confirm.
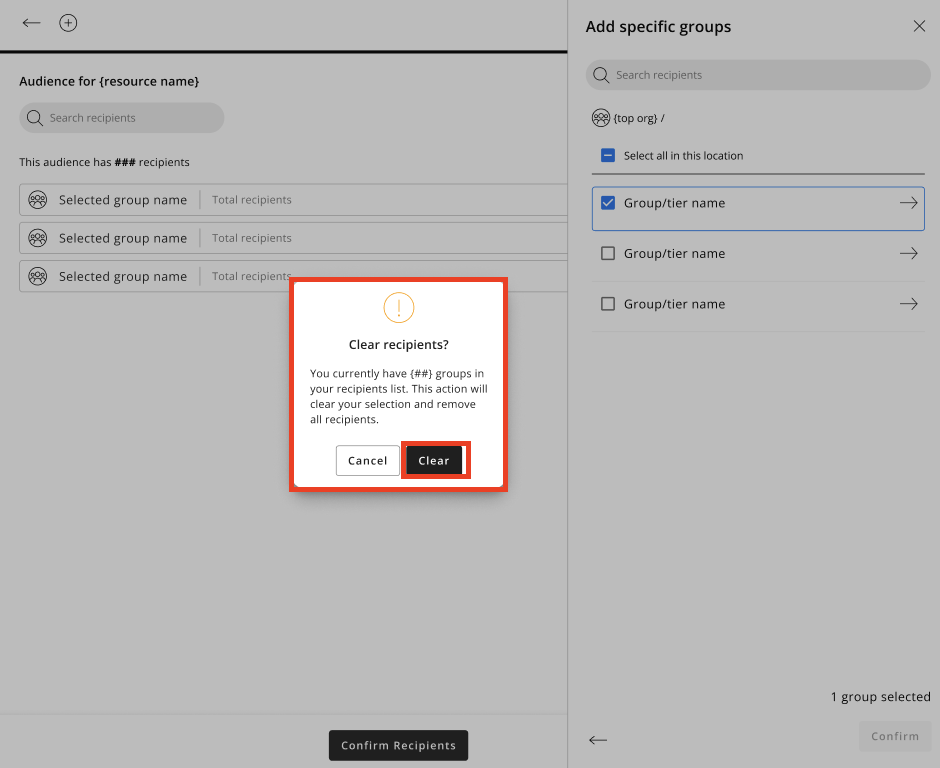
The sidebar will close automatically, and you'll be taken back to an empty Audience Viewer. All recipients previously selected will have been removed.
Watch the Frontline Portal Distribution functionality deep dive
Do you learn by watching? Then please watch the deep dive video from our July 10th webinar.