Version 0060
 Updated
by
Leigh Hutchens
Updated
by
Leigh Hutchens
Analytics
With the release of Neo 0060 we are introducing two new reports that can now be generated and downloaded from Neo:
Absence report
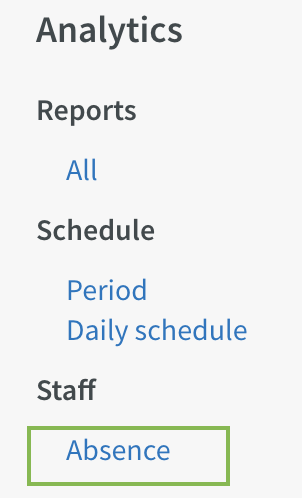
To generate the absence report, click "Absence" in the menu on the left hand side:
Click "Create" to open the dialog where you can create a new Absence report:
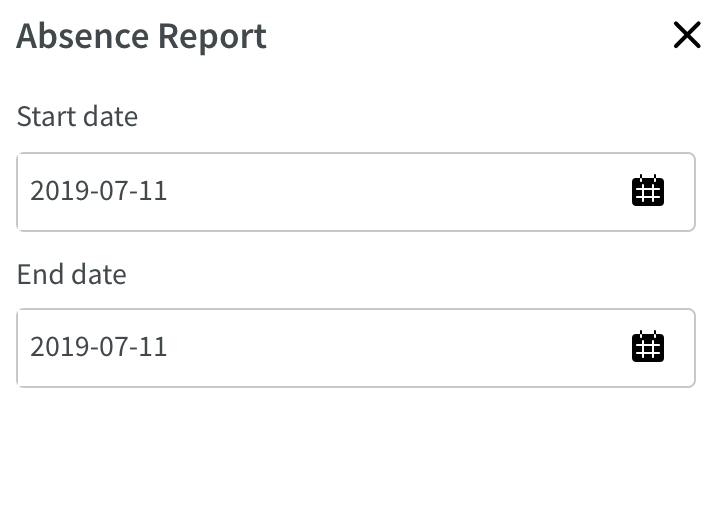
- Select start and end date.
- Click "Create".
- The dialog will now close and you will see the status of your report.
- Once the status changes from "processing" to "download", you can click the blue text to download your report.
Daily schedule report
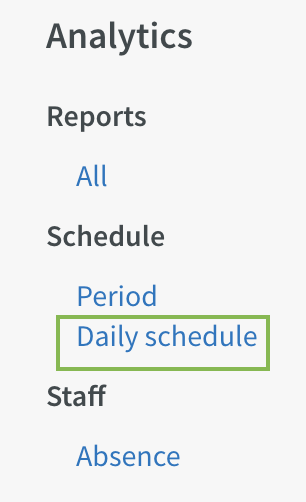
To generate the daily schedule report, click "Daily schedule" in the menu on the left hand side:
Click "Create" to open the dialog where you can create a new Daily schedule report:
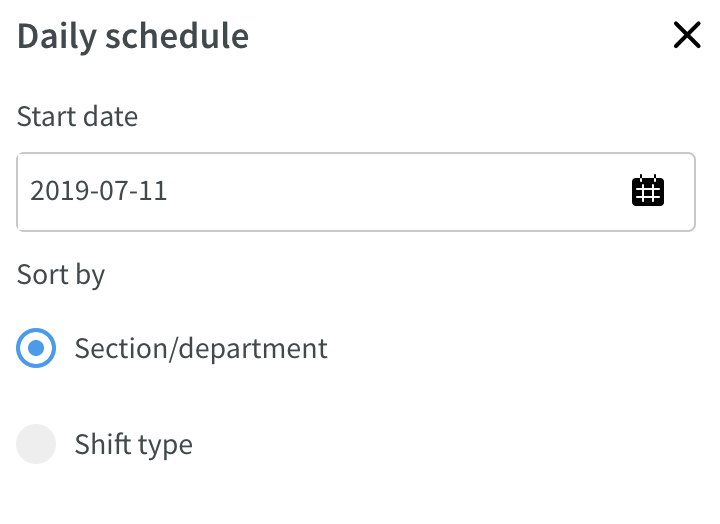
- Select start date and whether the report should be sorted by section/department or shift type.
- Click "Create".
- The dialog will now close and you will see the status of your report.
- Once the status changes from "processing" to "download", you can click on the blue text to download your report.
Schedule & Time
Base Schedule
Copy Employee Rows
As of this release, you are able to copy an employee's base schedule row.
When viewing your base schedule, click the ellipsis by the employee you want to copy the shifts from and select the "Copy" option. This will copy the visible days of the employee row, including the days on which there are no shifts - if you're in the daily view, only the viewed day's shifts will be copied. Likewise, being in the weekly view will copy the row of the viewed week for that employee and being in the full base schedule view will copy the employee's entire base schedule row.

The side panel that appears when you've clicked "Copy" states which employee you're copying shifts from (Charlotte Colbert) as well as the amount of shifts copied (15 shifts). What's more, it allows you to make the following selections:
- In the "To employee" section, select which employee or employees to copy Charlotte's row of shifts to. We've chosen to copy the shifts to Kyle and Gregory. You may also copy to the person you're copying from.
- In the "To period" section, select the period you want to copy the selected shifts to for the above-mentioned employees. In the screenshot below, we have offset Greg's and Kyle's shifts by a week forward compared to Charlotte's row of shifts.
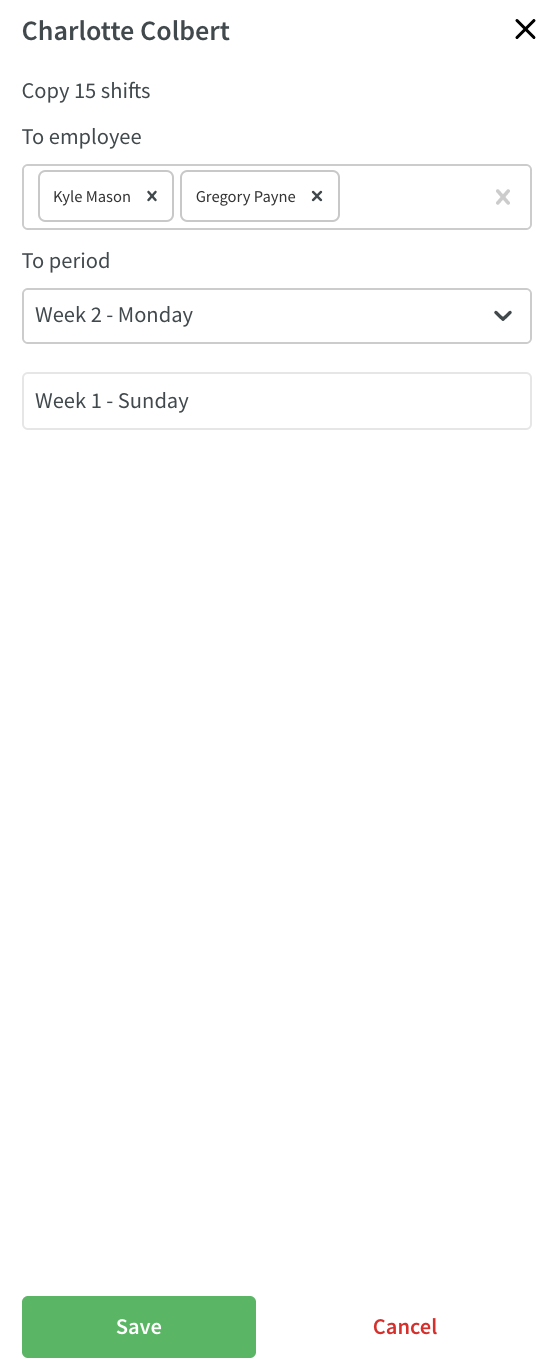
- Click "Save".
This action will result in a base schedule that now looks follows:

The "copy employee row" feature is particularly convenient when you're looking to create a base schedule with the same sequence of shifts for multiple employees but on a staggered basis.
Move Employee Rows
As of this release, you are also able to move an employee's base schedule row.
When viewing your base schedule, click the ellipsis by the employee you want to move the shifts from and select the "Move" option. This will move all the shifts for the selected employee for the days currently shown - if you're in the daily view, only the viewed day's shifts will be moved, whereas being in the weekly view will move all the shifts of the viewed week for that employee. Likewise, being in the full base schedule view will move the employee's entire base schedule row.
The side panel that appears when you've clicked "Move" states which employee you're moving shifts from (Charlotte Colbert) as well as the amount of shifts selected for moving (15 shifts). What's more, it allows you to make the following selections:
- In the "To employee" section, select which employee to move Charlotte's row of shifts to. We've chosen to move them to Gregory. You may also copy to the person you're copying from, which is useful if you want to offset the person's rotation.
- In the "To period" section, select the period you want to copy the selected shifts to for Gregory. In the screenshot below, we choose to use the default value for this section, which is to move the row in question as is without offsetting the shifts forward or backward in the base schedule.
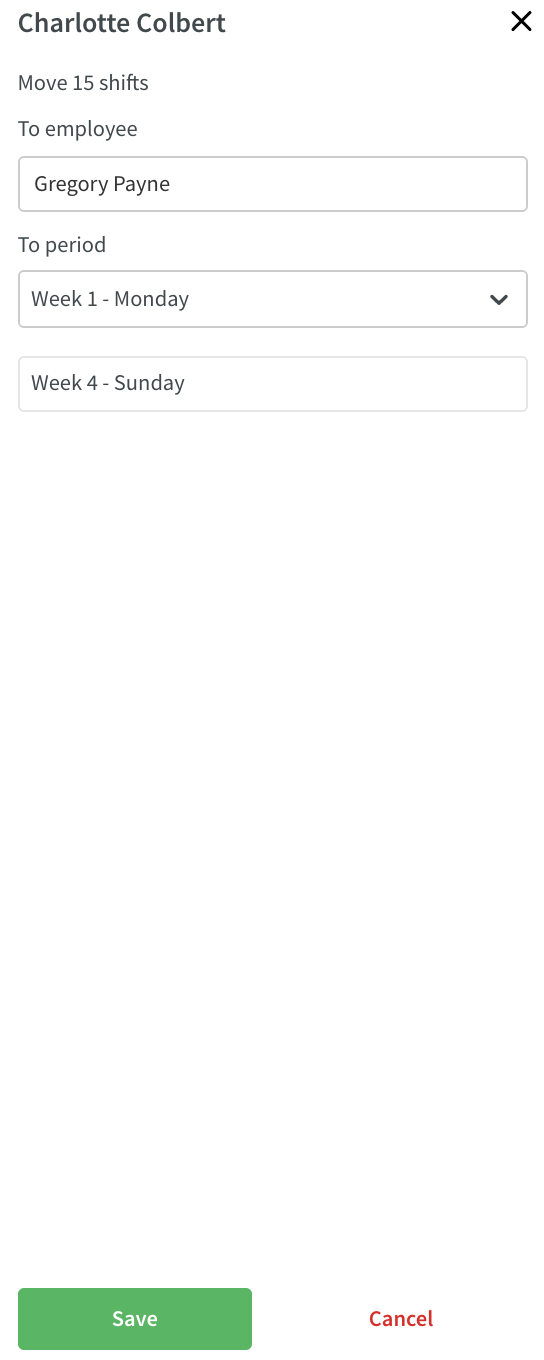
- Click "Save".
This action will result in a base schedule that now looks follows:

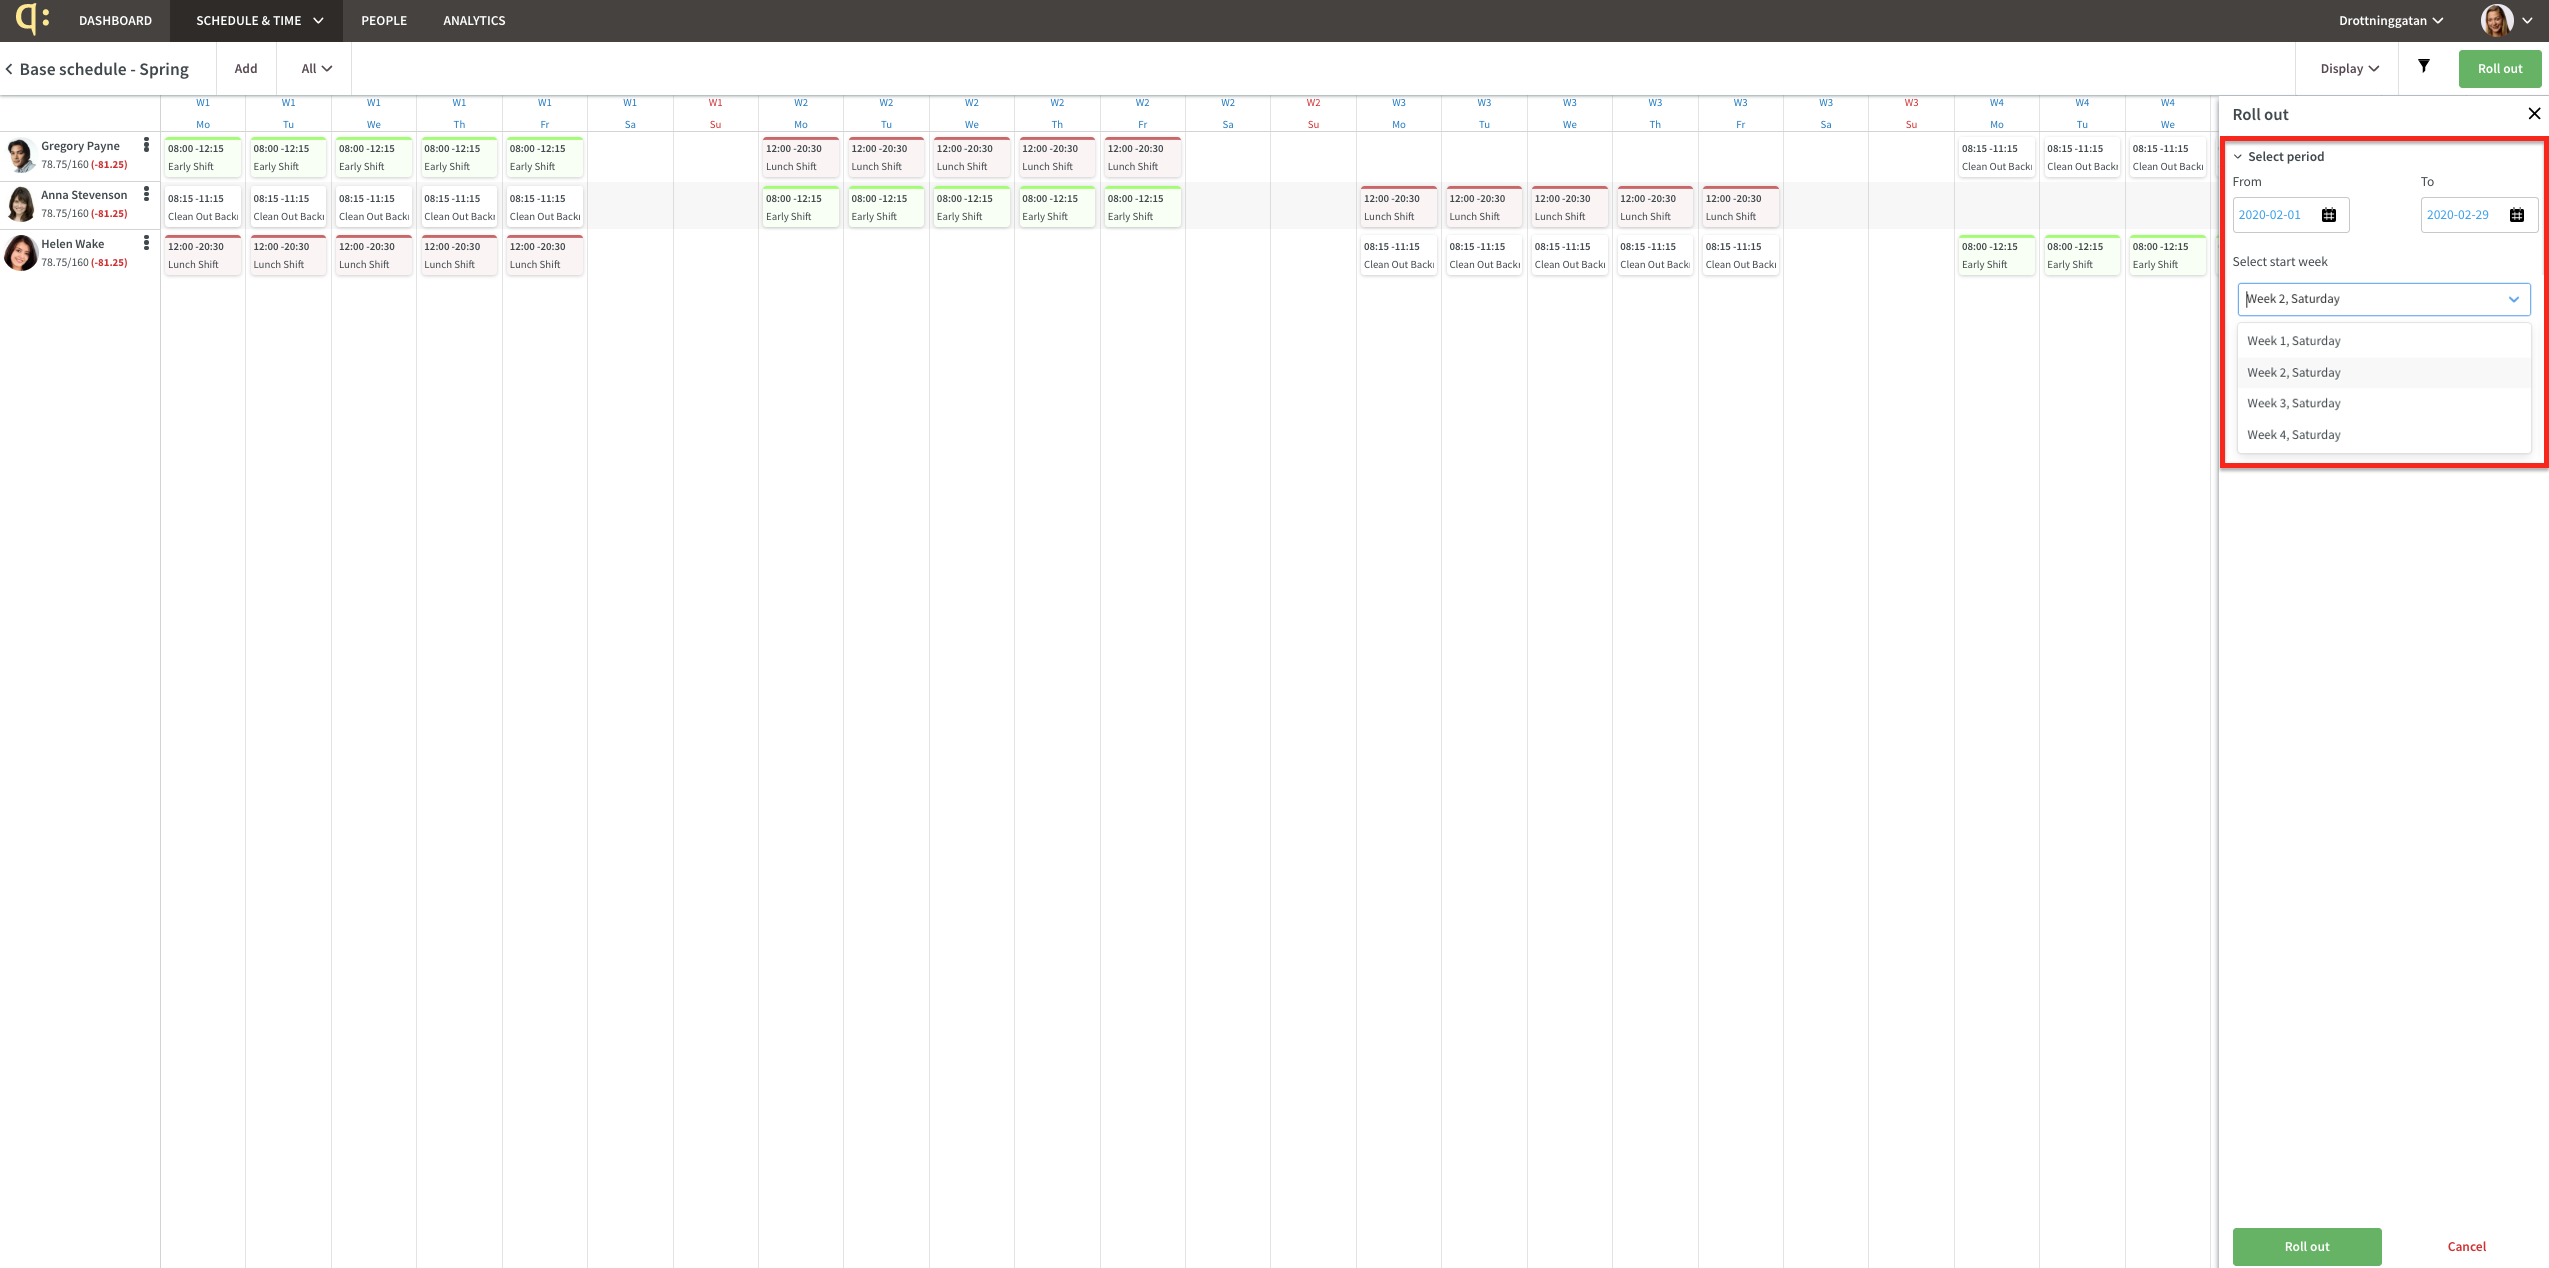
Rollout: Set Start Week
As of this release, you are able to select which base schedule week should be used as start week when rolling out a base schedule. In the below screenshot, we're choosing to roll out the base schedule from 2020-02-01 until 2020-02-29 with week 2 as start week.
The below is a screenshot of the rolled out schedule in Schedule; the first week of the rollout period has been populated with the shifts from base schedule week 2 shown above. Please note there were no shifts on Saturday, nor on Sunday, in week 2 of the base schedule, which is why the first shifts you can see below when reading from left to right are those of base schedule week 3.
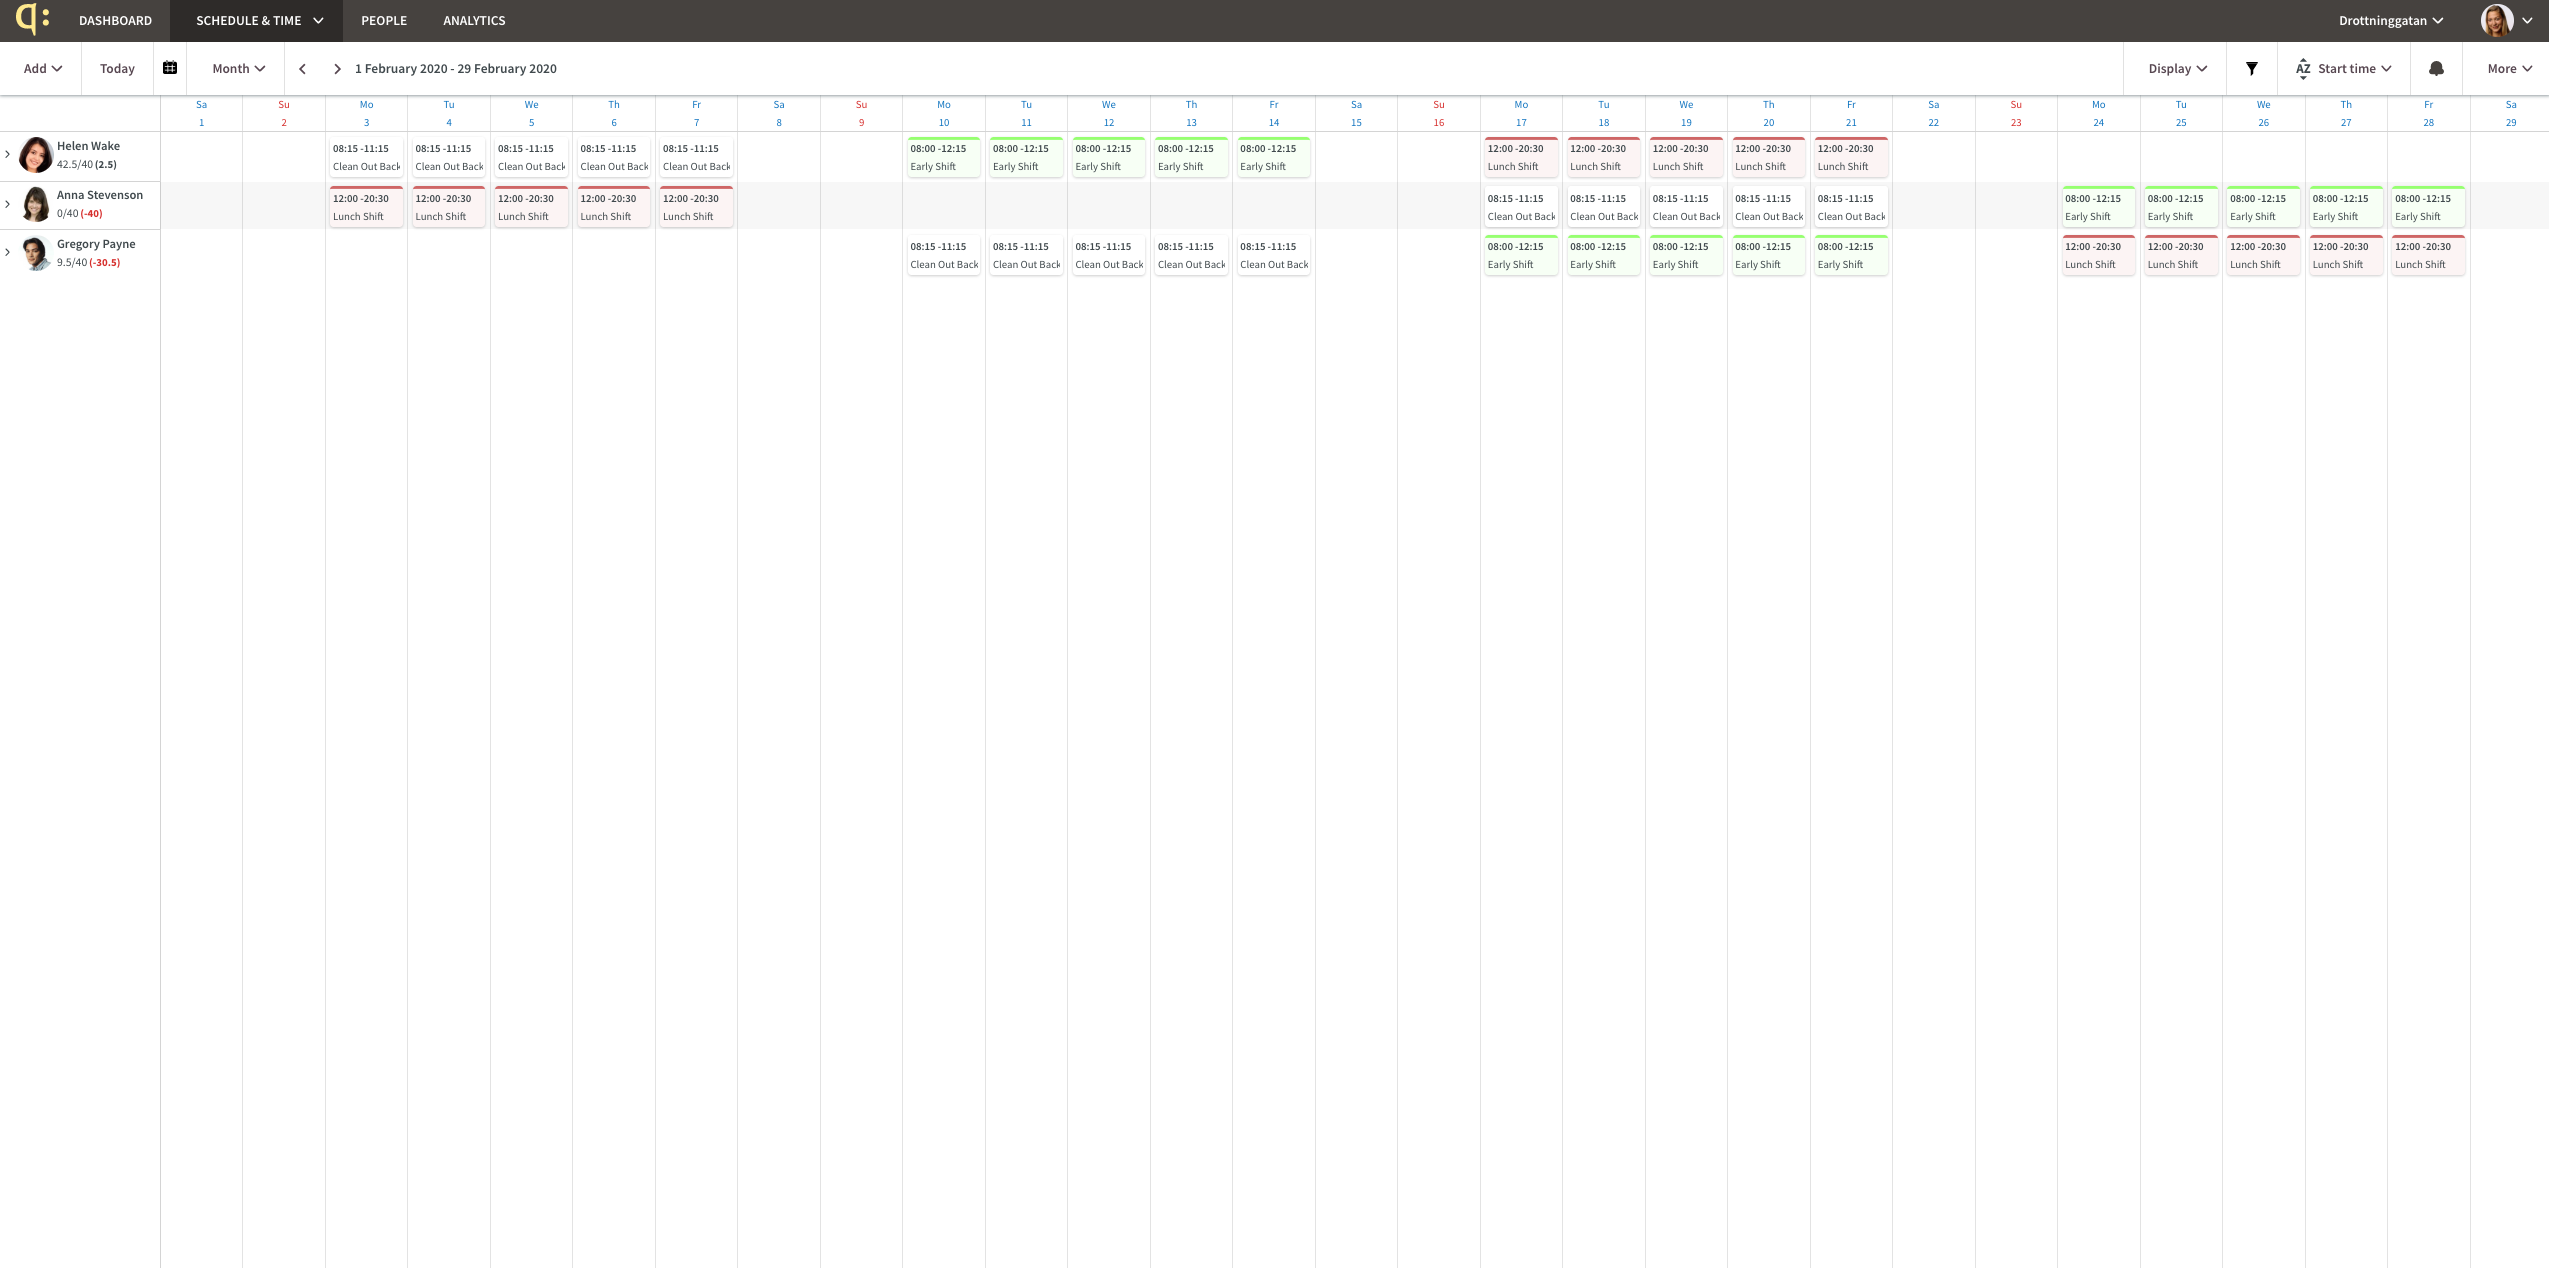
This feature is convenient for instance when you have one or multiple new hires on a separate base schedule - to have your new hires' schedule sync with your previously published schedule for existing staff, you might want to use week 2, 3 or 4 as start week rather than week 1.
Schedule
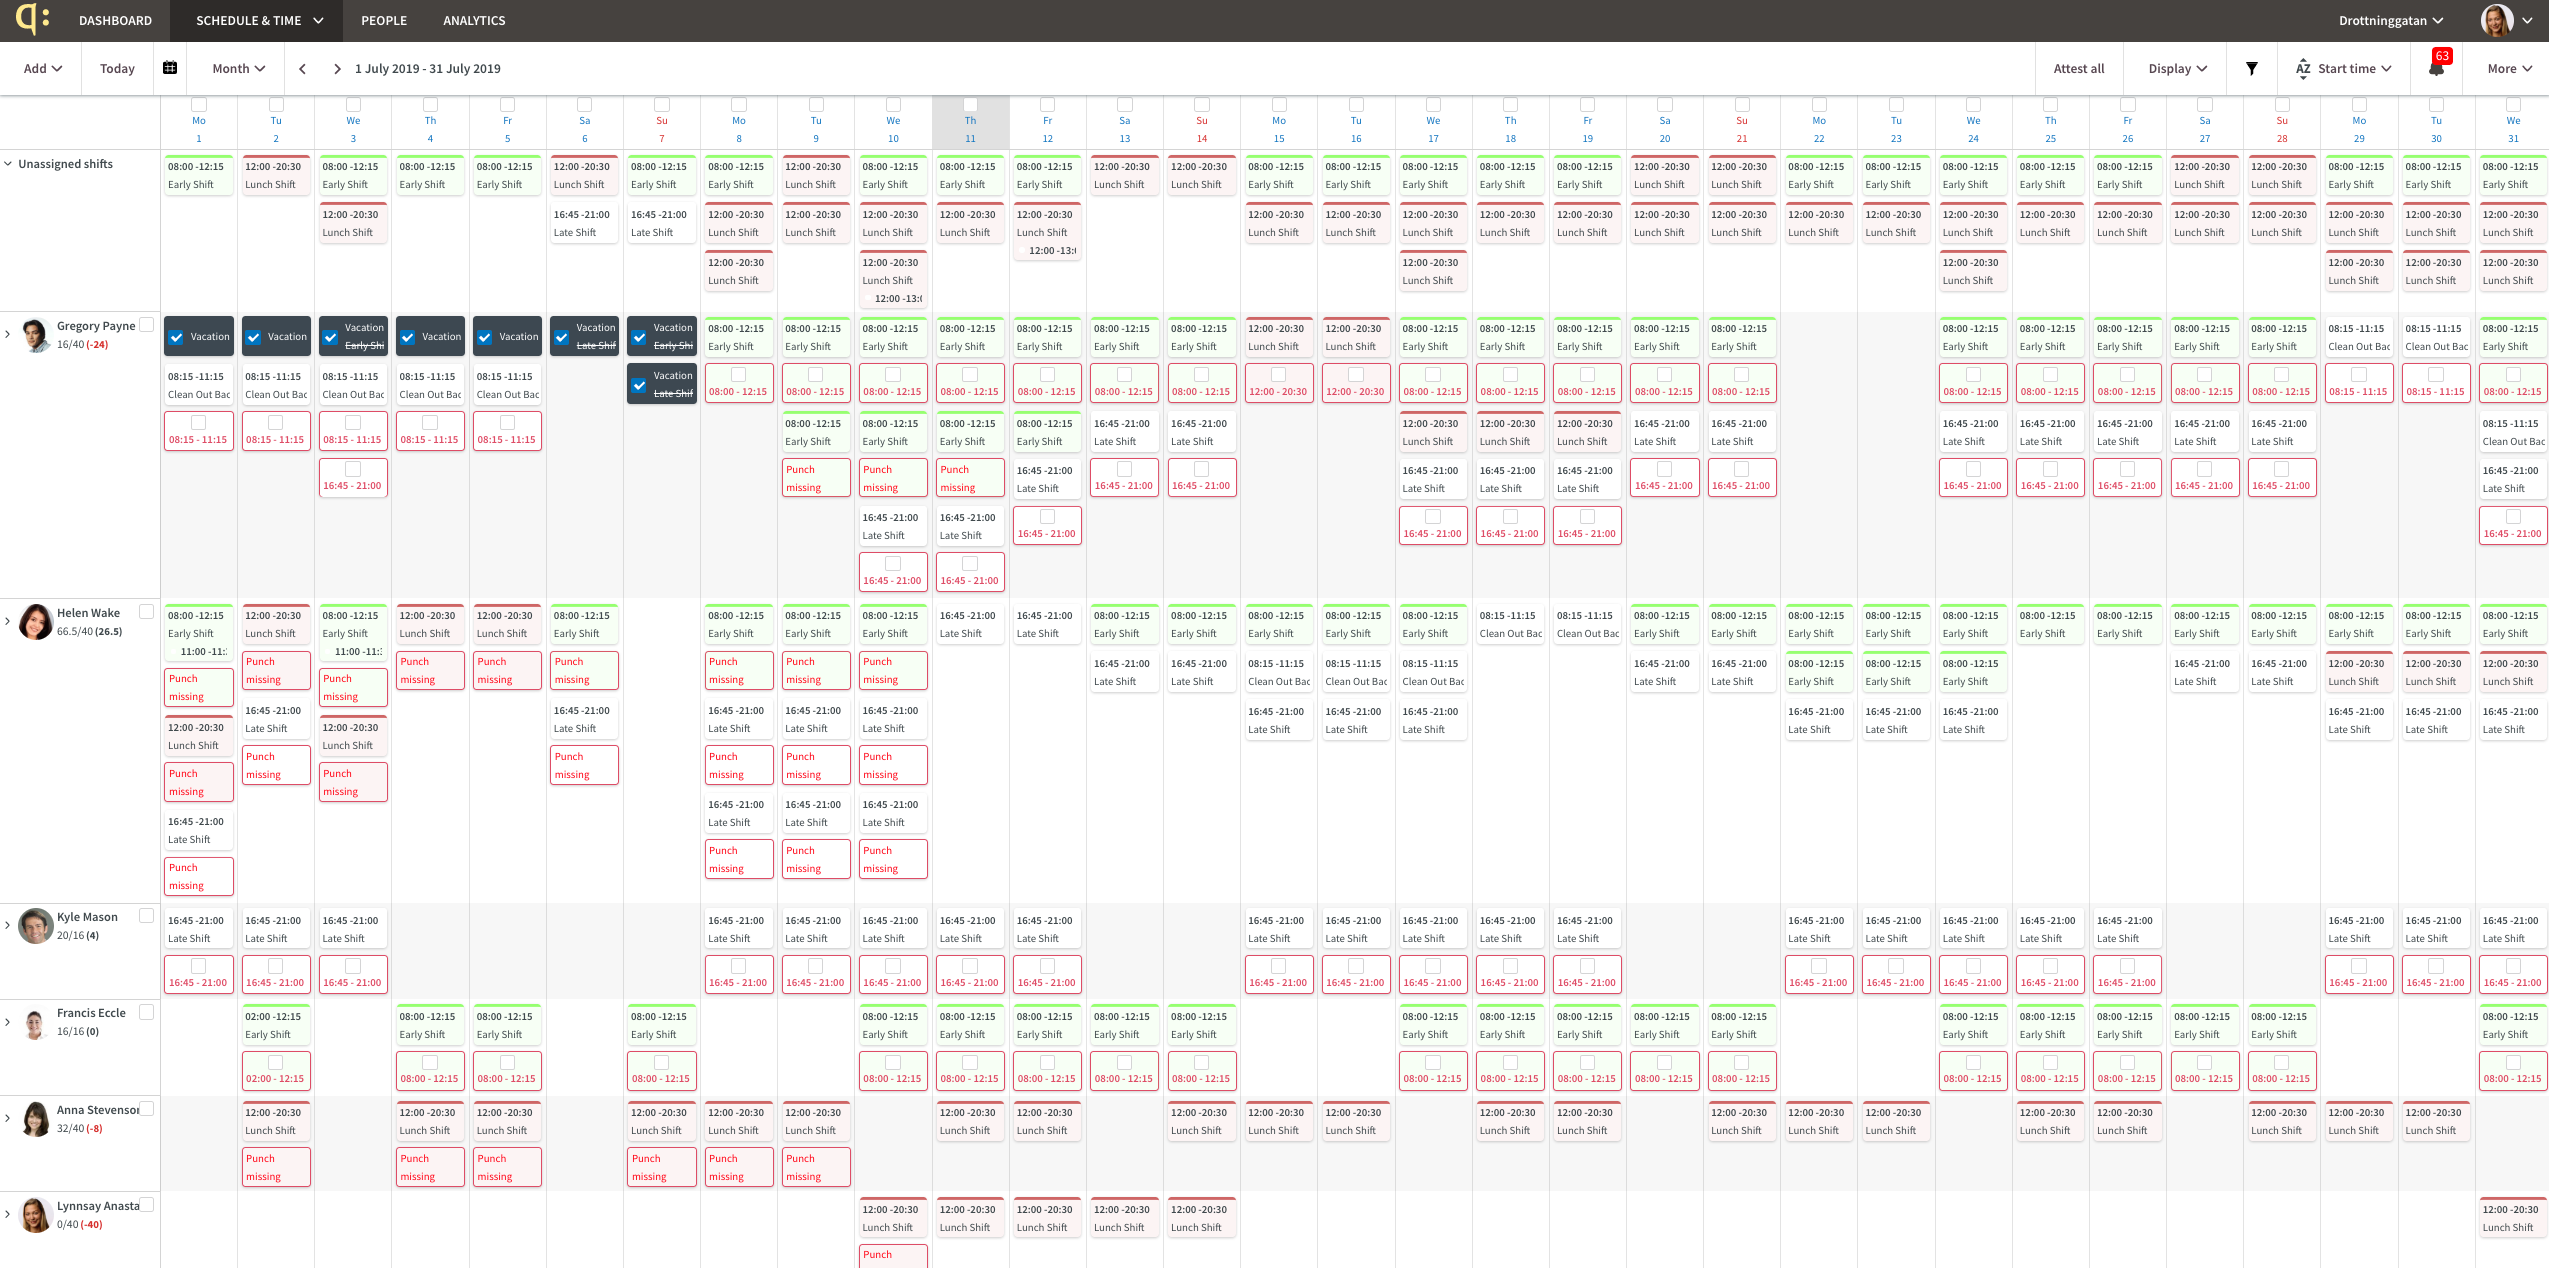
As of this release, the default view in Schedule changes. From now on, all so called schedule items are displayed by default when entering Schedule for the first time:
The term "schedule items" refers to the following:
- shifts
- tasks
- notices of interest
- leave requests
- absences
- punches
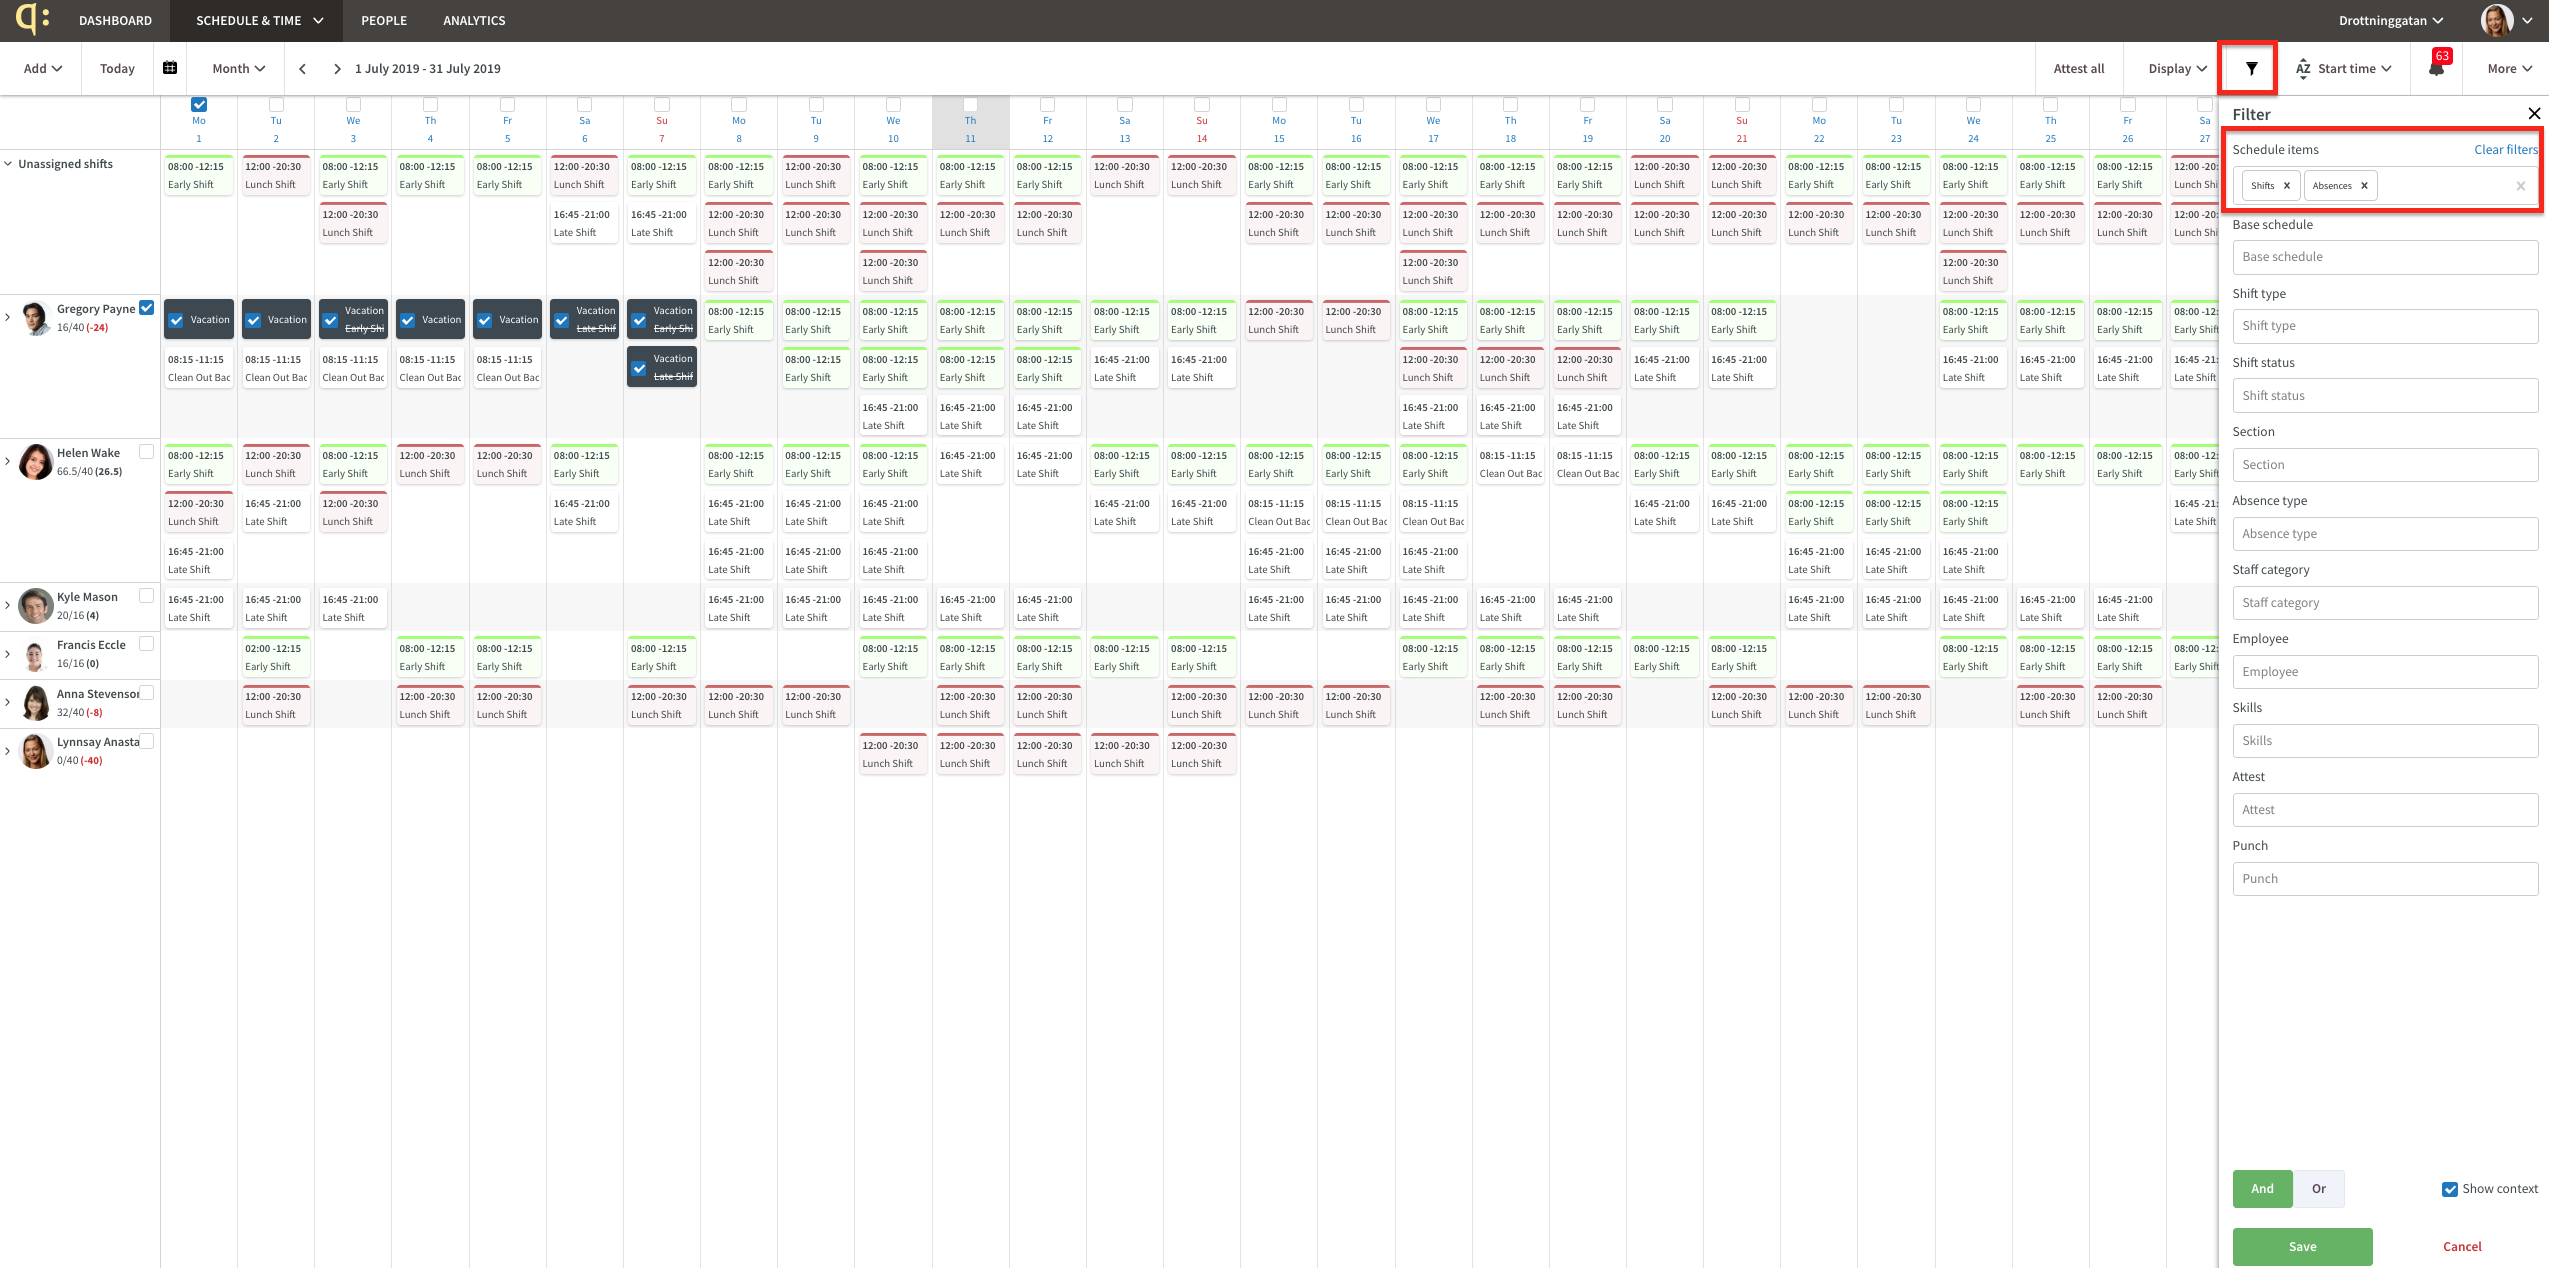
If you wish to view only one or a selection of these schedule items, click the funnel icon to bring out the "Filter" side panel. In the below screenshot, we've selected to only display shifts and absences:
You may then add other filters as well, such as staff category or skills. Once you've filtered out the view you want, you may either close the side panel or save the filter. To save it, click "Save", enter a name for your filter and click "OK" in the popup that appears. This will add your saved filter to the top of your filter options. Please note that the name of a currently applied saved filter is in bold whereas saved filters that aren't presently selected will be in regular font:
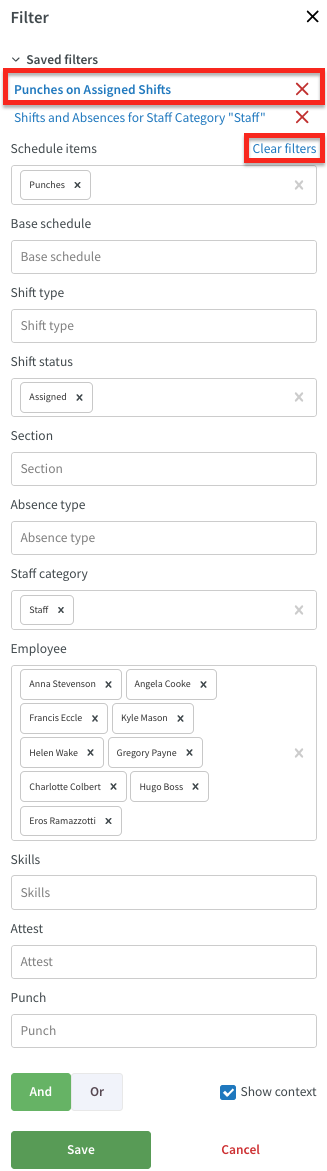
To deselect a filter, click "Clear filters".
Statistics
Productive Hours
With this release, we have added an option to view productive hours in Statistics.
"Productive hours" are defined as "Scheduled hours" but:
- excluding absences.
- excluding shifts whose shift type has "Count as productive time" ticked in their advanced settings in Classic.