Version 0037

People
What is People
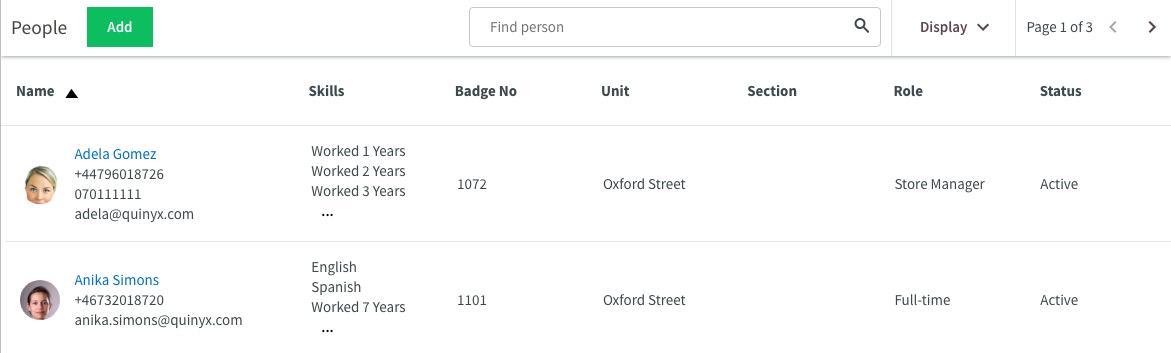
Under the link People you can now see a list of people that belong to the group that you have selected in the group selector. In the list of the people you can see some basic information right away including name, email, skills, badge no, unit, section role and status. If you click a persons name you will see all detailed information about him/her in a new sidebar to the right. You can add new people by clicking on the "Add" button and it will open a blank new detail panel where you enter the person's detailed information.
Adding and editing people
In the top of the blank New people page the most used information fields are shown by default and some of these fields are required, which is noted by a red asterisk.
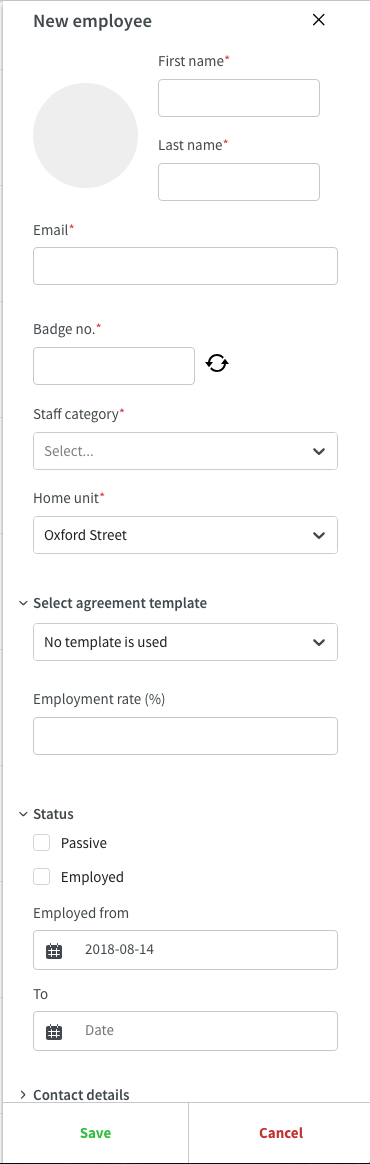
The fields that are shown by default are the following:
- First & Last name
- Badge no.
- Staff category
- Home unit
- Agreement template & employment rate
- Status
The agreement template & employment rate category makes it possible to create a person and at the same time decide the agreement template that should be connected to the agreement that is created by default along with the person and the persons employment rate.
Other than the default fields we also have several non-required category panels with several fields and edit options inside that are collapsed by default. These category panels can be opened and configured for specific people if needed. The non required category panels are the following:
- Contact details
- Sharing across units
- Devices
- Skills
- Address
- Advanced details
- Next of kin/Guardian
Attest
In this release we have reshuffled some functionality in the application. The "Attest view" is removed, and from now on the attesting will be performed in the Schedule view. All functionality in the Attest view is supported in the Schedule view. To get a full overview of all functionality, please see the manual here.
View punches and attest
To attest and view punches, select Display -> Punches.
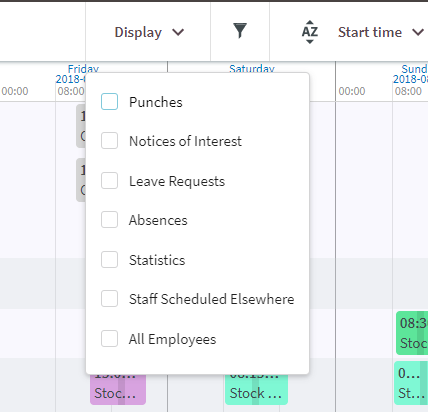
The following will then be visible in the Schedule view:
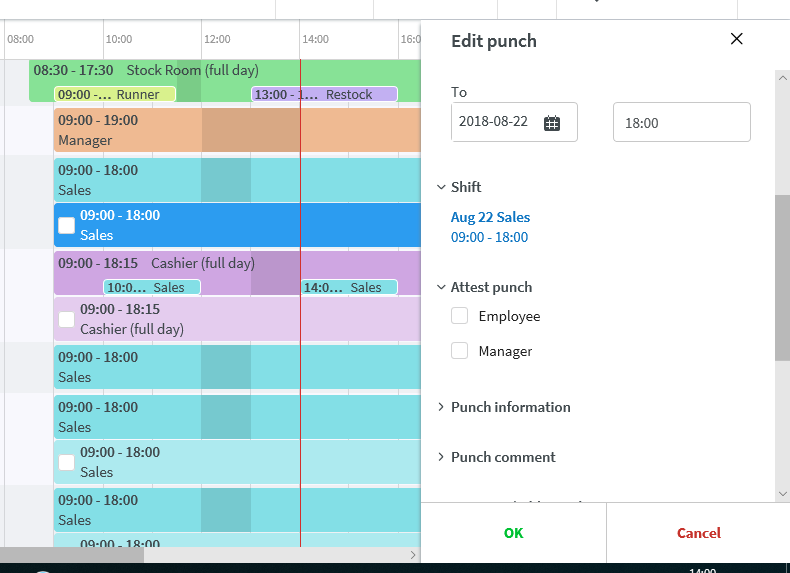
Punches
Punches are shown on the employee row, below the shift in a slightly lighter colour. Attesting of the punch is done by checking the box on the punch or by clicking on the punch, and attest the punch in the side panel below Attest punch.

Attest several punches in one go
- Attest All - select a period, and by clicking on Attest All button, all punches in the view will be attested. Note that if you filter the view, only filtered items (visible in the view), will be attested.
- Attest day - attest one day at the time.
- Attest employee - choose a period and attest that period for one employee.
Attest absences
With this release, you can also attest absences, select Display -> Attest. For now you can only attest the absence in the detail panel by clicking on the absence.
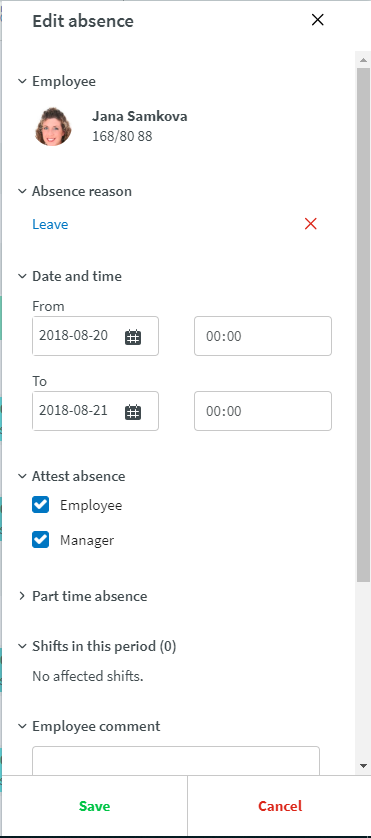
Just like attesting a punch, you can attest all, attest day and attest employee. You can also attest punches and absences at the same time, by making them both visible in the view.