Employee Hub - Creating events
 Updated
by
Victor Jespersen
Updated
by
Victor Jespersen
You can create events in the Employee Hub. Events can be helpful if you're, for example, running a timed campaign, like Black Friday or Cyber Mondays. Equally, you could use events within your organization to schedule items such as Visual merchandise strategy sessions ahead of an event like Black Friday for example.
Quick event creation
To quickly create an event, you can:
- Switch to the Calendar view in whatever resource view you are currently at.
- Select a time and date slot in the calendar to create your event. Once the time and date have been selected, you can fill in the event details, such as name, audience, category, and tags.
Event options
Start & end dates
Setting a start and end date determines the dates on which the event will be displayed in the calendar.
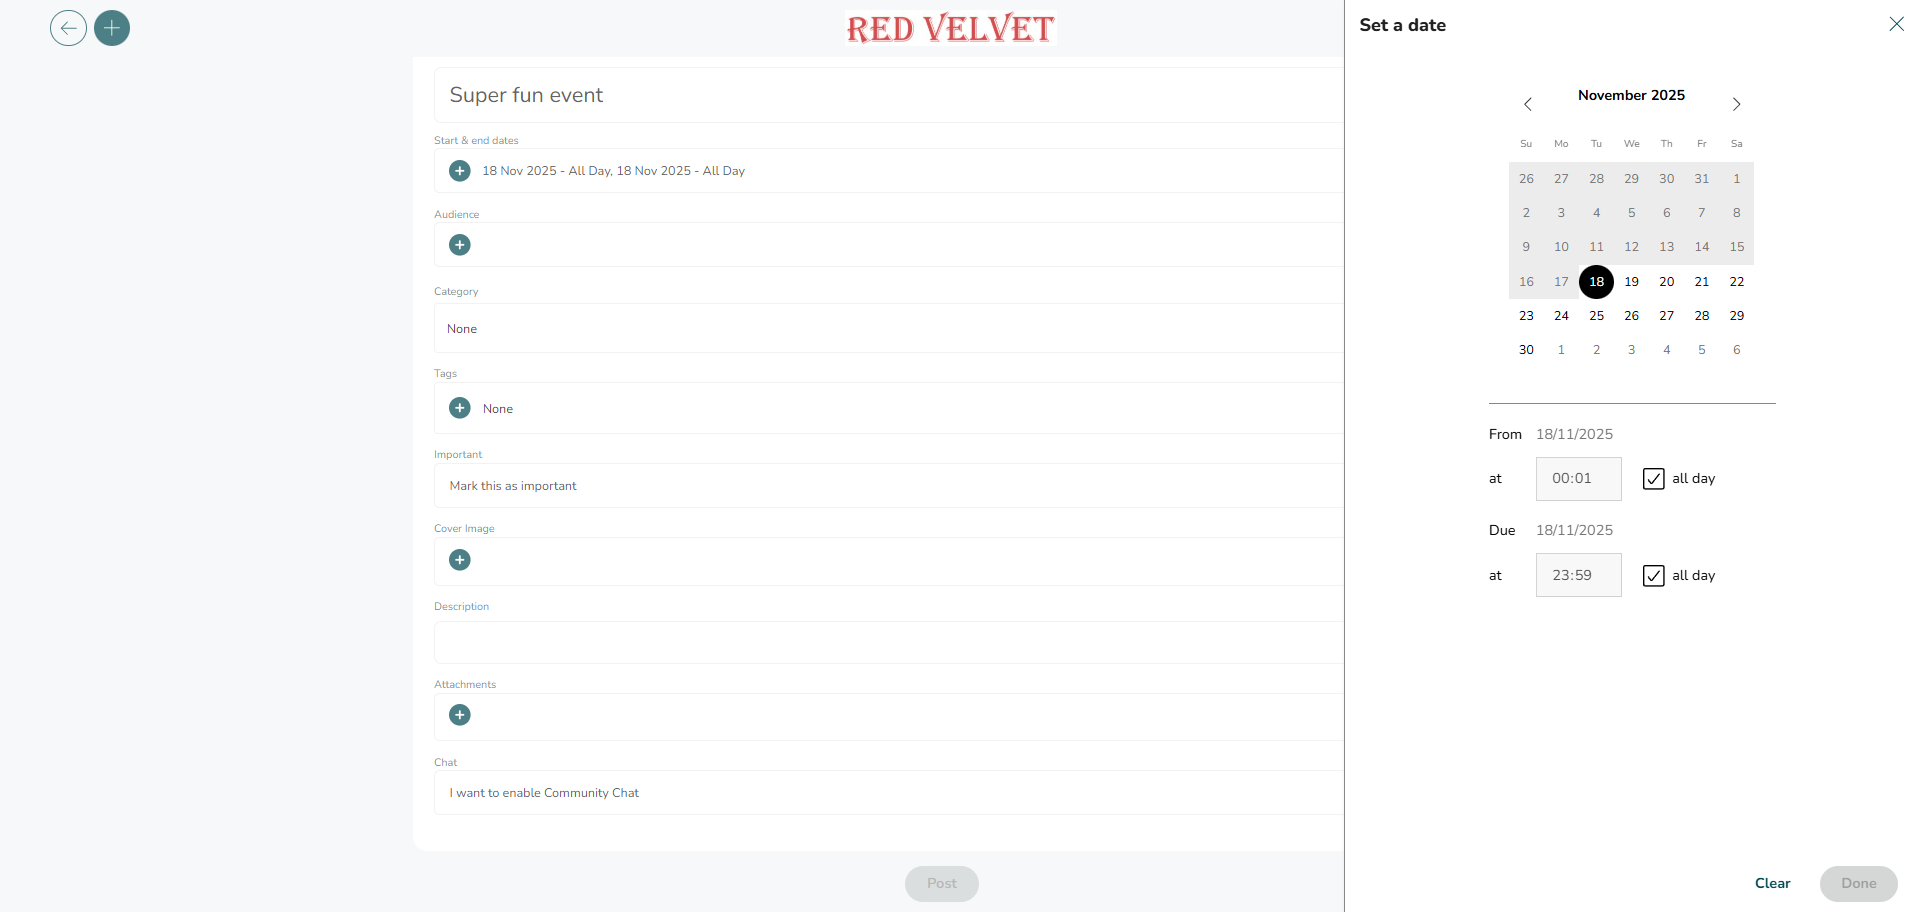
A calendar will appear where you can select the start and end dates. The first click will set the start date, and the second click will set the end date. You can click the same date twice if you want the event to be on a single day. If you want to specify a start/ end time of the event, you can untick the all day option to set a time.
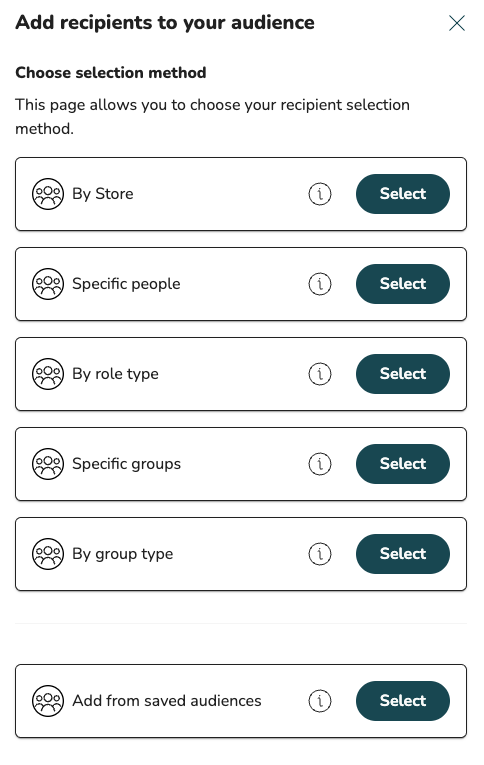
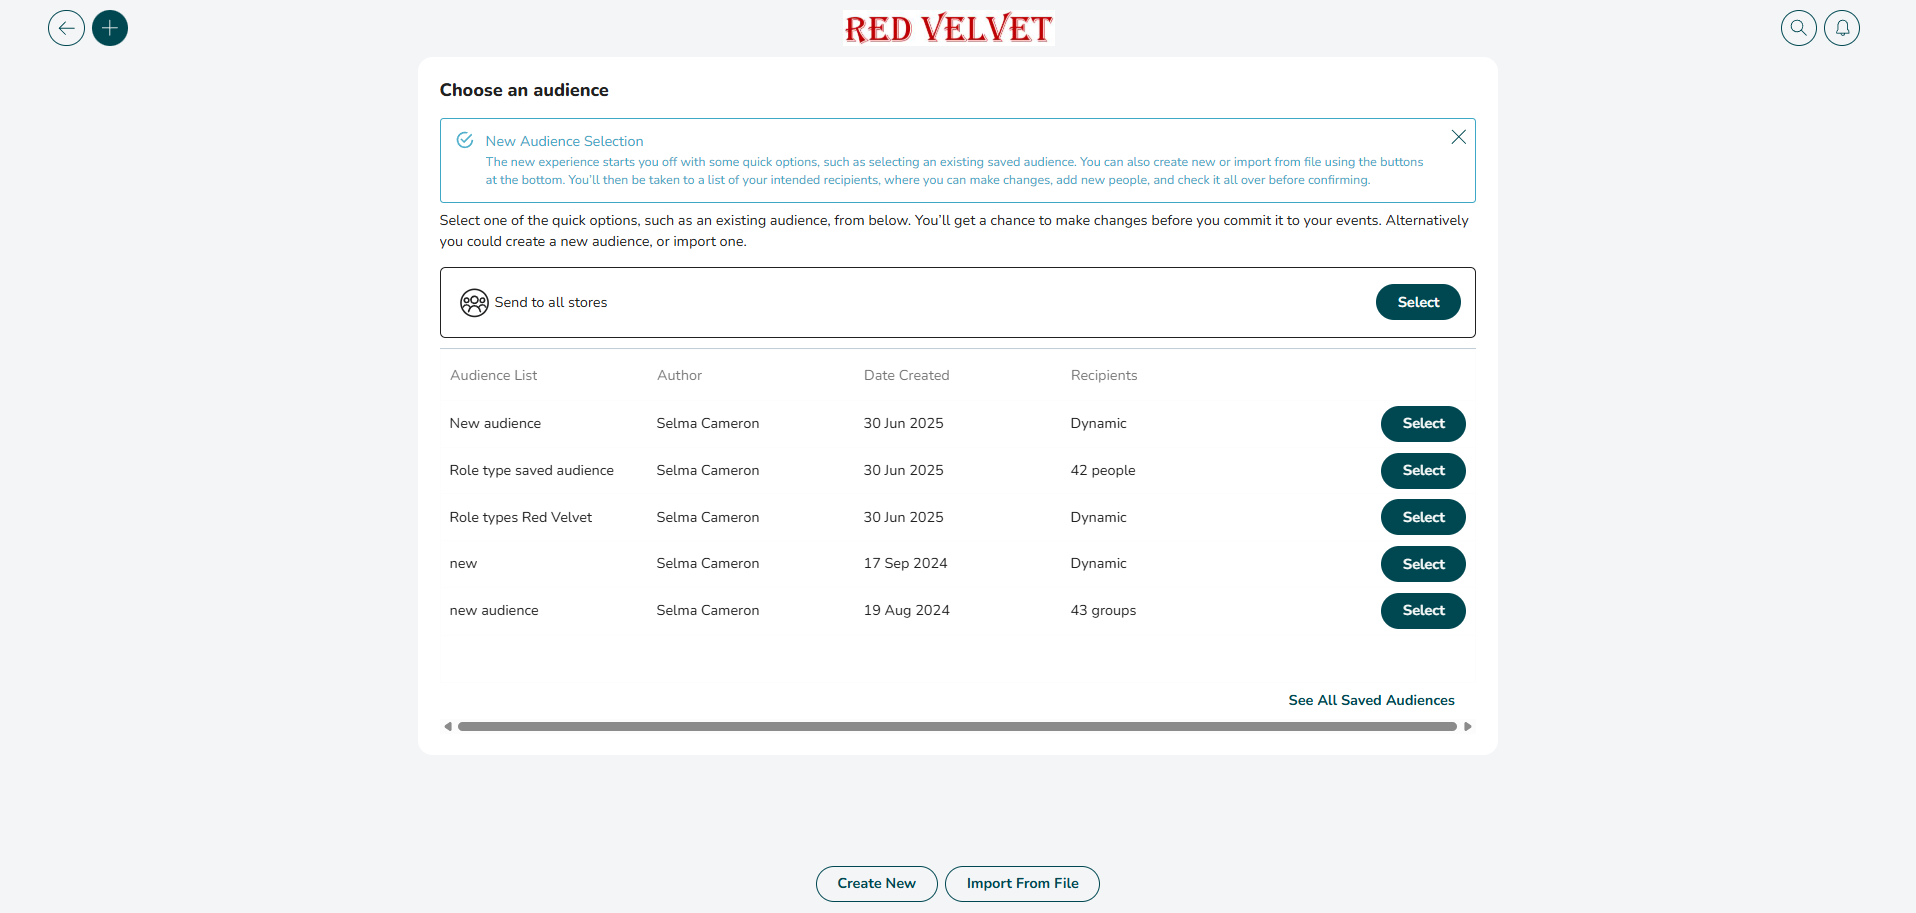
Audience
Choose who the event should be sent/ visible to:

You can select your audience by stores (individual, collections of stores or all), specific people, role type, specific groups, group types, or from already saved audiences.
- Stores/Group type: Use the search function or navigate through your hierarchy. If sending an event to a store or a group (a group may include a region or district) anyone within that store or group will be able to pick up and complete the event. If you only have 1 user account in each store then we would recommend sending to Stores instead of People. The event will automatically be assigned to the store account.
- Specific people: Selecting using this method allows you to search through your organisation for specific individuals and add only those people to your audience.
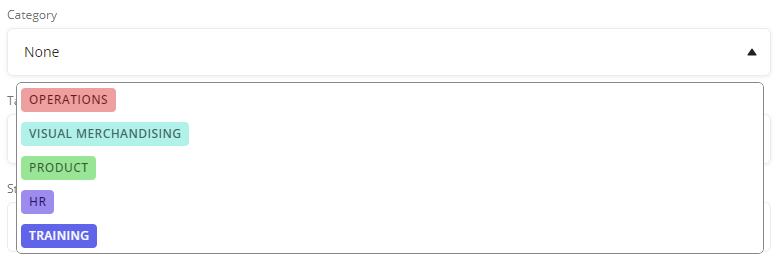
Category
You can add a category to your event to search for the events in the Calendar.
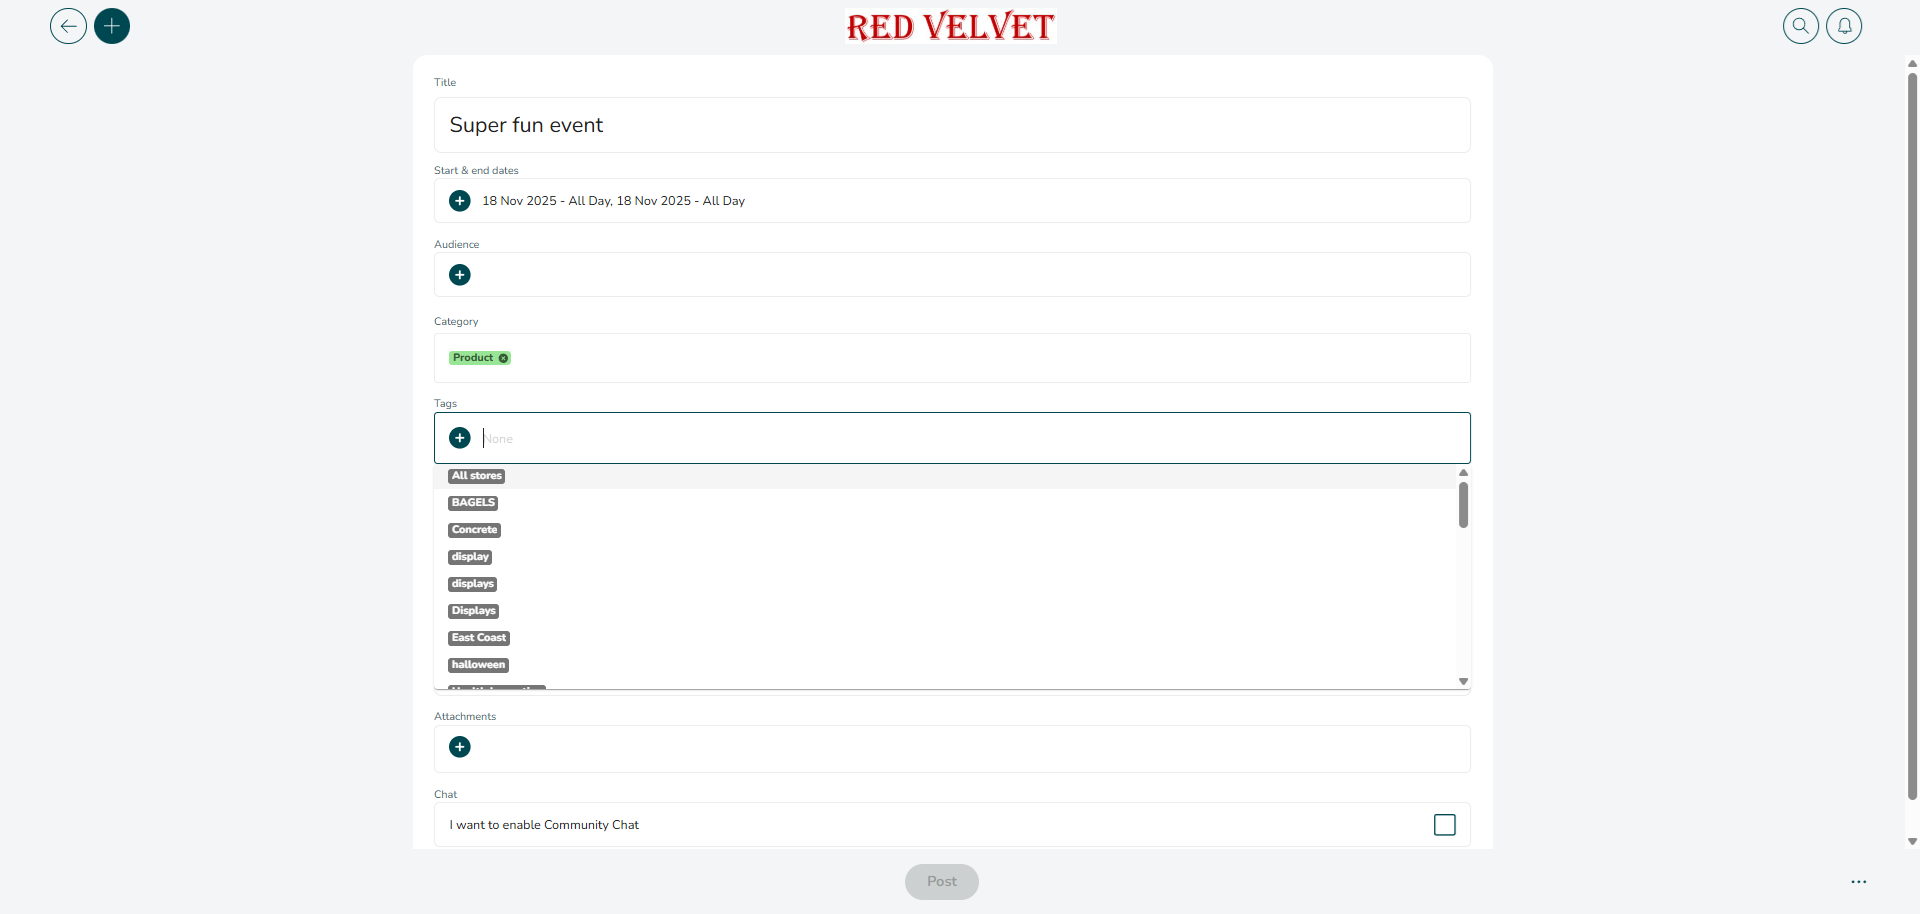
Tags
Similar to categories, you can add tags to your event for better searchability.
Important
If necessary or useful, you can mark the event as important.

Cover Image
Add a cover image to make your event stand out in the dashboard. To do this, select the plus icon within the Cover Image field.
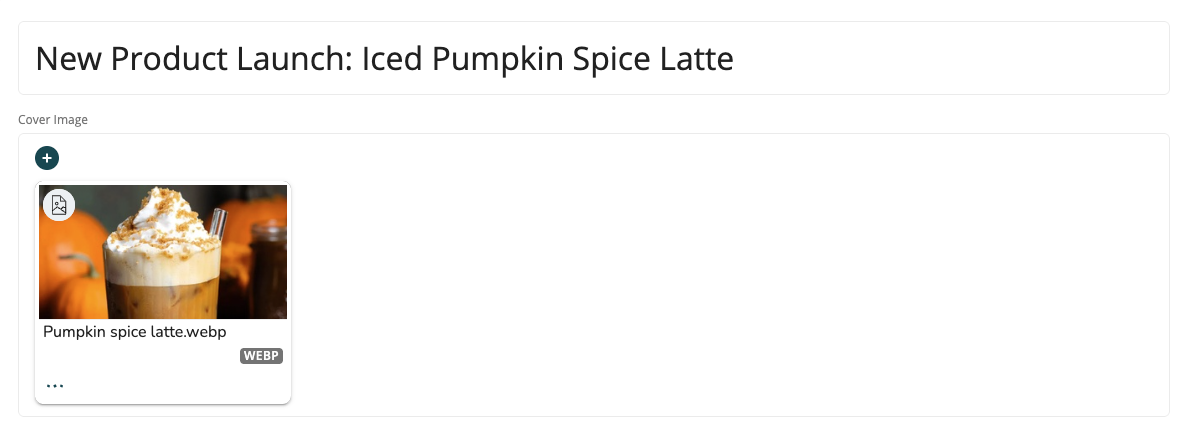
Once the plus button has been selected, you will be redirected to a page where you can upload an image. You can either select the blue file icon and select what image to upload, or drag and drop the image to this page. Once an image has been selected, select Save and then the Upload button to add the image as a cover image for your event.
Description
Enter an event description. Use this to explain the event in more detail.
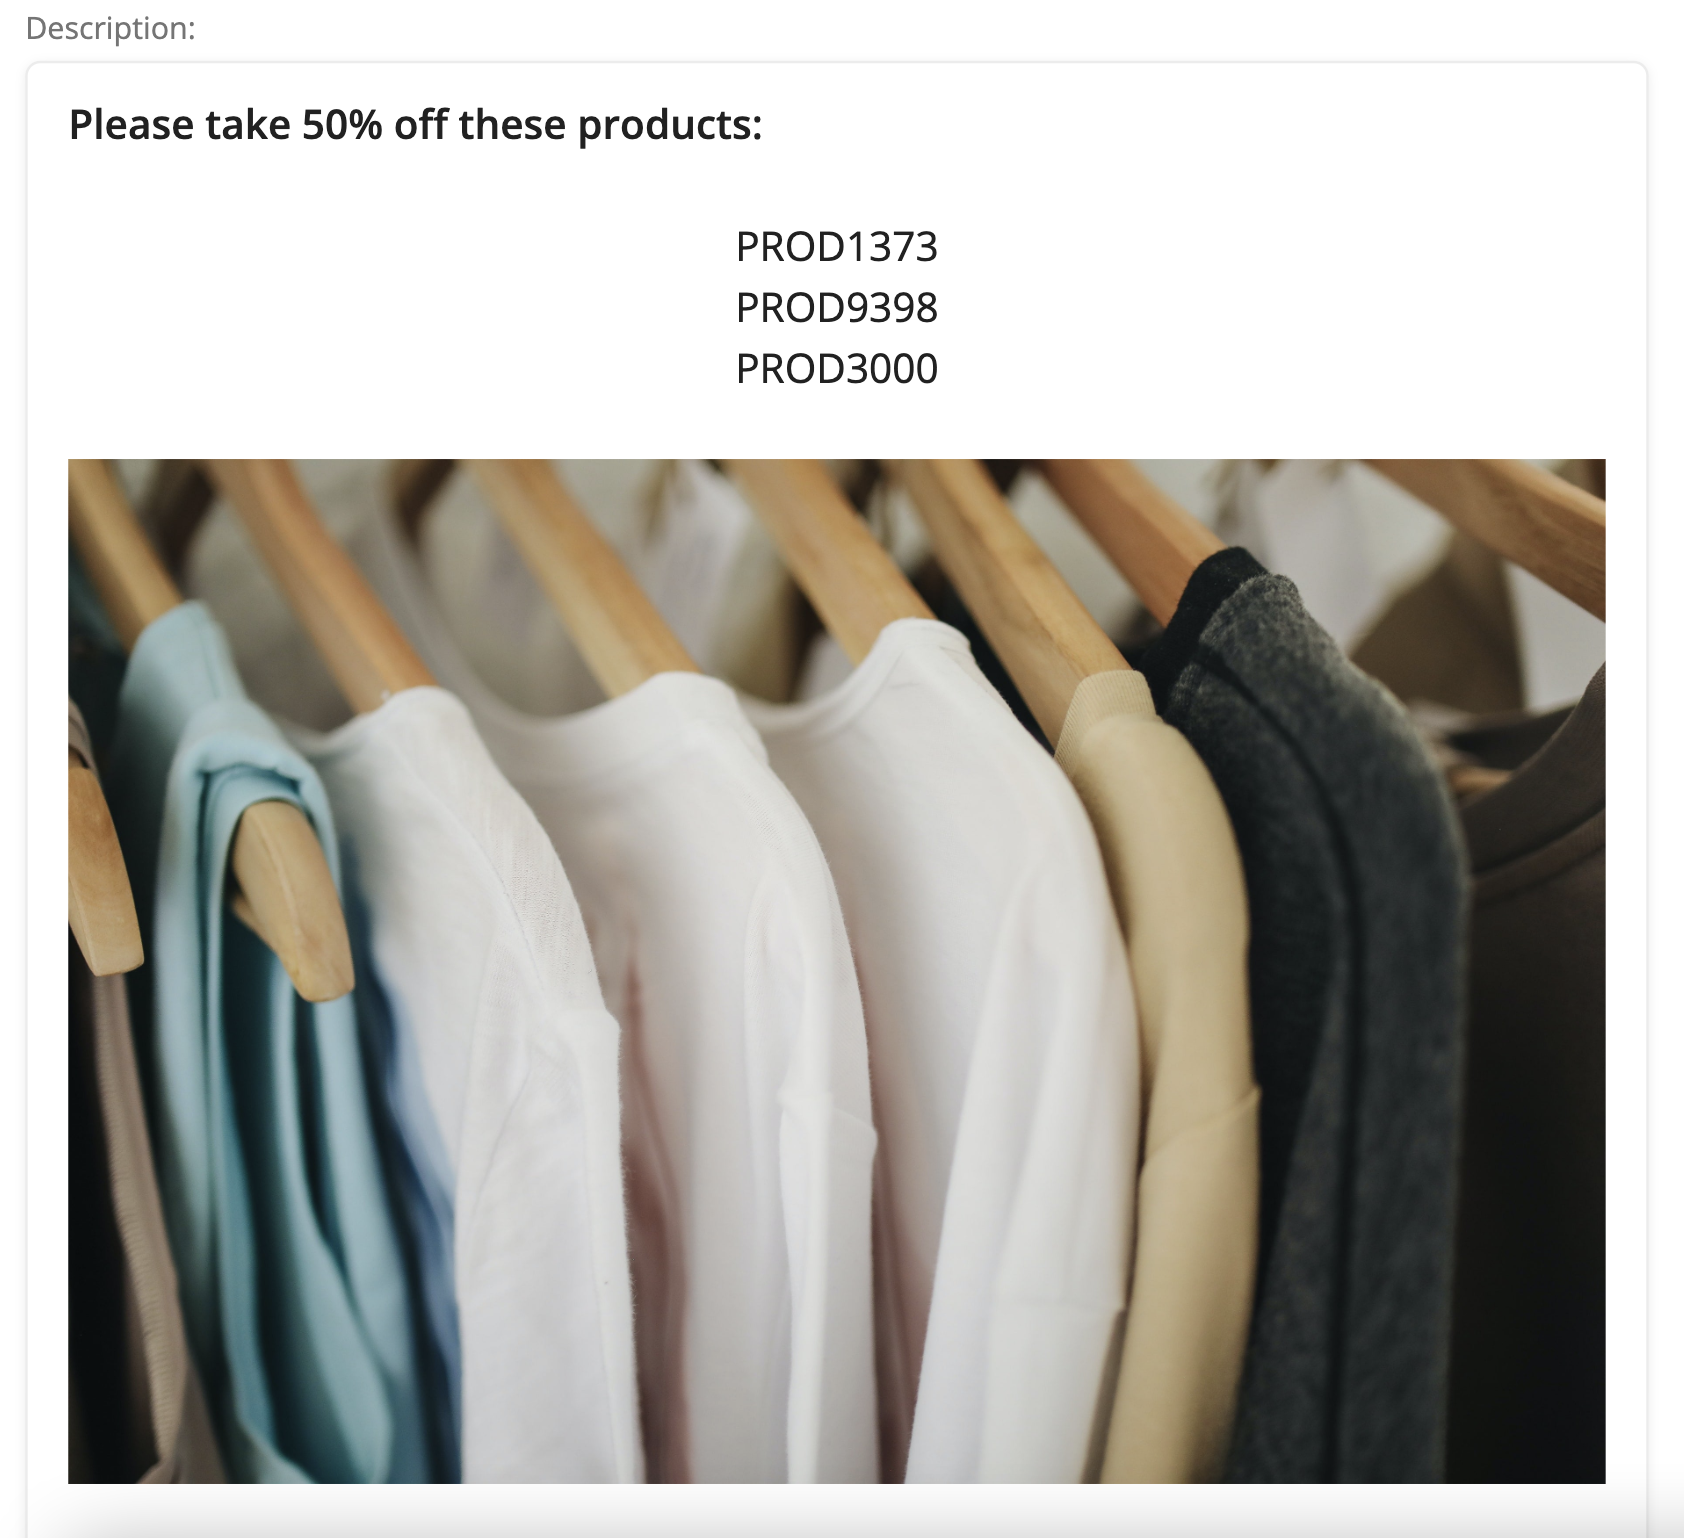
You can format your description, including the ability to:
- Various formatting options (incl. text size, text color)
- Add links
- Insert images
- Embed videos (from .mp4 file or from YouTube)
Attachments
Add attachments to support your event.
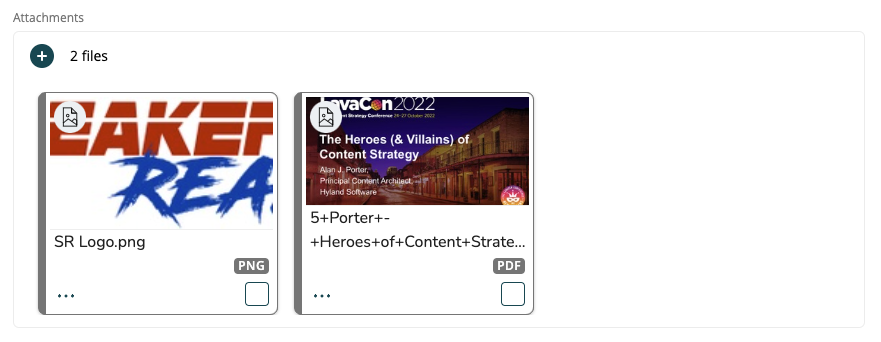
You can add most types of files here, but if you add images, files, or multi-page PDF files, then the recipients will be able to view these files within the event without needing to download them.
Chat
You can check this box to enable the chat functionality for the specific event.