Transfer to Payroll
 Updated
by
Leigh Hutchens
Updated
by
Leigh Hutchens
This article relates to Classic.
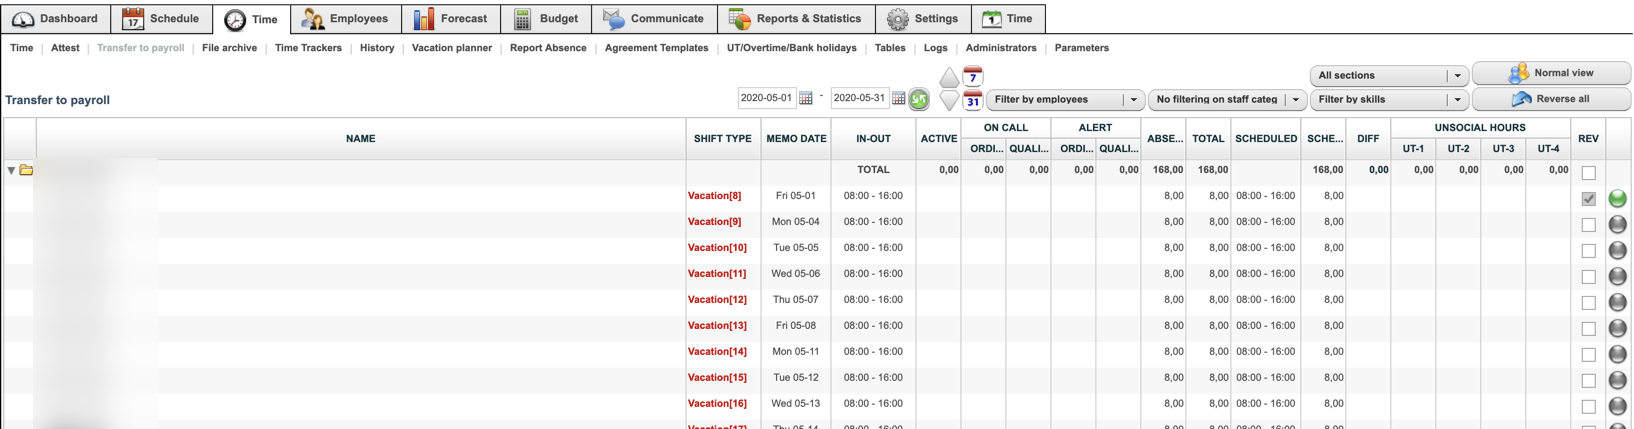
To generate a payroll file that is to be exported from Quinyx click on the Time >Transfer to payroll tab. Approval status for the unit’s employees is shown here. You can select the date, filter for employees by e.g. name, section or staff category. Green indicates that the time is approved. Red means that the time is unapproved.
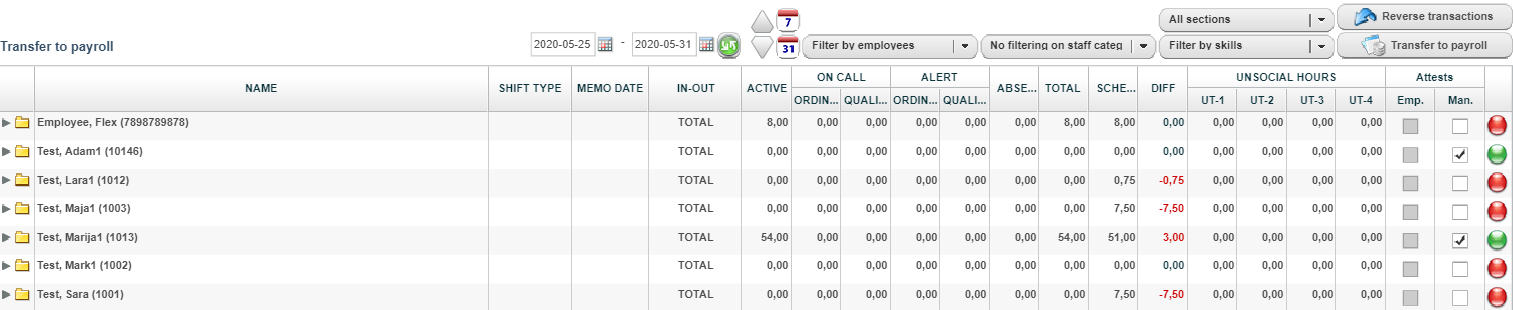
When approval is finished select the “Transfer to salary” button on the right. When you get up a menu with a number of selections to get out the file for the correct persons. You can e.g. filter by unit, section, payroll system or cost center.
The employees in the column on the left who are checked are the persons who have all times approved during the selected period. Those who are not checked have worked during the period but all times are not approved and will therefore not be included in the salary type.
For these to be included in the salary type, click in the employees that are to be included in the payroll file. If everyone is to be included there is the selection “Select all” to click.
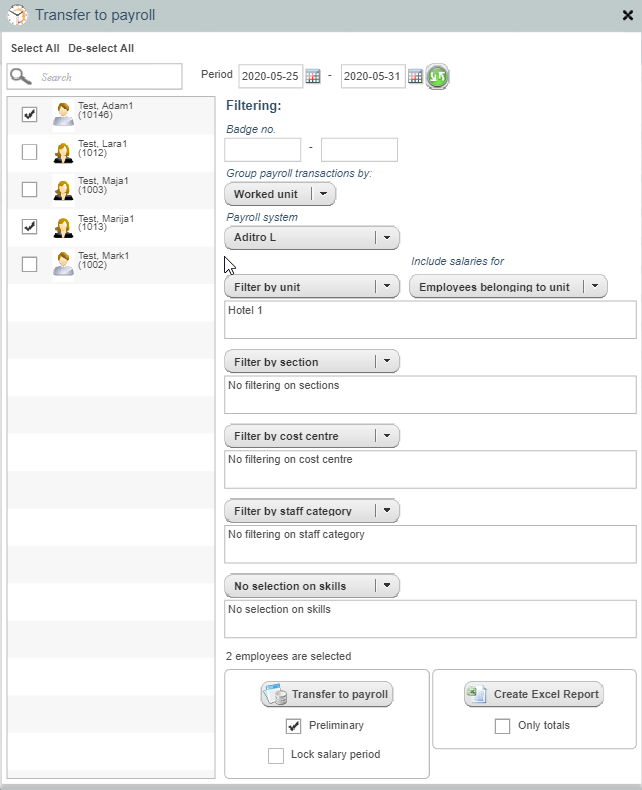
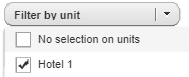
Under the Filter by unit menu is the unit you are logged in which is selected by default. If you want to take out a payroll file for all units - select No filtering of units.
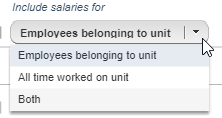
If you are to take out by unit, you can specify which salaries will be included. Only those that belong to the unit and/or also worked time for dividable employees from other units that have been loaned out.
When you have made your selection click “Transfer to payroll” at the bottom.
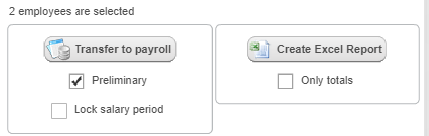
If you have unticked Preliminary in Transfer to payroll and then click the Transfer to payroll button you will get a question asking:
Do you want to do a definitive transfer to payroll AND lock all selected transactions?
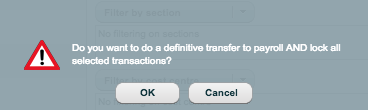
When you then click OK the background process will start processing the data and you will be redirected to a new view Time → File archive.
While the file is processing in the background the file status under Time → File archive will be processing. When the file is ready status will change to finished and a download file link will be shown. During this time you can work within other areas of the system without interfering with the generation process.
The background generation will also work if you log out of Quinyx, close your browser, turn off your computer or lose your internet connection.

The background generation of files also works for the Excel report under Time → Transfer to payroll → Transfer to payroll and will then be shown as Type Reports.

Preliminary run: As long as you have “preliminary” checked, you can take out as many salary files as you like and change times backwards. When you are sure that the salary is correct, we recommend that you untick “Preliminary” and do a definitive transfer to payroll and lock all selected transactions. In this way you lock the times for the period and the possibility to make changes. Preliminary run is checked by default.
If changes are necessary after the period has been updated/closed you need to use the function reverse transactions.
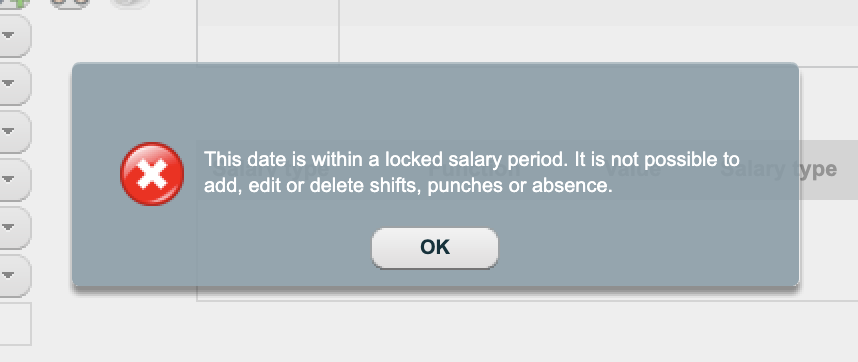
Check Lock salary period prevents super users, managers and employees from adding, changing, or deleting shifts, stamps, or absences up to the locking date. However, records can still be approved. The function can be used to prevent changes in generated salaries in the period. The period will be locked for all employees that belong to the unit, not only selected employees. Lock salary period is unchecked by default. It is also possible to lock a salary period under Schedule>Schedule and Time>Time. To unlock a period you must change to a previous date in Salary period locked up to under Scheme>Schedule or Time>Time. This must be done unit by unit.

Select Create Excel report to create an Excel report of the generated salary. Tick Only totals to see totals of generated salaries by salary type.
Reverse transactions
If you have locked a salary period but need to make a correction you can easily unlock the period. Go to Time-->Transfer to salary. Click:

You can select the period you wish to reverse here. You can reverse a whole month for all employees but also a specific day for an employee.

Below is the folder for an employee selected to reverse a day by checking the box in the BCK column. The day then has a green ball and I can go to the time card to make my change.
To come back to previous view click:
