Overtime method basics
This article is meant to teach you the basics of overtime methods within Quinyx. This includes getting a basic understanding of concepts such as overtime methods, how to create overtime methods, and the settings you can use while creating overtime methods.
Overtime methods
Setting overtime rules can be a difficult task. Overtime could vary depending on your job role, agreement, hours worked, and regional regulations. This is what overtime methods can help you with. By setting up overtime methods, you can create custom rules for when an overtime salary is supposed to be paid out, depending on the circumstances. Overtime pay usually carries a higher hourly rate. By setting said overtime methods, you can enforce a consistent payout of overtime that is being regulated automatically by Quinyx using the rules you have set, also helping you to avoid legal issues and demonstrating fair treatment amongst employees.
To set a basic overtime rule(Overtime method), you can:
- Select Account settings > Agreements > Overtime methods.

- Select the Add overtime button.

- Select Overtime.

Overtime rule settings
Quinyx has a lot of settings for the overtime rule(Overtime method) for endless customizability. Let's look through the settings.
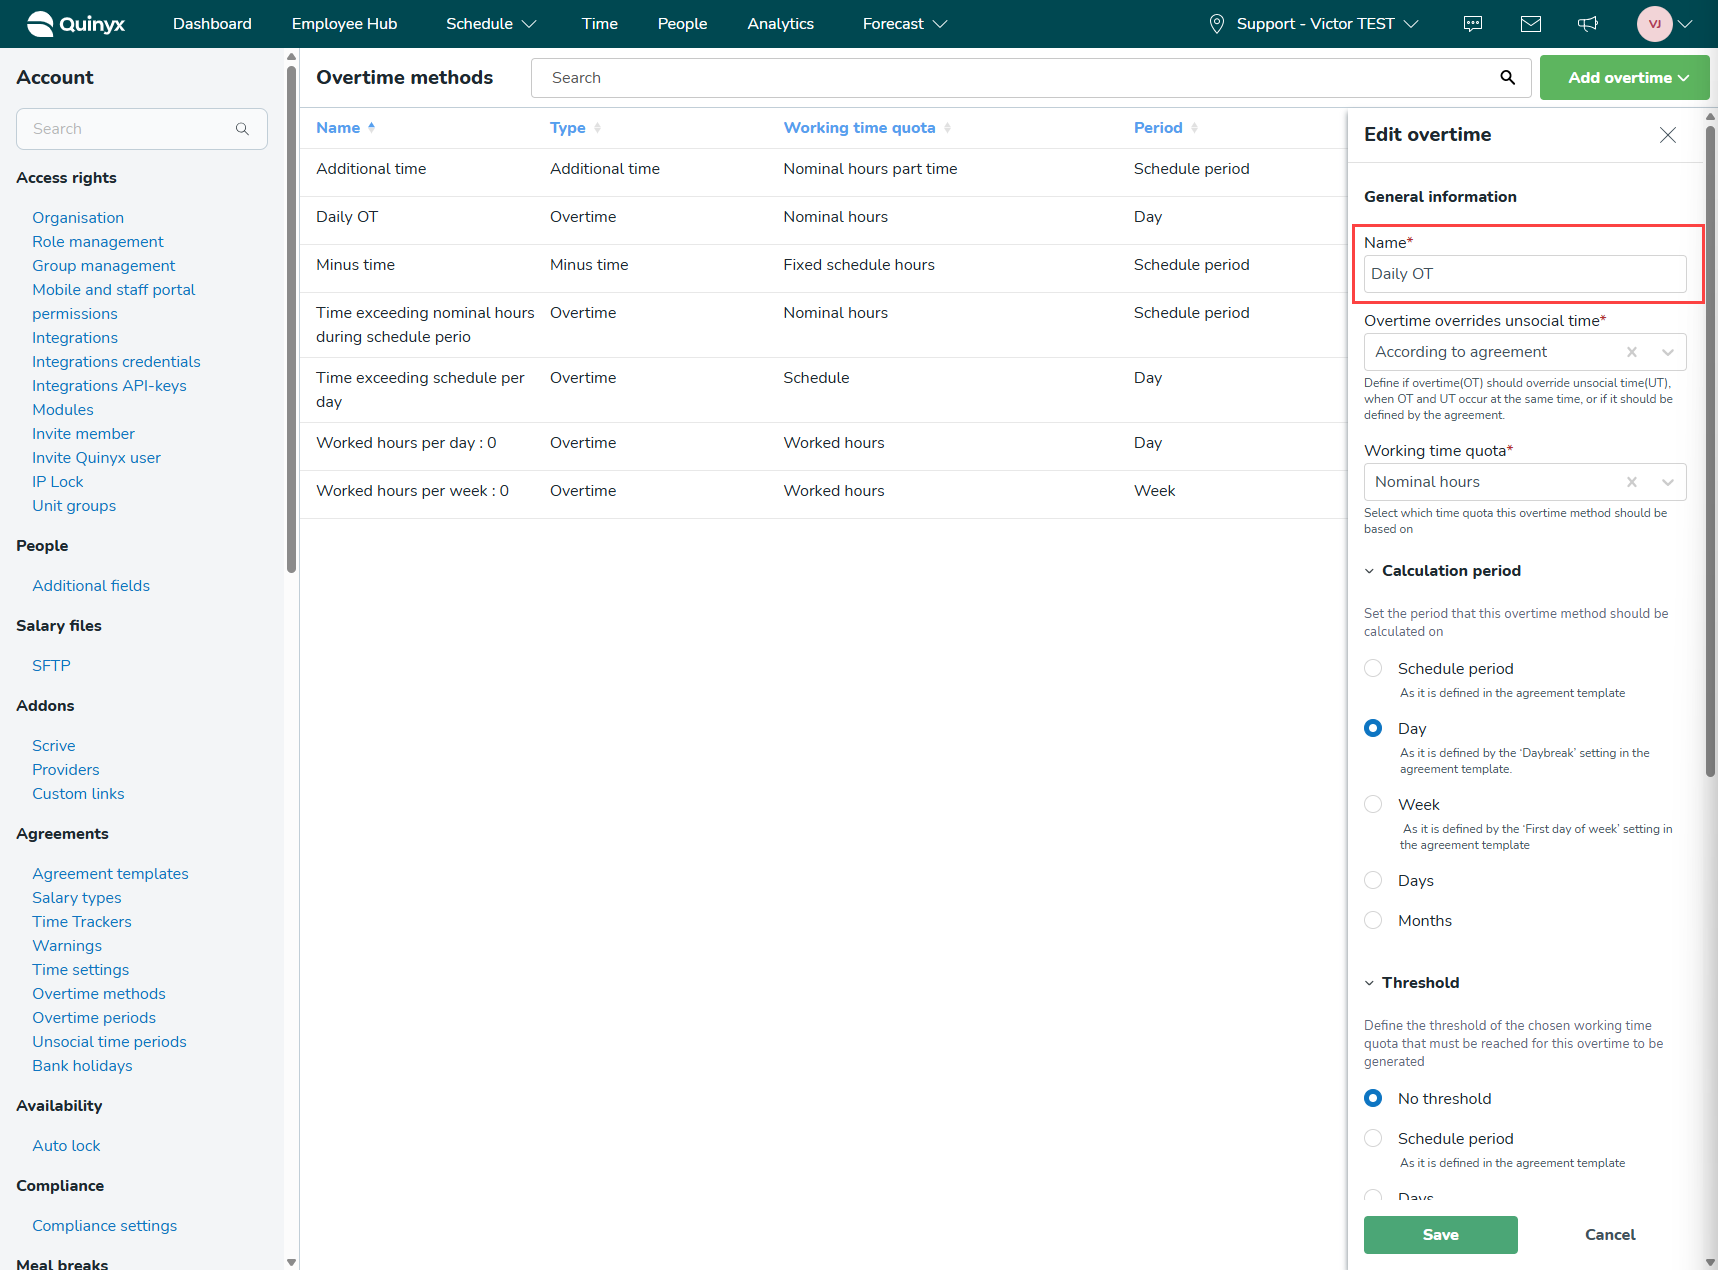
Name
You can set a name for the overtime rule(Overtime method). The name of said rule will be displayed when it is being used in agreements. So choose a name that well represents the purpose of the overtime rule(Overtime method).
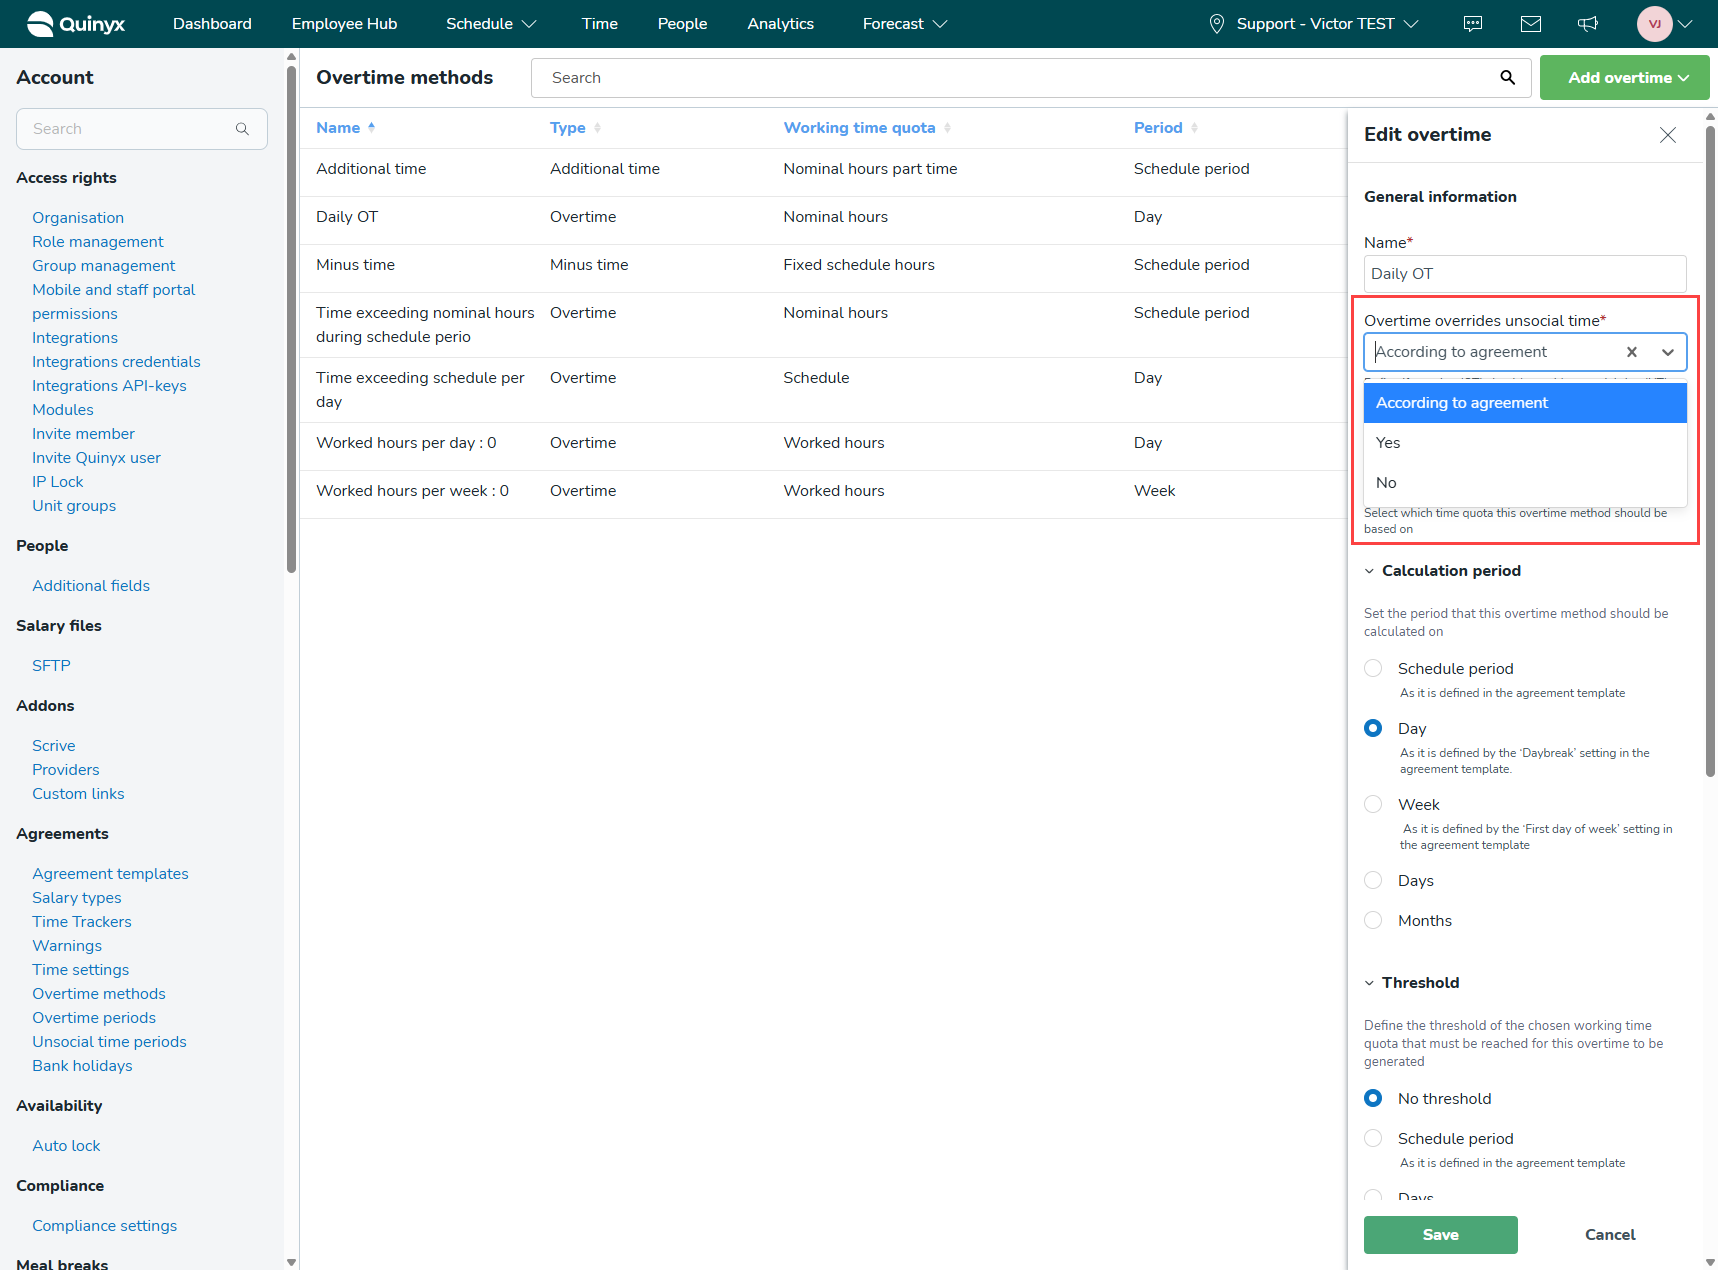
Overtime overrides unsocial time
This setting will decide whether the overtime pay will override the unsocial time pay. All overtime rules(Overtime methods) have to be connected to an agreement to work; you can decide whether the overtime rule(Overtime method) should follow the setting within the agreement you connect the rule to, or a simple yes or no. Meaning that if you choose yes, all unsocial time pay will be replaced with overtime pay if both salary types are generated at the same time. Choosing No will allow both overtime and unsocial time pay to be generated simultaneously.
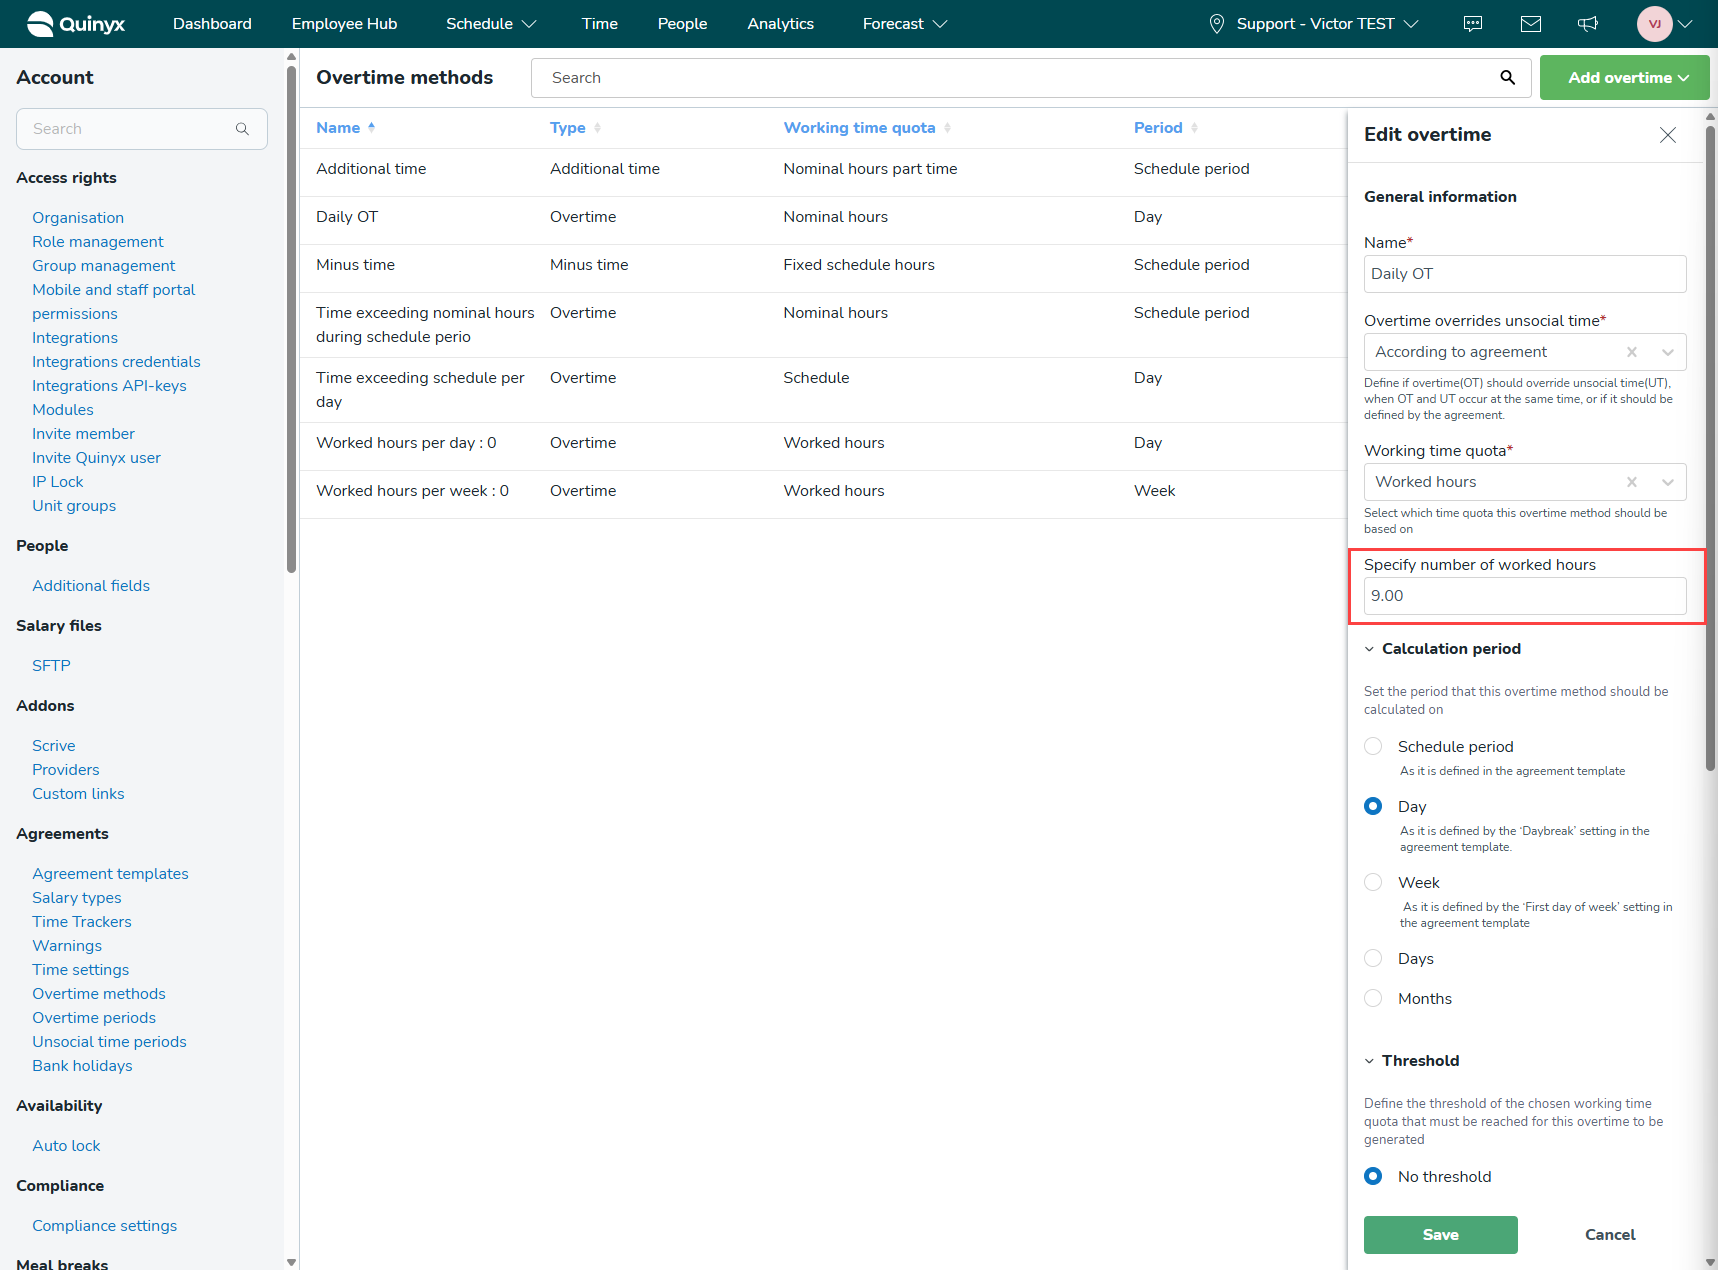
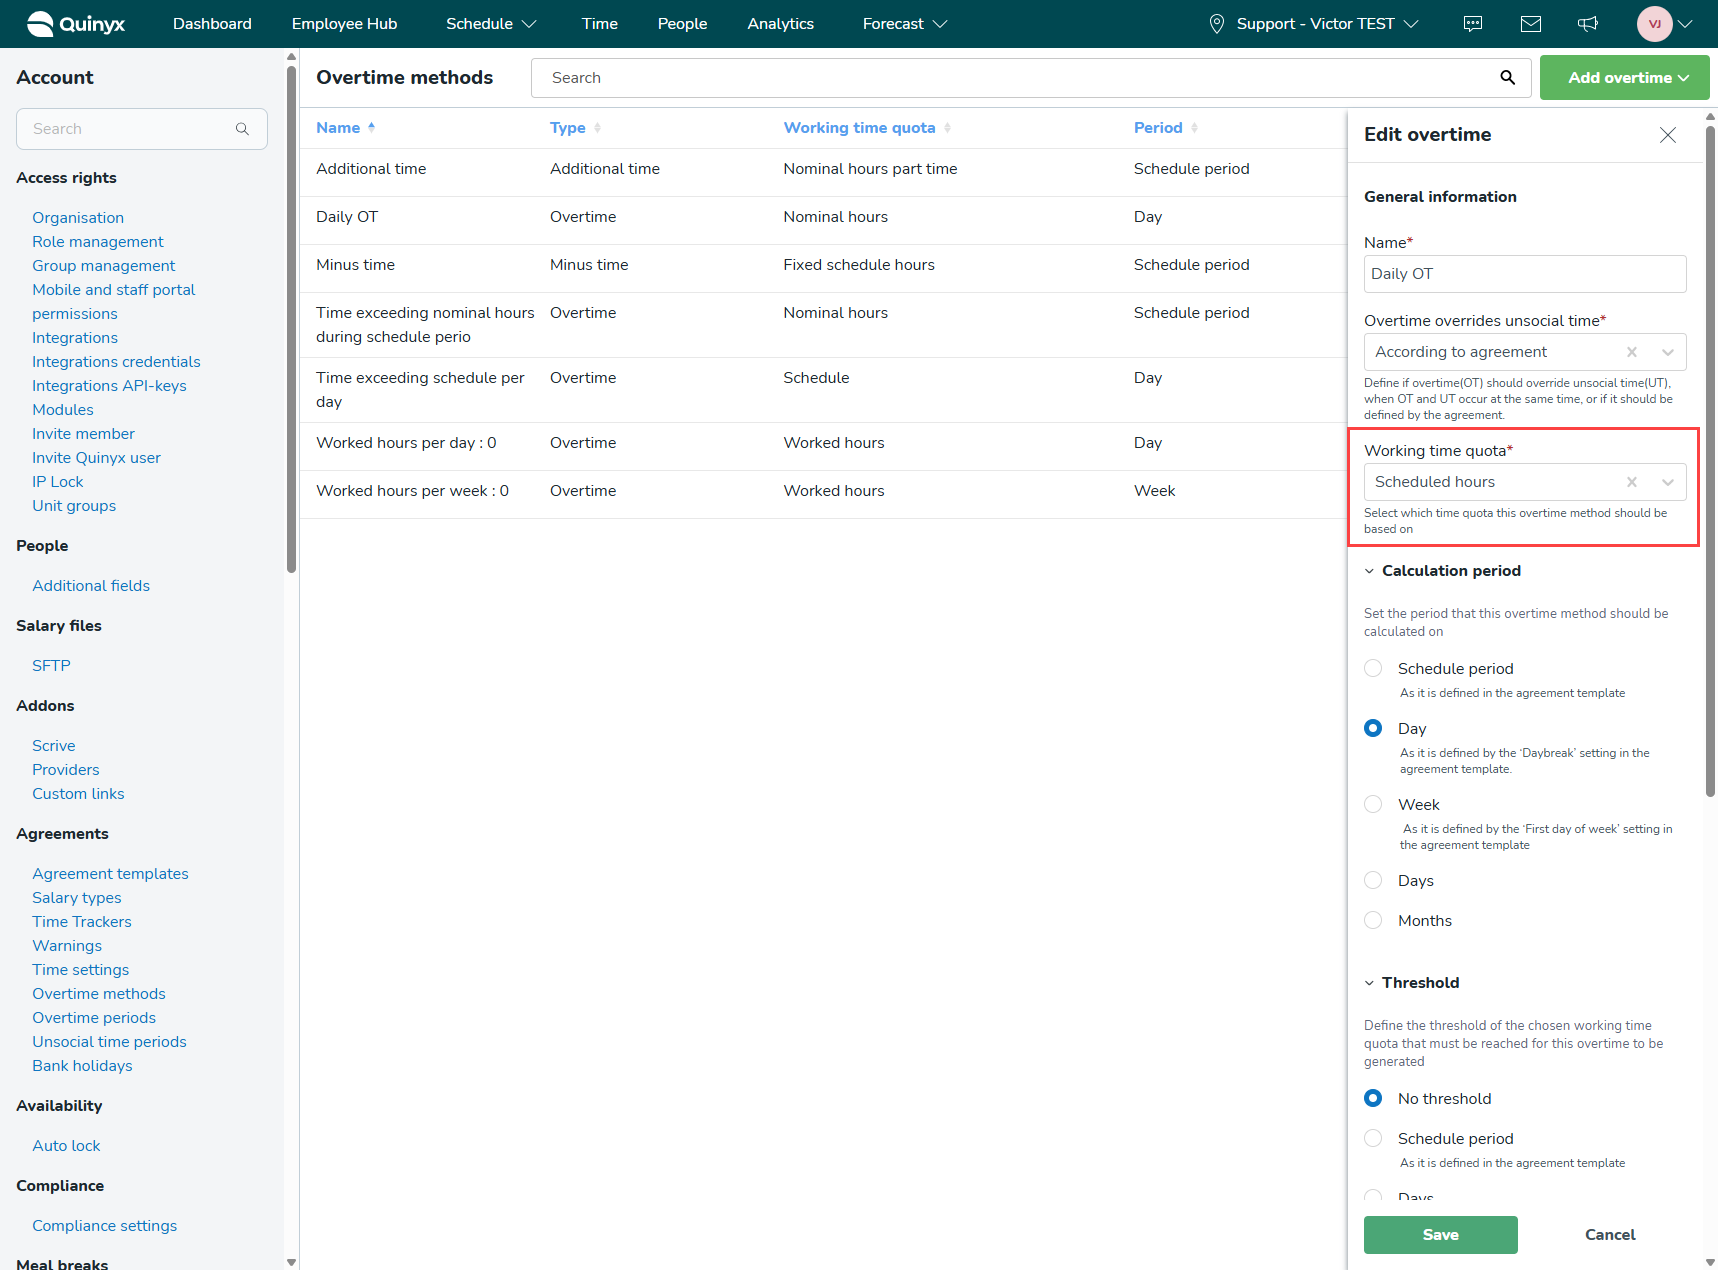
Working time quota
This setting will decide what metric the employee has to work on for the overtime pay to be generated. For example, if you select worked hours as the working time quota, the employee must work more than the set number of hours for the overtime to be generated. So if you want overtime to generate from the 8th hour of work, you can type 8 under the Specify number of worked hours column.
If you select scheduled hours instead, then the employee has to work more than the total scheduled hours for all the shifts during a calculation period for the overtime pay to be generated. This setting will not have a column for the number of hours the employee has to work, because the overtime rule(Overtime method) will look at the total amount of scheduled shift hours within the calculation period in the schedule view, and the employee's working hours have to exceed that number.
Calculation period
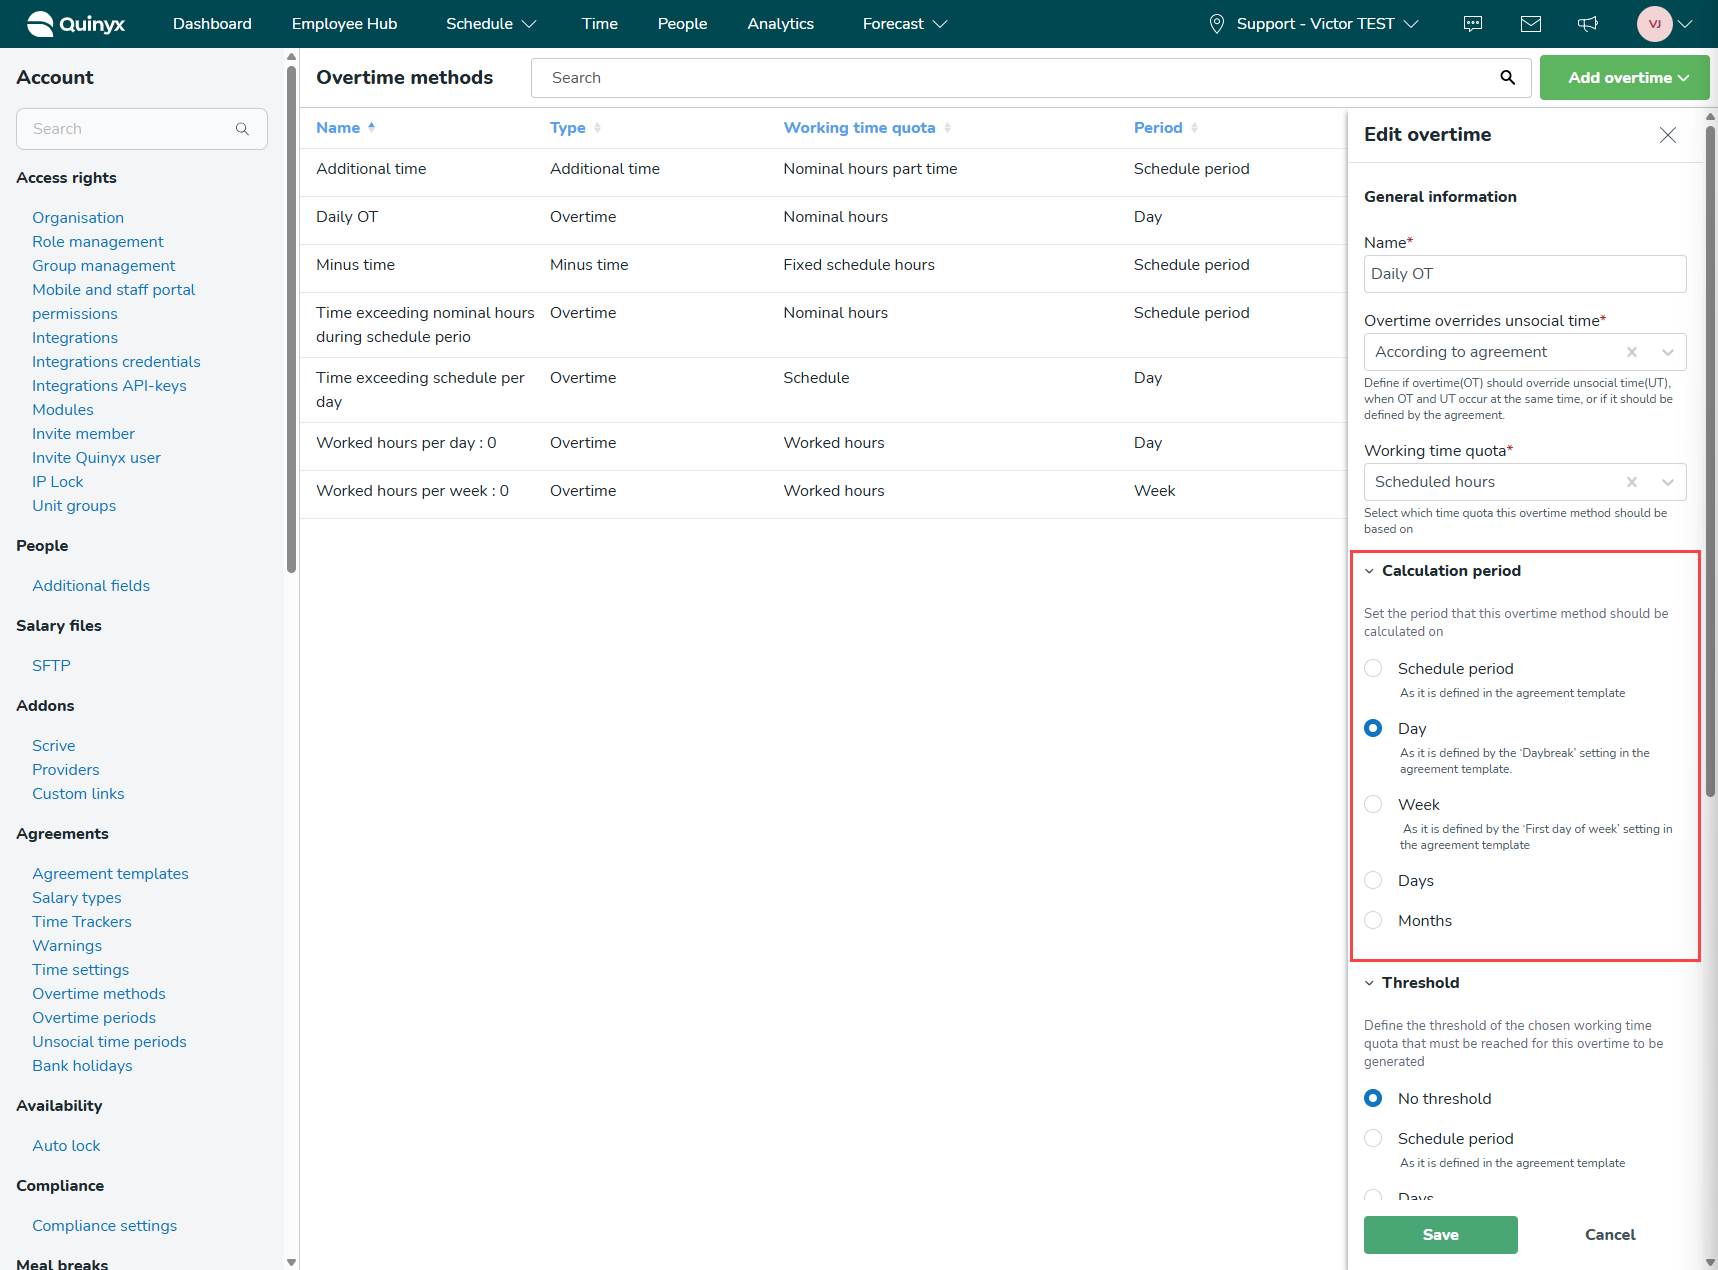
With this setting, you can select the period for which the working time quota should gather data from. For example, if you select the setting Day and the working time quota scheduled hours, then the employee has to work more than the scheduled shift hours on the same day of the shift for overtime pay to be generated. Or if you select the setting Week and select worked hours for the working time quota, then the employee has to work more than the selected number of hours from the start of the week to the end of the week for the overtime pay to be generated.
Threshold
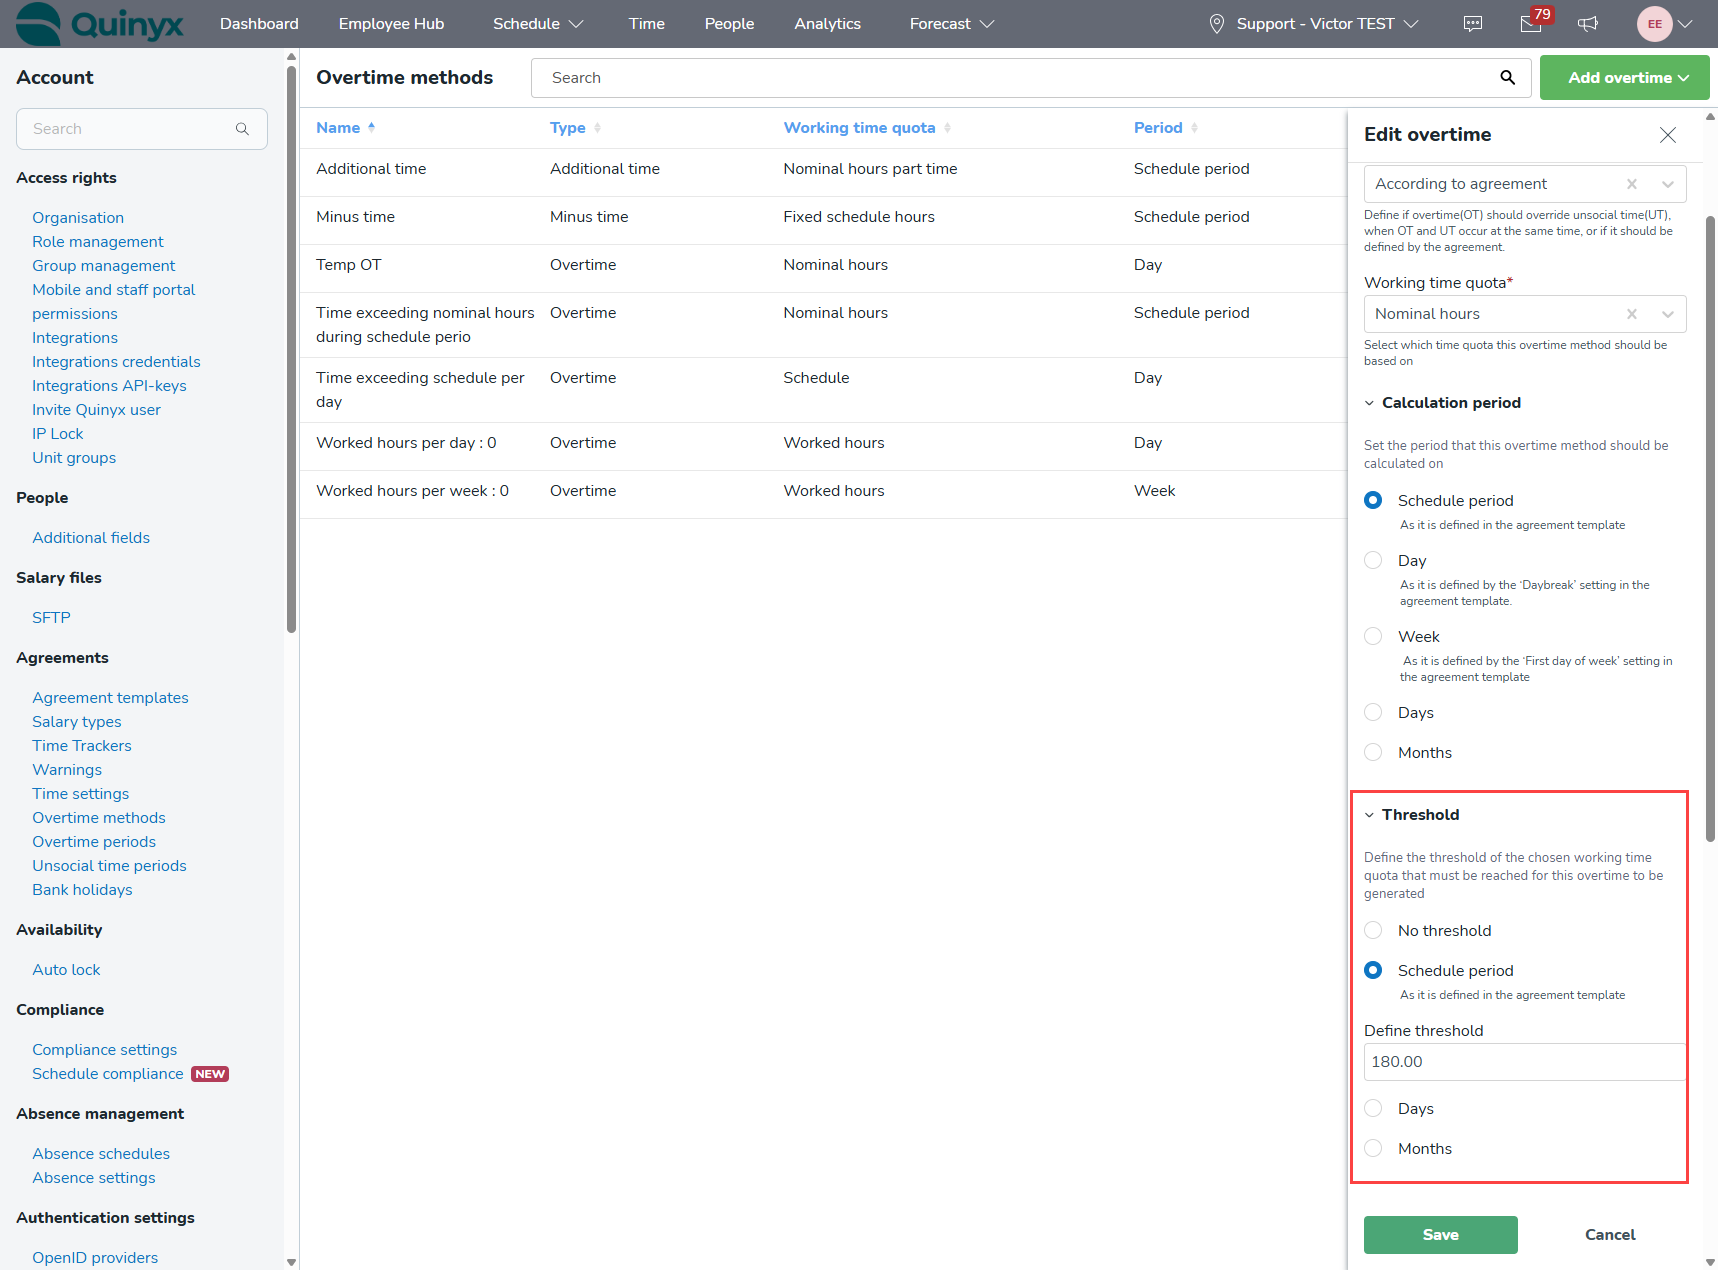
With thresholds, you can define the number of work time hours for your selected working time quota that have to be reached before overtime salary is generated. For example, if you select Nominal hours for your working time quota and No threshold as your threshold, overtime will be generated immediately when the employee works more than the nominal hours. If you select Nominal hours as your working time quota and Schedule period with 180 working hours as your threshold, overtime will be generated once the employee has worked more than the Nominal hours during the calculation period, and has worked more than 180 hours during the schedule period.
Overtime levels
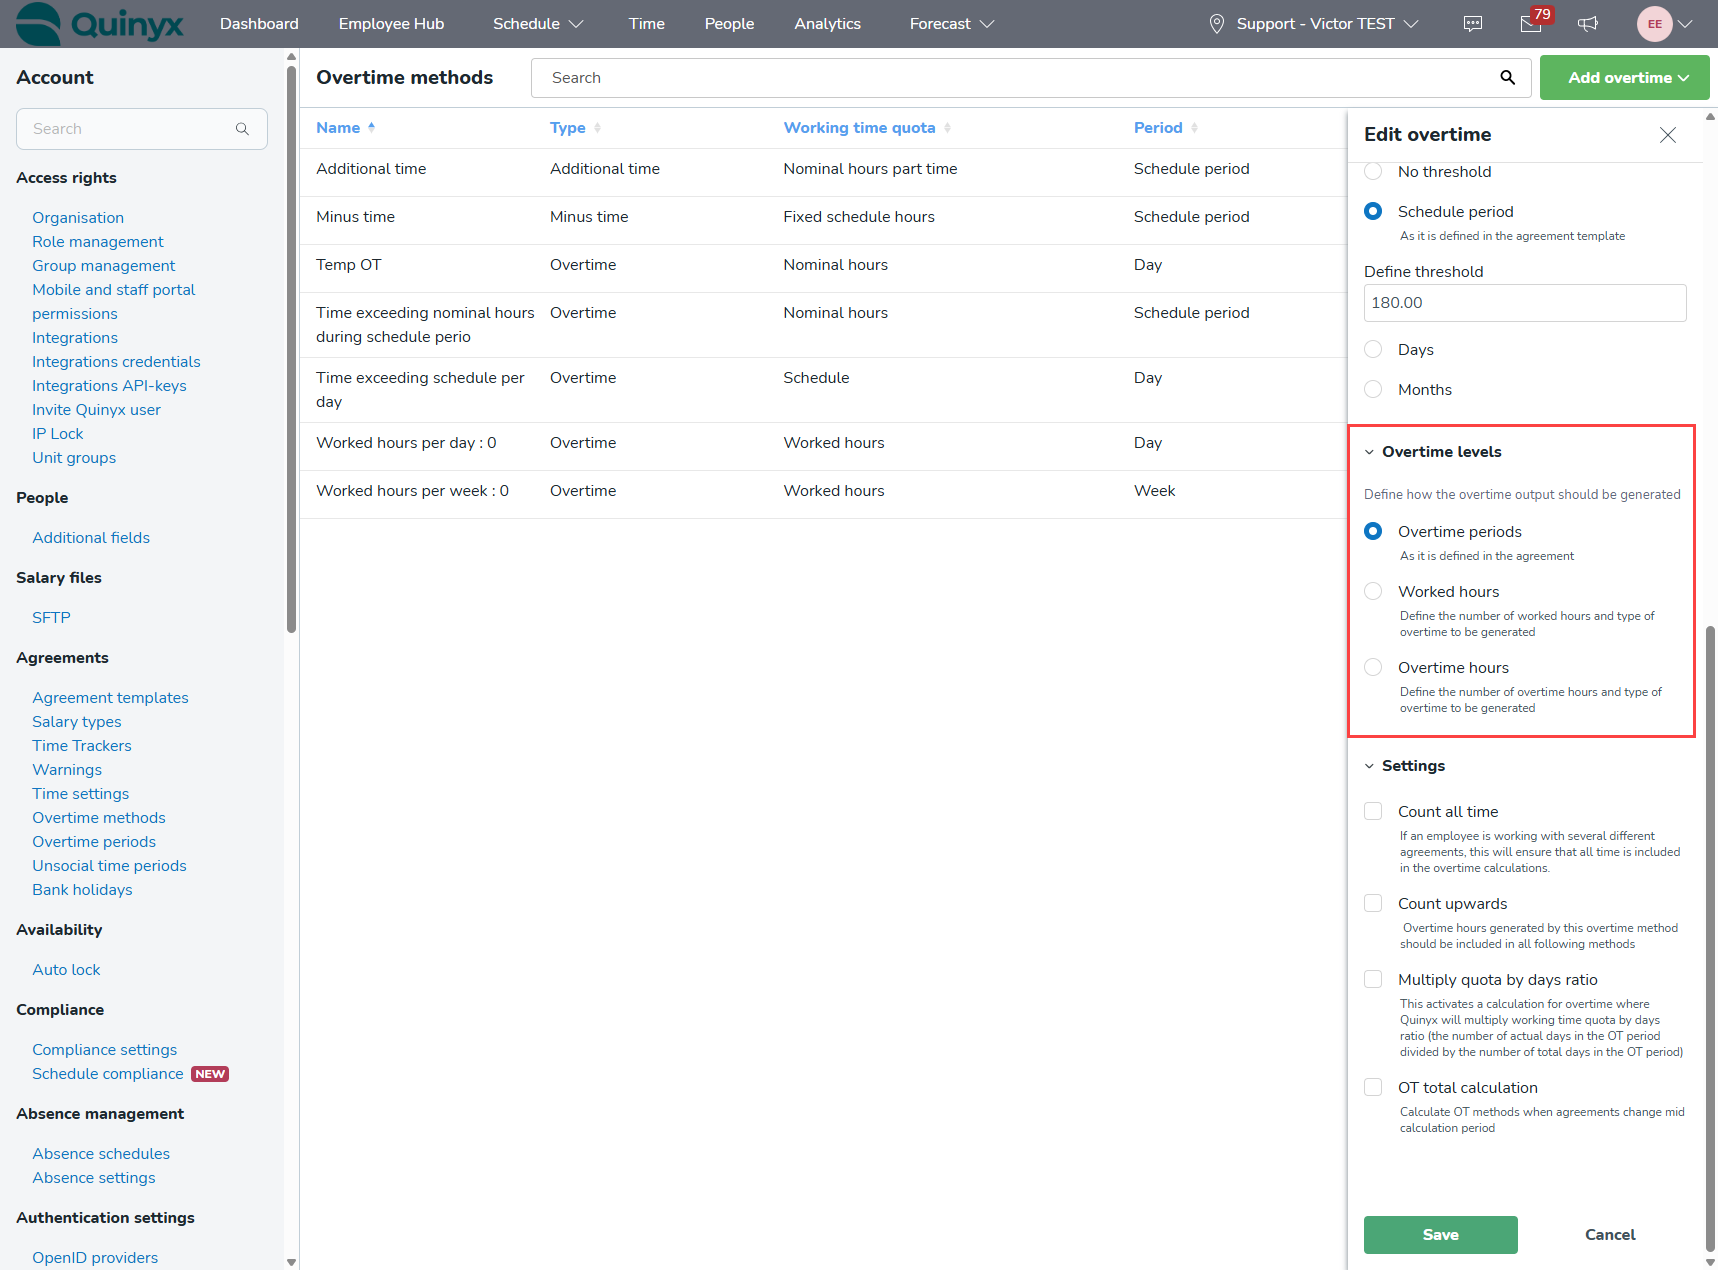
Overtime levels determine the type of overtime salary that will be generated. For example, if you select worked hours, you can set it up so overtime 1 generates after working for 30 hours, overtime 2 generates from the 41st hour of overtime to the 60th hour of overtime. And overtime 3 for the 61st hour and beyond. The working time quota and the threshold must, of course, be fulfilled as well for the overtime to be generated.
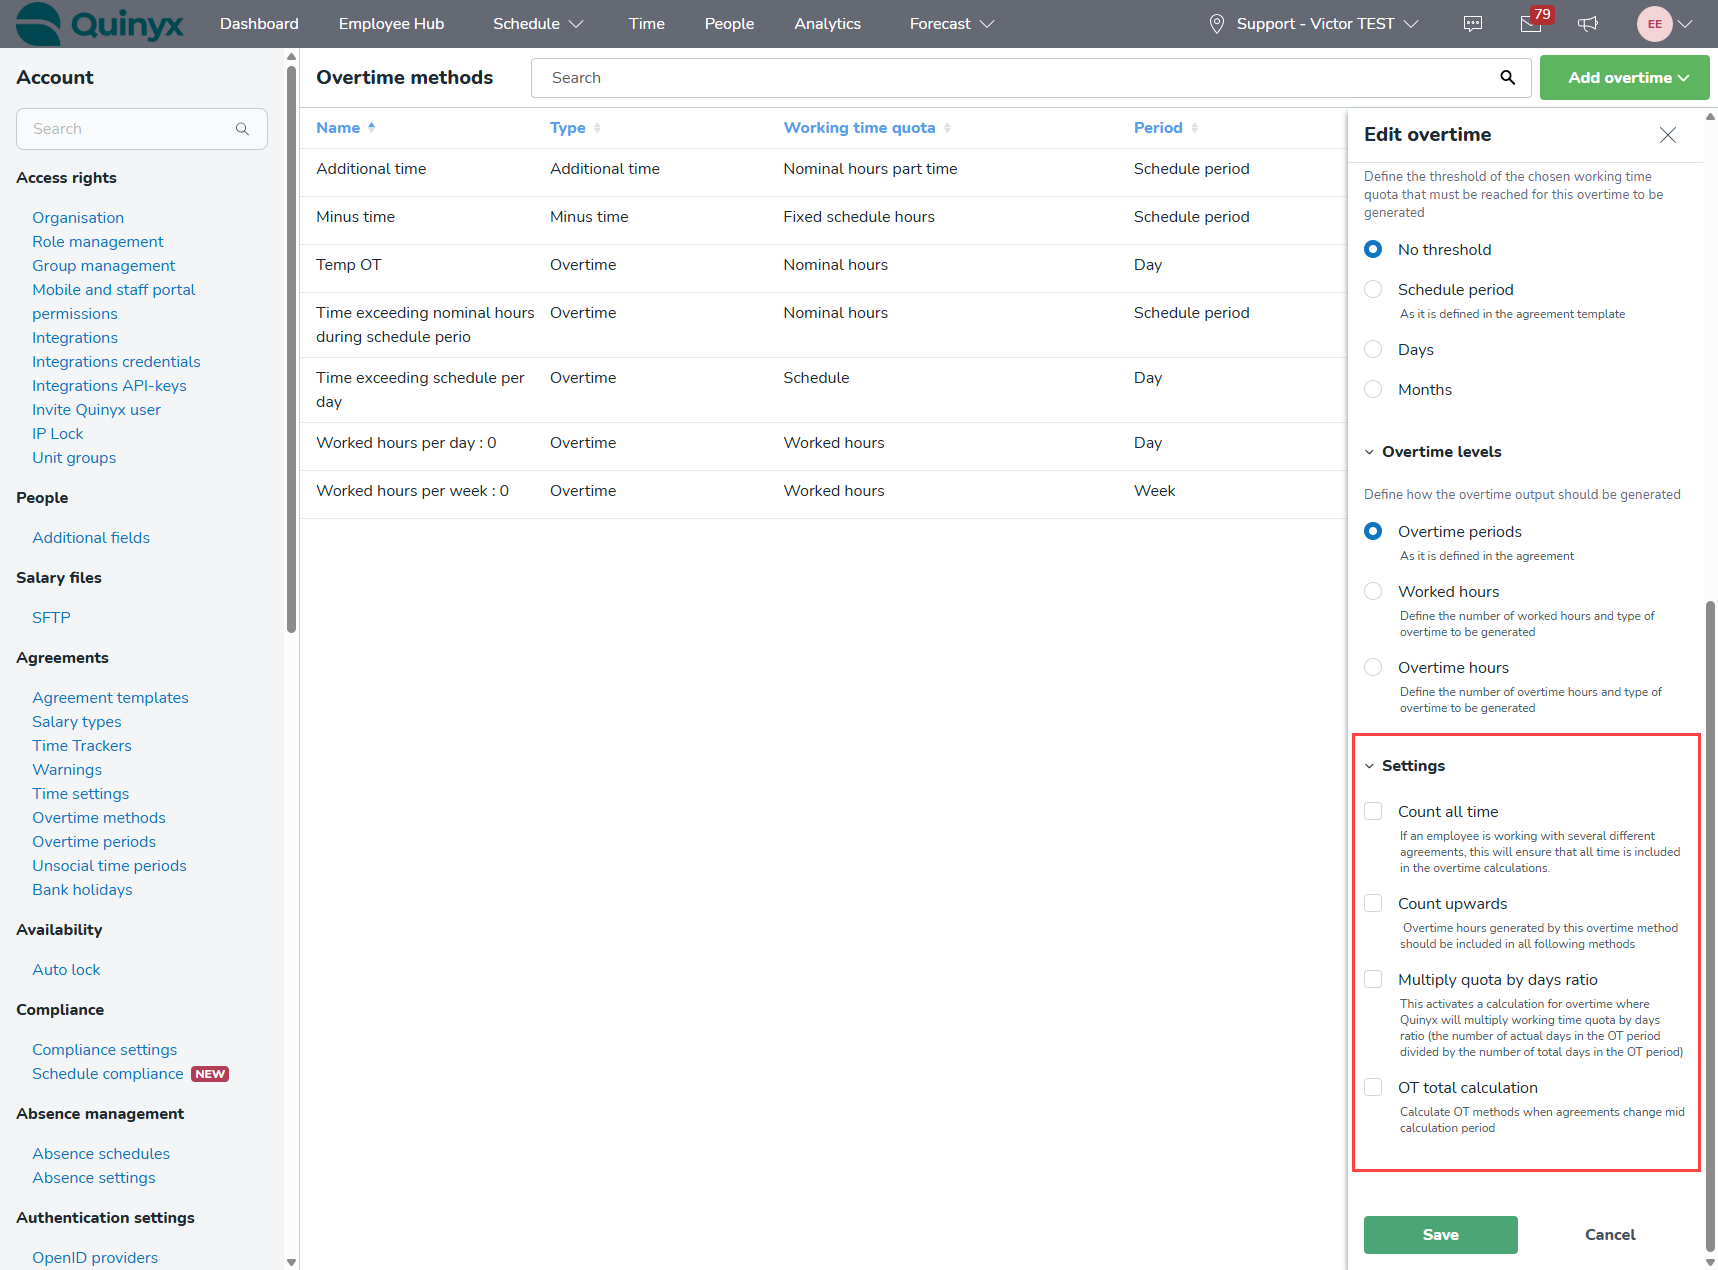
Settings
The settings give you more advanced options for your overtime rules(overtime methods). For example, if you are using multiple overtime rules(overtime methods), the working time is counted separately for every overtime rule(overtime method). However, if your overtime rule(overtime method)has the Count upwards setting checked, the worked hours accumulated in said overtime rule(overtime method) will be included in all other time trackers in the same agreement template as well.
