Overtime period basics
 Updated
by
Victor Jespersen
Updated
by
Victor Jespersen
This article is meant to teach you the basics of overtime periods within Quinyx. This includes getting a basic understanding of how overtime periods work and how to set up an overtime period. You can click here to read an article regarding overtime methods. It is recommended that you read this article first since overtime periods are used within the overtime methods functionality.
Overtime periods
Keeping track of what overtime salaries are supposed to generate based on date and time can be a tricky task. By using overtime periods, you can let Quinyx remember these things on your behalf! Setting up overtime periods and combining the overtime methods will not only keep the rules for overtime consistent, but will also keep track of what type of overtime salary is supposed to be generated on what date and time for a fair and consistent payout to the employees, depending on the circumstances.
To get to the overtime period settings, you can follow the steps below:
- Select Account settings > Agreements > Overtime periods.
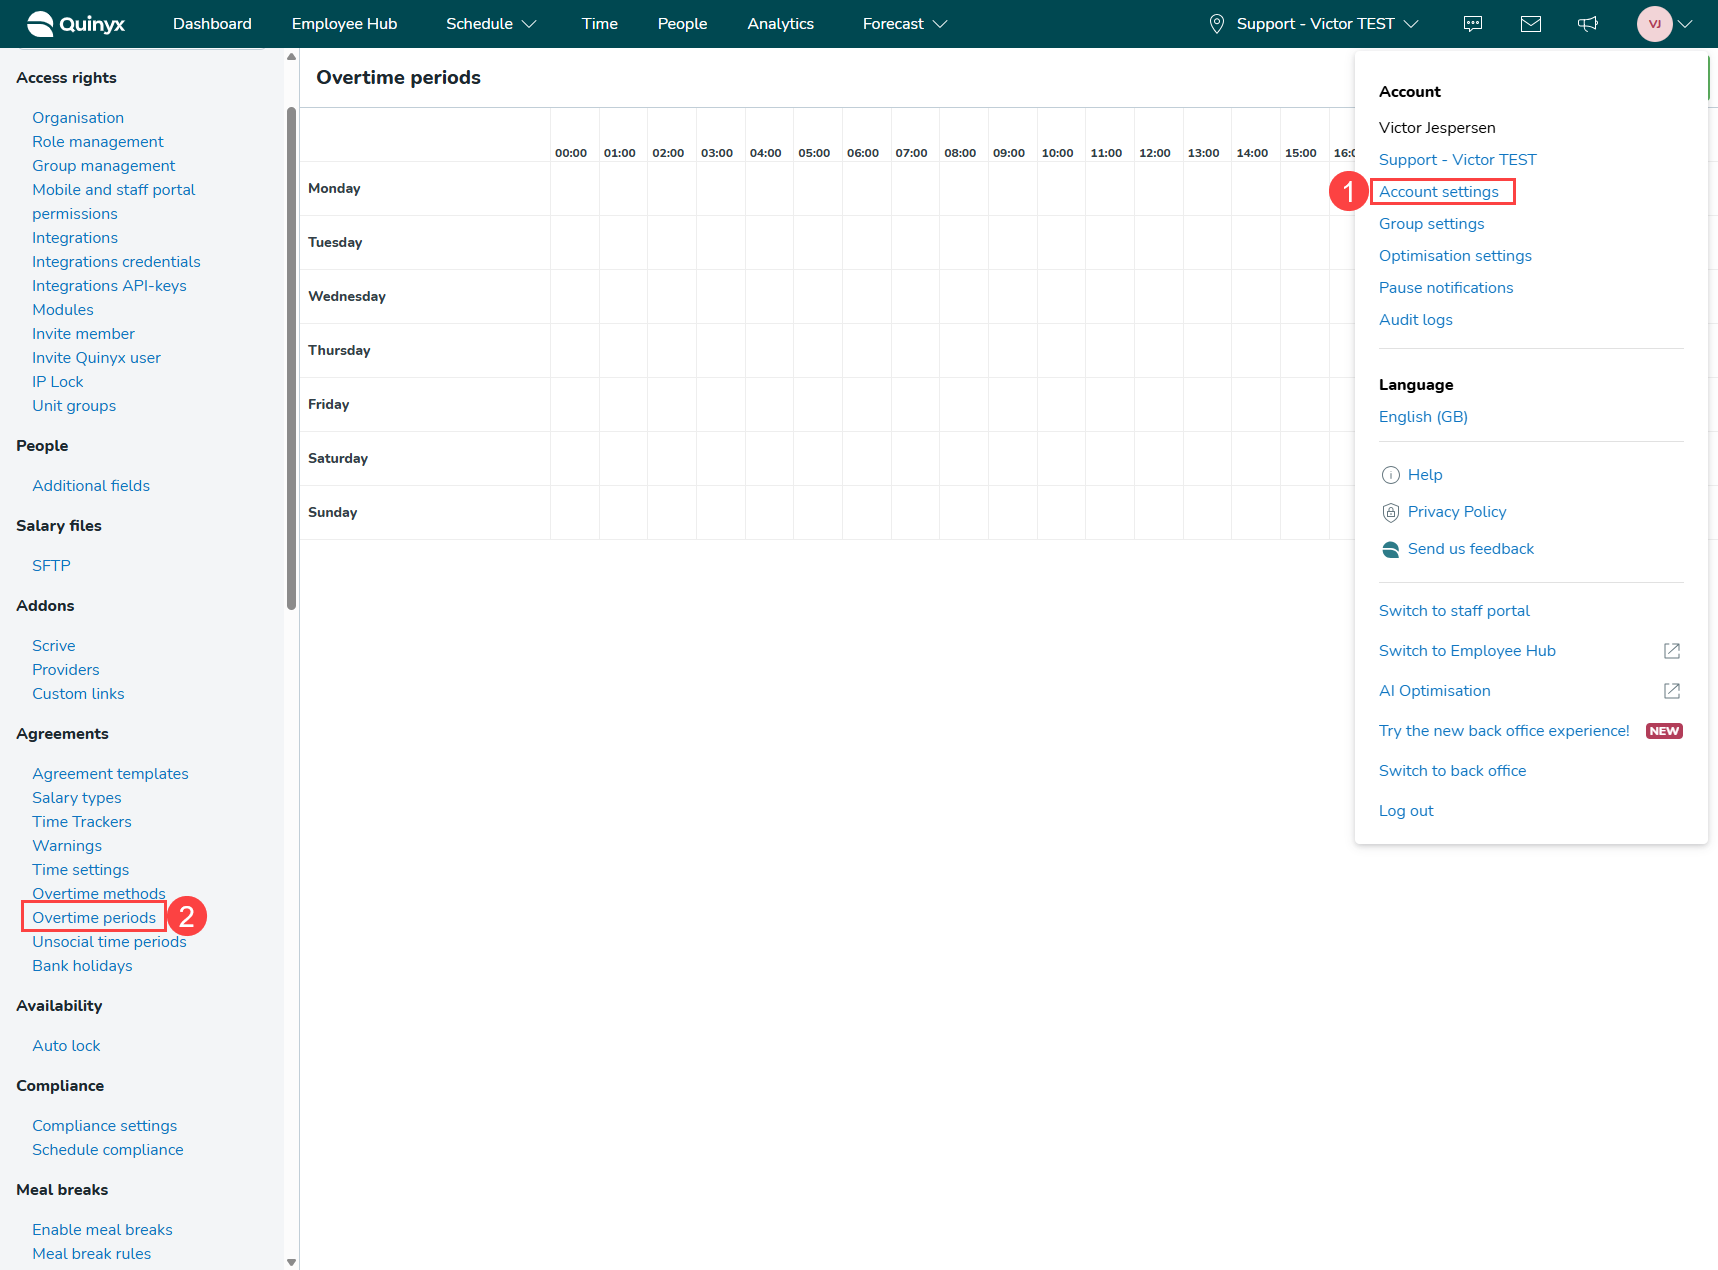
In the overtime period settings, you will see an empty calendar spanning a week. To add a period to this calendar, you can either select the Add period button or hover over a date and time and select the plus icon that appears. By selecting the plus icon, you will have the date and start time of the period preselected, depending on the date and time you hover over.
Overtime period settings
Overtime periods have some settings you can use to customize your overtime payout. Let's go through these settings.
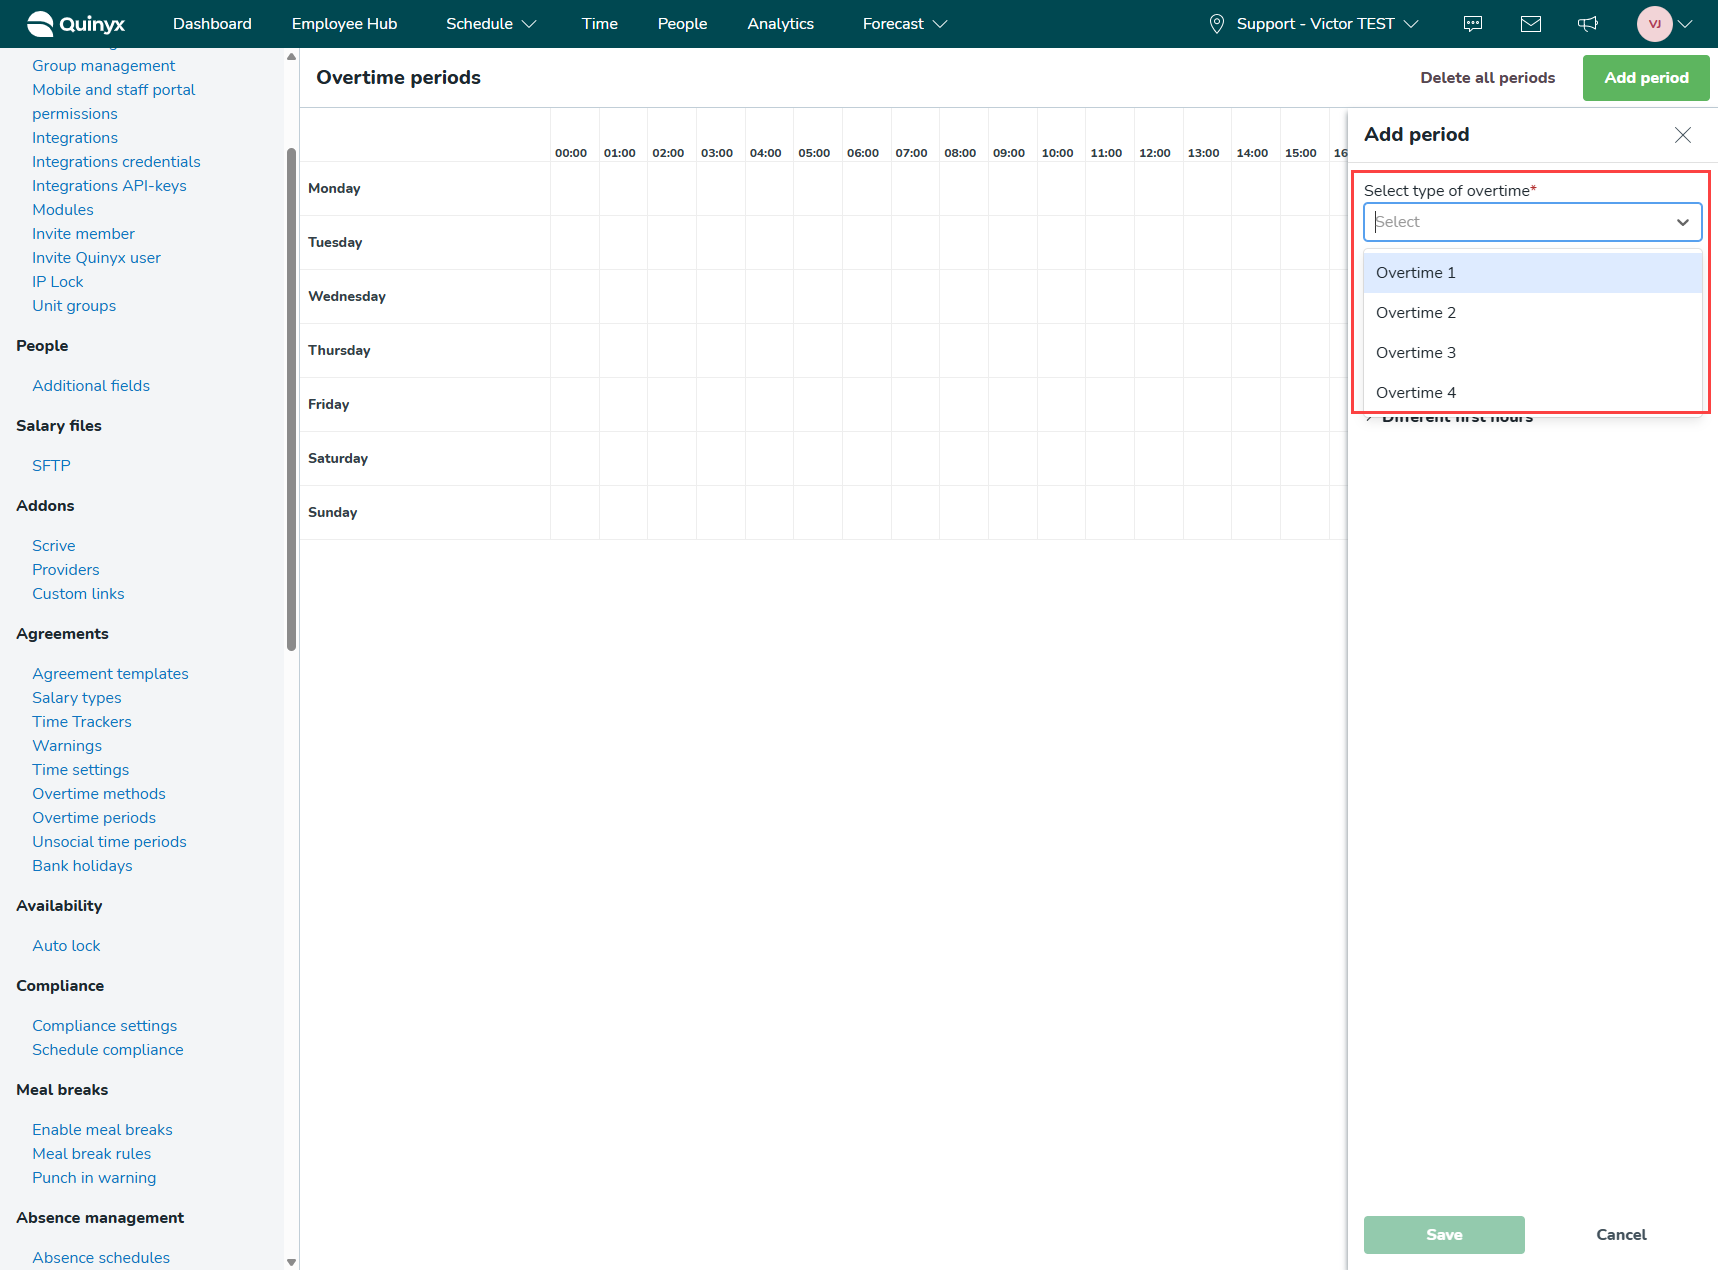
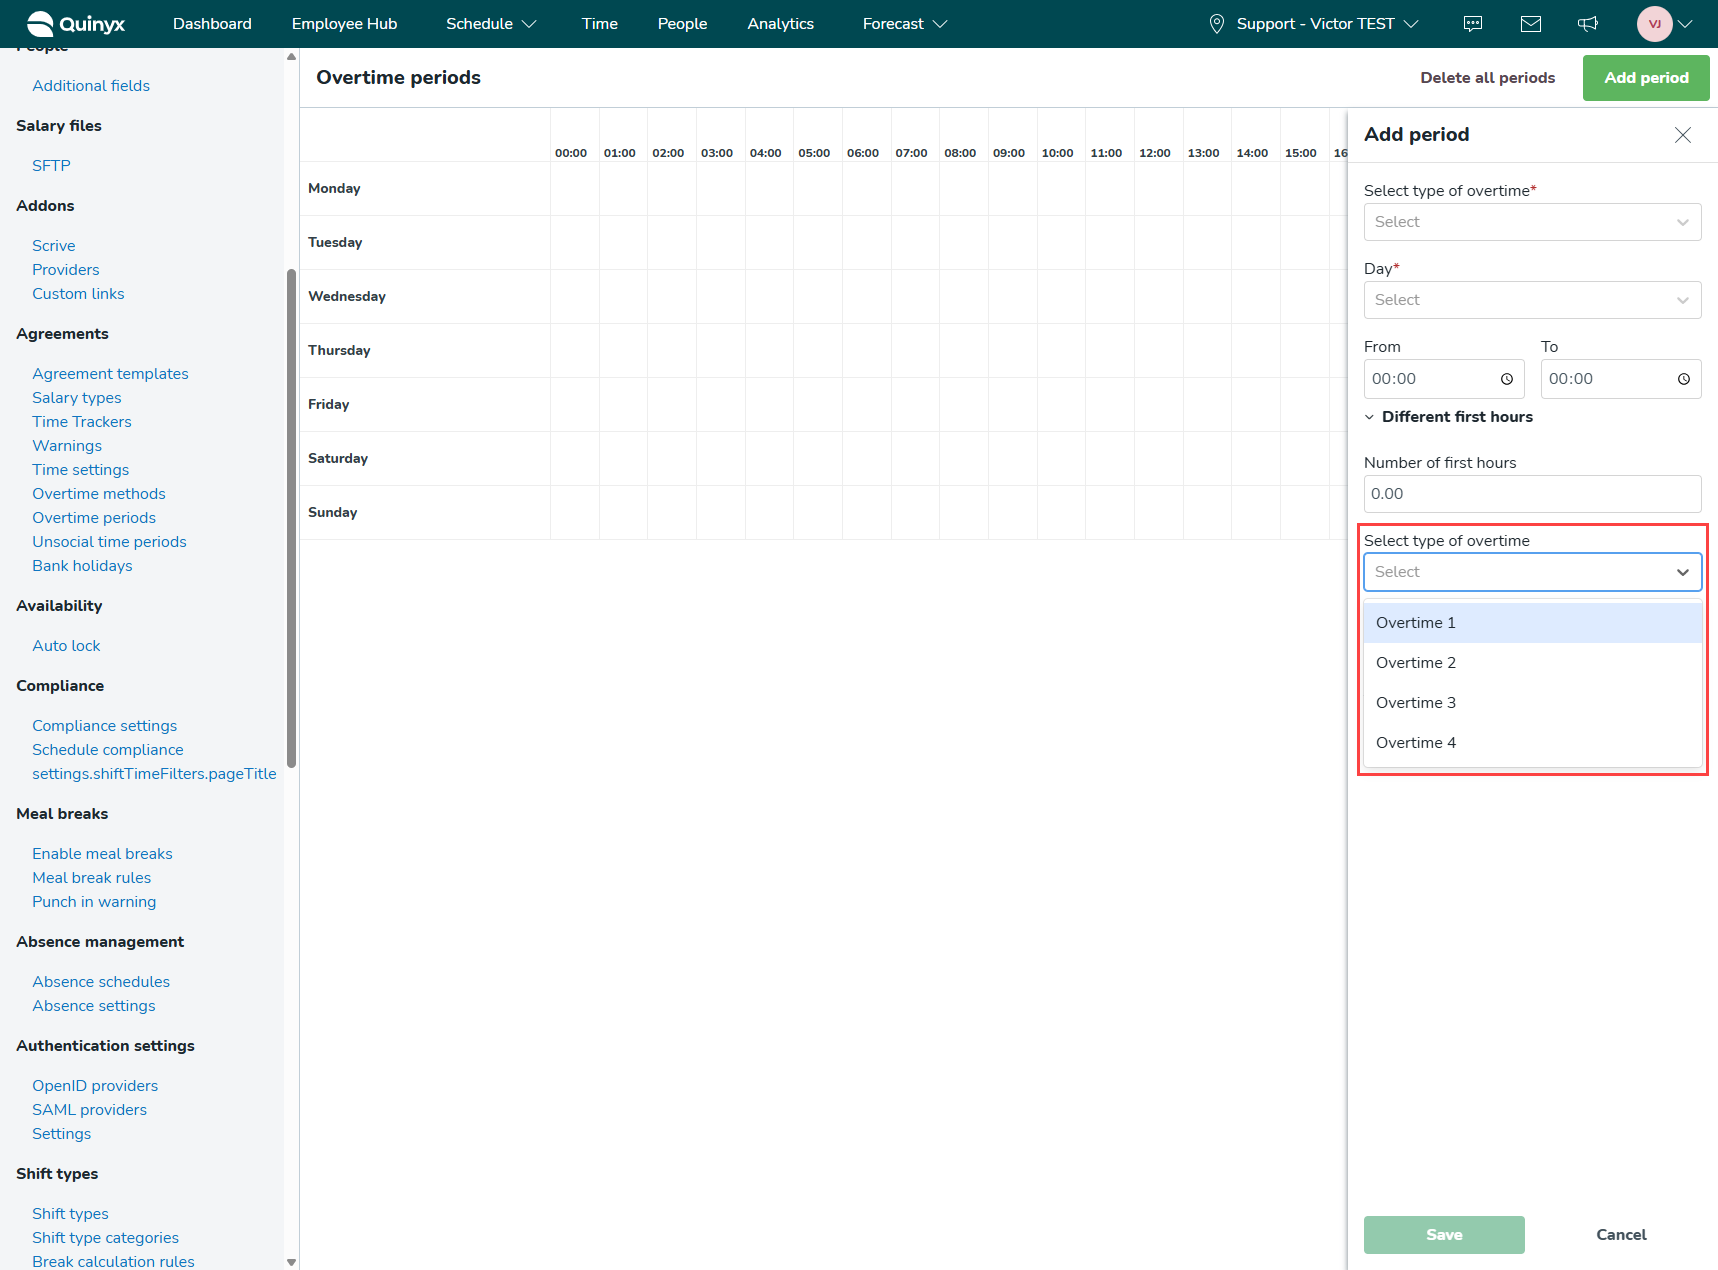
Select type of overtime
With this setting, you can choose what kind of overtime salary type is going to be generated. If you select overtime 1, then the ordinary overtime salary type is going to be generated. If you select overtime 2, then the qualified overtime salary type is going to be generated.
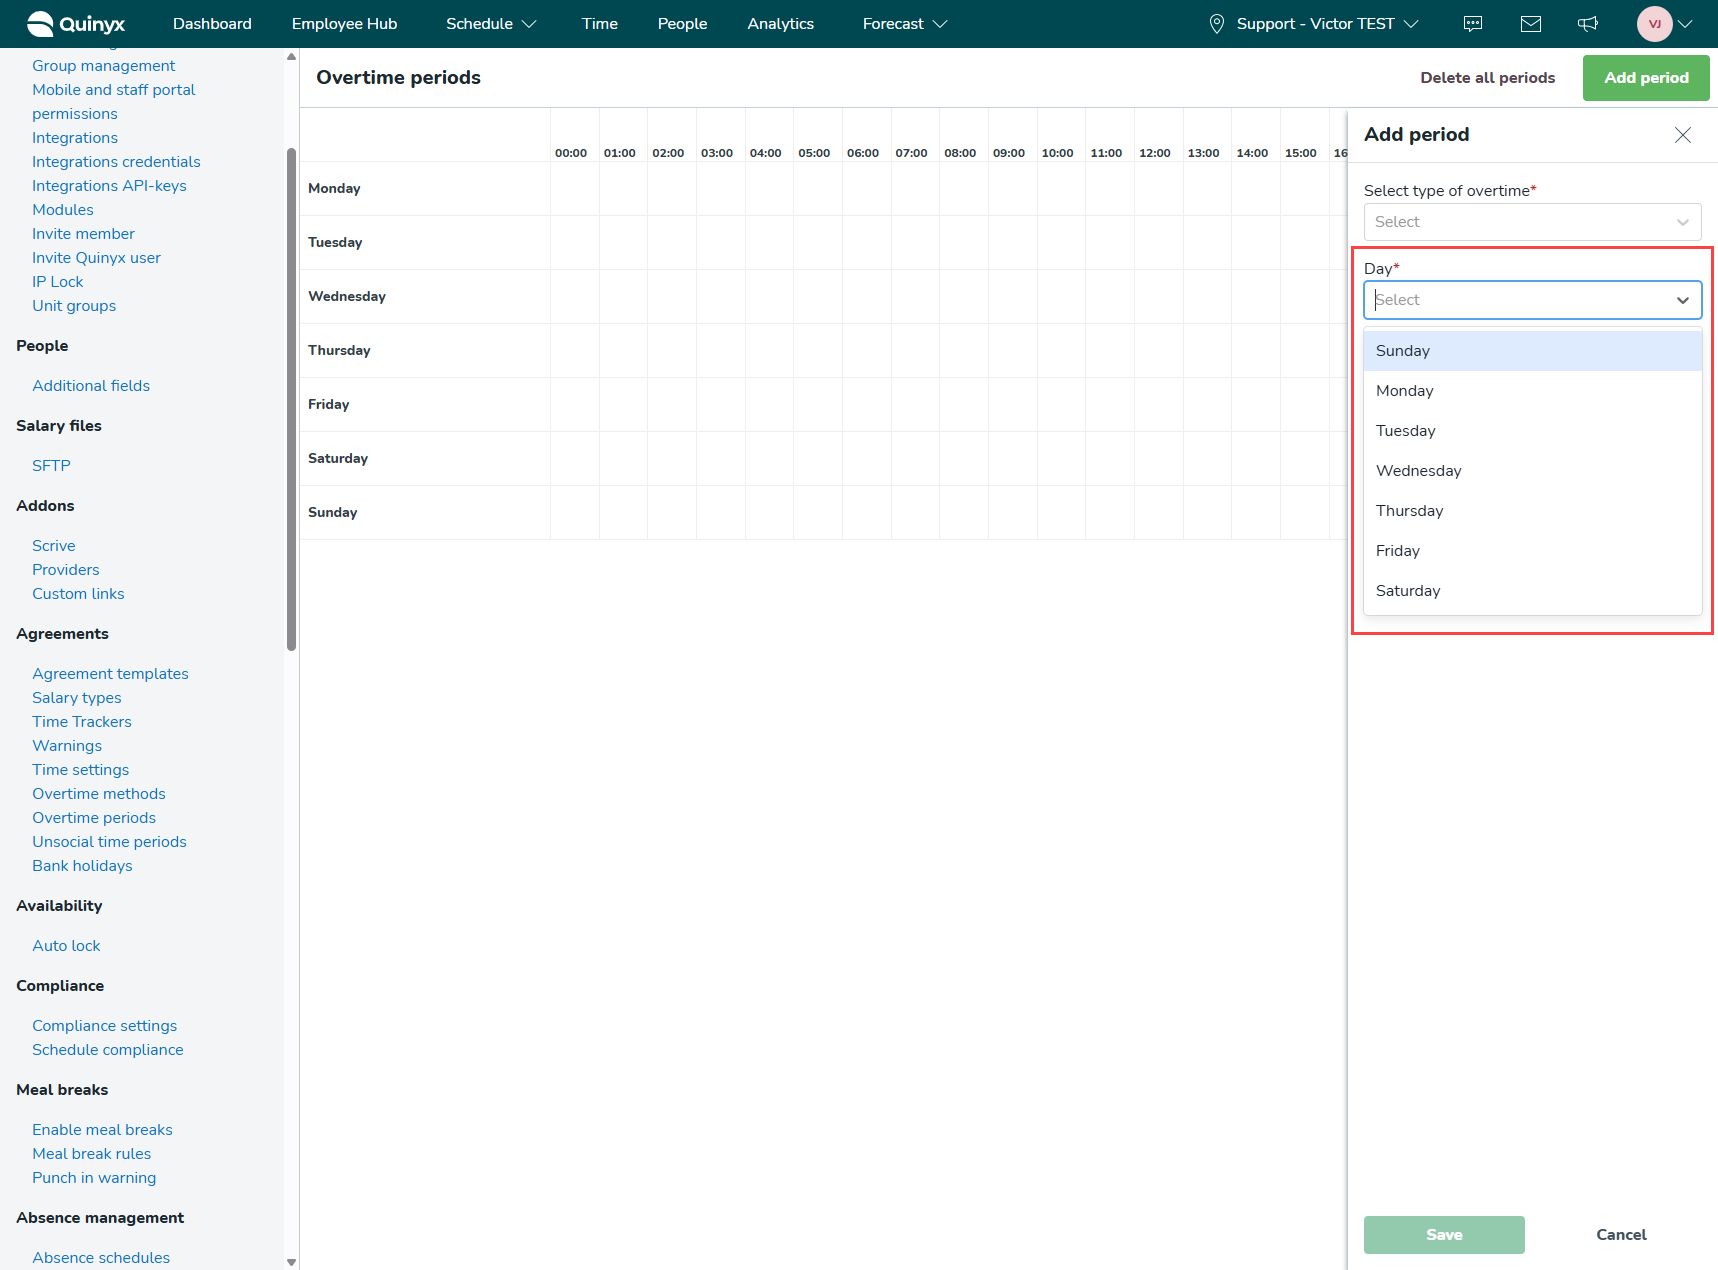
Day
This setting allows you to choose what day of the week said type of overtime salary will generate. For example, if you select overtime 1 as your type of overtime and Monday as your date, overtime 1 will generate on Mondays if the employee meets the overtime method criteria.
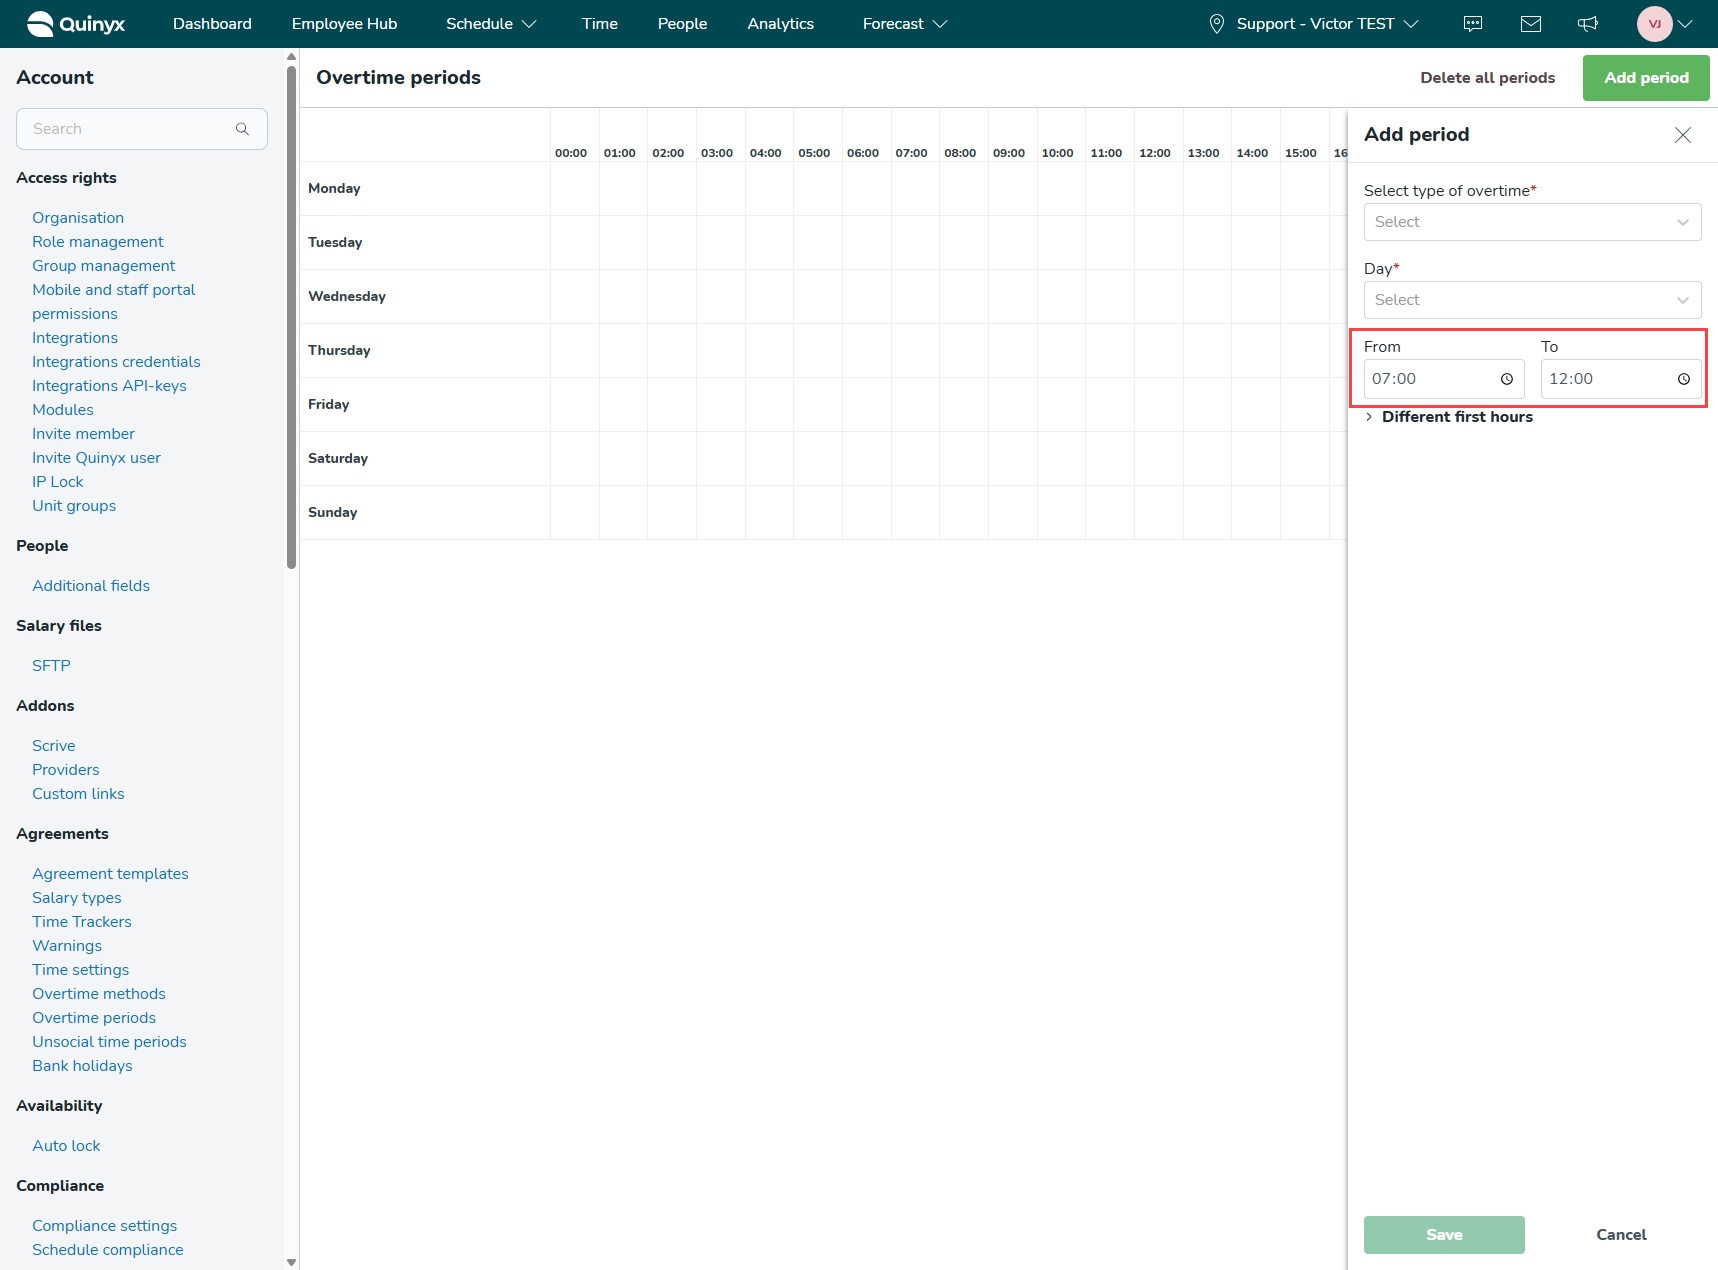
From and To
The From and To settings allow you to choose what time during a day the selected overtime salary type should generate. For example, if you choose 07:00 as From, 12:00 as To, and select Monday in the Day setting. Then the selected overtime type will generate between 07:00 and 12:00 on Mondays if the overtime method criteria have been met.
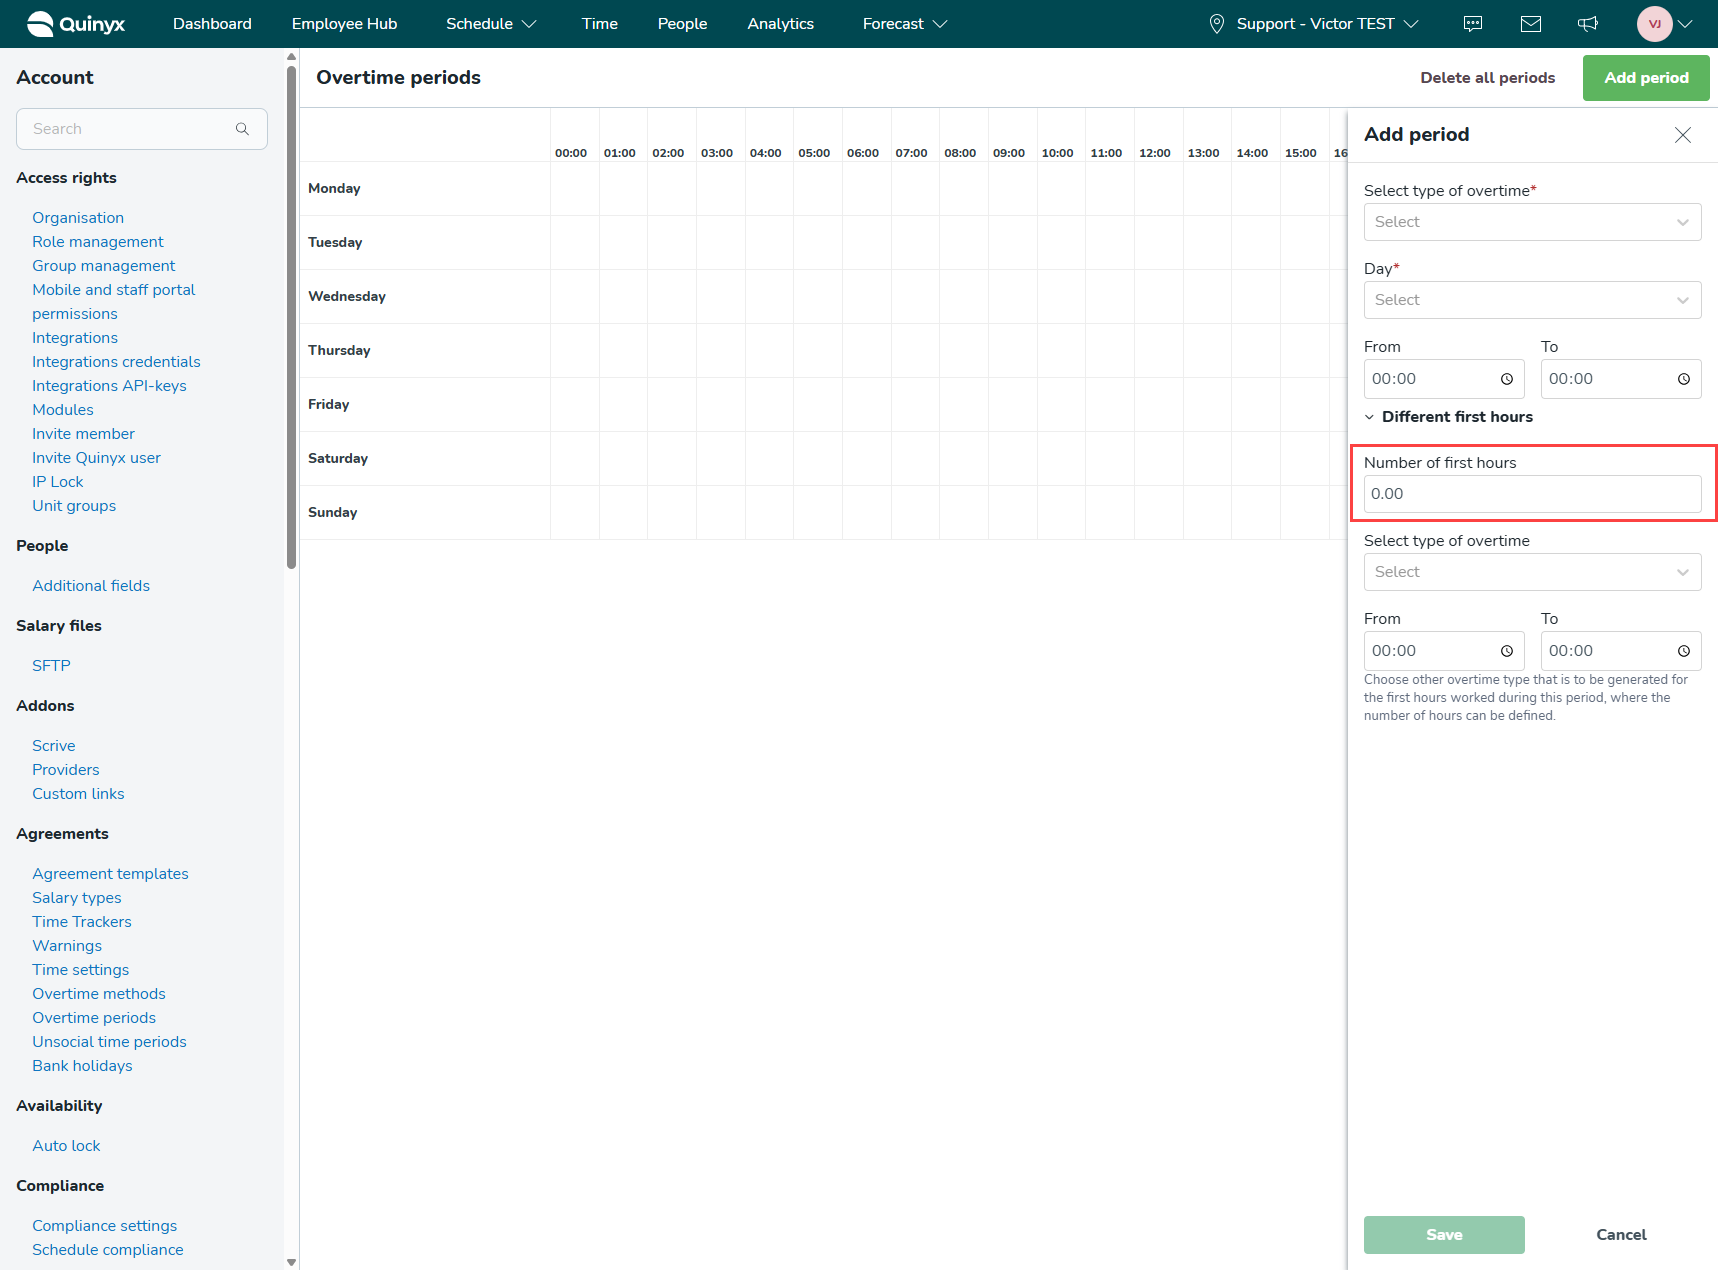
Different first hours
With this setting, you can set whether the first hours of the overtime payout should generate a different type of overtime salary.
Number of first hours
You can use this setting to determine how many hours a different overtime salary type should generate. For example, if you want the first 3 hours of an employee's overtime to be overtime 1, you can set this number to 3. If you choose overtime 2 as your type of overtime, 07:00 as From, 12:00 as To, and select Monday in the Day setting on top of this, then the first three hours will be generated as overtime 1, and overtime 2 will be generated from the first minute over three hours.
Select type of overtime
This setting allows you to select which overtime salary type is going to be generated for the first number of hours. For example, if you want the first 5 hours of the overtime to be generated as overtime 1, you can set the Number of first hours to 5, select type of overtime as overtime 1. The first 5 hours of overtime will now be generated as overtime 1, despite the setting you've selected in the previous options.
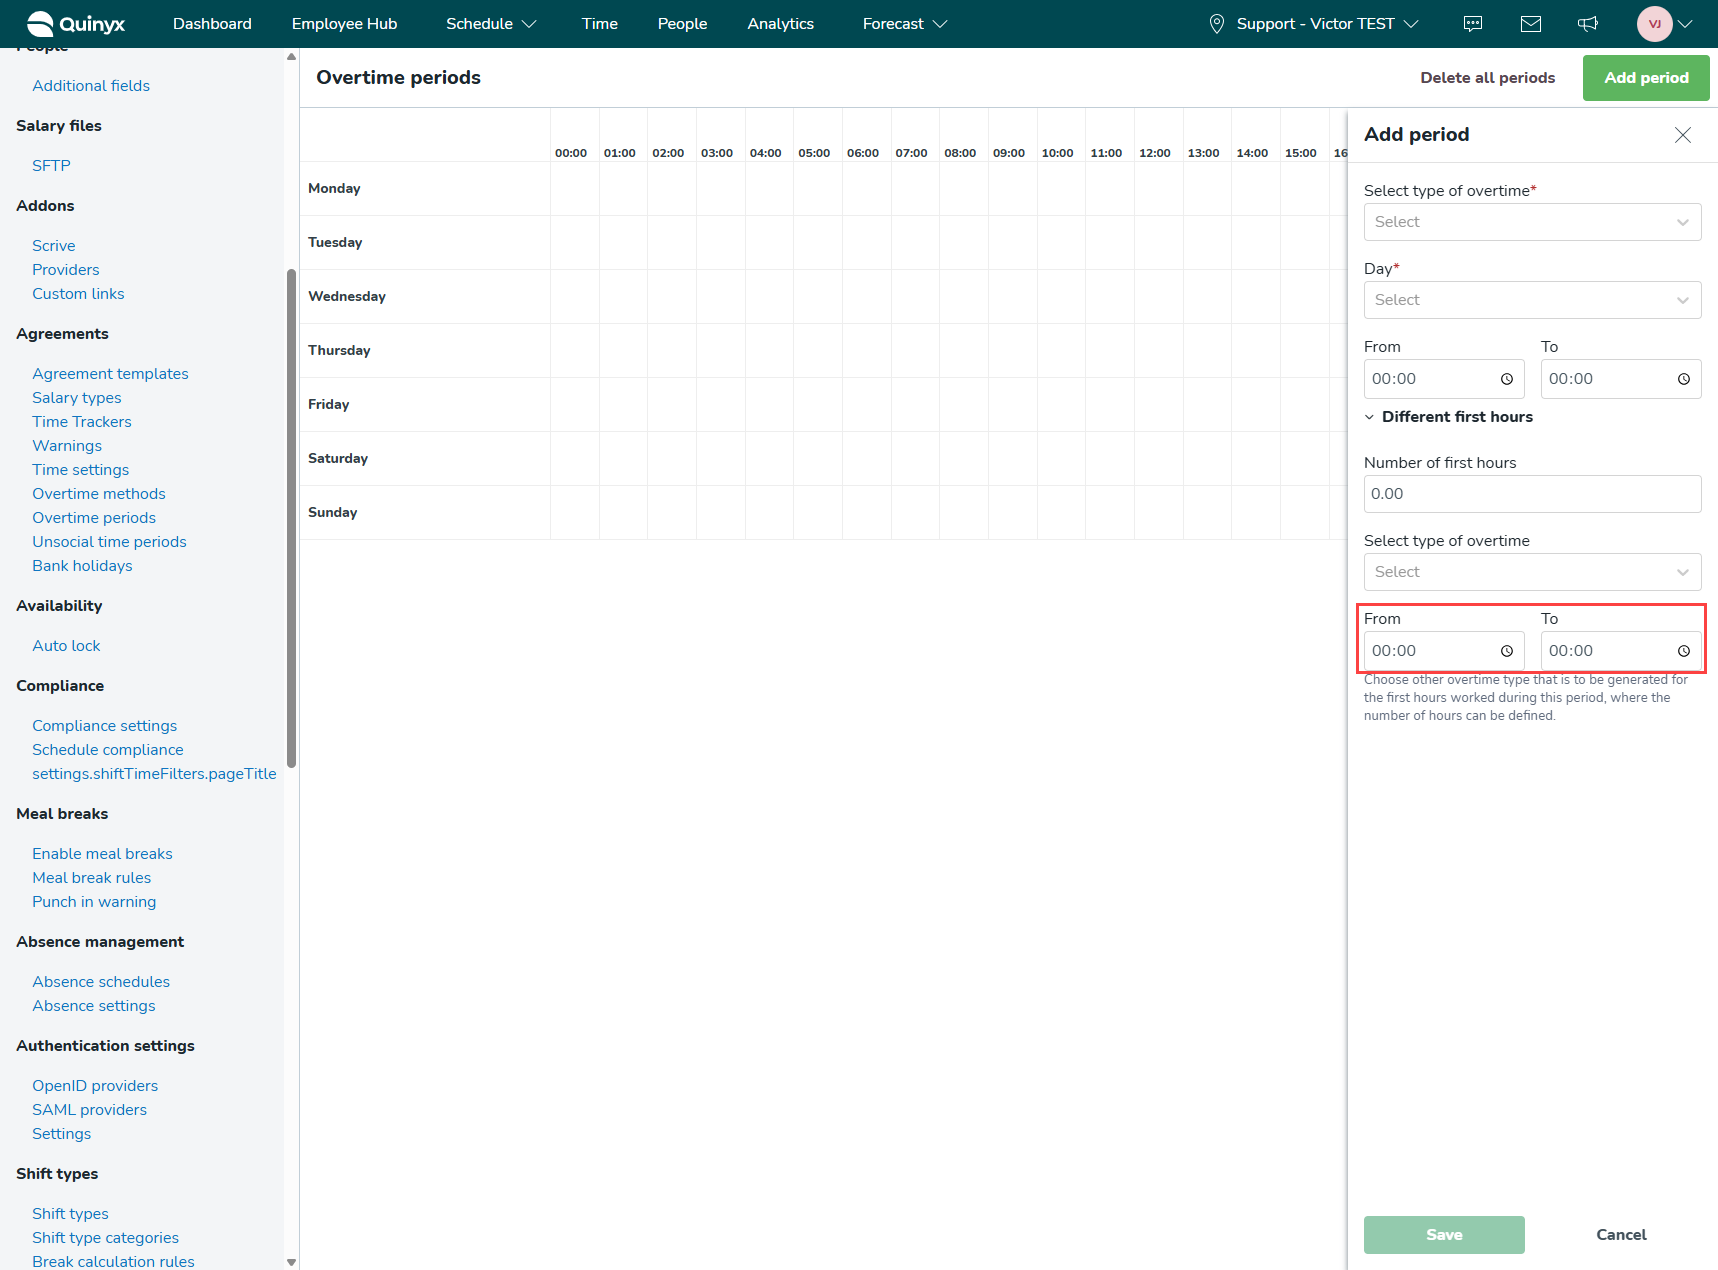
From and To
The From and To settings allow you to choose what time during a day the selected overtime salary type for the first few hours should generate. For example, if you choose 12:00 as From, 16:00 as To, and select Monday in the Day setting. Then the selected overtime type can be generated between 12:00 and 16:00 on Mondays for the first few hours.