Employee Hub - Create a new task
 Updated
by
Daniel Sjögren
Updated
by
Daniel Sjögren
Getting started
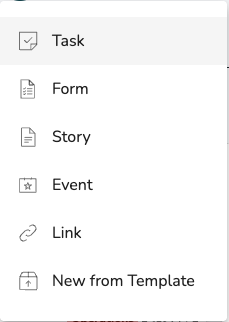
- Click on the + icon in the header to begin.
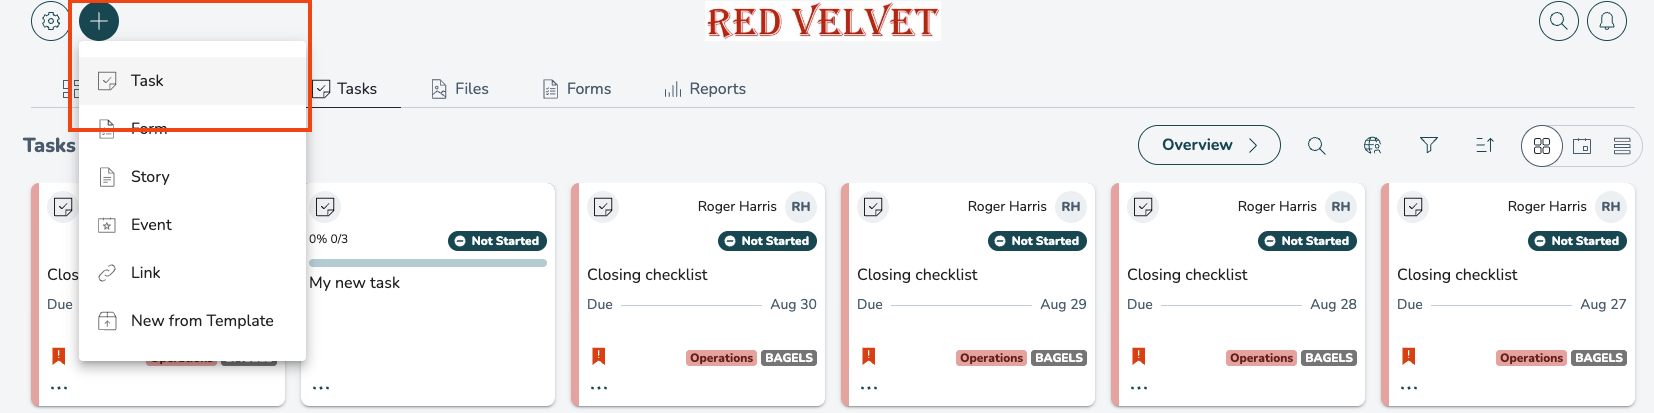
- Choose Task.
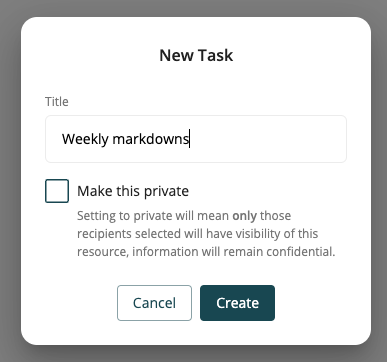
You will be asked to give your task a name. You can change this later if needed.
Description
You will then be taken to the Create Task screen. You can adjust the name of your task further here and then begin to include all of the key information.
Enter a task description. Use this to explain the task in more detail.
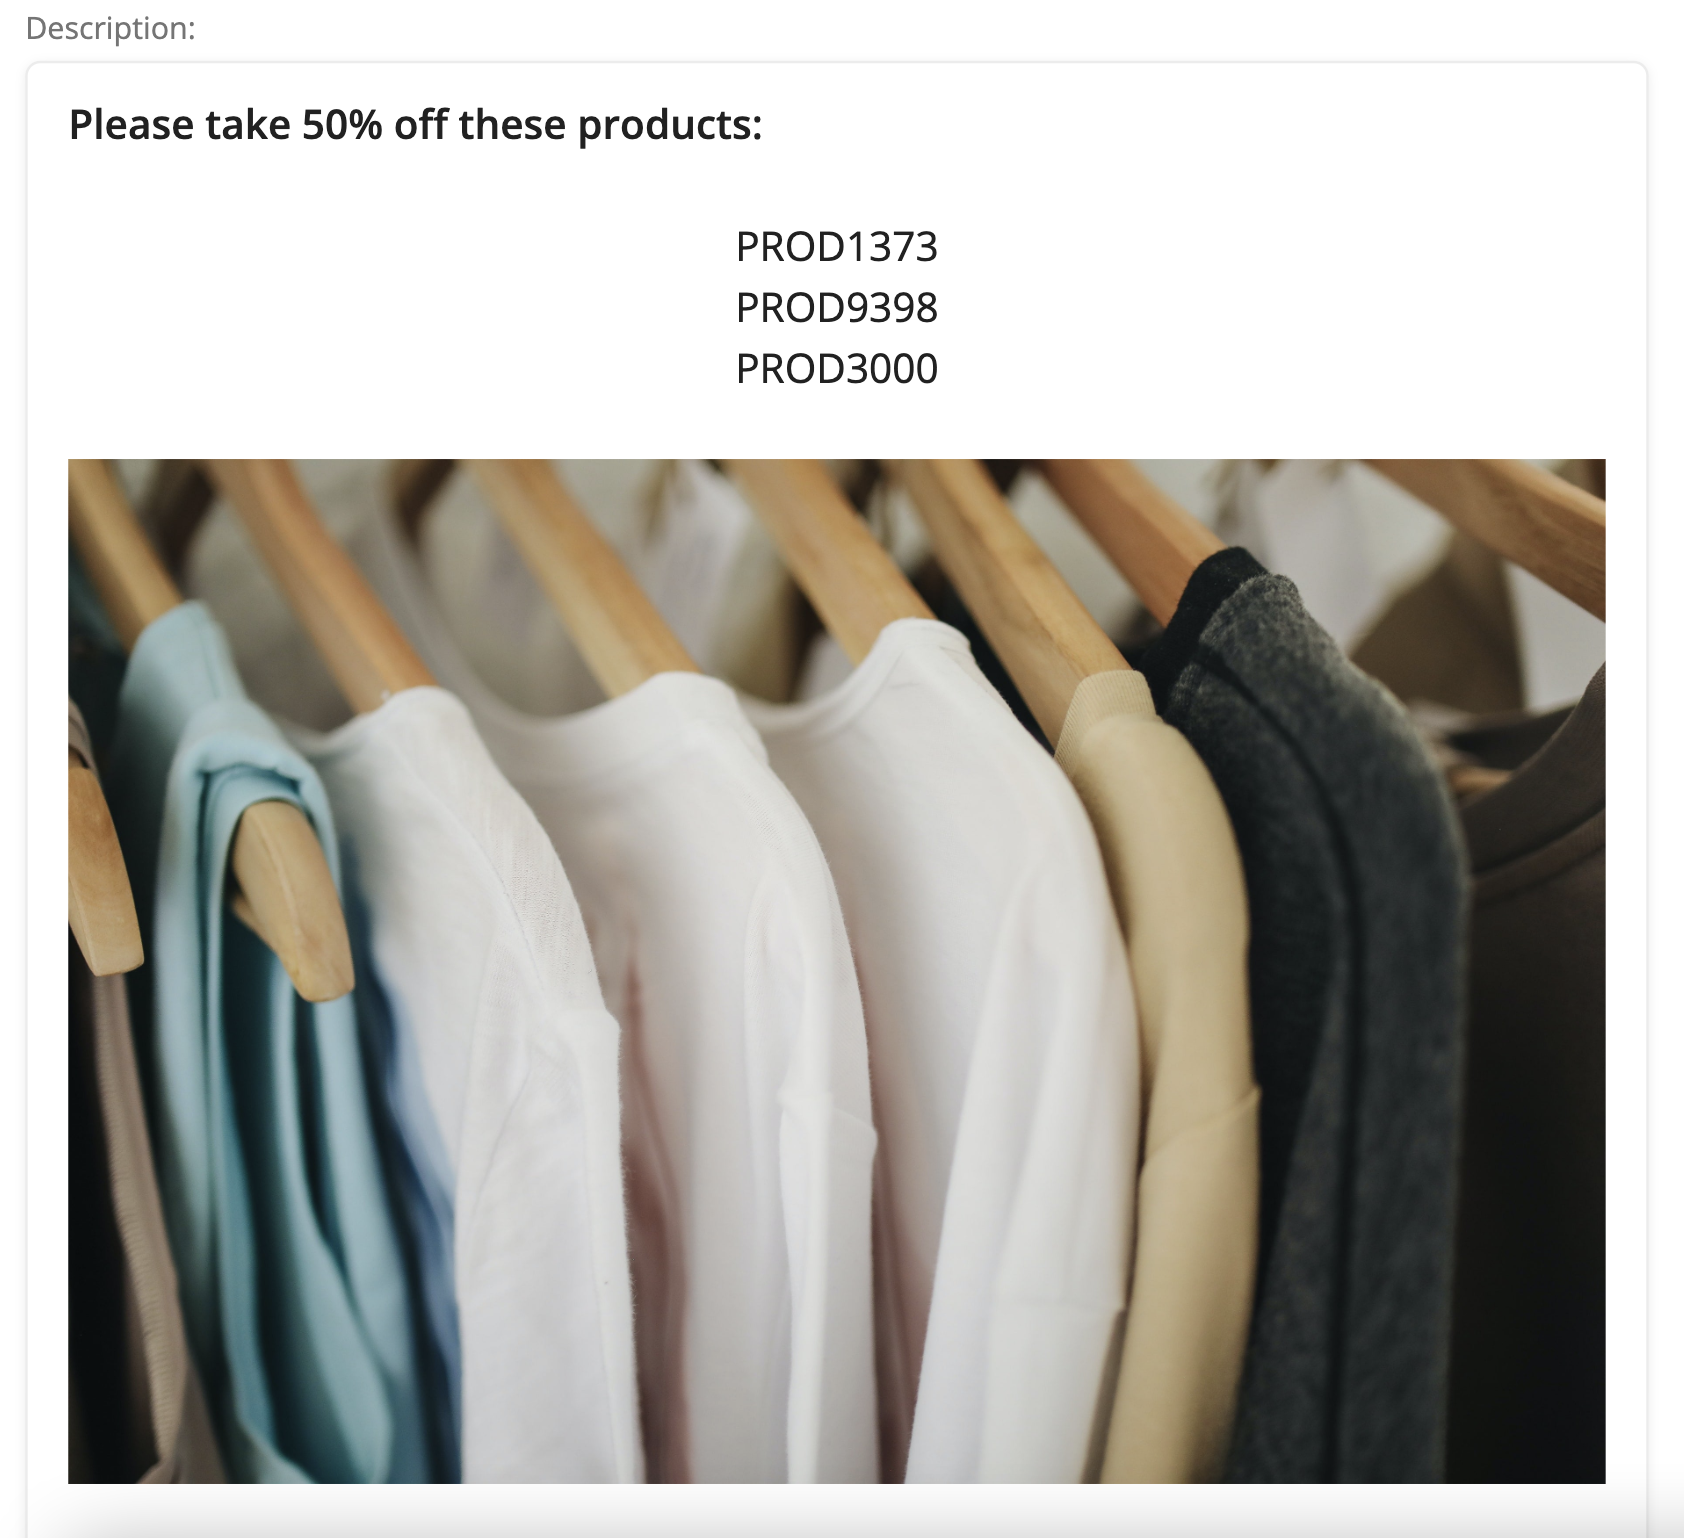
You can format your description including the ability to:
- Various formatting options (incl. text size, text color)
- Add links
- Insert images
- Embed videos (from .mp4 file or from YouTube)
Attachments
Add attachments to support your task.
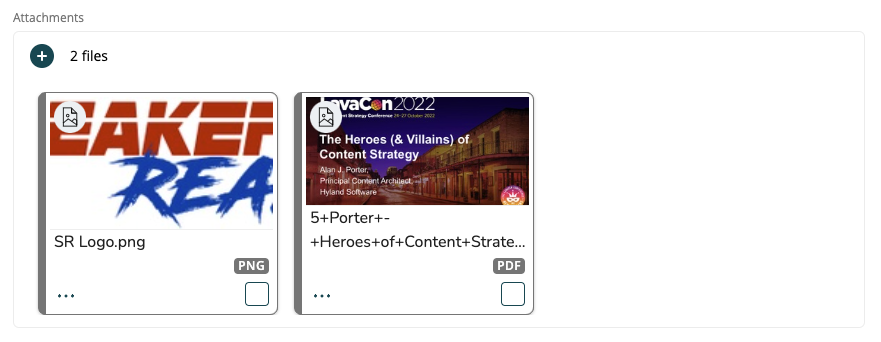
You can add most types of files here but if you add images, files, or multi-page PDF files then the recipients will be able to view these files within the task without needing to download them.
Task options
Due Date: When does the task need to be completed?
When you apply a Due Date to a task, it triggers its automatic expiry of the task so that it is hidden from stores 30 days after the due date. The task remains in the same Collection but is hidden by default; it can be exposed by selecting the ‘expired' toggle in the filters section. Adding a due date to tasks helps to keep dashboards clean and relevant to recipients.
Approvers: See below
Uploads: If you would like the task recipients to upload photos or files when they complete this task then check this box. They won't be able to complete the task until they upload something!
Priority: Does this task need to be flagged as a high priority?
Category & Size: Add the Category and Size of the task to help guide recipients.
Send out Date: You can set a future Publish date for the task if you don't want to send your task immediately.
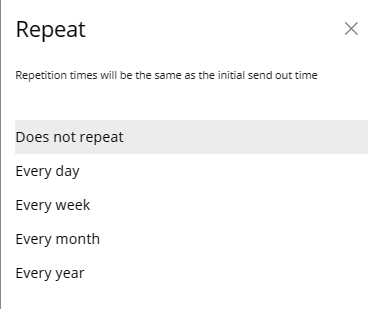
Send out repeat: You can set your task as recurring if you want it to repeat.
Audience
Choose who the task should be sent to:

You can select your audience by stores (individual, collections of stores or all), specific people, role type, specific groups, group types, or from already saved audiences. If you don't add an audience, the task will be saved to your drafts.
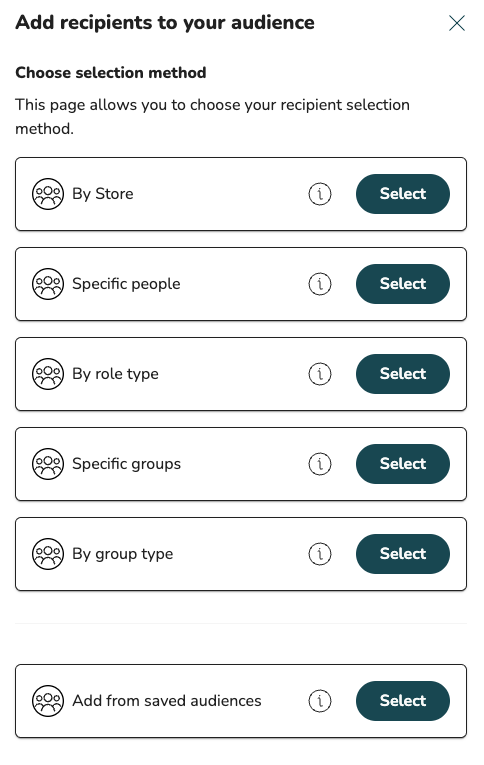
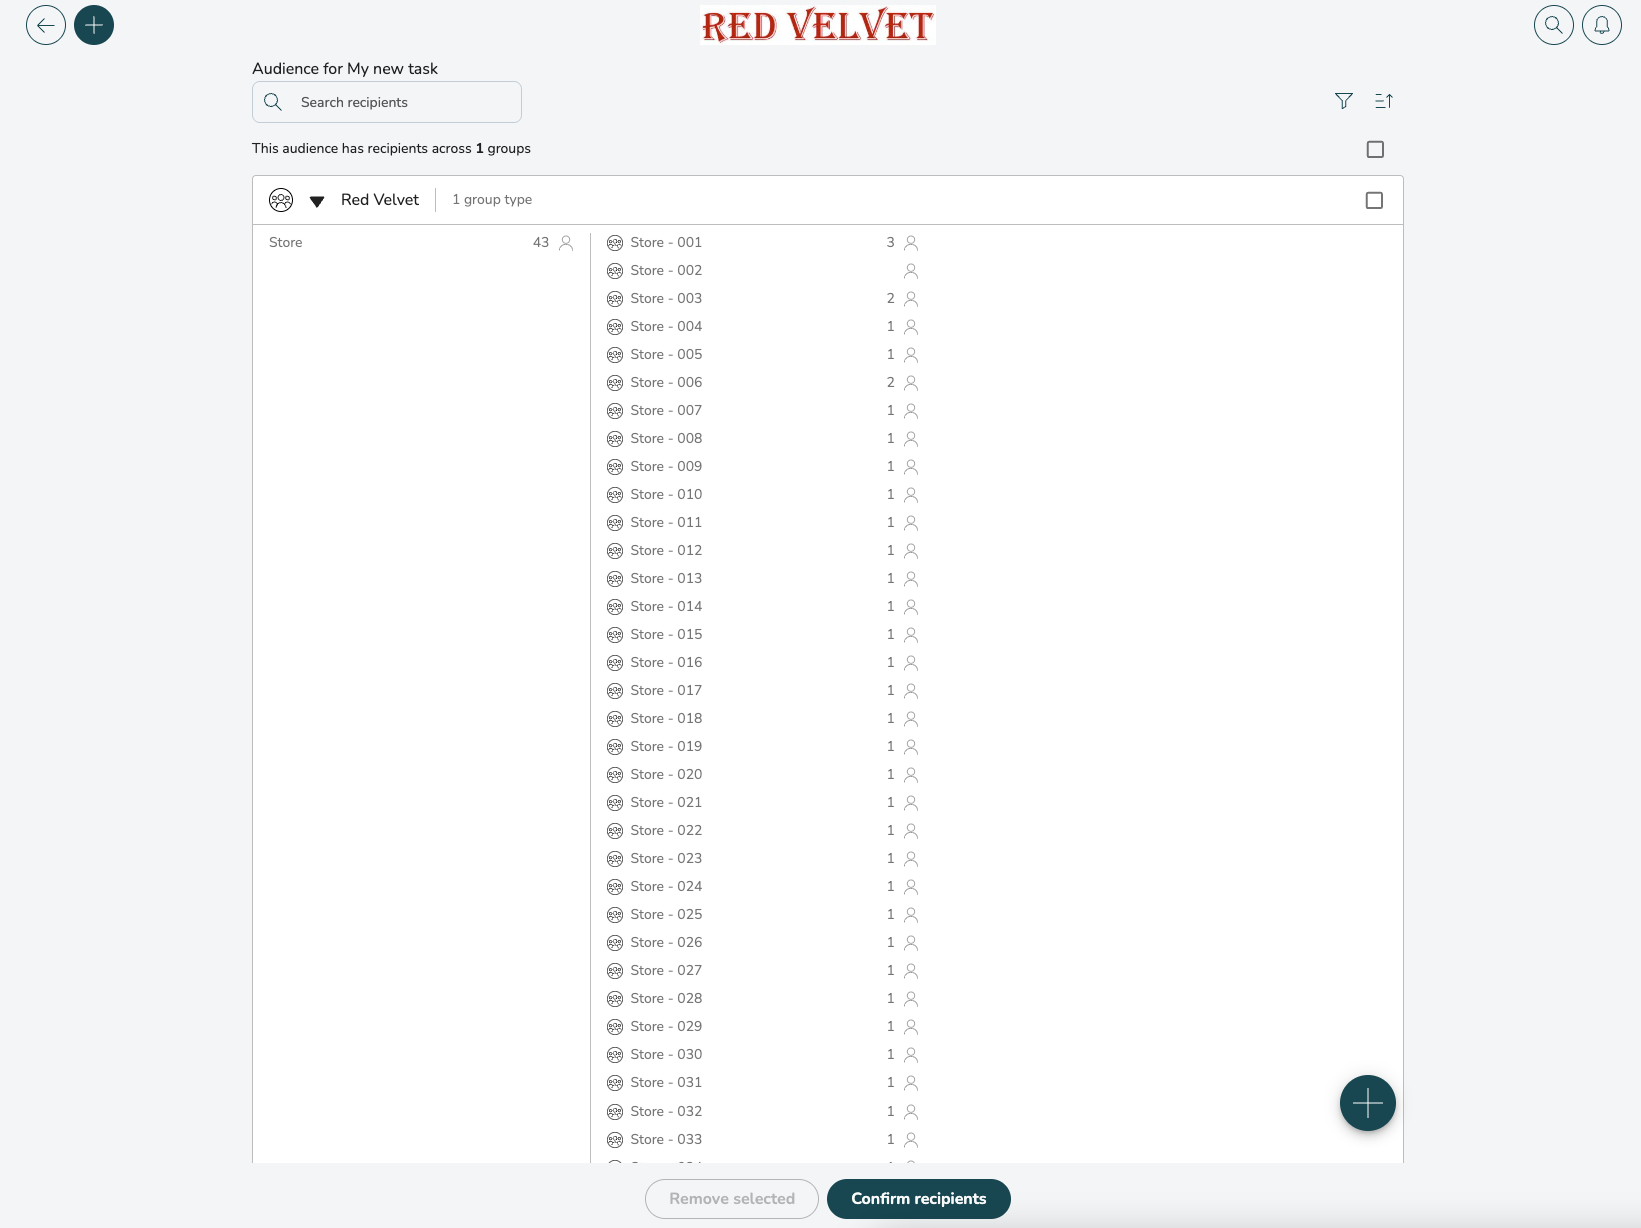
- Stores/Group type: Use the search function or navigate through your hierarchy. If sending a task to a store or a group (a group may include a region or district) anyone within that store or group will be able to pick up and complete the task. If you only have 1 user account in each store then we would recommend sending to Stores instead of People. The task will automatically be assigned to the store account.
- Specific people: Selecting using this method allows you to search through your organisation for specific individuals and add only those people to your audience.
Approvers
If you would like task submissions to be approved by yourself or someone else (or multiple approvers).

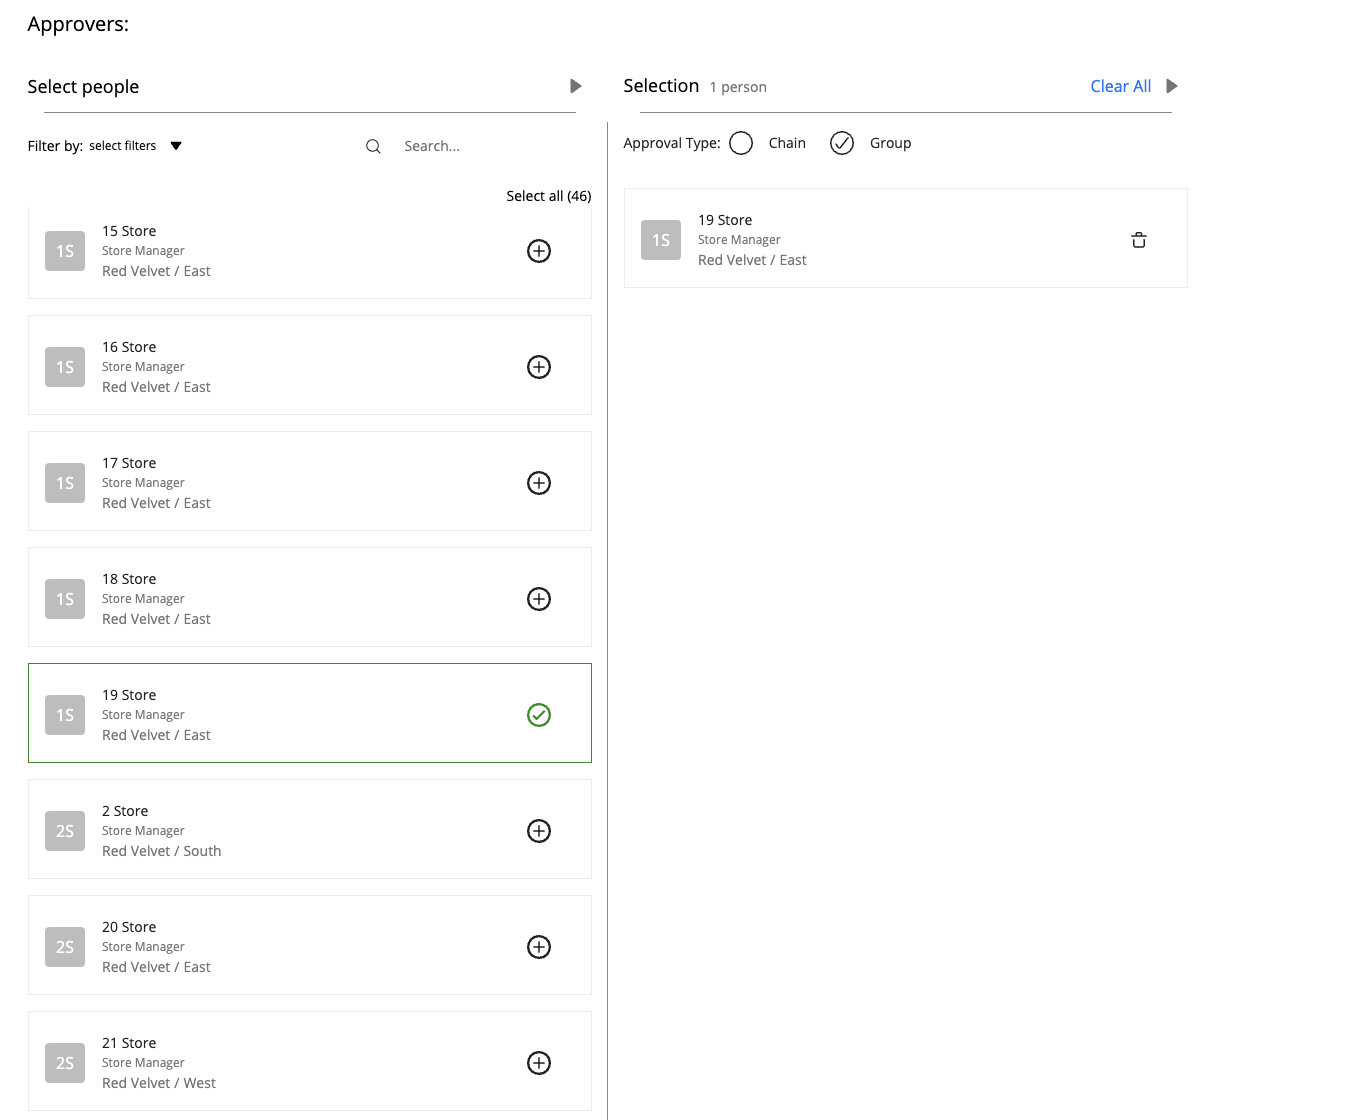
- You can choose yourself when selecting the approver of a task.
- You can also click on + icon to add approvers that you need to approve task submissions.
You can assign anyone below you in the hierarchy (or the same level) to be an approver. Once all approvers are selected, you can change the order of approval or choose to adjust the Approval Type:
- Chain: All selected approvers will have to approve submissions, in the selected order.
- Group: Only one of the selected approvers needs to approve the task. Any of the approvers can approve task submissions.
Adding Questions to a Task
Sending
Once all necessary attributes of the task are completed, then click on Send Now in the bottom toolbar to send the task to its assignees.
