Import tools: Time Tracker transactions
 Updated
by
Victor Jespersen
Updated
by
Victor Jespersen
Create or adjust Time Tracker transactions in bulk using a Microsoft Excel file, instead of editing each employee's balance one by one. This is useful for tasks like granting an annual leave allowance to a whole team, correcting balances after a migration, or topping up flex time or time-off-in-lieu for a group of employees at once.
The import process lets you:
- Download a pre-formatted template.
- Add your transaction data, one row per transaction.
- Upload the completed file.
- Review the validated data and start the import.
- See a summary of what succeeded and what failed.
You can import up to 5000 transactions in a single file.
Before you start
- You need write access to Time Trackers for the group you are importing to. Without it, the import will not be able to create transactions.
- Have your employees' badge numbers and the exact Time Tracker names. Both are available as dropdowns in the template, so in most cases you can simply select them.
- Decide, per row, whether
- You want to add to, subtract from, or set a balance. See Operations below.
- To open the tool, go to Account settings and select Time Trackers under the Import tools section.
Step 1: Download the template
On the first step, download the Excel template. It is pre-formatted with all the required columns and includes dropdowns to help you enter valid values.
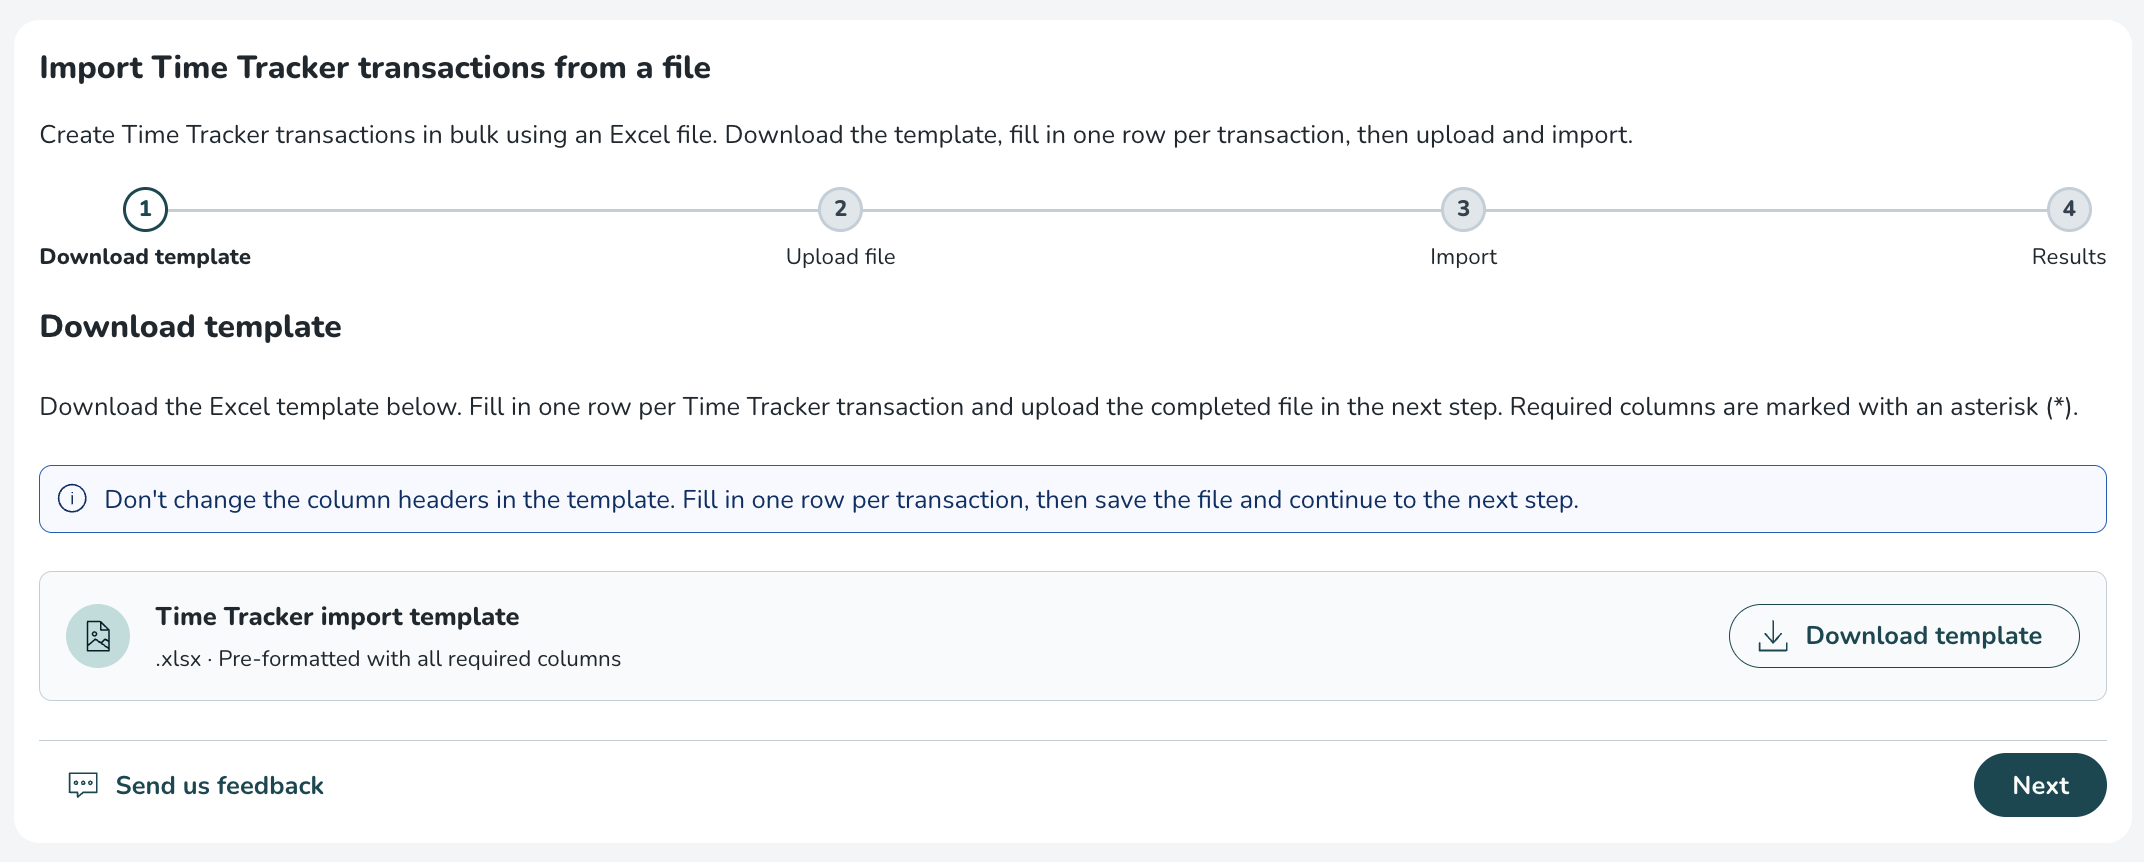
The template columns
Required columns are marked with an asterisk (*).
Column | Required | Description |
Badge number * | Yes | The badge number of the employee whose balance you want to update. Available as a dropdown listing all of the employees in your account. Inactive employees are included so that balances can be uploaded for former employees, allowing remaining vacation time to be calculated and paid out correctly in the final payroll. If multiple employees share the same badge number, the employee's name will be shown in parentheses to distinguish them. |
Time Tracker * | Yes | The name of the Time Tracker to update (for example, an annual leave or flex time tracker). Available as a dropdown listing the Time Trackers configured for your account. |
Operation * | Yes | How the value should be applied: Add, Subtract, or Set to. Available as a dropdown with these three values only. |
Value (use . for decimals) * | Yes | The amount to apply. Always entered as a non-negative number (the adding or subtracting of the balance is controlled by the Operation field, not by a minus sign). Use a full stop for decimals (for example, 7.5). |
Date (YYYY-MM-DD) * | Yes | The date the transaction takes effect, in YYYY-MM-DD format. |
Period (year) | No | For periodised Time Trackers, the year of the period the balance applies to. See periodised Time Trackers below. |
Type | No | Whether the transaction is Statutory or Non-statutory. See Statutory and non-statutory transactions below. |
Comment | No | An optional note stored on the transaction. Maximum 255 characters. |
The template also contains a Reference data sheet, which holds the badge numbers and Time Tracker names used by the dropdowns. You don't need to edit this sheet; it is there to keep the dropdowns valid.
Operations
The Operation column determines how each row affects the balance. There are three options:
- Add: Increases the balance by the value you enter. For example, adding 5 to a balance of 10 results in 15.
- Subtract: Decreases the balance by the value you enter. The value is still entered as a positive number; the import handles the direction. For example, subtracting 5 from a balance of 10 results in 5.
- Set to: Sets the balance to the exact value you enter, regardless of the current balance. Quinyx works out the difference between the current and target balance and applies it for you. For example, if the current balance is 15 and you set it to 20, the balance becomes 20. If the current balance already equals the value you enter, the row is skipped (no transaction is created), and this is shown in the results.
Statutory and non-statutory transactions
The optional Type column lets you mark each transaction as Statutory or Non-statutory. This is mainly relevant for setups that distinguish between statutory and non-statutory leave, such as the Dutch vacation. For more on how these types are used, see the Dutch vacation configuration article.
If your Time Trackers don't use this distinction, you will not see this column in your template file.
Periodised Time Trackers
Some Time Trackers are periodised, meaning they hold a separate balance for each year (for example, a separate annual leave balance for 2025 and 2026).
For these trackers, use the Period (year) column to tell Quinyx which year's balance you want to affect. When you use the set-to operation on a periodised tracker, Quinyx matches the correct period using this year, so only that period's balance changes, and the others are left untouched.
For trackers that are not periodised, you can leave the Period column blank.
Step 2: Upload your file
Once your file is ready, continue to the upload step. Drag and drop the file onto the upload area, or click to browse from your computer. Only .xlsx files are accepted, with a maximum of 5000 rows.
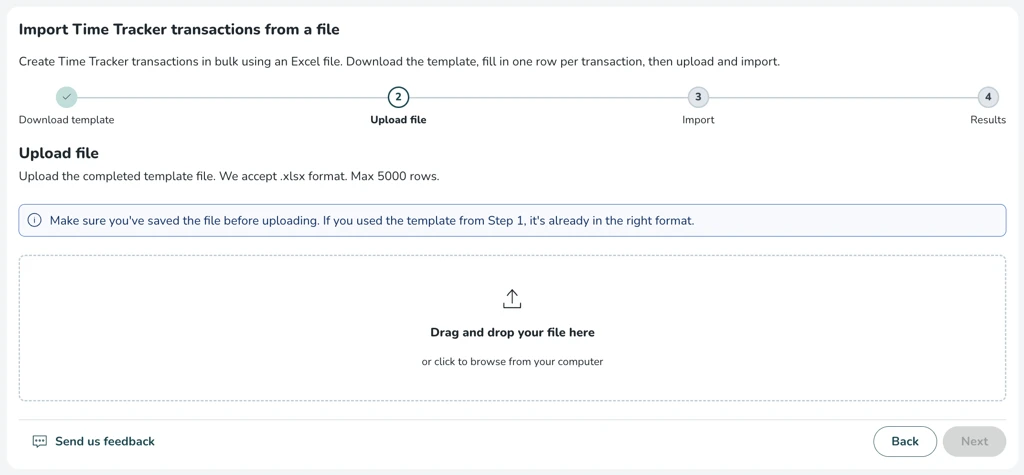
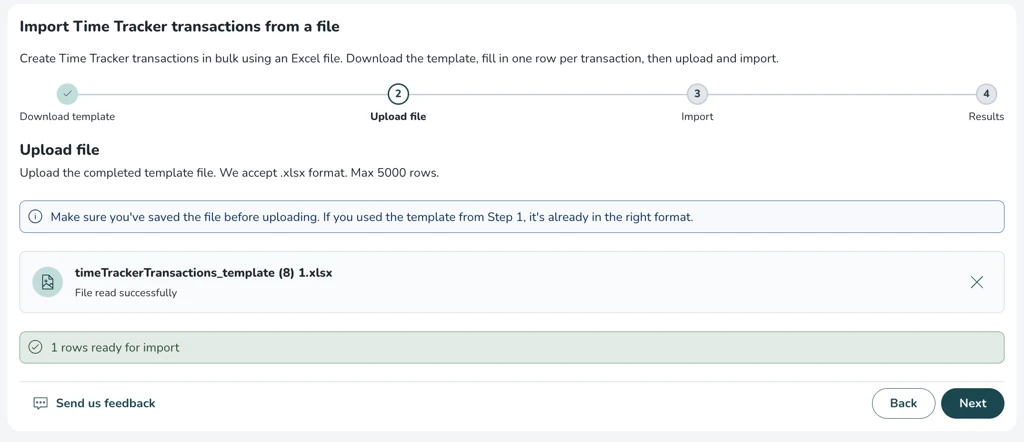
When the file is read, Quinyx validates it and tells you how many rows are ready to import.
What validation checks
Validation runs before any data is imported, so you can fix problems up front. It checks for issues such as:
- Missing required fields (for example, a missing badge number or date).
- Invalid operations (only Add, Subtract, and Set to are accepted).
- Negative or non-numeric values (the value must be a non-negative number).
- Invalid date formats (dates must be YYYY-MM-DD).
- Comments longer than 255 characters.
- Duplicate rows (if the same badge number and Time Tracker combination appear more than once).
- Badge numbers or Time Tracker names that don't exist in your account.
If a row has more than one problem, all of its errors are listed, so you can correct them in one pass. If you need to start over, remove the file using the X and upload a corrected version. The previous errors are cleared, and the new file is validated fresh.
Step 3: Review and start import
When your file has passed validation, you'll see a confirmation that it is ready for import. Review the summary and select Start import.
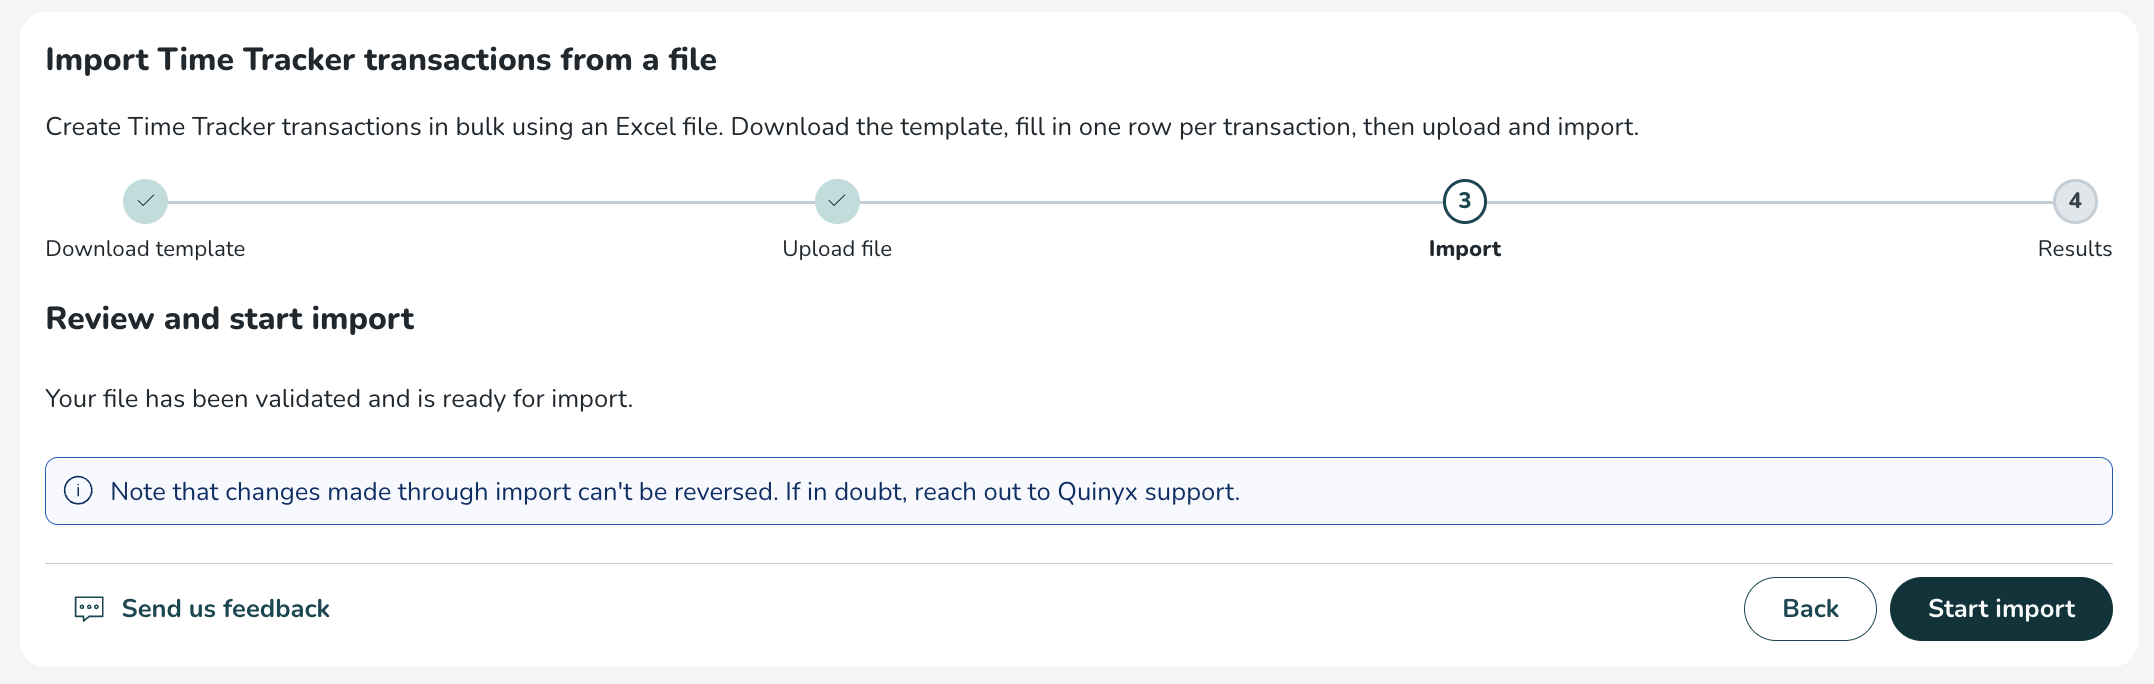
The import processes your rows and shows progress as it goes. For large files, this can take a few minutes.
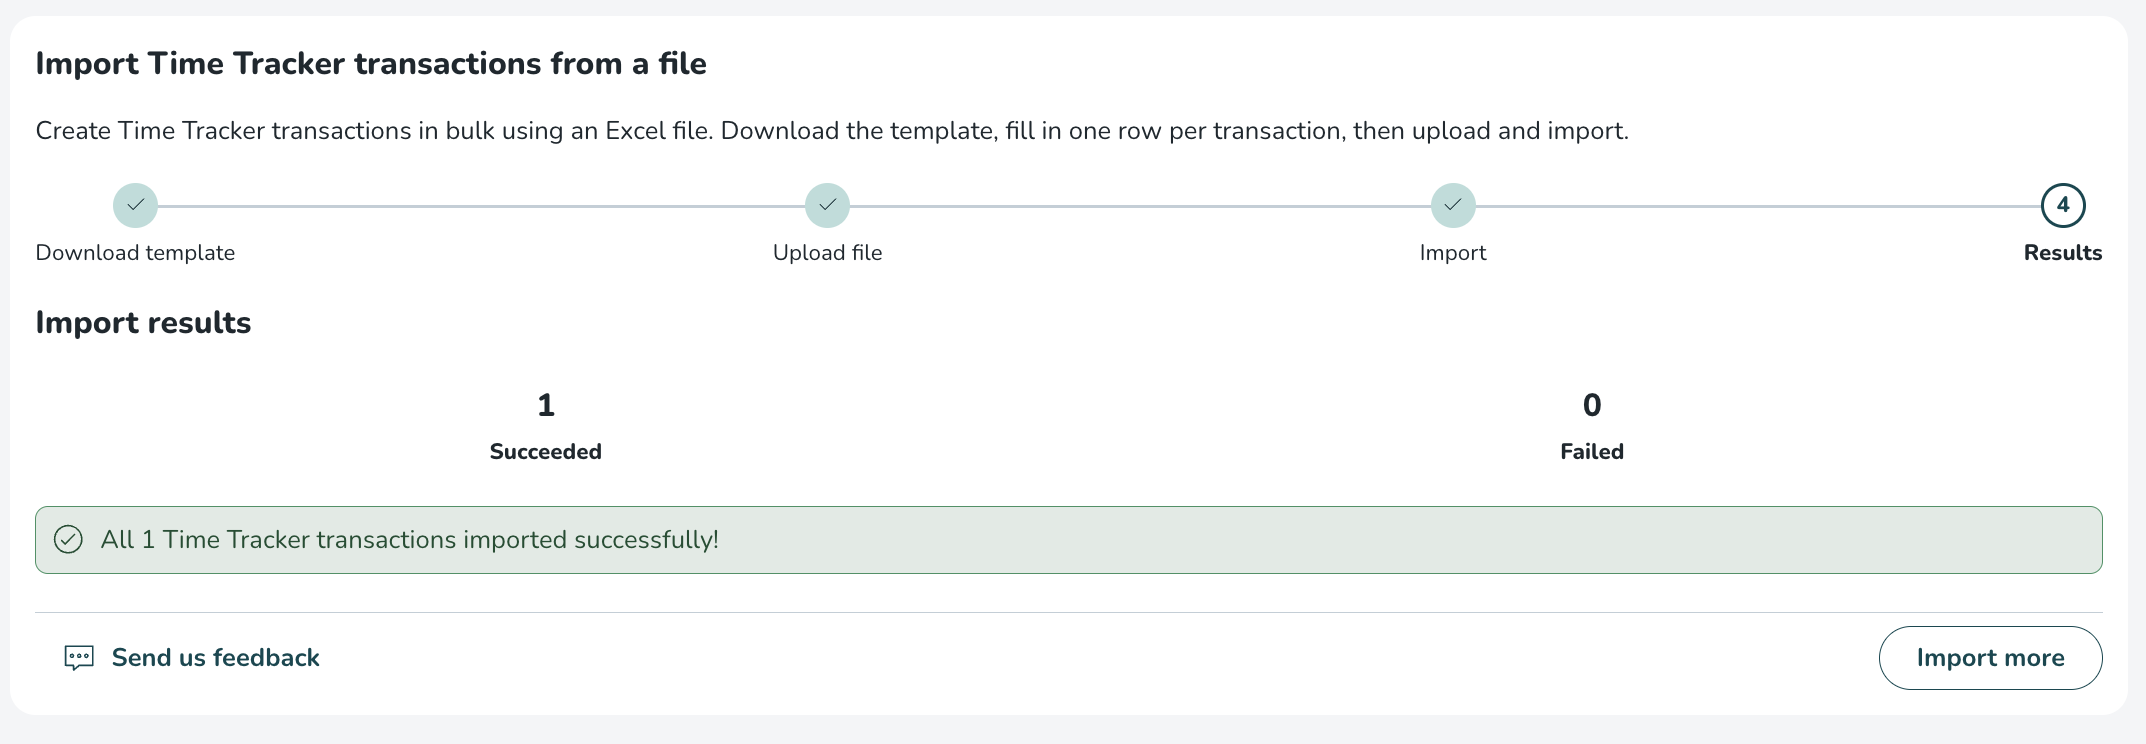
Step 4: Import results
When the import finishes, you'll see how many transactions succeeded and how many failed (and where relevant, how many were skipped, for example, Set to rows where the balance was already at the target value).
If any rows failed, you can download an error report in Excel format. It lists the failed rows together with an error message explaining what went wrong for each one, so you can correct and re-import just those rows.
To run another import, select Import more. This resets the tool back to the download step, ready for a new file.
Reversing a change
Time Tracker transactions are additive, so an import can be corrected by applying the opposite change:
- If you used Add by mistake, run a Subtract with the same value (and vice versa).
- If you used Set to, run another Set to with the original balance to restore it.
Each transaction is recorded against the employee, so you can always review what was applied under Time Tracker transactions on the time card.
Good to know
- The import affects only the Time Tracker balances for the rows you include; it does not change schedules, absences, or any other employee data.
- Files are limited to 5000 rows. If a file contains more than 5000 rows, only the first 5000 rows are processed.
- Only .xlsx files are accepted. Other formats, including .csv, are rejected.
- Extra columns that aren't part of the template are ignored; the known columns are still read normally.
- A value of 0 with Add or Subtract is accepted but has no effect on the balance.